Start by preheating your oven to 350°F. This is important as it ensures even baking, creating that golden crust we all love. Line an 8-inch square pan with aluminum foil for easy cleanup, and don’t forget to spray it with cooking spray to prevent sticking.
In a large, microwave-safe bowl, melt the unsalted butter for about one minute on high power. The butter should be completely melted; this will add richness to your crust.
Next, add the all-purpose flour, old-fashioned oats, both types of sugar, and the optional salt. Stir everything to combine. The mixture may look dry and sandy, but that’s perfectly normal. You should see some larger, well-formed crumble pieces, which will create a lovely texture.
Set aside one heaping cup of the mixture to use later as the crumble topping. This is key to achieving that deliciously crunchy layer on top.
Transfer the remaining mixture to your prepared pan. Using a spatula or your fingers, hard-pack the mixture into an even, smooth, flat crust. This sturdy base is essential for holding all the fruity goodness.
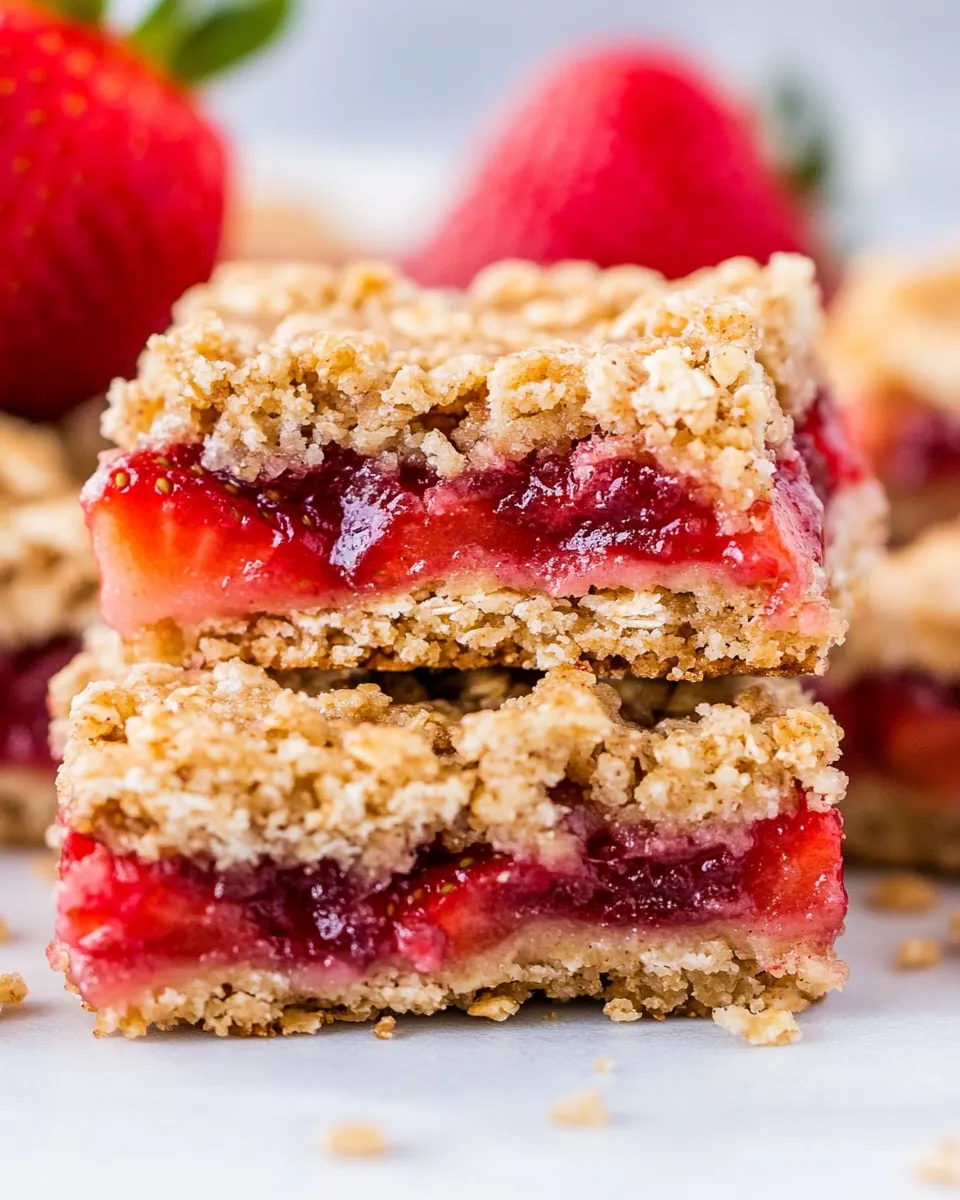
In another large mixing bowl, combine the coarsely chopped fresh strawberries, granulated sugar, lemon juice, and cornstarch. Toss everything together gently. If your sugar hasn’t fully dissolved, don’t worry—the berries will release their juices during baking, creating a delicious syrup.
Evenly distribute the strawberry mixture over the crust, making sure to cover it completely. It’s essential to do this step carefully to ensure every bite is full of flavor.
Now, sprinkle the reserved heaping cup of crumble topping evenly over the strawberries. Before you sprinkle, squeeze the mixture in your palm to encourage larger crumble pieces to form, which will add texture.
Place the pan in the preheated oven and bake for about fifty minutes. You’ll know they’re ready when the edges are set, and the center has just set. The crumble topping should be very pale golden, and the strawberry filling will be bubbling along the edges. Depending on the juiciness of the strawberries, they may take longer, so keep an eye on them.
Once done, take the pan out and let it cool on a wire rack for at least one hour before slicing. This step is crucial; cutting them too soon will result in messy bars that fall apart. Patience is key!