Preheat your oven to 425°F (220°C). This high heat will help crisp the skin beautifully.
Prepare the chicken by patting it dry on all sides with paper towels, including inside the cavity. This helps the skin crisp up nicely during roasting.
Place the chicken on a rack over a sheet tray or plate. Season all sides of the chicken and the cavity generously with coarse salt and ground pepper, rubbing it in for better flavor.
Refrigerate the chicken on the rack, uncovered, for 4 to 24 hours. This dry brining helps enhance the flavor and texture.
Before cooking, remove the chicken from the fridge. Using a toothpick or skewer, make about 15 to 20 small pierces in the skin across the thighs, drumsticks, breast, wings, and backside to help release fat while roasting.
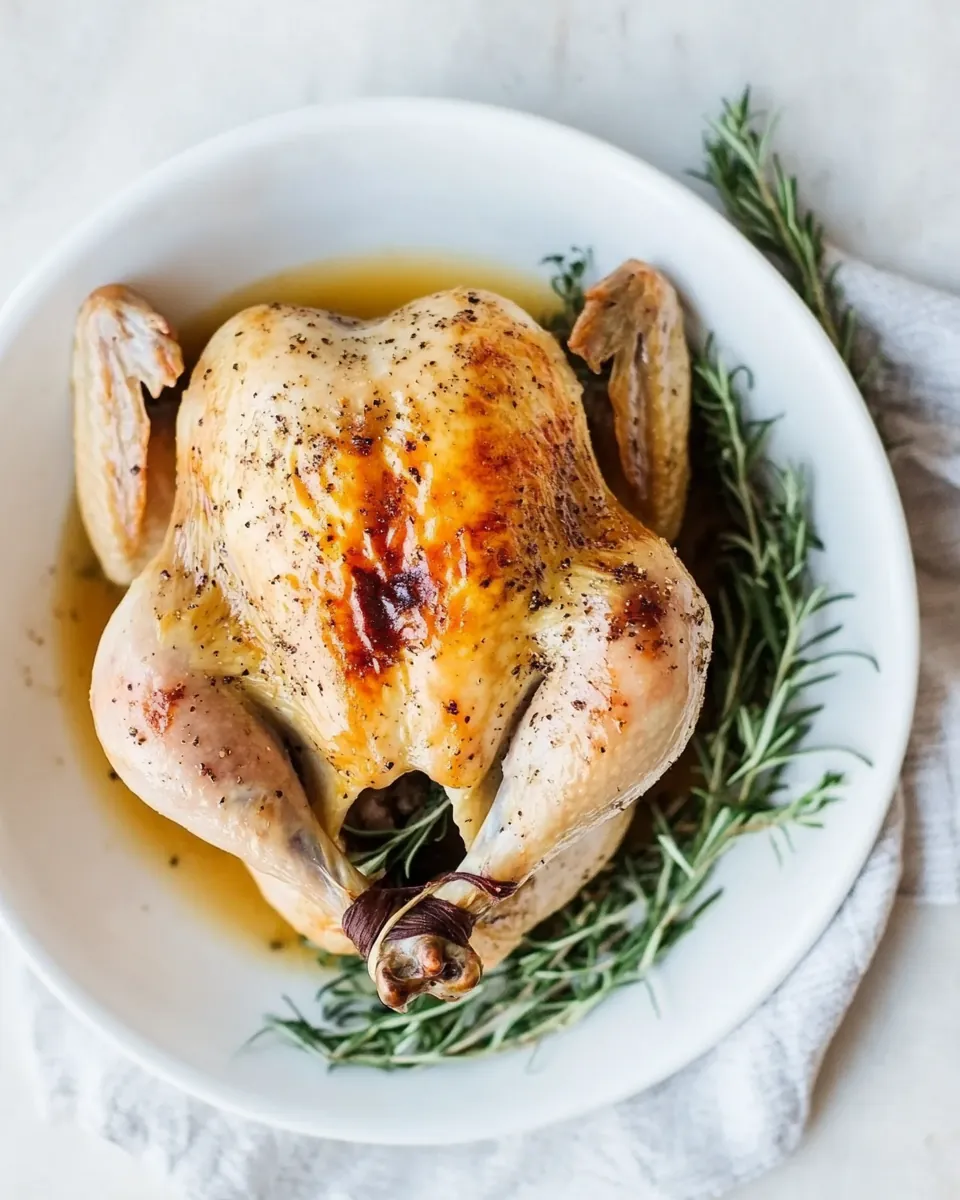
Stuff the cavity of the chicken with the shallot, garlic, rosemary, and thyme. This adds wonderful flavor from the inside out.
Fold the wings back behind the chicken and truss it tightly with kitchen twine to ensure even cooking.
In a large carbon steel or cast iron skillet, heat the olive oil over high heat until it begins to lightly smoke. This is where the magic of searing begins.
Carefully place the chicken breast side down into the hot oil. Lower the heat slightly to medium-high and sear for about 2 minutes. Use a thick wooden spoon to hold the chicken upright for the same amount of time.
After the first side is browned, flip the chicken so it’s breast side up. Add unsalted butter to the pan and baste the chicken for 2 to 3 minutes. Flip again and baste the top for 1 to 2 minutes.
Drain excess butter from the pan, ensuring the chicken is balanced and ready for the oven.
Transfer the chicken to the preheated oven, placing it on the lower third rack. Roast for 45 to 50 minutes or until it reaches an internal temperature of 155°F to 160°F in the thickest part of the breast.
Once cooked, let the chicken rest at room temperature for 10 to 12 minutes before carving. This helps the juices redistribute for optimal flavor and moisture.