Go Back
Ranch Lovers Chicken Fingers

Ranch Lovers Chicken Fingers

The ultimate comfort food, these Ranch Lovers Chicken Fingers are crispy, cheesy, and oh-so-delicious! Perfect for a fun family dinner or as a quick appetizer, they'll satisfy all your cravings. Make them tonight and see why everyone loves this easy weeknight meal!
Prep Time 25 minutes
Cook Time 25 minutes
Total Time 50 minutes
Servings: 4 servings
Course: Dinner
Cuisine: American
Calories: 400

Ingredients
  

  • 1 ½ pounds boneless skinless chicken tenders
  • Kosher salt
  • 1 ½ cups breadcrumbs
  • ½ cup crushed Cheez-Its or cheddar crackers
  • 1 teaspoon garlic powder
  • 1 teaspoon dried chives
  • ½ teaspoon dried dill weed
  • 2 eggs lightly beaten
  • ranch dressing for serving

Equipment

  • Mixing Bowl
  • Wooden Spoon
  • Baking Sheet
  • Oven

Method
 

  1. Preheat your oven to 450 degrees. This high temperature is crucial for achieving the desired crispiness. Line a baking sheet with foil for easy cleanup, and place a wire rack on top. Spraying the rack with nonstick spray will prevent the chicken from sticking.
  2. Season the chicken tenders generously with kosher salt and pepper on both sides. This step elevates the flavor of the chicken significantly.
  3. In a mixing bowl, combine the breadcrumbs, crushed Cheez-Its, garlic powder, chives, and dill weed. This mixture creates the crispy coating that makes these chicken fingers so special.
  4. In another bowl, lightly beat the eggs. This will be used as the adhesive that helps the breadcrumb mixture stick to the chicken.
  5. Take each chicken tender and coat it in the beaten eggs. Make sure each piece is well-covered.
  6. Next, dredge the egg-coated chicken through the breadcrumb mixture, pressing gently so that the crumbs adhere well. This is where the magic happens, so take your time to coat each piece thoroughly.
  7. Place the coated chicken fingers on the prepared wire rack. Once you’ve coated all the chicken, lightly spray them with avocado or olive oil spray. This will help achieve that golden-brown color while baking.
  8. Bake the chicken fingers in the preheated oven for 12 minutes. After this time, gently flip each piece over and spray the other side with a bit of oil spray.
  9. Bake for an additional 10 to 12 minutes until the chicken is golden and crispy. Look for a nice golden color and crispy texture.
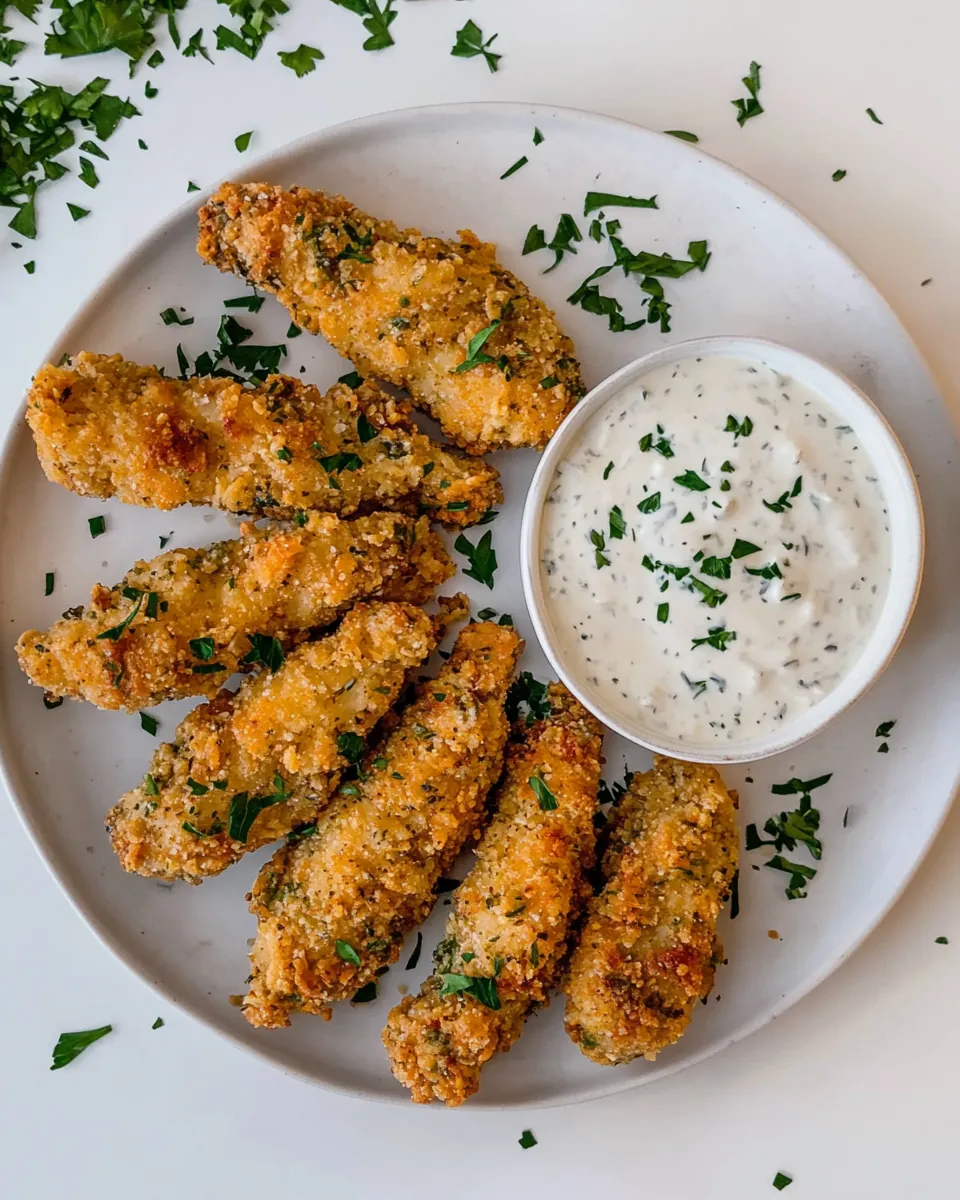
  10. Once they’re done, let the chicken cool slightly before serving with ranch dressing. This cooling period helps the coating to set a bit more.

Notes

  • Storage: After cooking, let any leftovers cool completely and store them in an airtight container in the fridge for up to three days.
  • Freezing: You can freeze the uncooked coated chicken fingers. Just place them on a baking sheet and freeze until solid before transferring to a bag. Bake straight from frozen, adding a few extra minutes to the cooking time.
  • Pairing: Serve with different dips like barbecue sauce, honey mustard, or even a spicy sriracha sauce for a twist.
  • Batch Cooking: Make a double batch to have on hand for quick snacks or meals during busy weeks.
  • Adding Veggies: You can mix in finely chopped vegetables like spinach or bell peppers to the breadcrumb mixture for added nutrients.
  • Healthier Version: Use whole grain breadcrumbs and bake instead of frying for a lighter option.