Start by placing 1 cup of white or brown raisins in a bowl with 2 cups of boiling water for about 10 minutes. This plumping process makes the raisins even sweeter and juicier. Once done, drain them well and set aside.
For the yeast mixture, pour 1/2 cup of warm milk (heated for about 30 seconds in the microwave) into a large measuring cup. Add 1 tsp of sugar and sprinkle the yeast over the top. Stir gently and let it stand to proof until it becomes bubbly and doubles in size, which should take about 10 minutes.
In a large bowl, combine 1 cup of very warm milk (about 1 minute in the microwave), 1 cup of sugar, softened butter, and 1 tsp of salt. Stir until the butter is mostly melted and the mixture is well combined.
Next, stir in the 3 well-beaten eggs followed by the yeast mixture into the butter mixture. You’ll want to mix this well, ensuring that everything is fully incorporated.
Using a dough hook attachment or a wooden spoon if you're mixing by hand, gradually beat in the 6 and 1/2 cups of flour, one cup at a time, until a soft dough forms. The dough should be smooth and elastic after kneading for about 8 to 12 minutes. It’s okay if it’s slightly sticky but shouldn’t cling to your fingers.
After kneading, stir in the plumped raisins until they are evenly distributed throughout the dough.
Transfer the dough to a large buttered bowl, turning it so the buttered side is up. Cover with a tea towel and let it rise in a warm area away from drafts for about 1 and 1/2 hours or until it doubles in volume. An excellent tip is to set your oven to low, turn it off, and let the dough sit inside; this creates a warm environment perfect for rising.
Once doubled, punch the dough down gently. Turn it out onto a lightly floured surface and divide it in half. Take one half and further divide it into four equal pieces, rolling each piece into strips about 15 inches long.
Pinch the four strips together at one end to start braiding. Cross the far-right strip over its neighbor and tuck the far-left strip under its neighbor and over the next strip, repeating until you finish the braid. Pinch the other end together to secure it.
Place each braid into a buttered baking dish. Cover loosely with a towel and let the braids rest for about 30 minutes. If you want a larger baking pan for better expansion, now's the time to switch!
Preheat your oven to 375°F (190°C) after the braids have rested. Beat together 1 egg and 1 tsp of water for the egg wash. Generously brush the top and sides of each braid with this mixture.
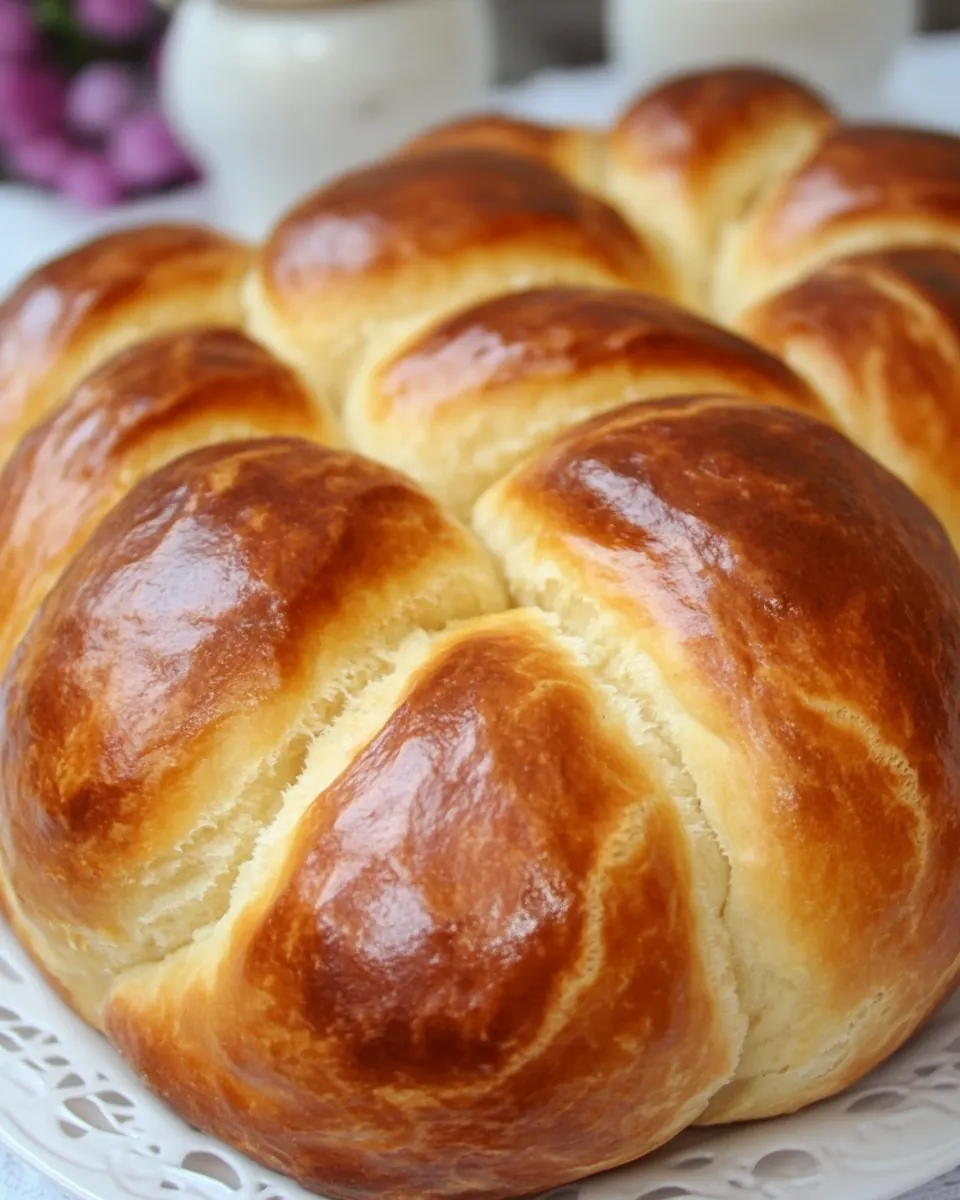
Bake each loaf separately for about 20 to 22 minutes or until golden brown. The wonderful aroma will fill your kitchen, and you'll know your Portuguese Easter Bread is ready to be enjoyed!