Preheat your oven to 225 degrees Fahrenheit. This low temperature is essential for drying out the meringue without browning it.
Line two baking sheets with parchment paper. To ensure your nests are uniformly sized, draw 3-inch circles on the parchment, then flip it over so the ink is facing down.
In a clean mixing bowl, beat the egg whites at medium speed until they become foamy. You want to see small bubbles forming, which is a good sign that they’re starting to whip up.
Add a pinch of salt and the cream of tartar to the foamy egg whites. Increase the speed to medium-high and continue beating until soft peaks form. This means that when you lift the beaters, the egg whites should form peaks that slightly bend over at the tips.
Gradually add the granulated sugar, one tablespoon at a time. Continue beating on high speed until you achieve stiff peaks. You’ll know it’s ready when the meringue is glossy and holds its shape without drooping.
Transfer the meringue to a pastry bag fitted with a decorator tip (like Wilton 1M). Start by outlining the nests, following the circles you drew on the parchment paper. Then, fill in the bottoms and build up the sides with two rows of meringue, creating a nest shape.
Place the baking sheets in the oven and bake for 50 to 60 minutes. The nests should feel dry to the touch when done. Avoid opening the oven door during baking to prevent cracks.
Once baked, turn off the oven and leave the nests inside for an additional 2 hours to dry out completely. This step is crucial as it ensures the nests maintain their crisp texture.
While the nests cool, prepare the filling. Beat the heavy whipping cream with powdered sugar and vanilla extract on high speed until soft peaks form. This means you should be able to lift the beaters and have the cream hold its shape but still be spreadable.
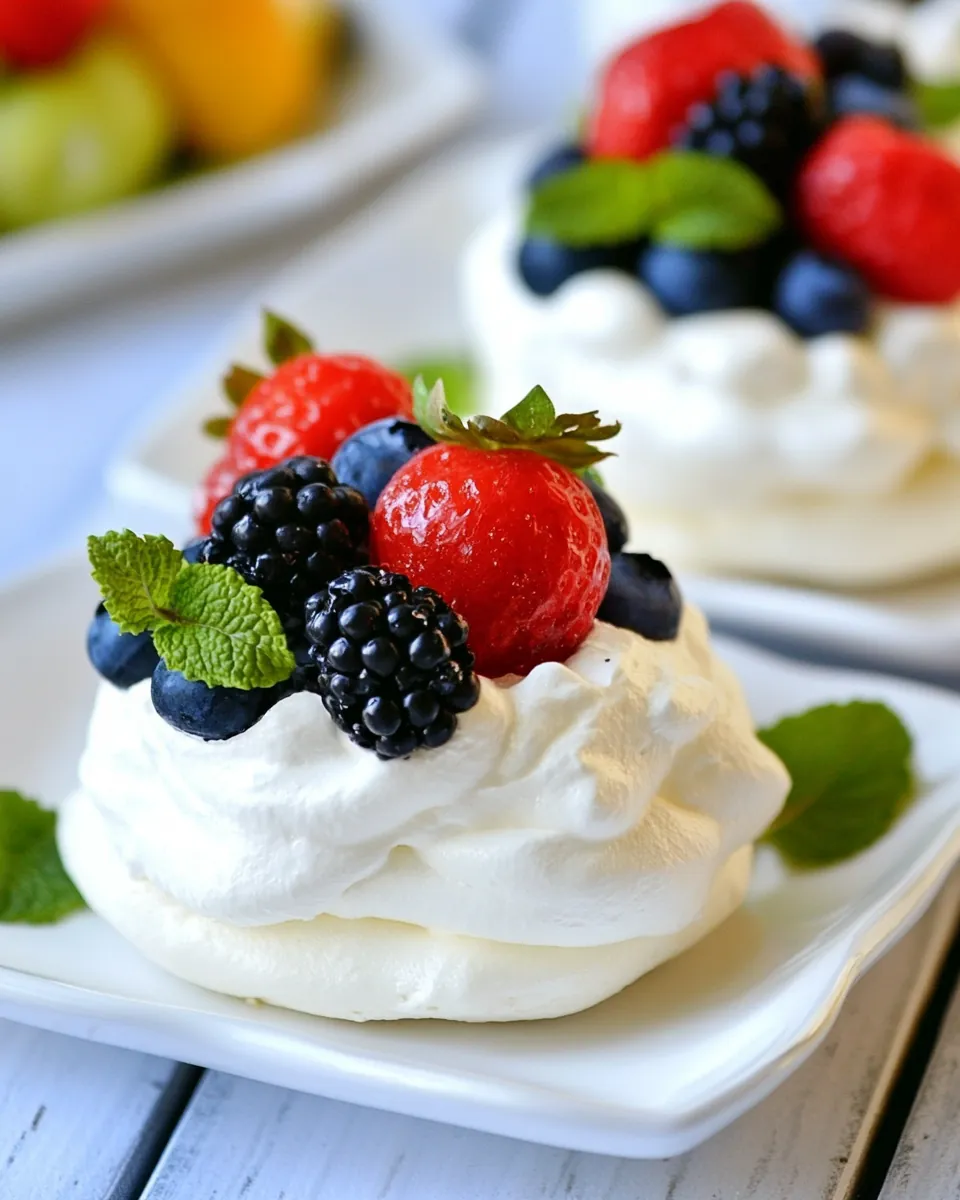
Once the meringue nests are completely cooled, pipe the whipped cream into each nest generously. Top with your choice of assorted fruits. Serve immediately for the best experience, and enjoy the deliciousness of your Individual Pavlova Nests.