Start by gathering all your ingredients in one place. Take a large mixing bowl and add the flour, baking powder, cinnamon, ground ginger, allspice, and salt. Mix them well, so the spices are evenly distributed throughout the flour.
In a separate bowl, beat the softened butter until it's creamy and light. This will take a minute or two. Once it’s nice and fluffy, add the maple syrup and molasses. Mix until everything is well combined and smooth.
Now, slowly incorporate the dry ingredients into the wet mixture, using your hands or a wooden spoon to combine them. You want to form a dough that holds together but isn’t too sticky. If it feels a bit dry, don’t hesitate to add a splash of milk to help it bind together.
Once your dough is ready, shape it into a flattened disc. You can wrap it in plastic wrap if you’d like, but it’s optional. Let the dough chill in the refrigerator for about 10 minutes. This resting period helps the flavors meld and makes it easier to roll out later.
While the dough rests, preheat your oven to 375 degrees F. Line two baking sheets with parchment paper to prevent sticking.
After resting, roll out the dough between two pieces of parchment paper or plastic wrap to about ¼-inch thick. This makes it easier to cut shapes without sticking. If you skipped the cooling step, be sure to use parchment paper as it helps significantly.
Use your favorite cookie cutters to cut out shapes from the rolled dough and transfer them to the prepared baking sheets. Leave a little space between each cookie as they will expand slightly while baking.
Bake the cookies in the preheated oven for 8 to 10 minutes. Keep an eye on them! They should be lightly browned around the edges when ready. For me, 9 minutes usually does the trick just right.
Once baked, let them cool on the baking sheets for about a minute before transferring them to a wire rack to cool completely. This helps them firm up and makes them easier to handle.
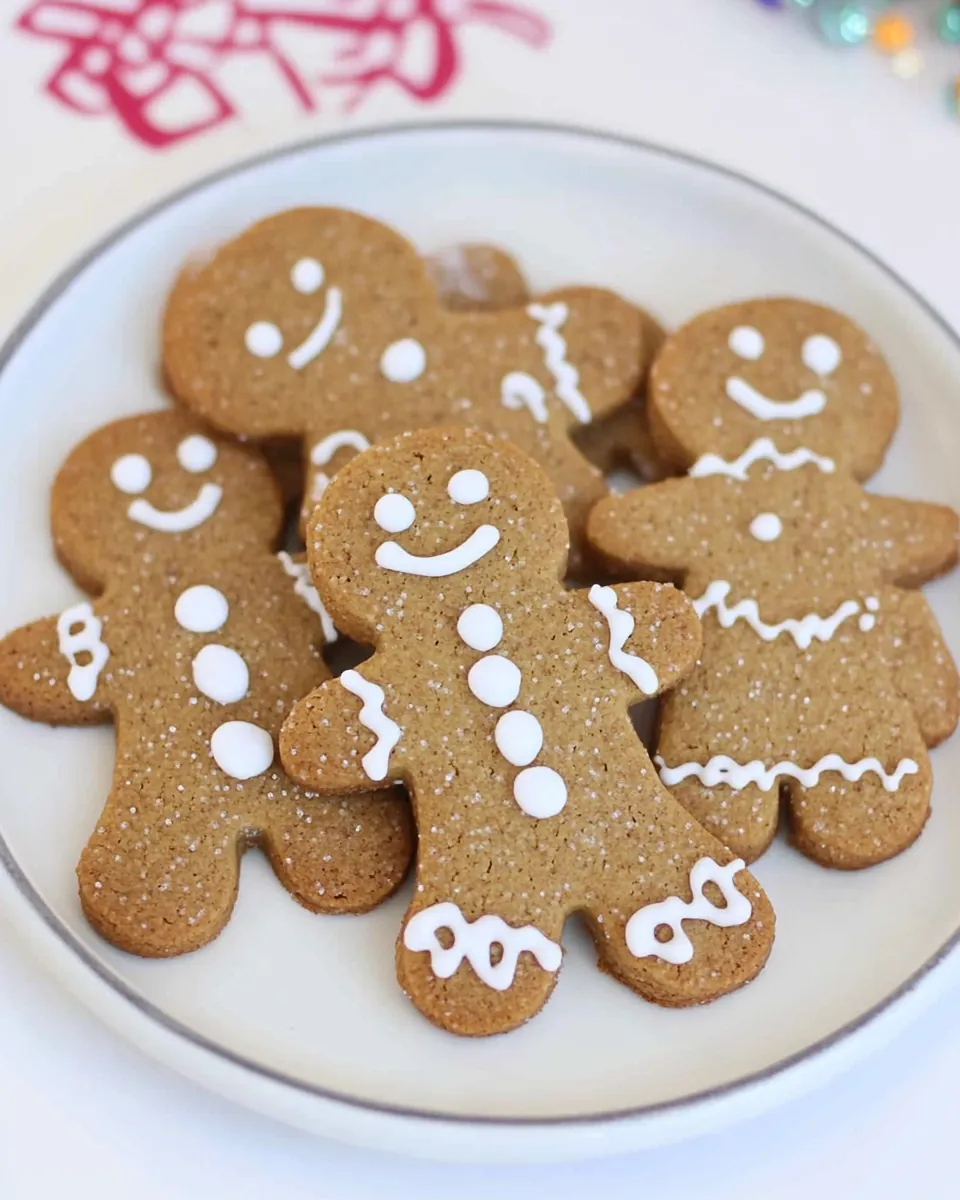
Finally, once they are completely cool, it’s time to decorate! Use a small butter knife or a clean paintbrush to spread your icing, and sprinkle on your decorations like sprinkles, raisins, or chocolate chips as desired. Be creative!