Combine lemon juice, sugar, eggs, and salt in a blender until thoroughly mixed.
Melt the butter on the stovetop or in the microwave. Set the blender to medium speed, open the pouring spout, and add the butter in a slow and steady stream until fully integrated into the lemon mixture.
Transfer the mixture to a saucepan and cook over medium-low heat, stirring constantly, until the mixture thickens (about 5 minutes). Be sure that you are heating the mixture slowly and evenly; you don't want it to cook too quickly.
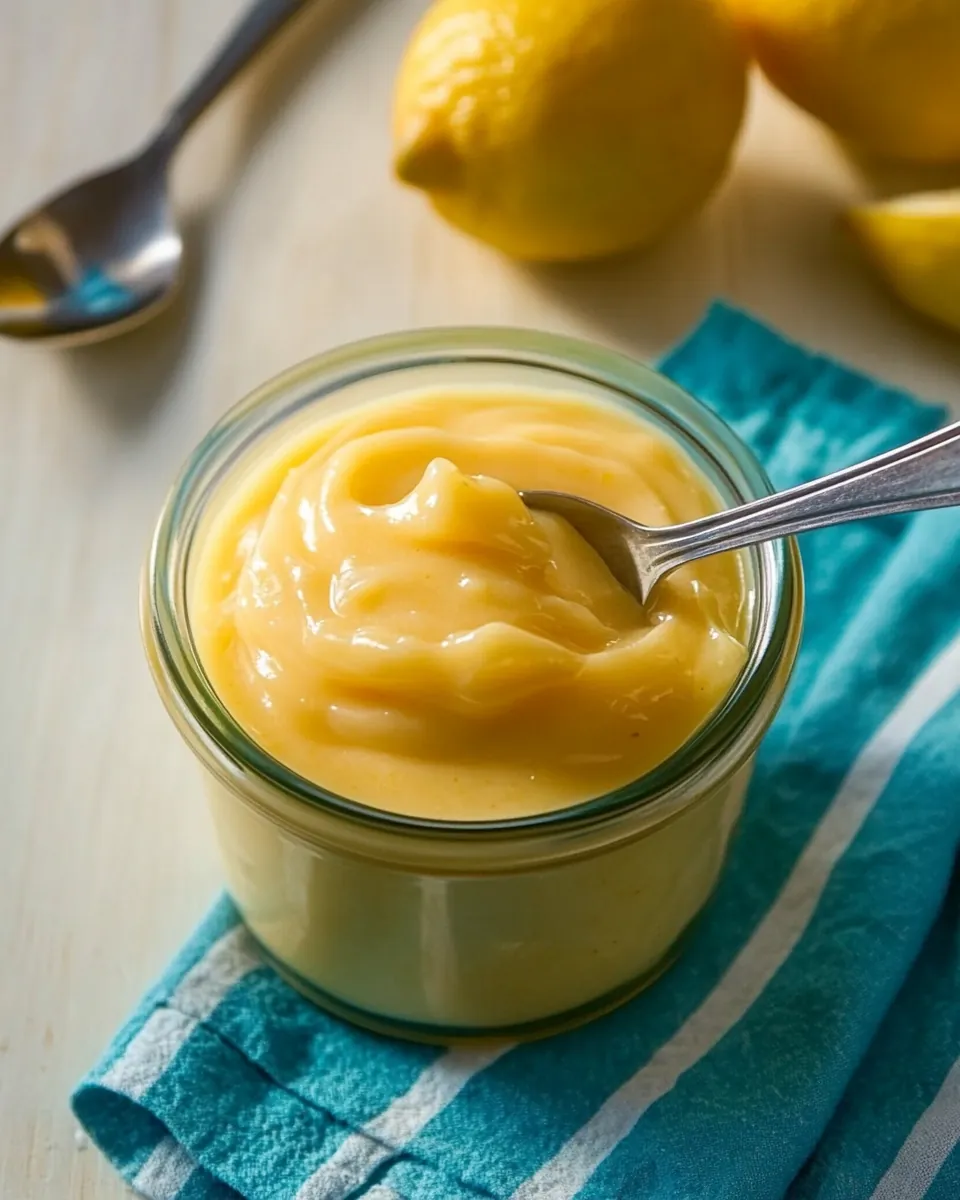
It should be thick enough that your spoon leaves a trail behind it when you run it through.
Remove from heat and transfer the curd to a bowl or container. Place a sheet of plastic wrap directly onto the surface of the curd to stop a skin from forming on the top.
Chill in the refrigerator until ready to serve. Flavor improves dramatically when chilled (the "egginess" that is present when first cooked dissipates as it chills).
Keep covered in the refrigerator and consume within 4 weeks. Lemon curd also freezes well for up to a year in a tightly covered container.