Preheat your oven to 350°F. It’s essential to get your oven nice and hot before baking, ensuring that your cookie cups will rise and bake evenly.
Coat a mini muffin tin with nonstick cooking spray. This step is crucial as it prevents the cookie cups from sticking, allowing for easy removal once baked.
In a large bowl, combine the Pillsbury® refrigerated sugar cookie dough and all-purpose flour. Knead the mixture together until it’s well blended. This will make the dough easier to shape and hold together during baking.
Shape the dough into one-inch balls. Use your hands to roll the dough into small balls, which will fit perfectly in the muffin tin.
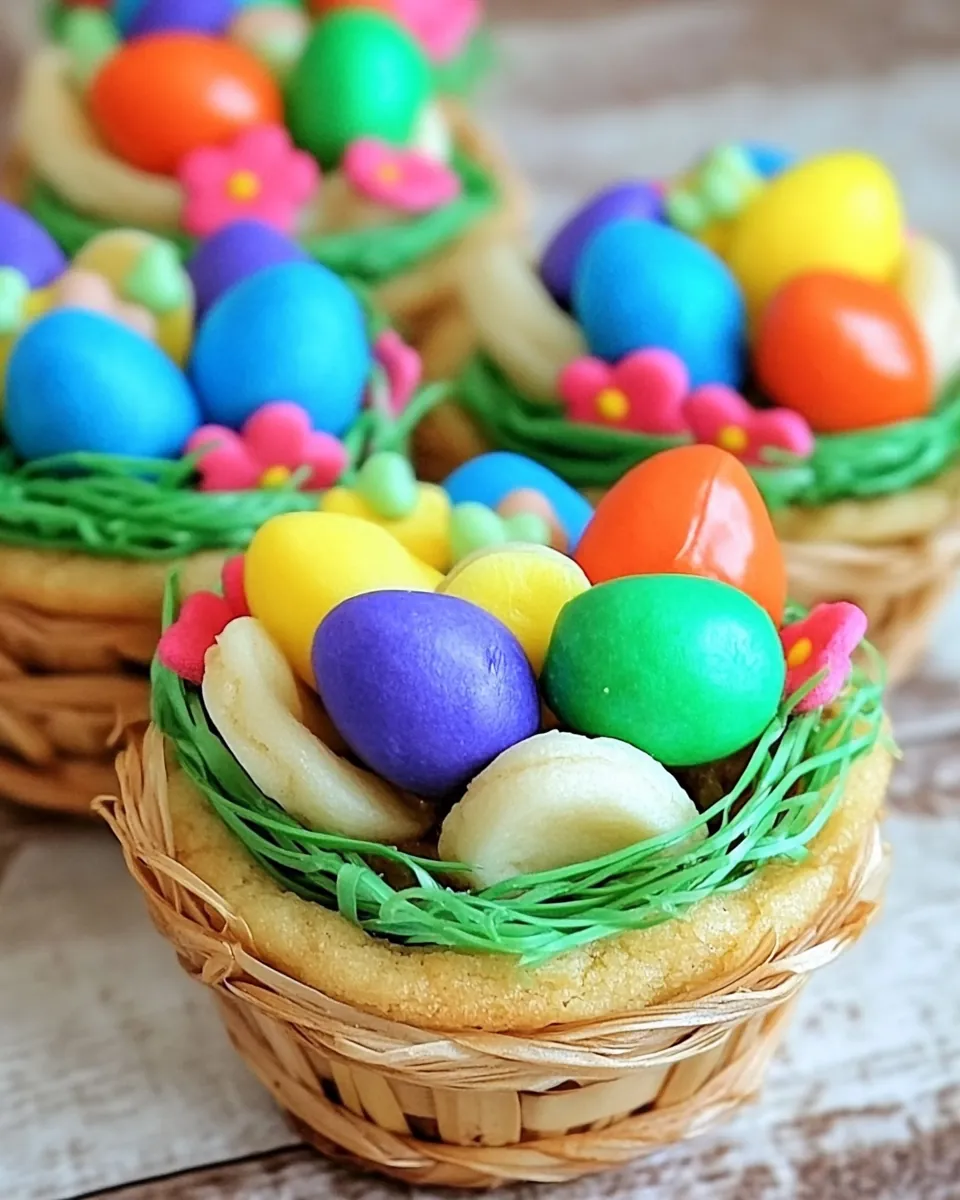
Press the cookie dough balls into the bottoms and up the sides of each muffin cup, forming a cup shape. Make sure to create a good depth so you can fill them later with candies.
Bake for 10 to 12 minutes or until the edges start to turn golden brown. Keep an eye on them; you want them just golden, not overly brown, to maintain the soft texture inside.
Once baked, remove the tin from the oven and let it cool for at least ten minutes. This cooling period helps the cookie cups to firm up, making it easier to remove them from the pan.
Gently twist to remove the cookie cups from the pan and place them on a cooling rack. This allows the air to circulate around them, preventing them from getting soggy.
Melt the white candy coating according to the package directions. Make sure to do this carefully, as overheating can cause it to seize.
Place the green jimmies in a separate shallow bowl or ramekin. This makes it easy to coat the cookie cups once the candy coating is ready.
Gently dip the cooled cookie cups in the melted candy coating, making sure to cover the edges. Then, immediately dip them into the jimmies to coat the outside.
Place the coated cookie cups on a waxed paper lined baking sheet and let them set up. This shouldn’t take long, just a few minutes until the candy coating hardens.
Cut the Twizzlers twists in half. These will be fitted into the cookie cups, acting like a handle for your baskets.
Bend them to fit inside the cookie cup. This step adds a fun and whimsical touch to your dessert.
Next, press a jelly bean into the bottom of each cookie cup, securing the Twizzler handle in place. This creates a sturdy base to hold everything together.
Fill the cups with 3 to 5 more jelly beans to complete the look. Repeat this process until all the cookie cups are filled and ready to serve. And there you have it, a delicious way to make someone smile!