Preheat your oven to 350ºF (175ºC). This temperature is essential for baking the pie evenly. While the oven heats up, grab a 9-inch pie plate and grease it with cooking spray to prevent sticking.
In a large mixing bowl or blender, combine the pumpkin puree, maple syrup, eggs, pumpkin pie spice, cornstarch, and fine sea salt. If using a blender, secure the lid and blend until the mixture is smooth and well combined. If using a bowl, whisk vigorously to ensure there are no lumps. The goal is a creamy, non-lumpy batter.
Once the filling is ready, carefully pour it into the greased pie plate. Use a spatula to smooth the top, ensuring an even surface. This will help with the pie's presentation once baked.
Place the pie plate in the preheated oven and bake for 1 hour. You’ll know it’s done when the center is set and does not jiggle when gently shaken. The edges may puff up slightly, but that’s perfectly normal.
After baking, remove the pie from the oven and let it cool at room temperature for at least 1 hour. This cooling period is important because it allows the filling to set properly.
Once cooled, transfer the pie to the refrigerator. It’s best to chill the pie for at least 4 hours before serving, or overnight if you can wait! This chilling time helps develop the flavors and makes slicing easier.
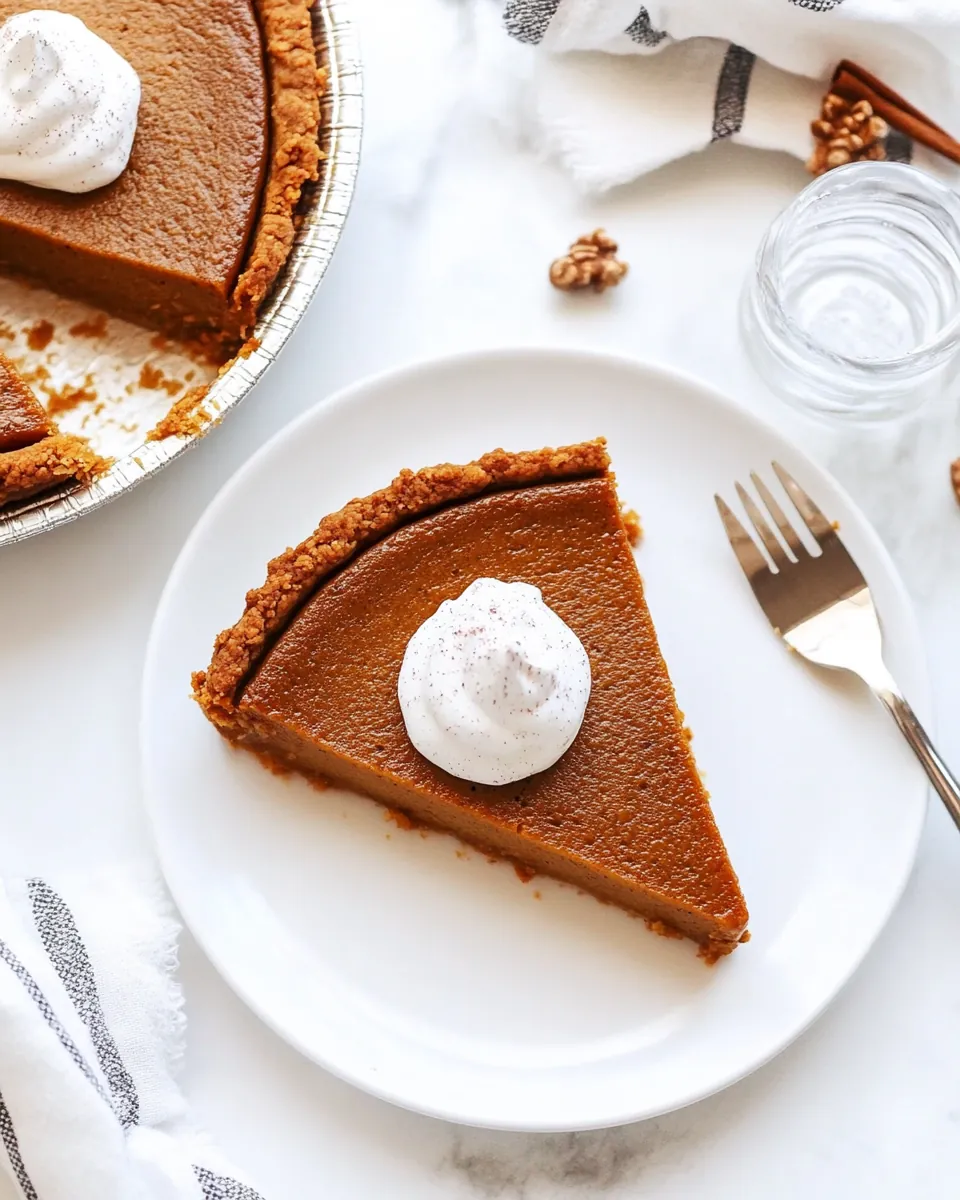
When you’re ready to serve, slice the pie with a sharp knife. It should come out smoothly from the pan, thanks to the cornstarch. You might notice a thin layer of residue in the pan, but that’s normal and can be cleaned easily.
To store leftovers, place them in an airtight container in the fridge. Properly covered, the pie will remain tasty for up to 5 days.