Preheat your oven to 350 degrees F. This step is crucial as it prepares the environment for baking the cake evenly.
Prepare two 6-inch cake pans by buttering and flouring them. To ensure an easy release after baking, I recommend lining the bottoms with parchment paper.
In a large bowl or the bowl of a stand-up mixer, combine the all-purpose flour, sugar, cocoa powder, espresso powder, baking soda, baking powder, and kosher salt. Mix until well combined; the dry ingredients should be evenly distributed.
Next, crack in the egg and add the buttermilk, warm water, olive oil, and vanilla extract. Mix on medium speed for about 1 minute until the batter is smooth. You’ll notice it’s thinner than typical cake batter, but that’s perfectly fine.
Divide the batter evenly between the prepared cake pans. This ensures that both layers will bake evenly. Transfer them to the oven and bake for 27 to 30 minutes. Check for doneness by inserting a skewer into the center; it should come out clean.
While the cakes are cooling, prepare your frosting. In the cleaned large bowl, combine the unsalted butter, powdered sugar, melted chocolate, cream or milk, and another vanilla extract. Beat until fluffy and well-combined.
Once the cakes are completely cool, remove them from the pans. Place one layer on a serving plate and add a few tablespoons of frosting to the center, smoothing it out to the edges. Sprinkle a pinch of flaky sea salt all around for a delightful flavor contrast.
Top it with the second layer, then apply more frosting around the seam for a “naked cake” effect. Remember, perfection is not the goal here—rustic is stylish!
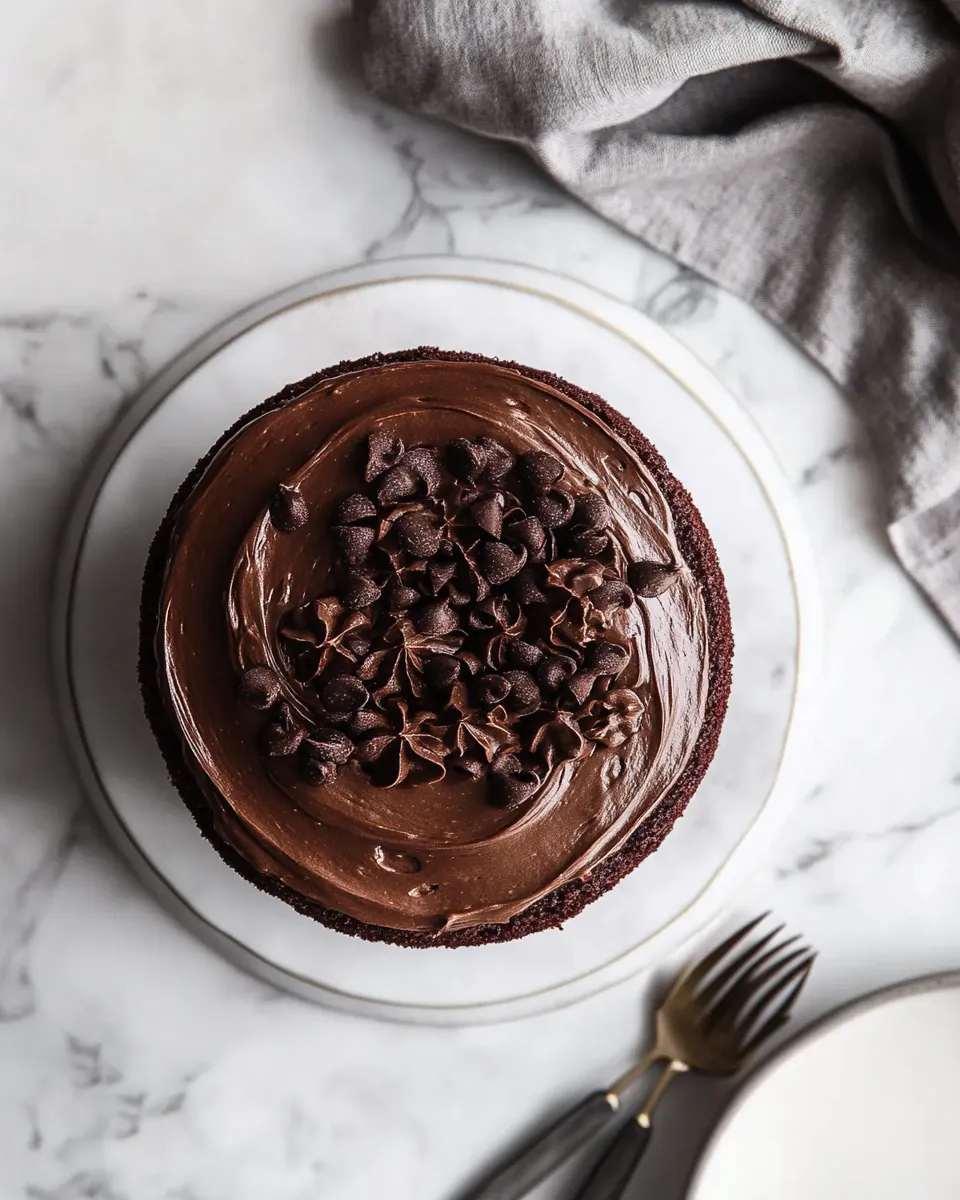
Using a piping bag fitted with a star tip, pipe a decorative rose on the top layer, starting from the center and spiraling outwards. Don’t stress if it doesn’t look perfect; just have fun with it!
To finish, sprinkle more flaky sea salt on top to elevate the cake. Slice, serve, and enjoy the fruits of your labor!