Preheat your oven to 350ºF (180ºC). Line the inside of an 8-inch (20cm) square baking pan with foil, ensuring it overhangs the edges; this makes it easier to lift the bars out once baked. Butter the foil with melted butter or spray with non-stick spray for easy removal.
In a medium bowl, using a stand mixer or by hand, beat together the granulated sugar, brown sugar, and unsalted butter at medium speed until the mixture is smooth and creamy, which should take about 2 minutes. The sugars should be well blended and the mixture should be light in color.
Add in one egg, one egg white, and a teaspoon of vanilla. Continue to beat with the mixer on medium speed, stopping occasionally to scrape down the sides of the bowl to ensure everything is well incorporated.
In a small bowl, whisk together the flour, salt, and baking powder. With the mixer on low speed, gradually mix the dry ingredients into the wet mixture. You may need to use a spatula to give it a few extra stirs until it is smooth and well combined.
Spread the batter evenly into your prepared pan. Use a spatula to ensure it reaches the edges and is level. This will help the bars bake evenly.
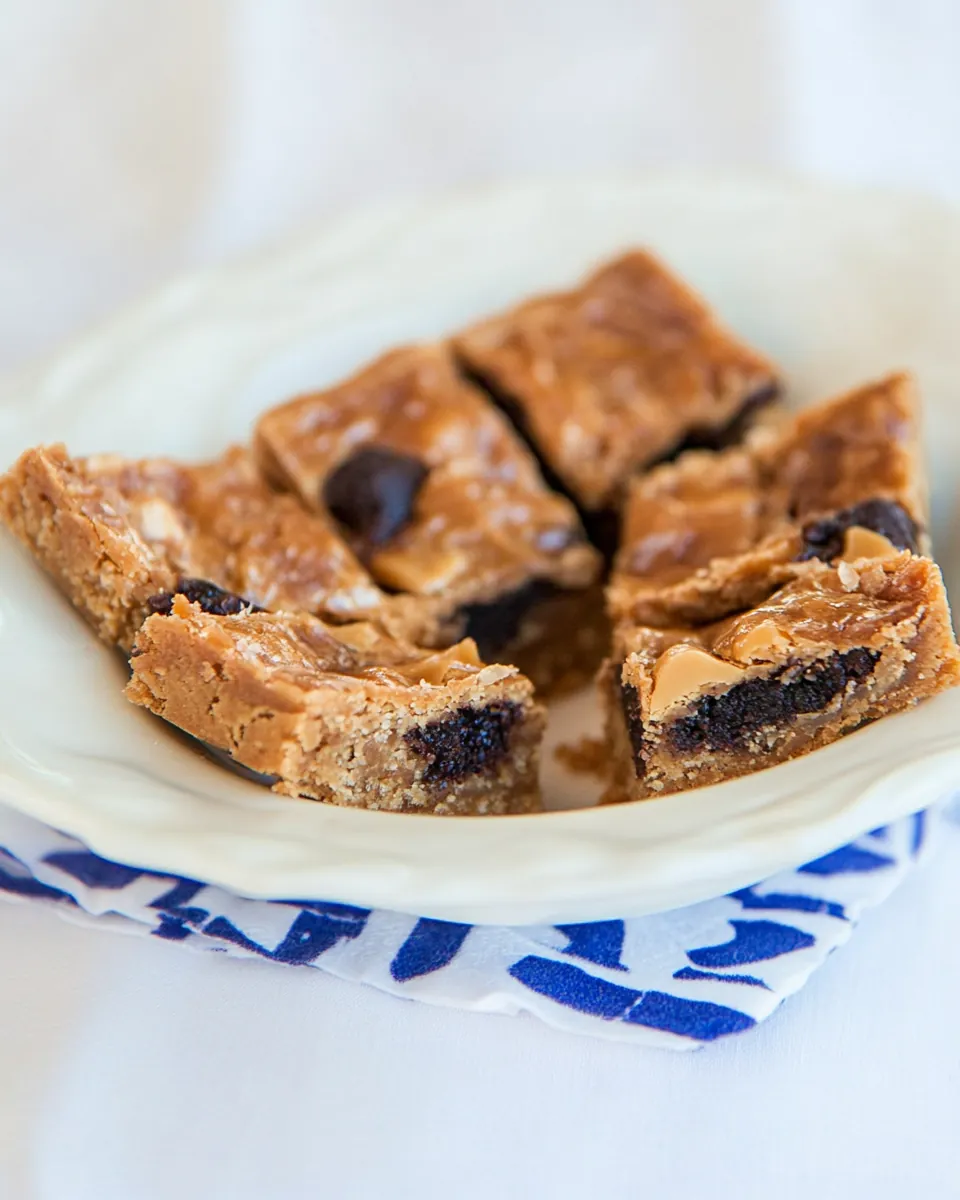
Evenly strew the butterscotch chips over the top of the batter, pressing them lightly into the surface for even distribution.
Bake in your preheated oven for about 22 to 25 minutes. You’ll know they’re done when the top is moderately golden brown and feels just set in the center when you gently touch it.
After baking, let the bars cool in the pan on a wire rack. Once they are cool enough to handle, lift the bars out using the foil overhang, remove the foil, and cut them into rectangles.
Serve and enjoy! Feel free to share with friends or keep them all for yourself – I won’t judge!