Start by placing the butter into a small skillet over medium heat. As it begins to melt, keep an eye on it and whisk occasionally to ensure even heating. You’ll notice it bubbling gently, which is perfectly normal.
Continue whisking until the butter reaches a deep caramel golden brown color. This process is where the magic happens! As you whisk, watch for small dark specks forming; they are the flavor bombs of your Burnt Butter.
Pay attention to the aroma; once it becomes nutty and fragrant, you’re on the right track. Just remember, actual cooking times can vary, so trust your senses over the clock.
When the butter reaches the desired color, remove it from the heat to prevent burning. It’s important to act quickly at this stage, as butter can go from perfect to burnt in seconds.
Fill a large mixing bowl with ice and place a smaller mixing bowl on top of the ice. This will help cool the butter quickly while maintaining its texture.
Pour the melted butter into the smaller bowl and whisk it until it solidifies again, which should take about 2 to 3 minutes. This step ensures that your Burnt Butter retains its creamy consistency.
Add a pinch of flaky salt to taste, enhancing the rich flavor of your creation. Adjust the amount based on your preference for saltiness.
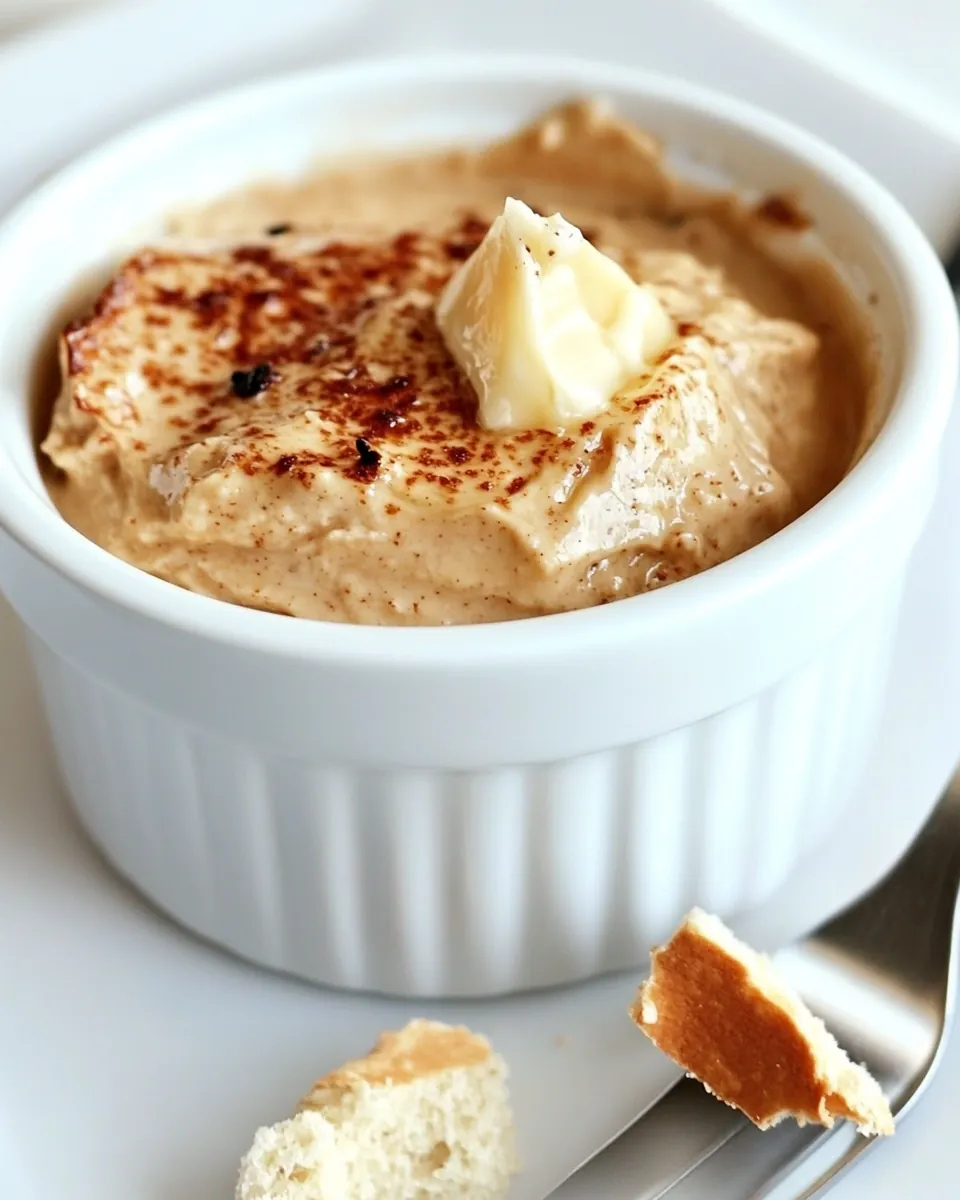
Serve your Burnt Butter immediately, generously topping it on fresh bread. For an extra touch, sprinkle an additional dash of flaky salt on top to elevate the flavor even further.
If you have any leftovers, cover and refrigerate them until you’re ready to use in other recipes. It’s a versatile ingredient that can be added to various dishes!