Witch Hat Cookies
Every Halloween, I look forward to baking spooky treats that light up the festive spirit. This year, I decided to whip up some delightful Witch Hat Cookies. These cookies are not only incredibly easy to make, but they also add a whimsical touch to any Halloween gathering. Imagine a cookie that resembles a witch’s hat, complete with a shiny chocolate tip and sprinkled with festive colors! I remember the first time I made them; my kitchen was filled with laughter and the smell of chocolate, as my kids helped decorate each one. It became a fun tradition, and now I can’t wait to share this recipe with you!
Recipe Snapshot
60 mins
0 mins
0 mins
Medium
150 kcal
1 g
Gluten-Free, Low FODMAP
7 g
Cutting Board, Kitchen Knife
The Charm of This Witch Hat Cookies
Perfect for Halloween Parties
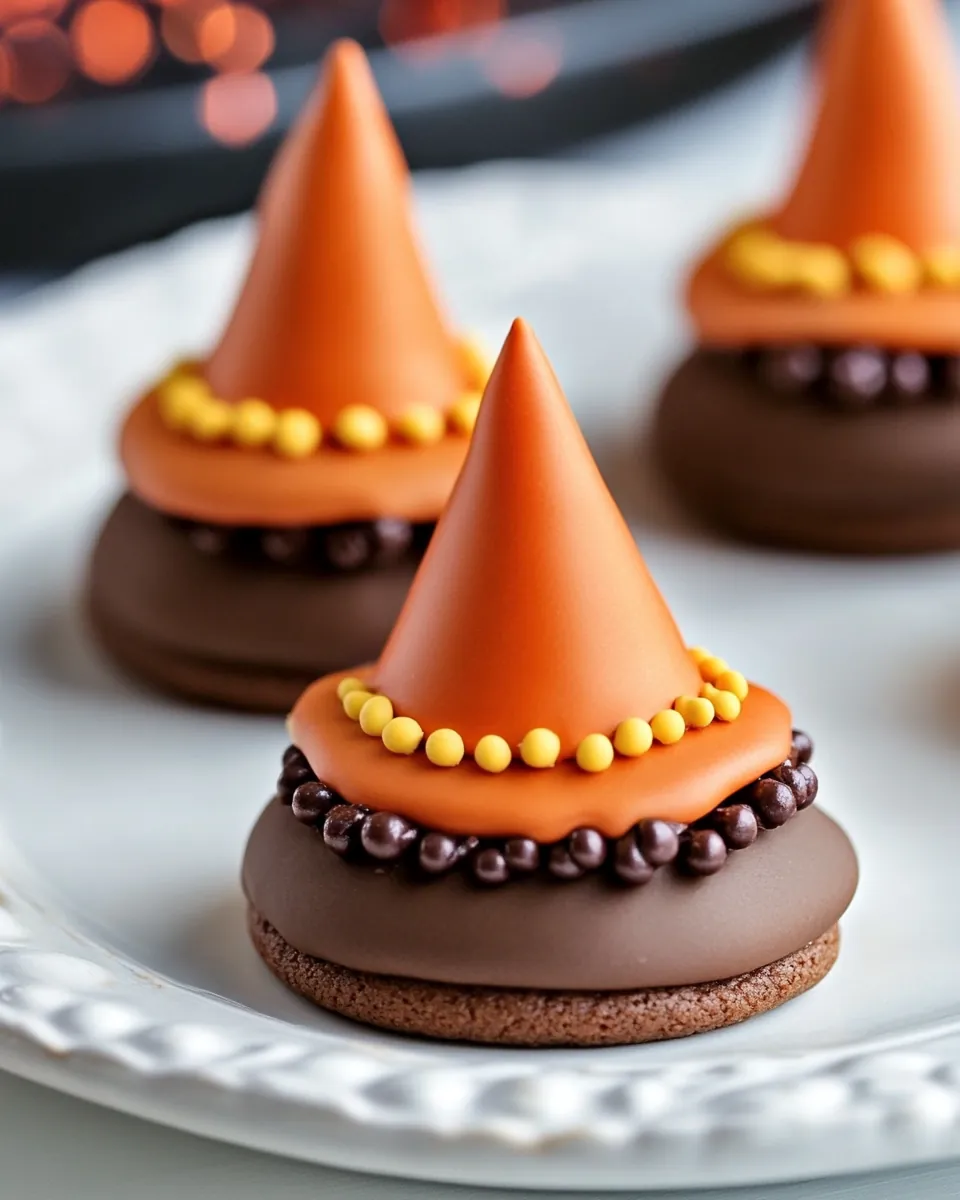
There’s something about the festive look of Witch Hat Cookies that makes them a favorite for Halloween celebrations. They’re a conversation starter and bring a playful twist to your dessert table. Who wouldn’t want to munch on a cookie that looks like a witch’s hat?
Simple Ingredients
The ingredients for these cookies are straightforward and commonly found in most kitchens. With just a handful of items, you can create a treat that’s not only visually appealing but also delicious. It’s always a win when you can make something that requires minimal effort but has a big impact!
Fun for All Ages
Making Witch Hat Cookies is a fun activity for families. Kids love to help out in the kitchen, especially with decorating. Let them get creative with sprinkles and icing. It’s a great way to bond and create lasting memories each Halloween.
Perfect for Any Skill Level
Whether you’re a baking novice or a seasoned pro, this recipe is accessible to everyone. The steps are simple and forgiving, making it easy to achieve great results on your first try. You’ll be amazed at how quickly you can put these together!
An Eye-Catching Treat
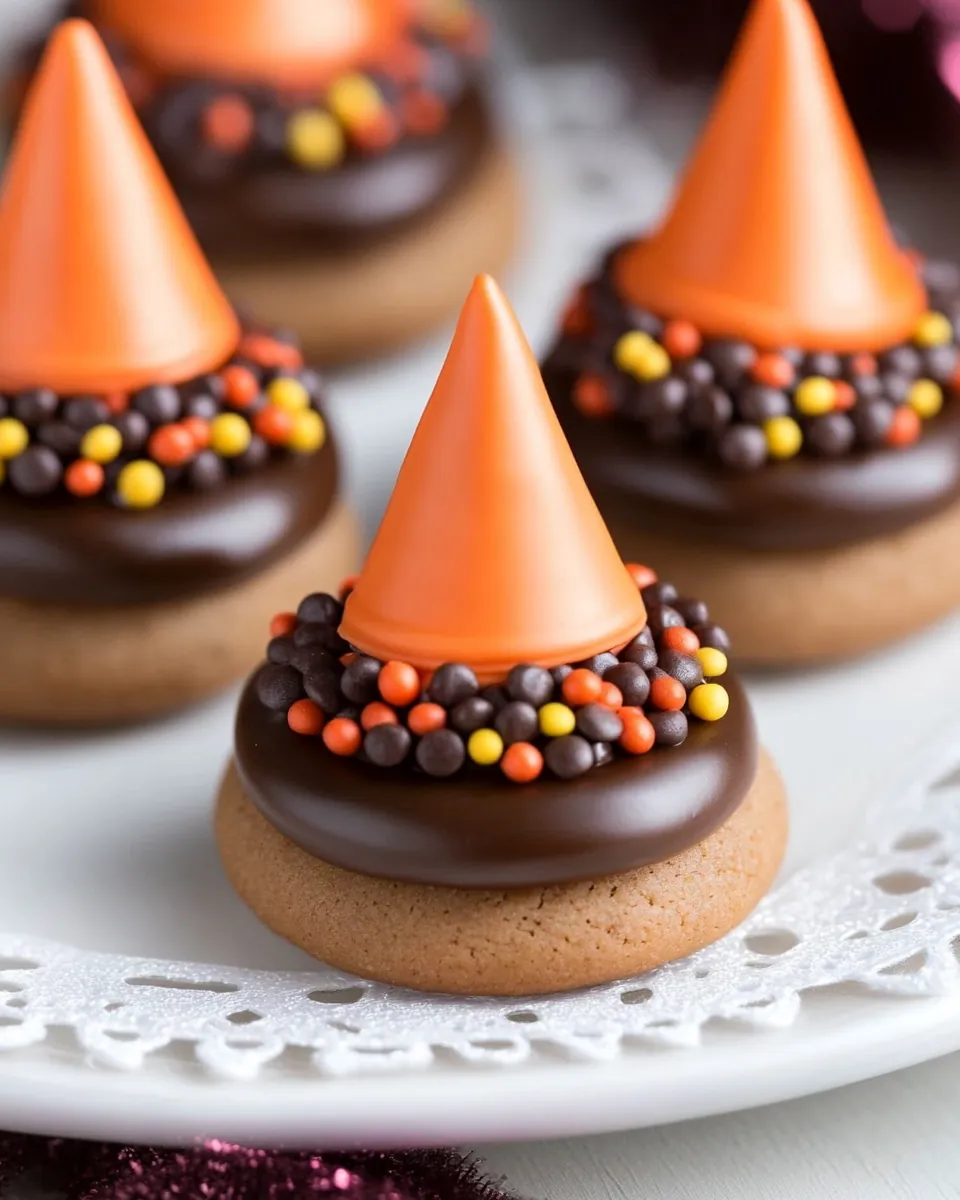
These cookies are not only tasty but also visually striking. The contrast of the dark chocolate against the colorful sprinkles makes them a treat that’s hard to resist. They’re perfect for impressing guests, and I guarantee they’ll disappear faster than you can say “trick or treat.”
Ideal for Gifting
If you’re looking for a fun gift idea, Witch Hat Cookies are perfect for giving! Package them up in festive bags or boxes, and they make great treats for friends, neighbors, or classroom parties. Everyone loves a homemade gift!
Everything You Need for Witch Hat Cookies
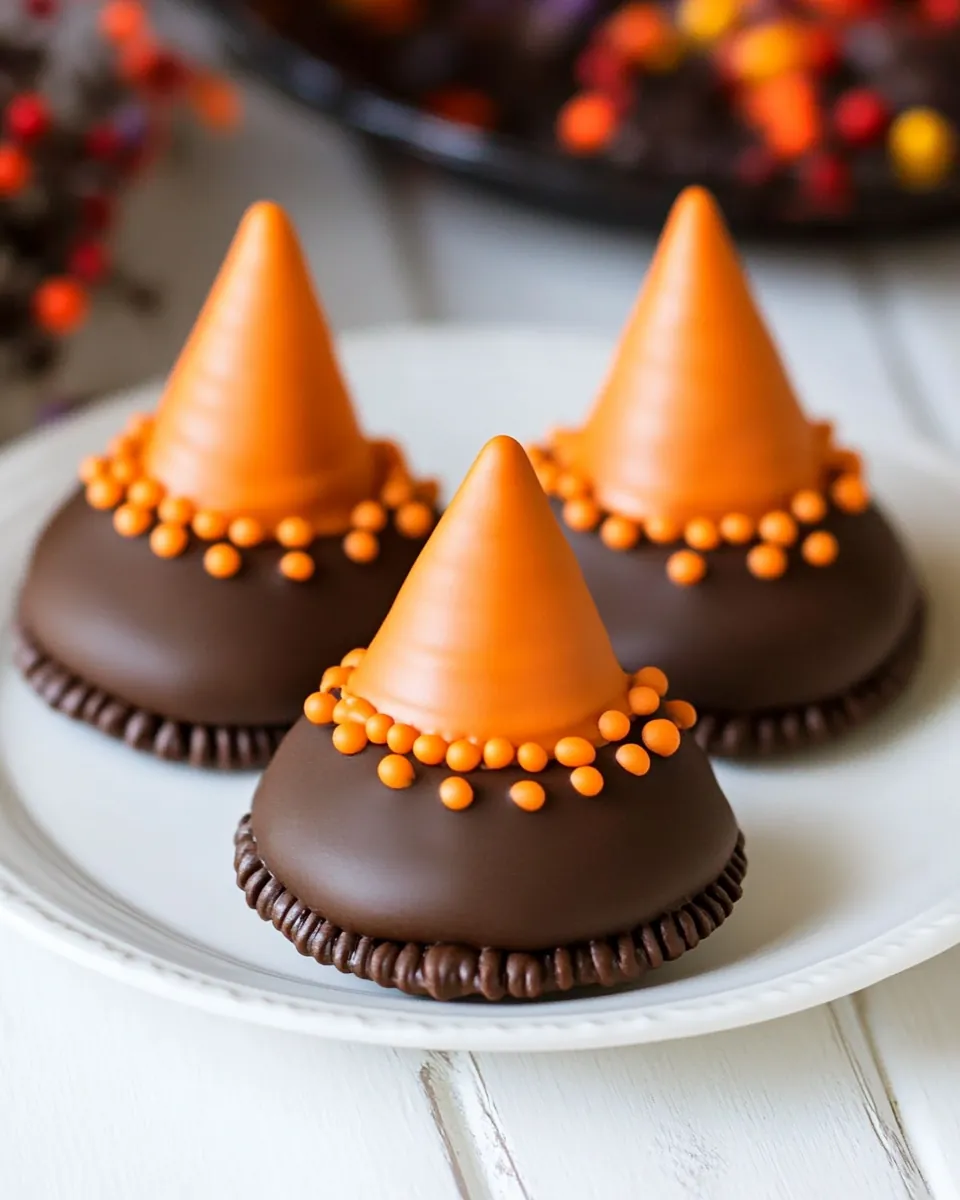
Creating these spooky delights is all about the ingredients that come together to form a fantastic treat. The combination of Oreo Fudge Covered Chocolate Sandwich Cookies as the base gives a rich chocolate flavor, while the Hershey Milk Chocolate Kisses serve as the perfect pointy tip of the witch’s hat. The Wilton Icing Writer Decorating Tubes allow for easy decoration, and a sprinkle of Halloween sprinkles adds that final festive touch. Together, these ingredients create a cookie that’s as fun to make as it is to eat!
- 12 cookies Oreo Fudge Covered Chocolate Sandwich Cookies – These serve as the base of your witch hats, providing a rich chocolate flavor that pairs perfectly with the other ingredients.
- 12 kisses Hershey Milk Chocolate Kisses – These are the iconic toppings that give each cookie its recognizable witch hat shape.
- 1 box Wilton Icing Writer Decorating Tubes – Essential for decorating your cookies, allowing you to create a fun icing border around the chocolate kisses.
- 1 Halloween sprinkles – Use black and orange nonpareils to bring that festive touch, making your cookies even more appealing.
How to Prepare Witch Hat Cookies
Baking Witch Hat Cookies is a delightful experience! Let’s dive into the steps of creating these delicious treats together. They come together quickly and are sure to bring smiles to your gathering. Follow along, and you’ll have a tray full of these festive cookies in no time!
Begin by unwrapping the Hershey Kisses. You’ll need one for each cookie, so make sure they’re ready to go. The chocolate kisses will serve as the point of your witch hats, so it’s important to have them unwrapped and on hand before you start.
Next, take your Oreo Fudge Covered Chocolate Sandwich Cookies and lay them flat on a serving platter or baking sheet. This is where the fun begins as you’ll be creating the base of your cookies, and they should be evenly spaced for easy decorating later.
Using the Wilton Icing Writer Decorating Tubes, squeeze a small amount of icing onto the top center of each Oreo cookie. This icing will act as the glue to hold the chocolate kisses in place. Don’t skimp on the icing; you want it to be a generous dollop!
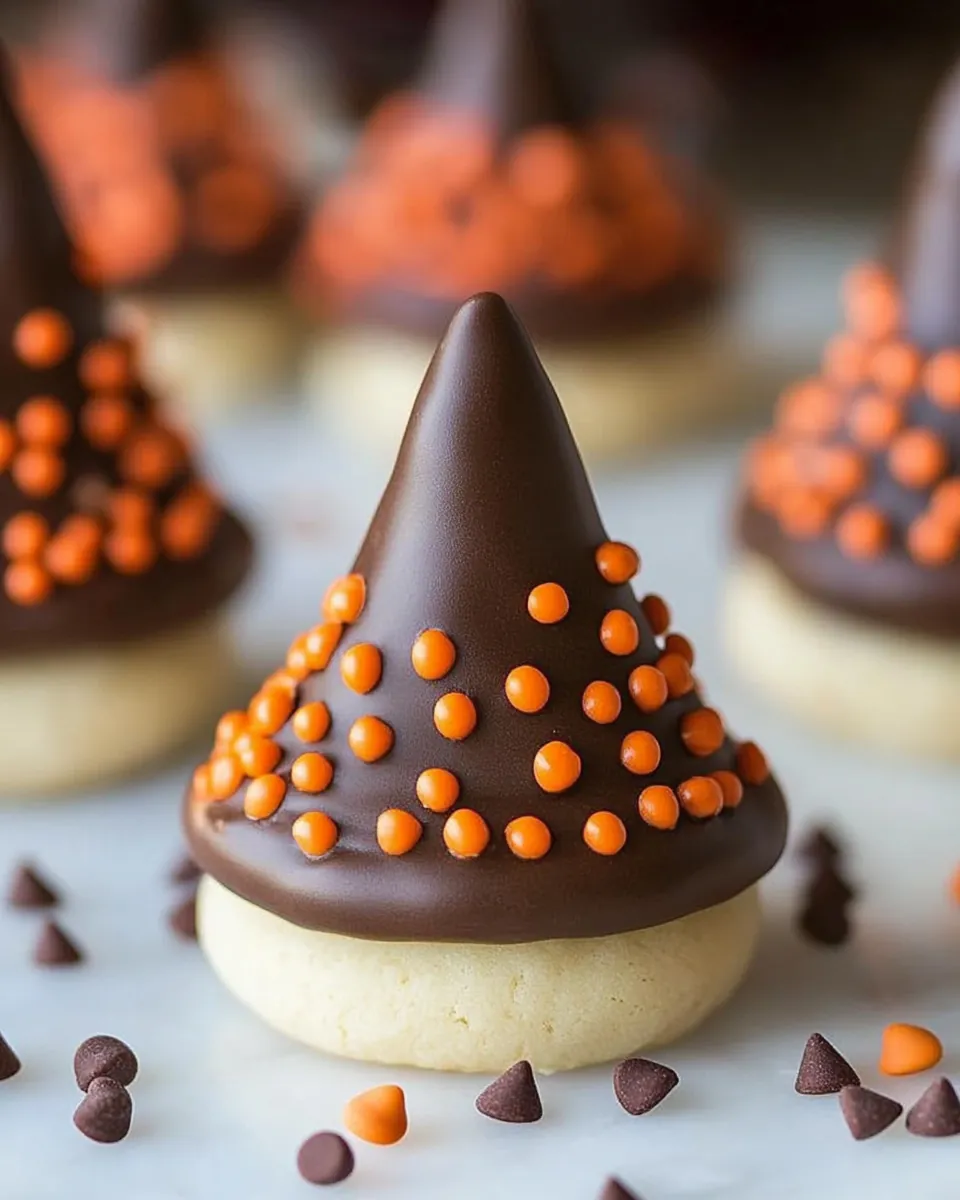
Now, place a Hershey Kiss on top of the icing on each Oreo. Gently press down so it adheres well. This will create the iconic shape of the witch’s hat, so be sure they’re centered and upright!
Once all the kisses are attached, it’s time to decorate! Use the icing writer to pipe a line of icing around the base of each Hershey Kiss. This will create a nice outline and help everything stand out beautifully.
Before the icing sets, sprinkle your Halloween sprinkles over the icing while it’s still wet. Make sure to cover the icing well; this is where the festive colors will come into play!
After decorating, let the cookies sit for a few minutes to allow the icing to set. Patience is key here; you want them to look perfect when you serve them!
Once the icing has dried, your Witch Hat Cookies are ready to be displayed and devoured. Arrange them on a festive platter, and watch your guests’ eyes light up as they see these charming treats!
Enjoy your spooky cookies with family and friends. They make great conversation starters and will surely be a hit at any Halloween gathering!
Things Worth Knowing
- Choosing Quality Ingredients: Using high-quality Oreo cookies and fresh Hershey Kisses can elevate the taste of your Witch Hat Cookies.
- Storage Tips: Store any leftovers in an airtight container to keep them fresh. They’ll keep well for a few days at room temperature.
- Decorating Ideas: Get creative with your decorations! Use different colored icing or themed sprinkles to personalize your cookies for different occasions.
- Serving Suggestions: These cookies are perfect for Halloween parties but can also be a fun treat for school events and family gatherings.
Change It Up
There are so many ways to personalize your Witch Hat Cookies to make them uniquely yours. Here are a few tips to consider:
- Storage: These cookies can be kept in an airtight container at room temperature for up to four days. If you need to keep them longer, consider refrigerating them for a fresh taste!
- Freezing: You can freeze the assembled cookies for up to a month. Just make sure to store them in a freezer-safe container to prevent freezer burn.
- Variations: Experiment with different types of cookies as the base. Try using chocolate chip cookies or even peanut butter cookies for a twist!
- Color Themes: Depending on the occasion, consider using different colored sprinkles or icing to match themes. Think red and green for Christmas or pink and red for Valentine’s Day!
- Gift Idea: These cookies make great gifts! Package them in a cute box or jar, and they’re sure to delight anyone who receives them.
Pairing Suggestions for Witch Hat Cookies
When it comes to serving Witch Hat Cookies, the possibilities are endless! Here are some ideas:
- Halloween Parties: These cookies are a must-have for Halloween gatherings. Serve them alongside other themed treats like ghost cupcakes or pumpkin-shaped brownies.
- School Events: They’re perfect for school parties and can easily be made in batches to share with classmates.
- Snack Time: Enjoy them as a fun afternoon snack with a glass of milk or hot chocolate.
- Decorative Platter: Create a festive dessert table by pairing these cookies with other spooky treats. Consider adding candy corn or chocolate-covered pretzels for variety.
- Family Gatherings: Surprise your family with these cookies during Thanksgiving or fall get-togethers; they’re perfect for celebrating the season!
- Storage Tips: If you’ve made a large batch, store them in an airtight container to maintain their freshness for days!
FAQ
Conclusion
The Witch Hat Cookies are a delightful twist on Halloween treats that bring joy and creativity to your kitchen. I encourage you to try making these fun cookies for your next gathering. Not only will they be a hit with family and friends, but they’ll also create cherished memories in the process. So, roll up your sleeves and enjoy the baking adventure!
Witch Hat Cookies
Ingredients
Equipment
Method
- Begin by unwrapping the Hershey Kisses. You'll need one for each cookie, so make sure they're ready to go.
- Next, take your Oreo Fudge Covered Chocolate Sandwich Cookies and lay them flat on a serving platter or baking sheet.
- Using the Wilton Icing Writer Decorating Tubes, squeeze a small amount of icing onto the top center of each Oreo cookie.
- Now, place a Hershey Kiss on top of the icing on each Oreo. Gently press down so it adheres well.
- Once all the kisses are attached, it’s time to decorate! Use the icing writer to pipe a line of icing around the base of each Hershey Kiss.
- Before the icing sets, sprinkle your Halloween sprinkles over the icing while it’s still wet.
- After decorating, let the cookies sit for a few minutes to allow the icing to set.
- Once the icing has dried, your Witch Hat Cookies are ready to be displayed and devoured.
- Enjoy your spooky cookies with family and friends.
Notes
- Storage: These cookies can be kept in an airtight container at room temperature for up to four days.
- Freezing: You can freeze the assembled cookies for up to a month.
- Variations: Experiment with different types of cookies as the base.
- Color Themes: Consider using different colored sprinkles or icing to match themes.
- Gift Idea: These cookies make great gifts!