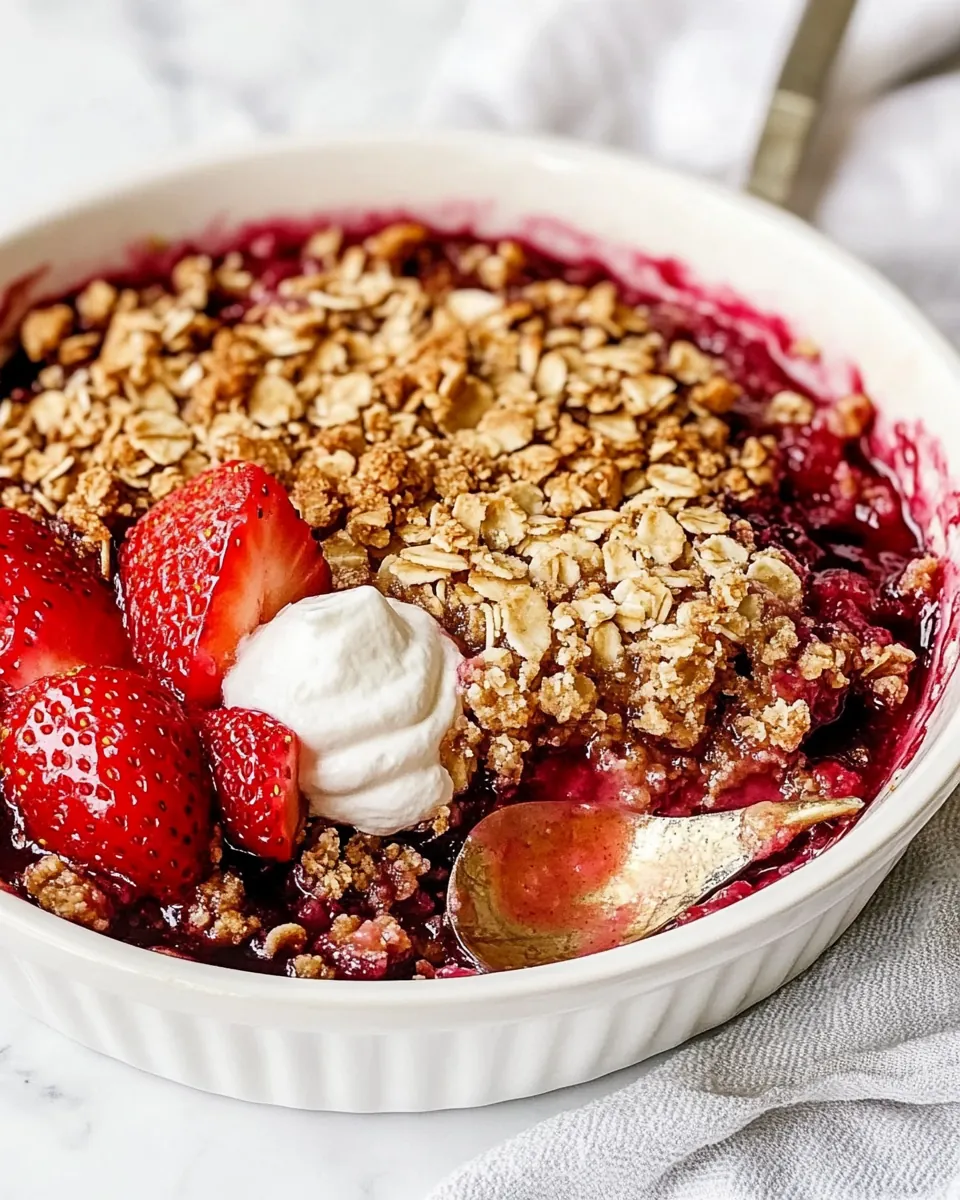
Strawberry Crisp
There’s something magical about the first hint of spring, and one of the sweetest ways to celebrate it is with Strawberry Crisp. Growing up, my grandmother had a special patch of strawberries that seemed to bloom just in time for our family gatherings. Each year, we would eagerly await the moment when those luscious berries could be picked and transformed into a delightful dessert. The aroma of baked strawberries mingling with a buttery, crispy topping filled the kitchen, drawing everyone closer. This Strawberry Crisp became a staple at our summer barbecues and family picnics, bringing with it a sense of nostalgia and joy.
Recipe Snapshot
60 mins
20 mins
40 mins
Medium
250 kcal
3 g
Gluten-Free, Low FODMAP
11 g
Oven, Baking Sheet, Chef’s Knife, Grater, Wooden Spoon
What You’ll Enjoy About This Strawberry Crisp
Sweet and Simple Ingredients
One of the things I adore about Strawberry Crisp is how uncomplicated the ingredients are. With just fresh strawberries, sugar, and a few pantry staples, you can create something that feels fancy but is surprisingly easy to make. The contrast of the sweet, juicy filling against the crunchy topping is truly irresistible.
Perfect for Any Occasion
This dessert is incredibly versatile. Whether you’re celebrating a birthday, hosting a potluck, or simply enjoying a quiet evening at home, Strawberry Crisp fits right in. It’s comforting enough for family gatherings while also being impressive enough to serve to guests.
Healthier Dessert Option
For those looking to make a healthier choice, Strawberry Crisp can easily be adapted. Using less sugar or adding whole grain oats can make this dessert feel a bit lighter without sacrificing flavor. The vibrant strawberries add a burst of nutrients, making it a dessert you can feel good about.
Endless Variations
Another reason I love Strawberry Crisp is its adaptability. You can mix in other fruits like blueberries or raspberries for a mixed berry delight. If you’re feeling adventurous, try adding spices like nutmeg or a splash of lemon juice for an extra zing!
Freshness is Key
Fresh, ripe strawberries make all the difference in this recipe. The sweetness and juiciness of good strawberries elevate the dish to something truly special. Using less-than-perfect berries will yield a different texture and flavor, so always opt for the freshest you can find!
Easy to Prepare Ahead
One of my favorite parts about making Strawberry Crisp is that it can be prepared in advance. You can prep the filling and topping, then store them separately in the fridge until you’re ready to bake. This makes it a great dessert to have on hand for unexpected guests.
Strawberry Crisp Shopping List
Gathering the right ingredients for Strawberry Crisp is a breeze. This dish shines with a handful of simple, fresh components. The key players are the strawberries, of course, which bring a sweet and tart flavor, and a mix of sugar, flour, and oats that create the perfect crunchy topping.
- 2 pounds fresh, ripe strawberries (not soft): Sweet and juicy, these are the stars of the show!
- 1/3 cup granulated white sugar: This enhances the sweetness of the strawberries.
- 2 1/2 tablespoons cornstarch: Helps to thicken the strawberry juices, creating a nice sauce.
- 2 tablespoons lemon juice: Adds a bright, zesty flavor that balances the sweetness.
- 1 ½ teaspoons vanilla extract: Offers a warm, rich flavor to the dish.
- 2/3 cup flour: Essential for the crisp topping.
- 1/3 cup packed light brown sugar: Adds depth and moisture to the topping.
- 3 tablespoons granulated sugar: Sweetens the topping.
- 2/3 cup old-fashioned rolled oats: Provides texture and heartiness.
- 3/4 cup chopped pecans (optional): Adds flavor and crunch.
- 1 teaspoon baking powder: Helps the topping to rise slightly.
- 1/2 teaspoon ground cinnamon: Gives a hint of spice to the topping.
- 1/4 teaspoon salt: Balances the overall flavor.
- zest of one lemon: Enhances the citrus notes.
- 8 tablespoons unsalted butter (1 stick), melted: Creates the rich, buttery topping.
Making Strawberry Crisp
Creating Strawberry Crisp is a delightful process that fills your kitchen with a heavenly aroma. Start by gathering all your ingredients and preparing your workspace. The steps are simple, but the result is incredibly satisfying. You’ll be amazed at how quickly this dish comes together!
Preheat the oven to 350°F. Lightly grease an 8×11 baking dish or a 9-inch square baking dish, and set it aside so it’s ready for the filling.
For the topping, add all of the topping ingredients to a large bowl, except for the melted butter. Stir until combined.
Pour in the melted butter and mix with a spatula, then use your hands as needed to fully combine the mixture into a crumbly texture. This will give your crisp that coveted crunchy topping.
Transfer the topping to the refrigerator while you prepare the filling. This helps it firm up a bit before baking.
Cut the strawberries into appropriate sizes: leave the tiniest ones whole, halve small ones, and quarter the larger ones. Aim for pieces about 3/4 to 1 inch wide. Place the prepared strawberries into a large bowl.
Add the remaining filling ingredients—cornstarch, lemon juice, and vanilla—to the strawberries. Stir gently until everything is evenly coated.
Transfer the strawberry filling to the prepared baking dish, spreading it out into an even layer. This helps it cook evenly.
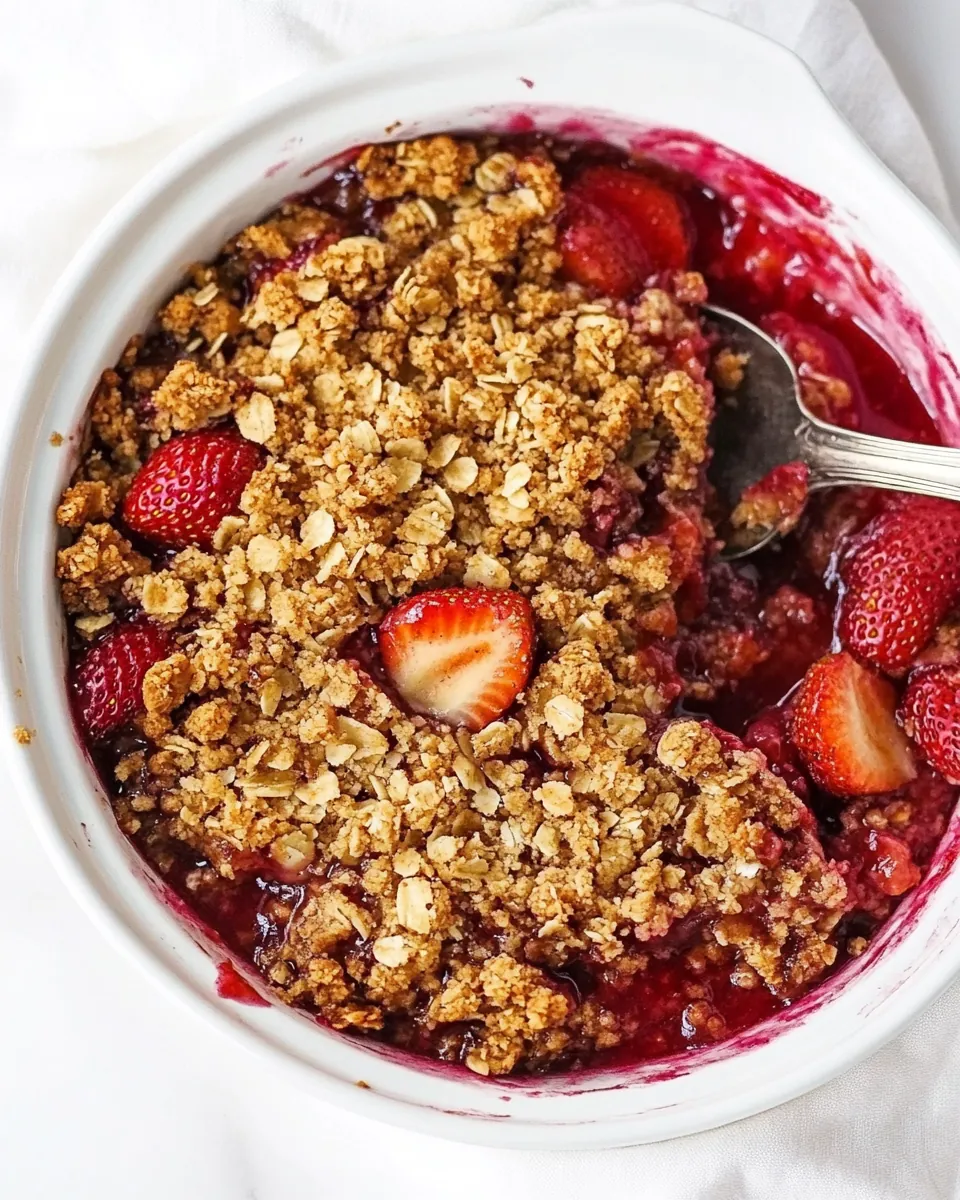
Sprinkle the topping over the filling, making sure to break up any large chunks, but still keeping some smaller chunks for texture.
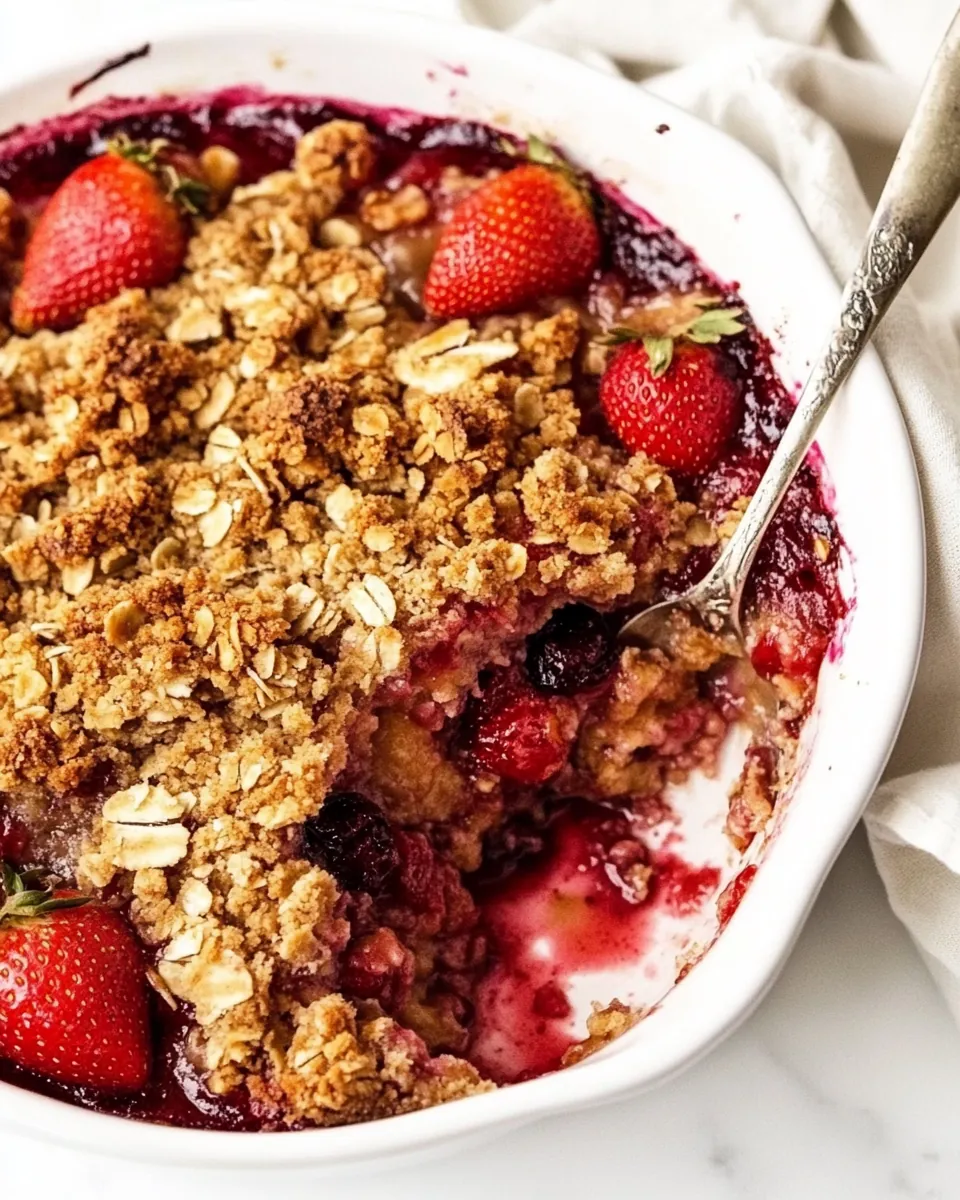
Bake uncovered at 350°F for 35 to 45 minutes. You want the topping to turn golden brown, and the strawberry juices to bubble vigorously around the edges. This is the moment you know it’s nearly done!
Once baked, remove the dish from the oven and let it cool on a wire rack for about 10 minutes. This short wait helps the filling set a bit before serving.
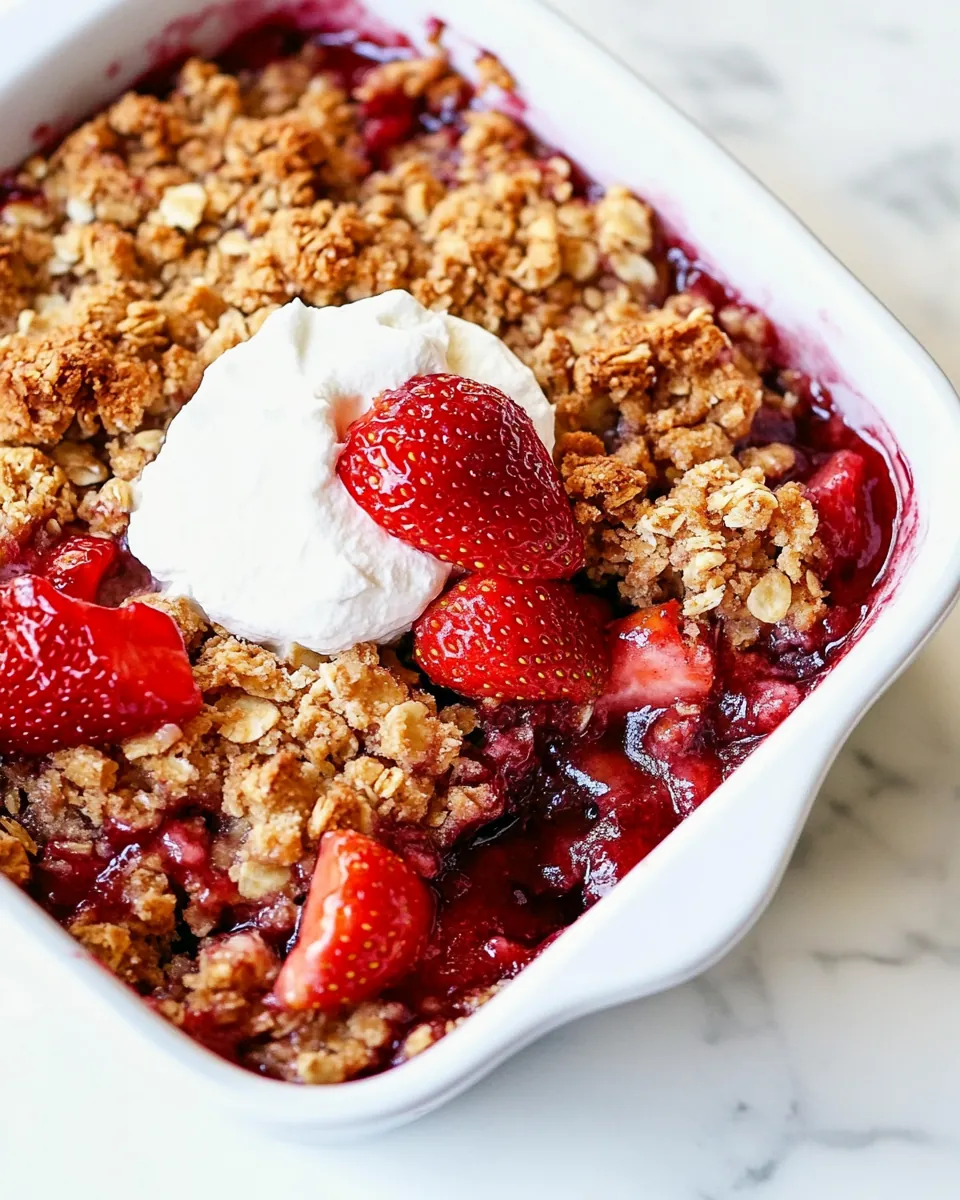
Serve warm with a scoop of vanilla ice cream or a sprinkle of extra cinnamon if desired. Enjoy every mouthful of this delicious Strawberry Crisp!
Things Worth Knowing
- Quality strawberries: Always opt for ripe, firm strawberries for the best flavor and texture in your crisp.
- Timing is key: As mentioned, don’t let the strawberries sit too long in sugar before baking to prevent excess juice release.
- Cooling time: Allowing the crisp to cool slightly before serving helps it set, making it easier to scoop out.
- Keeping it fresh: This dessert is best enjoyed fresh but can be kept in the fridge for a few days.
Making Adjustments
Making adjustments to your Strawberry Crisp can personalize it to your taste. Here, I’ll share some helpful tips for customizing this delightful dish!
- Storage: Store any leftovers in an airtight container in the refrigerator for up to 3 to 4 days. The topping might soften, but the flavor remains wonderful.
- Freezing: To freeze, wrap individual portions or the whole crisp tightly in plastic wrap and then aluminum foil. It can last up to 3 months.
- Reheating: Reheat in the oven at 350°F for 15 to 20 minutes for the best texture. Microwaving is convenient but may make the topping less crunchy.
- Fruit variations: Feel free to mix in other fruits like blueberries or raspberries for a delicious twist.
- Gluten-free option: Swap the regular flour for a gluten-free variety to accommodate dietary needs.
Perfect Matches for Strawberry Crisp
Serving Strawberry Crisp opens up a world of delicious possibilities. Here are some great pairings and occasions to consider:
- Ice Cream: A scoop of vanilla ice cream or whipped cream on top of warm crisp is a classic delight.
- Summer Picnics: Perfect for outdoor gatherings, this dessert is loved by all ages.
- Seasonal Celebrations: Enjoy it during spring and summer when strawberries are at their peak.
- Brunch Events: Bring Strawberry Crisp to brunch as a sweet treat that complements savory dishes.
- Storage Tips: Always store leftovers in a cool place to maintain its crisp texture for as long as possible.
FAQ
Conclusion
In conclusion, Strawberry Crisp is a delightful treat that brings back wonderful memories and flavors. It’s an easy dessert to whip up, making it perfect for any occasion. I encourage you to try making it soon and share it with your loved ones. You won’t be disappointed with the sweet, crunchy goodness that awaits!
Strawberry Crisp
Ingredients
Equipment
Method
- Preheat the oven to 350°F. Lightly grease an 8×11 baking dish or a 9-inch square baking dish, and set aside.
- For the topping, add all of the topping ingredients to a large bowl, except for the melted butter. Stir until combined.
- Pour in the melted butter and mix with a spatula, then use your hands as needed to fully combine the mixture into a crumbly texture.
- Transfer the topping to the refrigerator while you prepare the filling.
- Cut the strawberries into appropriate sizes: leave the tiniest ones whole, halve small ones, and quarter the larger ones. Aim for pieces about 3/4 to 1 inch wide. Place the prepared strawberries into a large bowl.
- Add the remaining filling ingredients—cornstarch, lemon juice, and vanilla—to the strawberries. Stir gently until everything is evenly coated.
- Transfer the strawberry filling to the prepared baking dish, spreading it out into an even layer.
- Sprinkle the topping over the filling, making sure to break up any large chunks, but still keeping some smaller chunks for texture.
- Bake uncovered at 350°F for 35 to 45 minutes. You want the topping to turn golden brown, and the strawberry juices to bubble vigorously around the edges.
- Once baked, remove the dish from the oven and let it cool on a wire rack for about 10 minutes. This short wait helps the filling set a bit before serving.
- Serve warm with a scoop of vanilla ice cream or a sprinkle of extra cinnamon if desired.