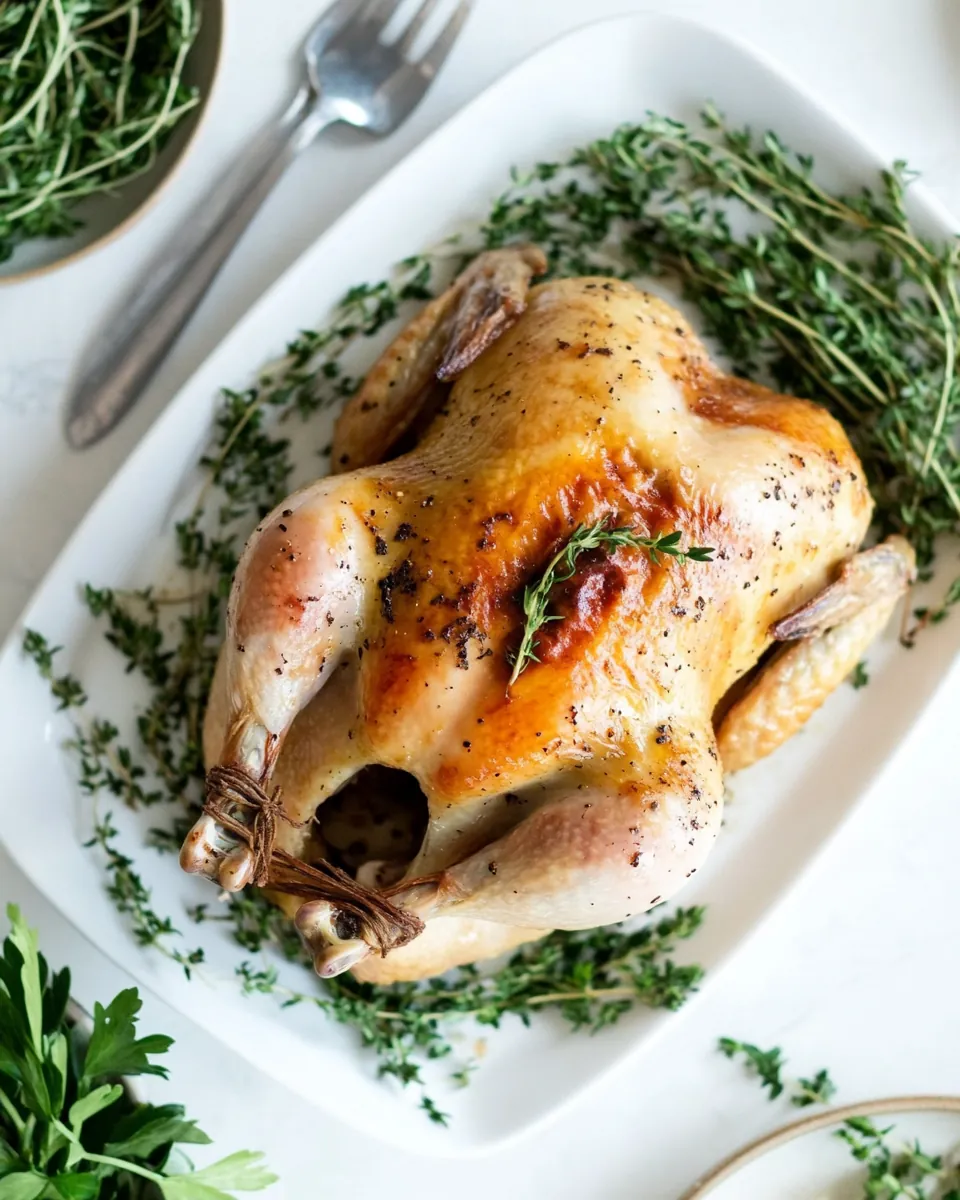
Roasted Chicken
There’s something undeniably comforting about a beautifully roasted chicken. In our home, the aroma of a perfectly cooked Roasted Chicken fills the kitchen and instantly transforms a regular evening into a special occasion. I remember the first time I tried roasting a chicken; I was nervous, but the result was so rewarding! With crispy skin and juicy meat, it quickly became a family favorite. This dish evokes memories of family gatherings and cozy dinners. When I serve this dish, everyone gathers around the table, eagerly awaiting the first slice. The anticipation and the satisfaction of that first bite are simply unmatched.
Recipe Snapshot
1 hr 15 mins
10 mins
65 mins
Medium
400 kcal
50 g
Keto, Gluten-Free
22 g
Chef’s Knife, Peeler, Baking Sheet, Oven, Frying Pan, Skillet, Food Processor
Why This Roasted Chicken Is So Good
It’s All About the Flavor
One reason I love this recipe for Roasted Chicken is the depth of flavor. Seasoning the chicken with coarse salt and ground pepper ensures that every bite is savory and satisfying. The addition of fresh herbs like rosemary and thyme elevates the taste, making it feel like a gourmet meal right at home.
Perfect for Any Occasion
This recipe is incredibly versatile. Whether it’s a casual weeknight dinner or a festive gathering, a well-roasted chicken fits perfectly into any occasion. It’s a crowd-pleaser that can be paired with various sides, making it suitable for holidays or just a cozy night in.
A Recipe for All Skill Levels
Even if you’re a beginner, roasting a chicken is surprisingly simple! With just a few steps, you can achieve that delicious golden-brown exterior and juicy meat. This recipe walks you through each step, ensuring that you’ll end up with a mouthwatering result without feeling overwhelmed.
Health Benefits
Not only is this dish delightful, but it’s also a nutritious option. Chicken is a great source of lean protein, and by roasting it, you’re allowing the fat to render out while preserving the flavors. Adding fresh vegetables to the roasting pan can turn this meal into a well-rounded, healthy dinner.
Fun for the Family
Roasting a chicken can be a fun family activity! Involving kids in the preparation—like seasoning the chicken or arranging vegetables—makes cooking a bonding experience. They’ll love hearing about the different steps and seeing how it transforms into a delicious meal.
Leftovers Are a Bonus
One of the best parts of making a Roasted Chicken is the leftovers! You can use the meat in soups, salads, or sandwiches, ensuring that nothing goes to waste. It’s a delicious way to extend the meal for the next few days, making your cooking efforts last longer.
What You Need for Roasted Chicken
The ingredients for this Roasted Chicken recipe are simple yet impactful. Using quality ingredients elevates the overall dish and makes for a more enjoyable cooking experience. The combination of fresh herbs, aromatic vegetables, and wholesome chicken creates a harmony of flavors that’s hard to resist.
- One 3 ½ to 4-pound roasting chicken, giblets removed: This is the star of the show! A good size for roasting, ensuring juicy meat and crispy skin.
- 4 teaspoons coarse salt: Essential for seasoning, it enhances the natural flavors of the chicken.
- 1 teaspoon ground pepper: Adds a hint of spice that complements the savory notes of the chicken.
- 1 peeled shallot, sliced in half: This brings a mild sweetness and depth of flavor to the dish.
- 4 garlic cloves: Adds robust flavor, enhancing the overall taste of the roasted chicken.
- 2 sprigs fresh rosemary: Infuses the chicken with its aromatic scent and an earthy flavor.
- 6 to 8 sprigs fresh thyme: Complements the rosemary, adding a delightful herbal note.
- 3 tablespoons olive oil: Used for searing, it helps achieve that crispy golden skin.
- 4 tablespoons unsalted butter: Basting with butter enriches the chicken, making it tender and flavorful.
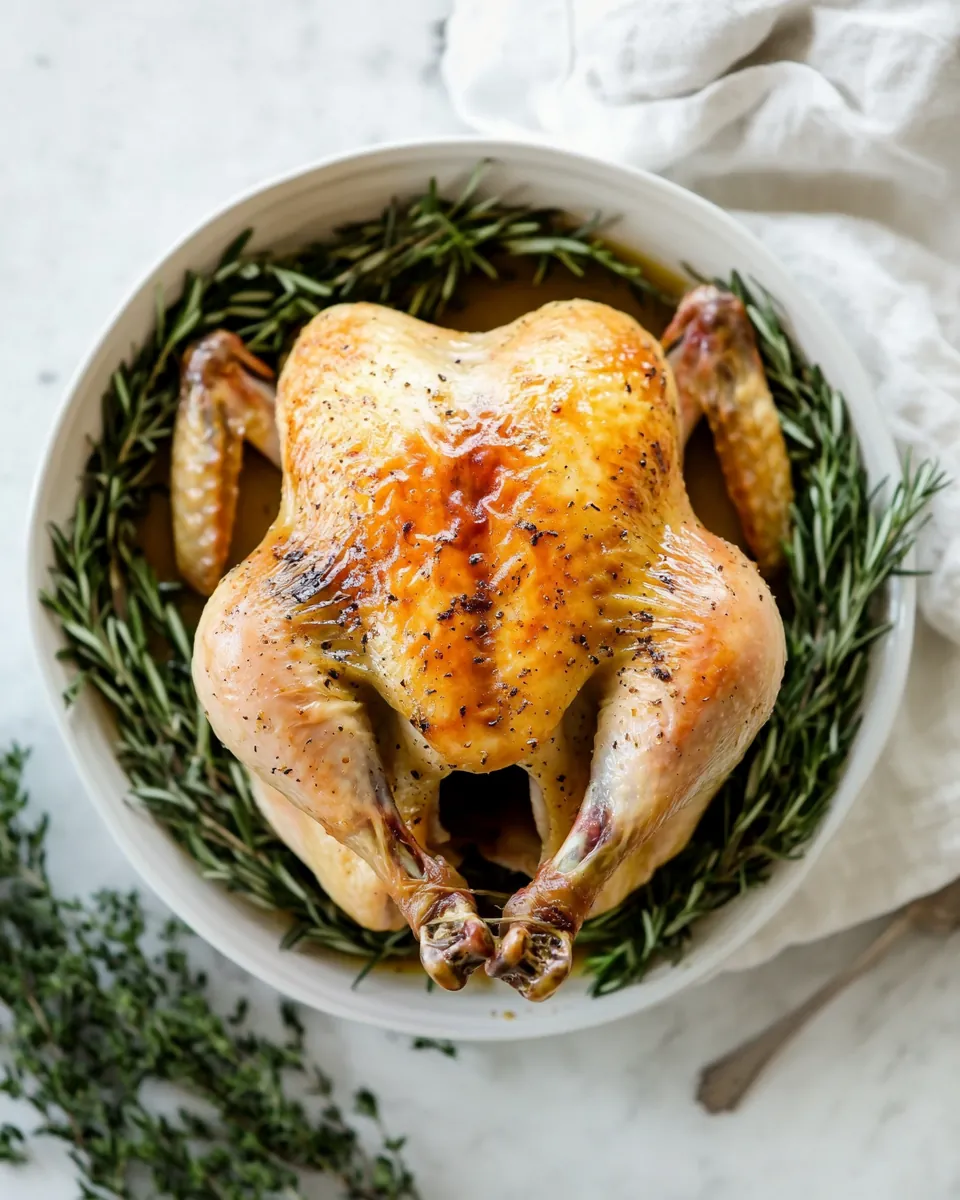
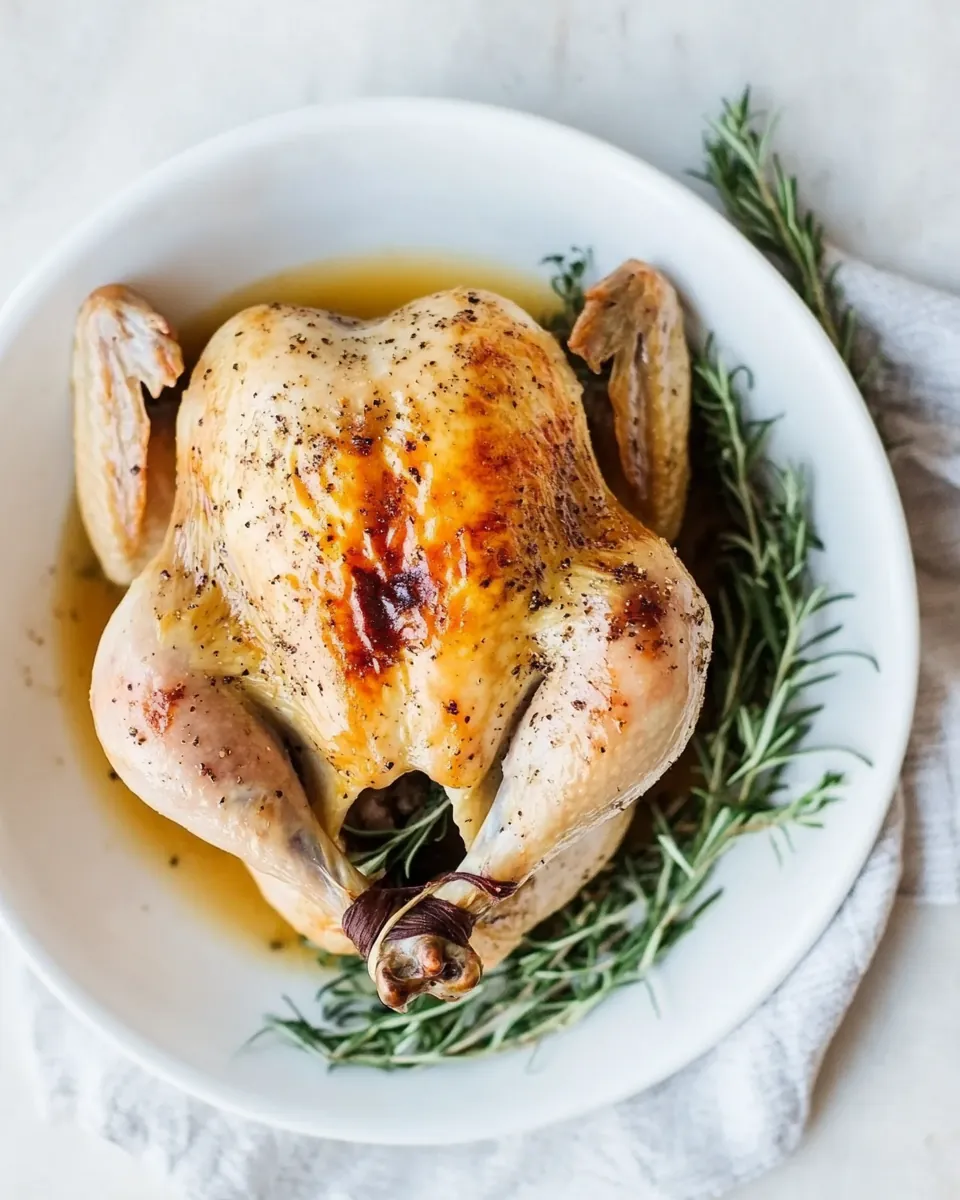
Roasted Chicken Instructions
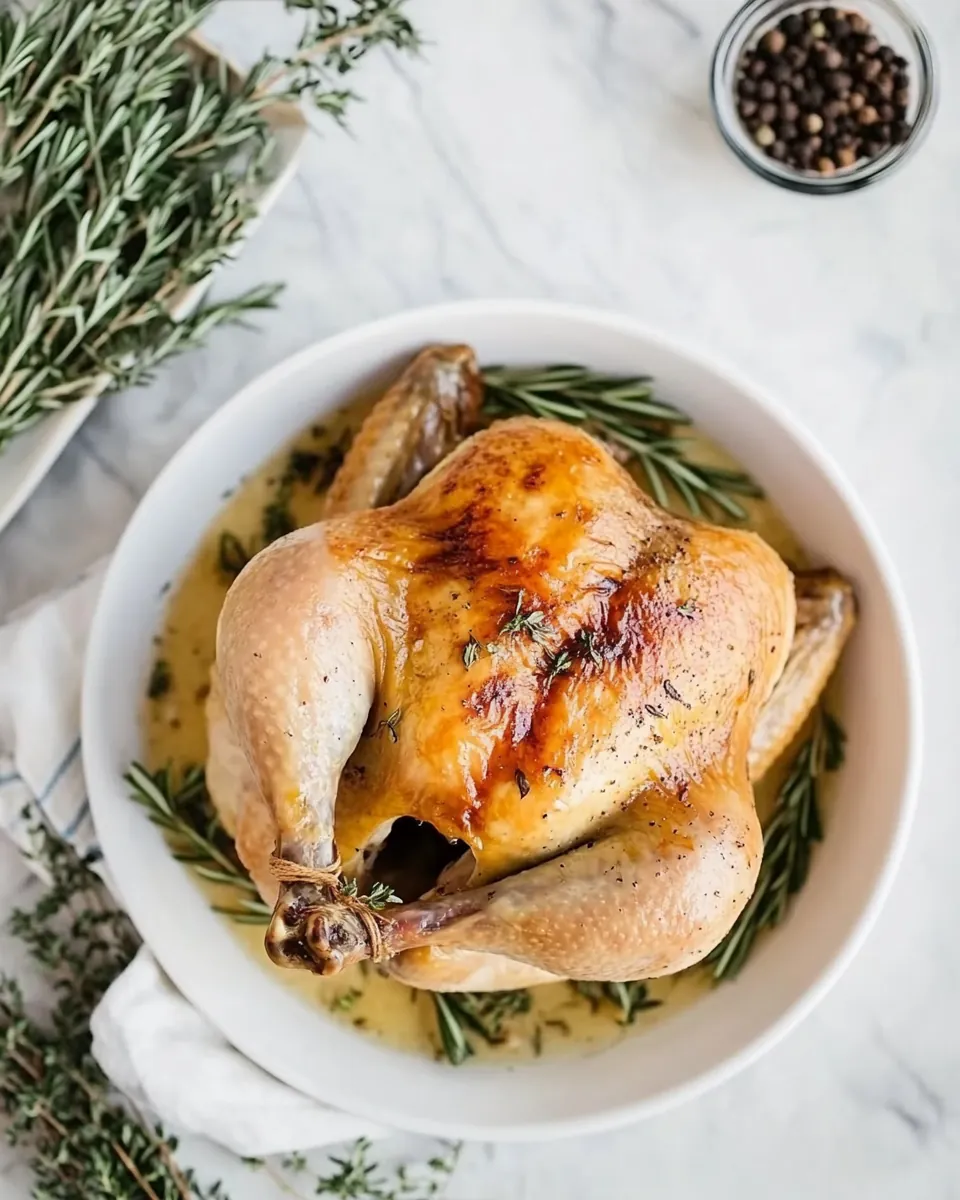
Now, let’s get started with making this delicious Roasted Chicken. Each step brings you closer to that mouthwatering golden bird ready to impress your friends and family. Follow along with these detailed instructions for the best results!
- Preheat your oven to 425°F (220°C). This high heat will help crisp the skin beautifully.
- Prepare the chicken by patting it dry on all sides with paper towels, including inside the cavity. This helps the skin crisp up nicely during roasting.
- Place the chicken on a rack over a sheet tray or plate. Season all sides of the chicken and the cavity generously with coarse salt and ground pepper, rubbing it in for better flavor.
- Refrigerate the chicken on the rack, uncovered, for 4 to 24 hours. This dry brining helps enhance the flavor and texture.
- Before cooking, remove the chicken from the fridge. Using a toothpick or skewer, make about 15 to 20 small pierces in the skin across the thighs, drumsticks, breast, wings, and backside to help release fat while roasting.
- Stuff the cavity of the chicken with the shallot, garlic, rosemary, and thyme. This adds wonderful flavor from the inside out.
- Fold the wings back behind the chicken and truss it tightly with kitchen twine to ensure even cooking.
- In a large carbon steel or cast iron skillet, heat the olive oil over high heat until it begins to lightly smoke. This is where the magic of searing begins.
- Carefully place the chicken breast side down into the hot oil. Lower the heat slightly to medium-high and sear for about 2 minutes. Use a thick wooden spoon to hold the chicken upright for the same amount of time.
- After the first side is browned, flip the chicken so it’s breast side up. Add unsalted butter to the pan and baste the chicken for 2 to 3 minutes. Flip again and baste the top for 1 to 2 minutes.
- Drain excess butter from the pan, ensuring the chicken is balanced and ready for the oven.
- Transfer the chicken to the preheated oven, placing it on the lower third rack. Roast for 45 to 50 minutes or until it reaches an internal temperature of 155°F to 160°F in the thickest part of the breast.
- Once cooked, let the chicken rest at room temperature for 10 to 12 minutes before carving. This helps the juices redistribute for optimal flavor and moisture.
Things Worth Knowing
- Resting time is crucial: Letting the chicken rest after roasting allows the juices to redistribute, making it juicier when sliced.
- Use a meat thermometer: To ensure perfect doneness, use a meat thermometer to check the thickest part of the breast. Aim for 165°F for safety.
- Don’t skip the refrigerator step: Dry brining the chicken in the fridge enhances the flavor and helps achieve crispy skin.
- Experiment with herbs: Feel free to try different herbs like sage or parsley depending on your taste preferences.
Recipe Variations about Roasted Chicken
There are so many ways to put a twist on your Roasted Chicken. You can adapt it to suit your tastes or the season. Here are some variations to inspire you!
- Add Vegetables: Roast your chicken over a bed of carrots, onions, and potatoes. The drippings enhance the veggies’ flavor.
- Spice it Up: For heat lovers, add chili flakes or cayenne pepper to the seasoning for an extra kick.
- Herb Butter: Mix softened butter with spices and herbs, then rub it under the skin for more flavor.
- Stuffing: Consider stuffing the chicken with a mixture of bread, herbs, and vegetables for a hearty variant.
- Whole Grains: Serve with whole grain sides like quinoa or farro for a healthier option.
- Gravy: Make a simple gravy with the drippings for a delicious sauce to accompany the chicken.
- Lemon Zest: Add lemon zest to the seasoning for a brighter, fresher flavor!
Serving This Roasted Chicken
When it comes to serving Roasted Chicken, the possibilities are endless. You can create a complete meal that everyone will love. Here are some ideas:
- Perfect Pairings: Serve your roasted chicken with classic sides like mashed potatoes, roasted vegetables, or a crisp salad.
- Family Gatherings: This dish is perfect for family dinners, bringing everyone together around the table.
- Celebratory Meals: It’s a fantastic choice for special occasions, holidays, or Sunday dinners.
- Sandwiches: Use leftovers to make delicious sandwiches the next day, adding fresh greens and your favorite condiments.
- Storage Solutions: Store any leftover chicken in an airtight container in the fridge for up to four days.
- Freeze for Later: For longer storage, you can freeze the carved chicken, ensuring you have a tasty meal ready to go.
- Warm It Up: To reheat, place pieces on a baking sheet, cover with foil, and warm in a 375°F oven until heated through.
FAQ
Conclusion
This Roasted Chicken recipe is all about flavor, simplicity, and joy in cooking. The combination of crispy skin and juicy meat creates an experience that’s as delightful to serve as it is to eat. I encourage you to give it a try—it’s perfect for any occasion and will surely impress your family and friends. Enjoy the process, savor the results, and create lasting memories around your dining table!
Roasted Chicken
Ingredients
Equipment
Method
- Preheat your oven to 425°F (220°C). This high heat will help crisp the skin beautifully.
- Prepare the chicken by patting it dry on all sides with paper towels, including inside the cavity. This helps the skin crisp up nicely during roasting.
- Place the chicken on a rack over a sheet tray or plate. Season all sides of the chicken and the cavity generously with coarse salt and ground pepper, rubbing it in for better flavor.
- Refrigerate the chicken on the rack, uncovered, for 4 to 24 hours. This dry brining helps enhance the flavor and texture.
- Before cooking, remove the chicken from the fridge. Using a toothpick or skewer, make about 15 to 20 small pierces in the skin across the thighs, drumsticks, breast, wings, and backside to help release fat while roasting.
- Stuff the cavity of the chicken with the shallot, garlic, rosemary, and thyme. This adds wonderful flavor from the inside out.
- Fold the wings back behind the chicken and truss it tightly with kitchen twine to ensure even cooking.
- In a large carbon steel or cast iron skillet, heat the olive oil over high heat until it begins to lightly smoke. This is where the magic of searing begins.
- Carefully place the chicken breast side down into the hot oil. Lower the heat slightly to medium-high and sear for about 2 minutes. Use a thick wooden spoon to hold the chicken upright for the same amount of time.
- After the first side is browned, flip the chicken so it’s breast side up. Add unsalted butter to the pan and baste the chicken for 2 to 3 minutes. Flip again and baste the top for 1 to 2 minutes.
- Drain excess butter from the pan, ensuring the chicken is balanced and ready for the oven.
- Transfer the chicken to the preheated oven, placing it on the lower third rack. Roast for 45 to 50 minutes or until it reaches an internal temperature of 155°F to 160°F in the thickest part of the breast.
- Once cooked, let the chicken rest at room temperature for 10 to 12 minutes before carving. This helps the juices redistribute for optimal flavor and moisture.
Notes
- Resting time is crucial: Letting the chicken rest after roasting allows the juices to redistribute, making it juicier when sliced.
- Use a meat thermometer: To ensure perfect doneness, use a meat thermometer to check the thickest part of the breast. Aim for 165°F for safety.
- Don’t skip the refrigerator step: Dry brining the chicken in the fridge enhances the flavor and helps achieve crispy skin.
- Experiment with herbs: Feel free to try different herbs like sage or parsley depending on your taste preferences.