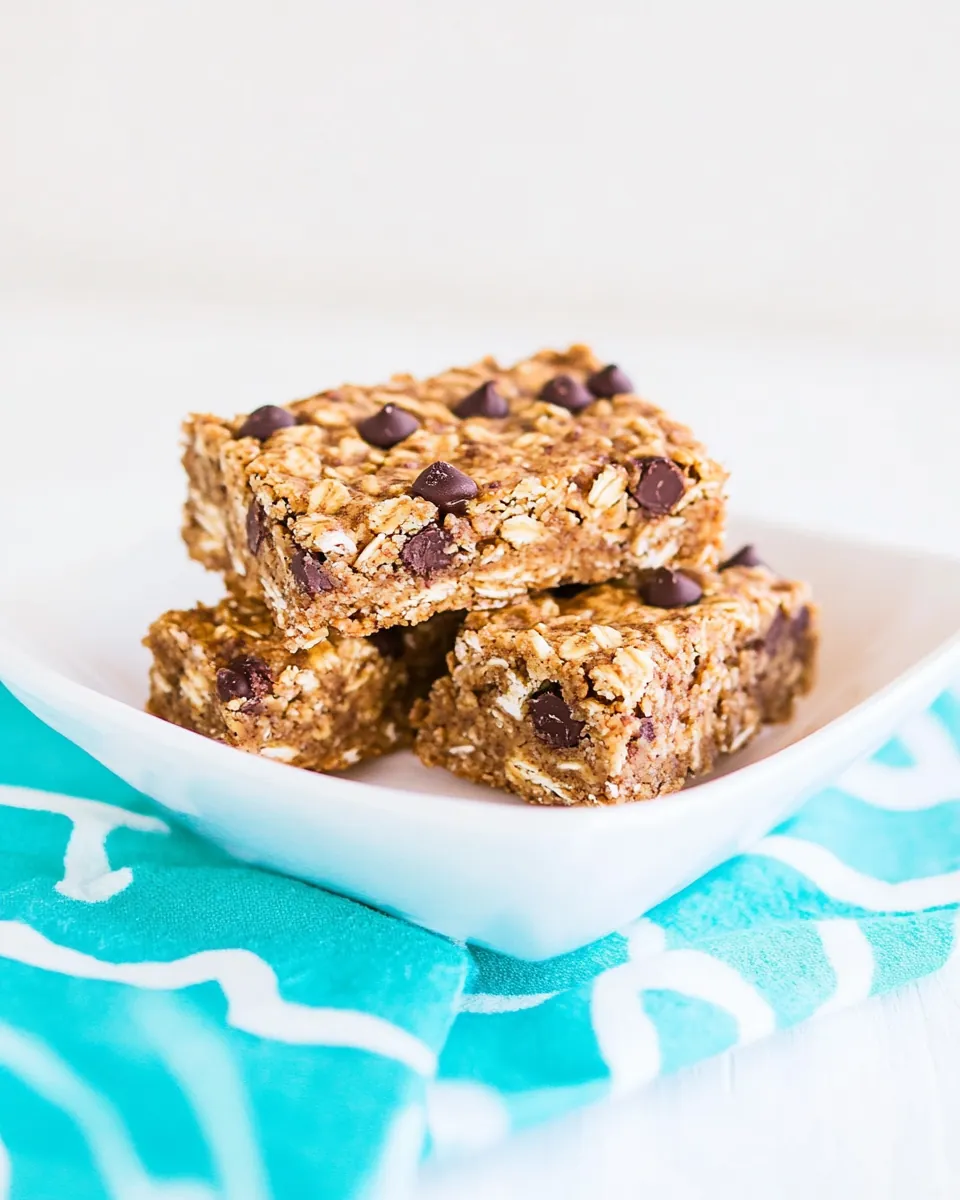
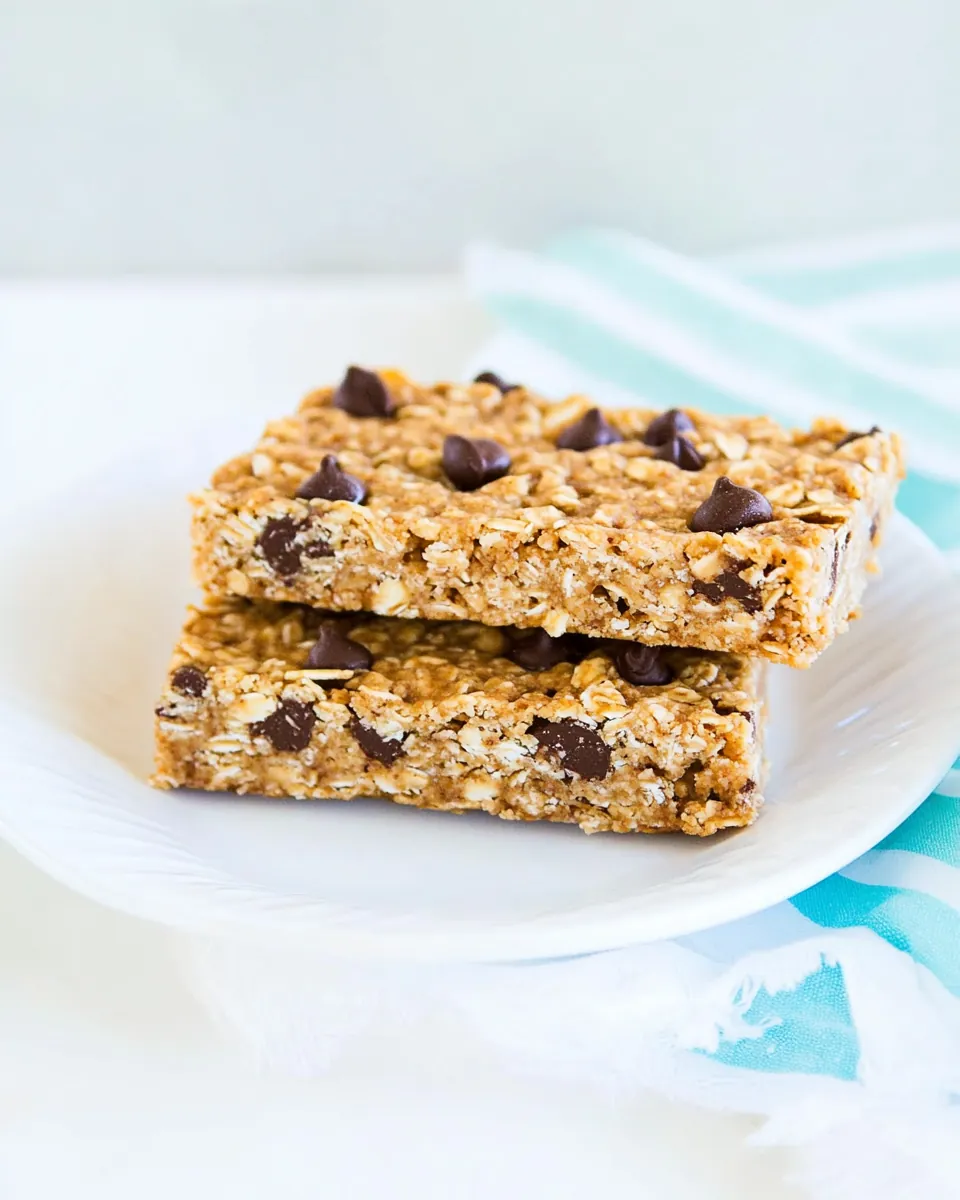
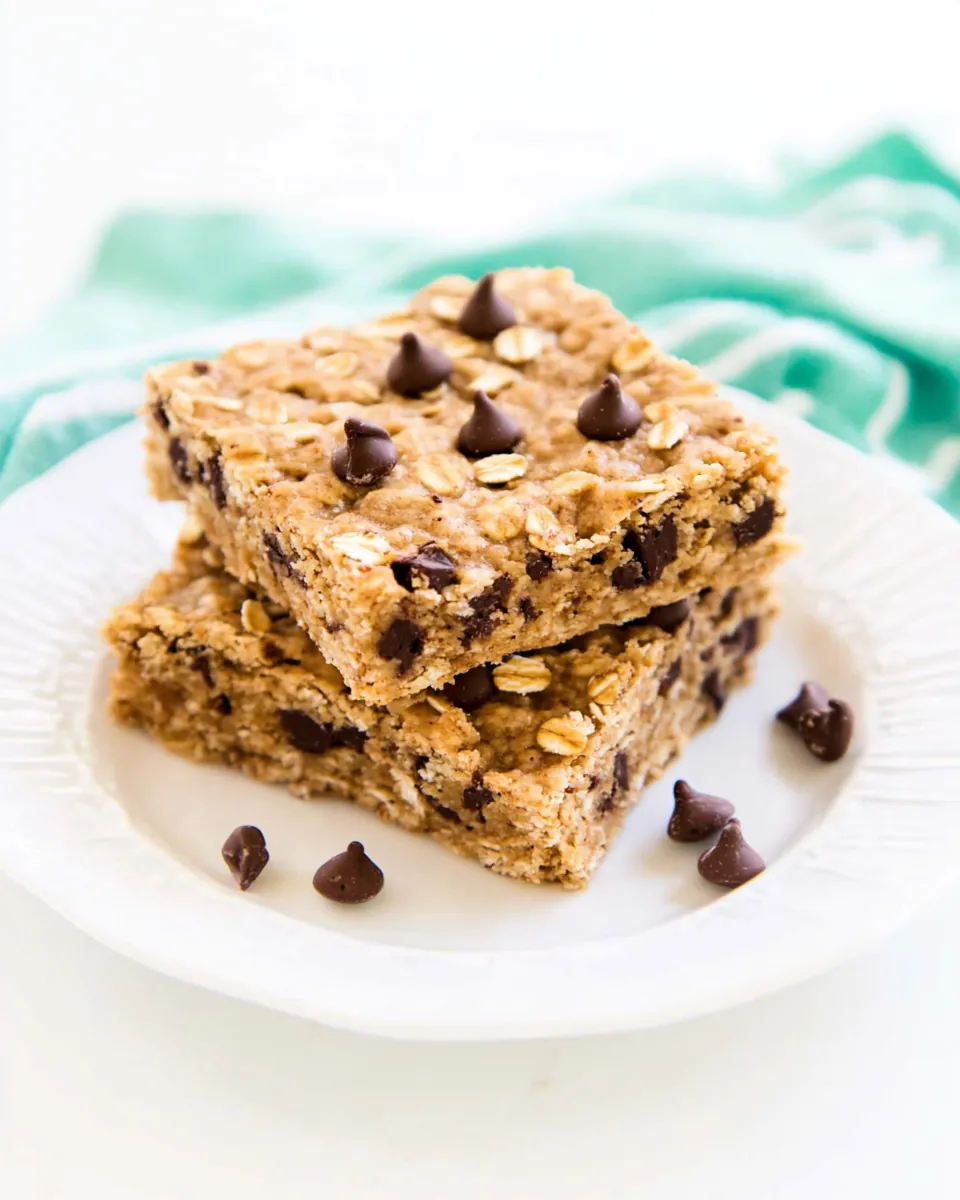
Oatmeal Breakfast Bars
There’s nothing quite like a fresh batch of Oatmeal Breakfast Bars to kickstart your day! I remember the first time I baked them; the aroma filled my kitchen, making it feel like home. These bars are perfect for busy mornings when you need something nutritious to grab on the go. They combine the heartiness of oats with a touch of sweetness from chocolate chips, creating a delightful balance that satisfies both cravings and hunger. Whether it’s a rushed weekday or a leisurely weekend, these bars are a fantastic choice. They also make for a great post-workout snack or a treat for an afternoon pick-me-up. I love making a batch at the start of the week to ensure I have a healthy option ready whenever I need it. So, let’s get baking and create a batch of these delicious Oatmeal Breakfast Bars!
Recipe Snapshot
60 mins
0 mins
0 mins
Medium
150 kcal
3 g
Gluten-Free, Low FODMAP
6 g
Food Processor, Oven, Baking Sheet, Frying Pan, Blender, Mixing Bowl
The Charm of This Oatmeal Breakfast Bars
1. Wholesome Ingredients
One of the standout aspects of these Oatmeal Breakfast Bars is their wholesome ingredients. Packed with nutrients, they provide a great source of energy that keeps you fueled throughout the day.
2. Easy to Prepare
You don’t need to be a baking expert to make these bars. The process is straightforward, making them a great starting point for beginner bakers who want to dive into creating something delicious.
3. Customizable Options
The recipe is incredibly versatile! Feel free to mix in your favorite nuts or fruits to make them your own. The flexibility allows you to experiment and personalize these bars to suit your taste.
4. Perfect for Meal Prep
These bars are perfect for meal prepping. You can bake a large batch and store them for easy access throughout the week. It’s a great way to ensure you have a healthy snack on hand at all times.
5. Satisfaction Guaranteed
With a delicious combination of flavors and textures, these bars are genuinely satisfying. The chewy oats paired with the sweetness of chocolate chips will leave you wanting more. You’ll find yourself reaching for them again and again.
6. Great for Any Time of Day
Whether it’s breakfast, a snack, or even a dessert, these Oatmeal Breakfast Bars fit the bill. They are versatile enough to be enjoyed at any time of the day, making them a staple in my home.
What You Need for Oatmeal Breakfast Bars
To create these delicious Oatmeal Breakfast Bars, we need a blend of ingredients that work harmoniously together. Each component plays a vital role in achieving the right texture and flavor. The star of the show is, of course, the oats, which provide a chewy base. Let’s dive into the ingredients!
- 1 3/4 cups oat flour: This is the main ingredient, providing a wholesome, nutty flavor.
- 1 cup gluten-free flour: Perfect for those needing gluten-free options, but feel free to use all-purpose flour if you prefer.
- 4 tablespoons sugar: Just the right amount to sweeten the deal without overpowering the bars.
- 2 teaspoons baking powder: This gives the bars a nice lift, making them light and fluffy.
- 1 teaspoon baking soda: It helps with the rising and gives a little extra fluffiness.
- 1/2 teaspoon salt: A pinch of salt enhances the flavors and balances the sweetness.
- 5 tablespoons cold butter: Cubed and cold, it brings richness to the bars.
- 1 cup vanilla Greek yogurt: This adds moisture and a slight tang, making the bars soft and delicious.
- 1 egg yolk: It binds the ingredients together and adds richness.
- 2 teaspoons vanilla bean paste: For that warm, aromatic flavor that complements the oats beautifully.
- 1 cup chocolate chips: Mini-sized for easy melting and distribution throughout the bars.
- 1/2 cup half and half: Optional, but it adds a luxurious texture to the top.
- 1/4 cup coarse sugar: Optional, for a delightful crunch on top.
Step by Step Guide for Oatmeal Breakfast Bars

Let’s get our hands dirty and bake these delicious Oatmeal Breakfast Bars together! Follow these easy steps to create a delightful treat that everyone will love.
- Preheat your oven to 350 degrees F. This ensures that your bars will bake evenly and come out perfectly.
- In a large mixing bowl, combine oat flour, gluten-free flour, sugar, baking soda, baking powder, and salt. Whisk these dry ingredients together until well-mixed.
- If you have a food processor, transfer the dry ingredients to it. Add the cold butter cubes and pulse a few times until the mixture resembles coarse crumbs. This will help ensure a light texture.
- Next, add the vanilla, yogurt, egg yolk, and chocolate chips into the food processor. Pulse until just combined. Be careful not to over-mix; the dough should be sticky.
- If you don’t have a food processor, you can mix everything by hand. Use a pastry blender to cut in the butter until it resembles crumbs, then mix in the wet ingredients.
- Transfer the dough onto a floured surface. Dust your hands with gluten-free flour to prevent sticking. Gently knead the dough until it starts to hold together.
- Pat the dough down to about 3/4 inch thick. Using a knife, cut it into 12 to 16 equal pieces. If the dough is too sticky, rub a bit of cooking oil on the knife to make cutting easier.
- Place the cut pieces on a baking sheet lined with parchment paper. Make sure to leave some space between each piece, as they will expand while baking.
- Brush each bar lightly with half and half for a glossy finish, and sprinkle with coarse sugar if desired.
- Bake in the preheated oven for about 16 to 20 minutes, or until they are lightly browned and spring back when touched. Remove from the oven and let cool completely on a wire rack.
- Once cooled, store your Oatmeal Breakfast Bars in an airtight container. They’re best enjoyed fresh but can be kept for up to three days.
Things Worth Knowing
- Oat Flour Benefits: Using oat flour not only adds nutritional value but also keeps the bars gluten-free. It’s packed with fiber and nutrients!
- Room Temperature Ingredients: Ensure your butter is cold, as this will help create a flaky texture in your bars.
- Mixing Technique: When mixing, aim for a cohesive dough without overworking it; this helps keep the bars tender.
- Cutting Technique: Use a sharp knife to cut through the dough cleanly. This will keep the edges neat and prevent sticking.
Recipe Variations about Oatmeal Breakfast Bars
These Oatmeal Breakfast Bars are wonderful as is, but here are some tips to customize them to your liking!
- Add Nuts: Incorporate your favorite nuts like walnuts or almonds for added crunch and flavor.
- Use Different Chocolate: Swap in dark chocolate chips or even white chocolate for a unique twist.
- Fruit Add-ins: Toss in dried fruits like cranberries or apricots for a natural sweetness and chewy texture.
- Spices: Experiment with spices such as cinnamon or nutmeg to enhance the flavor profile.
- Gluten-Free Options: Make sure to use certified gluten-free products to keep these bars suitable for those with gluten sensitivities.
- Storage: Keep your Oatmeal Breakfast Bars in an airtight container at room temperature for up to three days.
- Freezing: These bars freeze well! Individually wrap them and store in the freezer for later enjoyment.
Pairing Suggestions for Oatmeal Breakfast Bars
When it comes to serving these Oatmeal Breakfast Bars, the possibilities are endless! Here are some great pairing ideas:
- With Fresh Fruit: Serve your bars alongside fresh fruit like bananas, berries, or apples for a balanced breakfast.
- Coffee or Tea: Pair them with your morning coffee or tea for a delightful breakfast experience.
- Nut Butter: Spread a layer of almond or peanut butter on top for an extra protein boost.
- Yogurt: A dollop of Greek yogurt complements the bars perfectly, adding creaminess and flavor.
- Breakfast for Kids: These bars make for a quick and easy breakfast for kids on busy school mornings.
- Lunchbox Treats: They’re also great for lunchboxes, providing a healthy sweet option for kids.
- Seasonal Fruits: In the fall, pair with sliced apples or in the summer with peaches for a seasonal twist.
FAQ
Conclusion
These Oatmeal Breakfast Bars are not only delicious but also a wholesome way to start your day. Packed with goodness, they offer a satisfying blend of flavors and textures that you’ll love. I encourage you to try making them and see how they quickly become a favorite in your household. Enjoy the baking process and the delightful results!
Oatmeal Breakfast Bars
Ingredients
Equipment
Method
- Preheat oven to 350 degrees F.
- In a large bowl, combine oat flour, gluten-free flour, sugar, baking soda, baking powder, and salt. Mix well.
- If you have a food processor, pour dry ingredients into a food processor, and add in the cold butter and pulse a few times until ingredients start to clump together.
- Pulse in the vanilla, yogurt, egg yolk, and chocolate chips until just combined. Do NOT over mix.
- Transfer dough to a surface dusted with gluten-free flour. Knead very gently until dough starts to form a ball.
- Gently pat the dough down to 3/4" thick. Cut dough into 12-16 equal size pieces.
- Carefully move the pieces to a baking sheet lined with parchment paper.
- Brush each bar with a bit of half and half, and sprinkle with coarse sugar if desired.
- Bake for approximately 16-20 minutes or until bars are lightly browning and spring back when touched.
- Remove from oven and let cool completely.