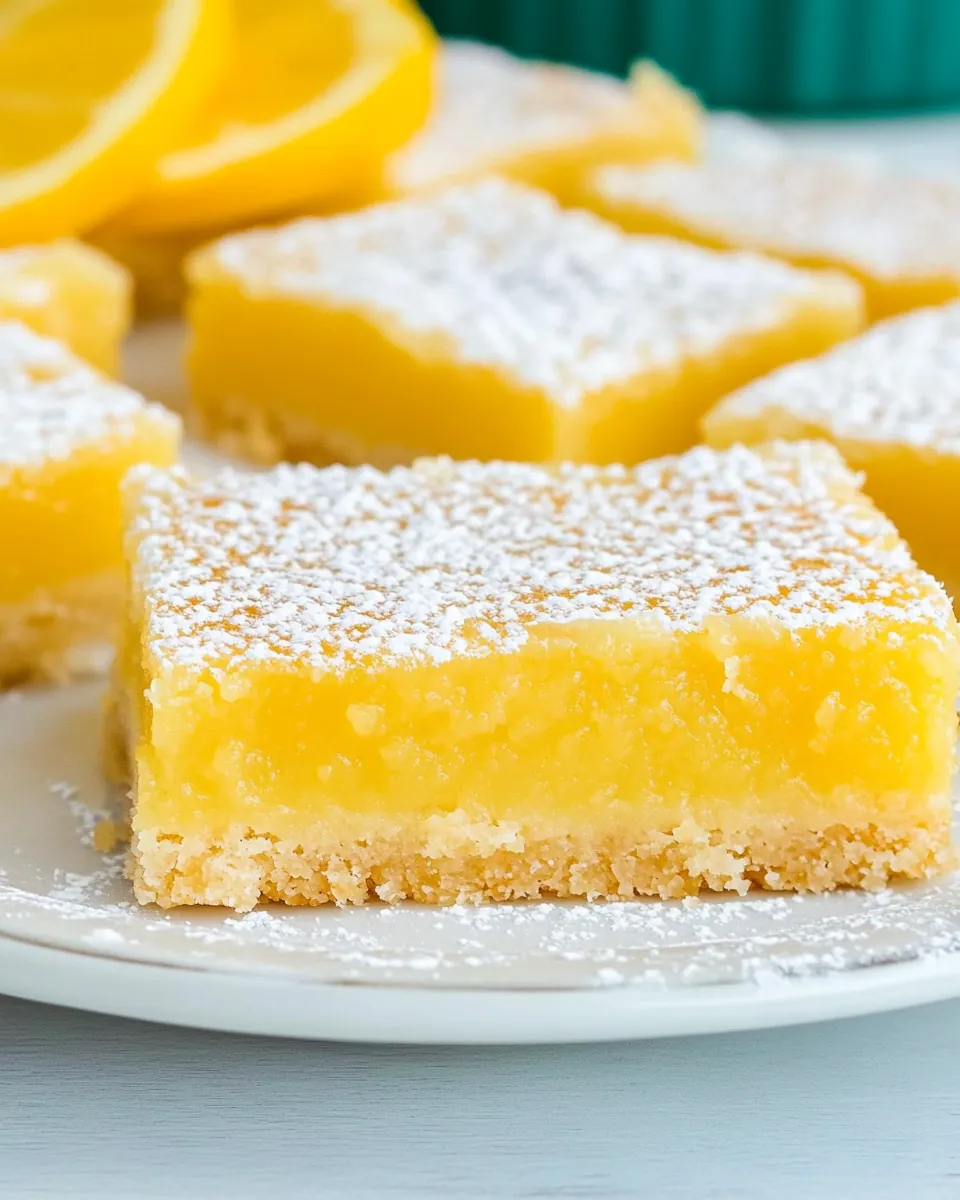
Lemon Bars
Whenever I think about indulging in a sweet treat, the first thing that comes to mind is the classic Lemon Bars. These delightful squares have been a staple in my kitchen for as long as I can remember. The tangy flavor of fresh lemons combined with a buttery crust creates the perfect balance of sweetness and tartness. I recall a sunny afternoon when I was trying to impress friends with my baking skills, and the result was a batch of Lemon Bars that disappeared within minutes. They’re not just a dessert; they’re a memory of laughter, good company, and sunny days. Whether it’s a summer picnic or a family gathering, Lemon Bars always make an appearance, and for good reason. Their bright, cheerful appearance is like a ray of sunshine on a plate, inviting everyone to take a bite. Plus, they’re surprisingly easy to make, which means I can whip them up at a moment’s notice!
Recipe Snapshot
60 mins
15 mins
45 mins
Medium
200 kcal
3 g
Vegan, Gluten-Free, AIP
8 g
Oven, Baking Sheet, Frying Pan, Whisk, Mixing Bowl, Wooden Spoon
What Makes This Lemon Bars Special
Bright and Tangy Flavor
There’s something about the zing of fresh lemon juice that awakens the taste buds. The balance of tart and sweet in Lemon Bars is absolutely irresistible. Each bite offers a refreshing burst of citrus that’s perfect for any occasion.
Perfectly Simple Ingredients
One of the reasons I adore this recipe is the simplicity of the ingredients. With just a handful of pantry staples like butter, sugar, and eggs, you can create a show-stopping dessert that seems far more complicated than it actually is. It embodies the idea that deliciousness doesn’t require a long list of exotic ingredients!
Great for Sharing
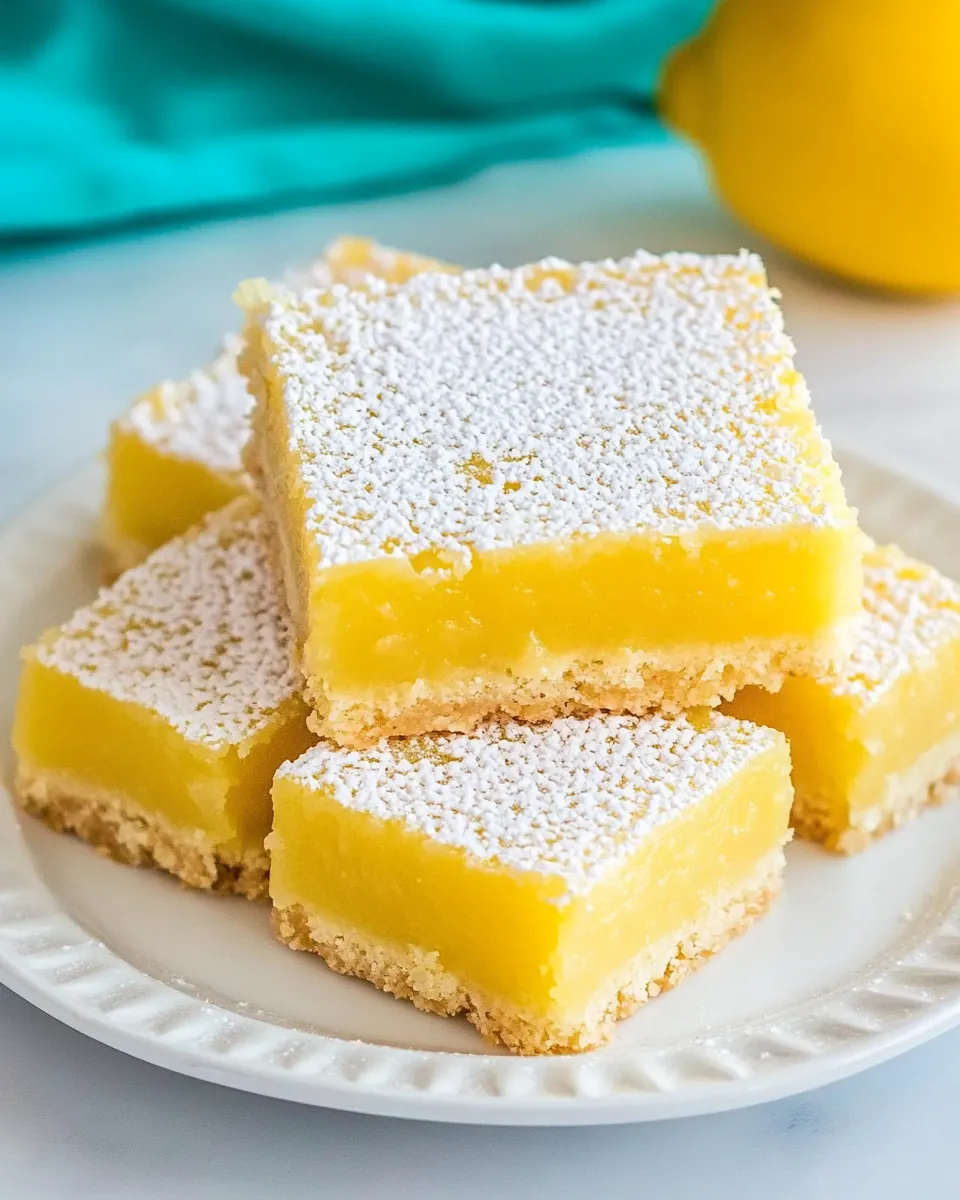
Lemon Bars are fantastic for gatherings. They’re easy to cut into bite-sized squares, making them perfect for sharing. Whether it’s a potluck, birthday party, or simply a treat for coworkers, these bars bring everyone together.
Versatile Serving Options
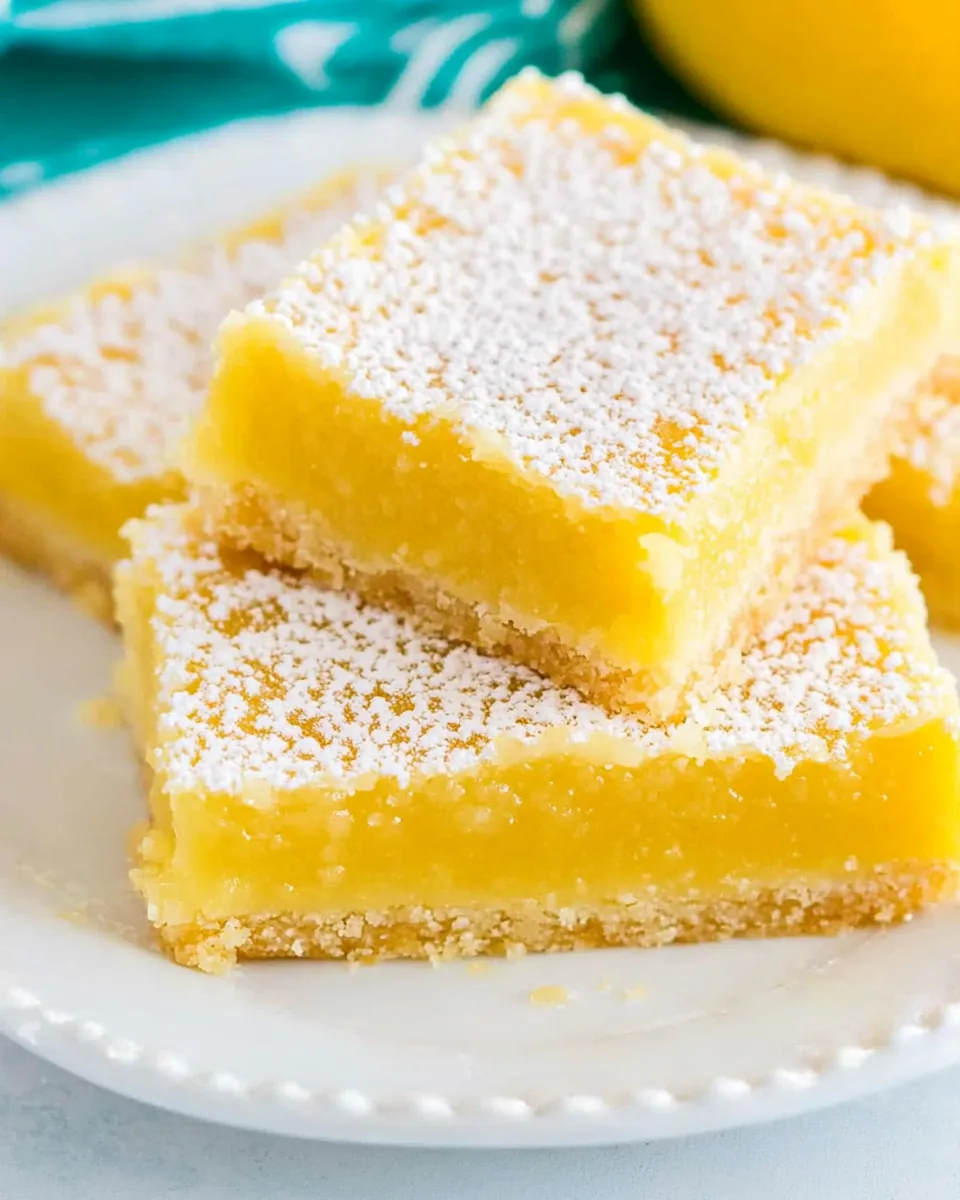
There’s no wrong way to enjoy Lemon Bars. Serve them chilled for a refreshing summer dessert, or warm them slightly in the winter for a comforting treat. They pair beautifully with a cup of tea or coffee, enhancing the overall experience.
A Nostalgic Touch
For many, Lemon Bars evoke memories of family gatherings and baking with loved ones. The aroma from the oven fills the room, creating a warm and inviting atmosphere that brings everyone together. It’s a recipe that becomes part of your family traditions.
Charming Presentation
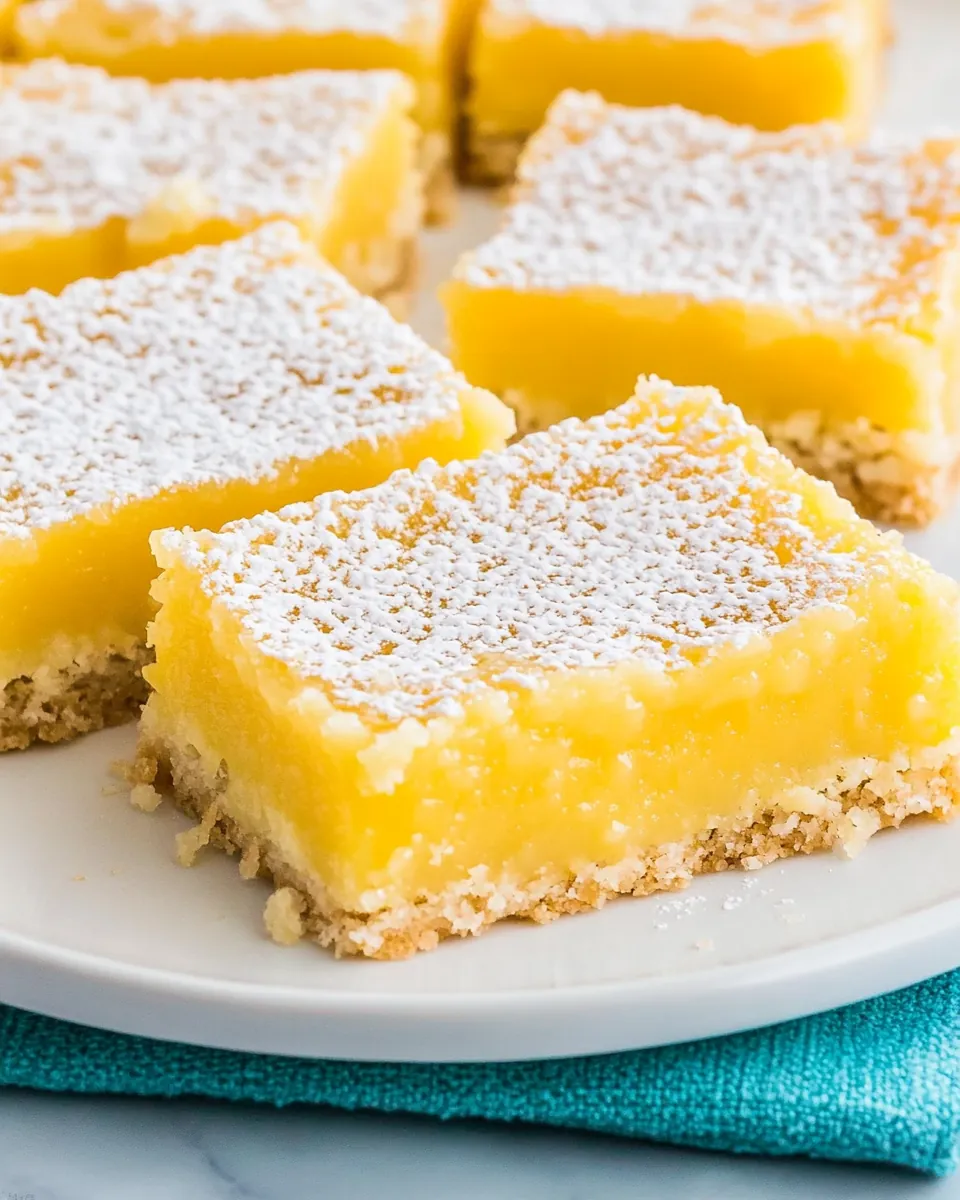
The appealing look of Lemon Bars is another reason they stand out. A dusting of powdered sugar on top, along with a vibrant lemon zest garnish, makes them a feast for the eyes. They can elevate any dessert table!
What to Buy for Lemon Bars
When making Lemon Bars, the quality of your ingredients truly shines. Freshly squeezed lemon juice enhances the flavor, while unsalted butter provides the rich base for the crust. The balance of sweet and tangy ingredients creates a harmonious blend that makes every bite memorable.
- 1 cup unsalted butter, melted – The rich flavor of butter creates a tender crust, forming the perfect base for your Lemon Bars.
- ½ cup granulated sugar – This adds the necessary sweetness to balance the tartness of the lemon.
- 2 teaspoons pure vanilla extract – A touch of vanilla complements the lemon flavor beautifully.
- ½ teaspoon almond extract – This adds a unique depth of flavor that enhances the overall taste.
- ½ teaspoon salt – A pinch of salt elevates the sweetness and balances flavors.
- 2 ½ cups all-purpose flour – Essential for the crust, providing structure and texture.
- 2 cups granulated sugar – Used in the filling for sweetening the lemon juice mixture.
- ⅓ cup all-purpose flour – This thickens the filling and contributes to its creamy texture.
- 7 large eggs – Eggs are crucial for binding the filling and creating a smooth texture.
- ¾ cup lemon juice – Freshly squeezed lemon juice is the star of the show, giving the bars their signature flavor.
- 3 Tablespoons powdered sugar for dusting – A light sprinkle of powdered sugar adds a sweet finish and a lovely presentation.
The Process for Making Lemon Bars
Making Lemon Bars is a delightful experience that fills your kitchen with wonderful aromas. You’ll love how straightforward the process is! Just follow these easy steps, and you’ll be enjoying delicious bars in no time.
- Preheat your oven to 325 degrees Fahrenheit. This is the perfect temperature for baking the crust evenly without over-browning it.
- Line the bottom and sides of a 9×13-inch glass baking pan with parchment paper. Ensure there’s an overhang on the sides to help lift the bars out later. This makes cutting and serving a breeze.
- In a medium bowl, mix the melted butter, sugar, vanilla extract, almond extract, and salt. Stir until combined. The mixture should be smooth and creamy.
- Add the flour to the mixture. Stir thoroughly until completely combined. You’ll notice the dough becomes thick; this is normal for the crust!
- Press the crust mixture firmly into the prepared baking pan. Ensure it’s spread evenly, creating a solid base for your Lemon Bars.
- Bake the crust in the preheated oven for about 20 to 22 minutes, until the edges are lightly browned. This ensures a perfectly cooked crust that will hold up under the filling.
- Once baked, remove the crust from the oven. Poke holes all over the top with a fork while it’s warm. This step helps the filling absorb into the crust.
- In a large bowl, mix together granulated sugar and flour for the filling. Whisk in the eggs, followed by the lemon juice. Keep whisking until everything is well combined and smooth.
- Pour the filling over the warm crust, spreading it evenly. Make sure every corner is covered with that luscious lemon mixture.
- Bake the bars again for 22 to 26 minutes, or until the center is set and there’s no jiggle left when you gently shake the pan. They should be lightly golden around the edges.
- Upon removing them from the oven, allow the bars to cool completely at room temperature. I usually let them sit for about 2 hours.
- For even better results, refrigerate the bars for 1 to 2 additional hours until they are chilled.
- Once cooled, lift the Lemon Bars out of the pan using the parchment paper overhang. Dust the top with powdered sugar before cutting into squares for serving.
Things Worth Knowing
- Use Fresh Lemons: Always opt for freshly squeezed lemon juice for the best flavor. Bottled lemon juice can’t replicate the brightness of fresh.
- Cool Completely: Ensure the bars are completely cool before cutting. This helps them set properly and prevents messiness when slicing.
- Store Properly: Store any leftovers in an airtight container in the refrigerator to keep them fresh and flavorful.
- Experiment with Zest: Add lemon zest to the filling for an extra punch of citrus flavor. It enhances the overall taste!
Substitutions and Tips
While Lemon Bars are delicious as they are, here are some tips and substitutions to consider for your next batch.
- Storage: Leftover Lemon Bars can be stored in the refrigerator in an airtight container for up to a week.
- Freezing: They freeze beautifully! Wrap individual bars in plastic wrap and store in a freezer-safe container for up to three months.
- Pairing: Serve with a dollop of whipped cream or a scoop of vanilla ice cream for a delightful contrast to the tartness.
- Experiment with Flavors: Try adding a hint of coconut or a bit of ginger to the crust for a unique twist on the classic recipe.
- Presentation: Don’t forget to garnish with fresh berries or mint leaves when serving to make them even more appealing!
What Goes Well With This Lemon Bars
- Tea or Coffee: Enjoy Lemon Bars paired with a steaming cup of tea or coffee, which complements their sweet and tart flavor perfectly.
- Fresh Fruits: Serve alongside a fresh fruit salad for a light and refreshing dessert choice.
- Brunch Events: These bars are a fantastic addition to brunch menus, bringing a burst of flavor to morning gatherings.
- Picnics and Outdoor Events: Their portable size makes them perfect for picnics. Pack them up for dessert on sunny days outside.
- Special Occasions: Lemon Bars are an ideal dessert for celebrations such as birthdays or family reunions, where they can be enjoyed by all.
FAQ
Conclusion
Lemon Bars are a delightful mixture of sweet and tangy flavors, making them a standout dessert in any setting. Their simplicity and charm not only bring joy to your taste buds but also create lasting memories as you share them with loved ones. I encourage you to give this recipe a try; it’s easy, fun, and absolutely satisfying!
Lemon Bars
Ingredients
Equipment
Method
- Preheat your oven to 325 degrees Fahrenheit.
- Line the bottom and sides of a 9×13-inch glass baking pan with parchment paper.
- In a medium bowl, mix the melted butter, sugar, vanilla extract, almond extract, and salt. Stir until combined.
- Add the flour to the mixture. Stir until completely combined.
- Press the crust mixture firmly into the prepared baking pan.
- Bake the crust in the preheated oven for about 20 to 22 minutes.
- Once baked, remove the crust from the oven. Poke holes all over the top with a fork while it’s warm.
- In a large bowl, mix together granulated sugar and flour for the filling.
- Whisk in the eggs, followed by the lemon juice.
- Pour the filling over the warm crust.
- Bake the bars again for 22 to 26 minutes.
- Allow the bars to cool completely at room temperature.
- Lift the Lemon Bars out of the pan using the parchment paper overhang.
- Dust the top with powdered sugar before cutting into squares.