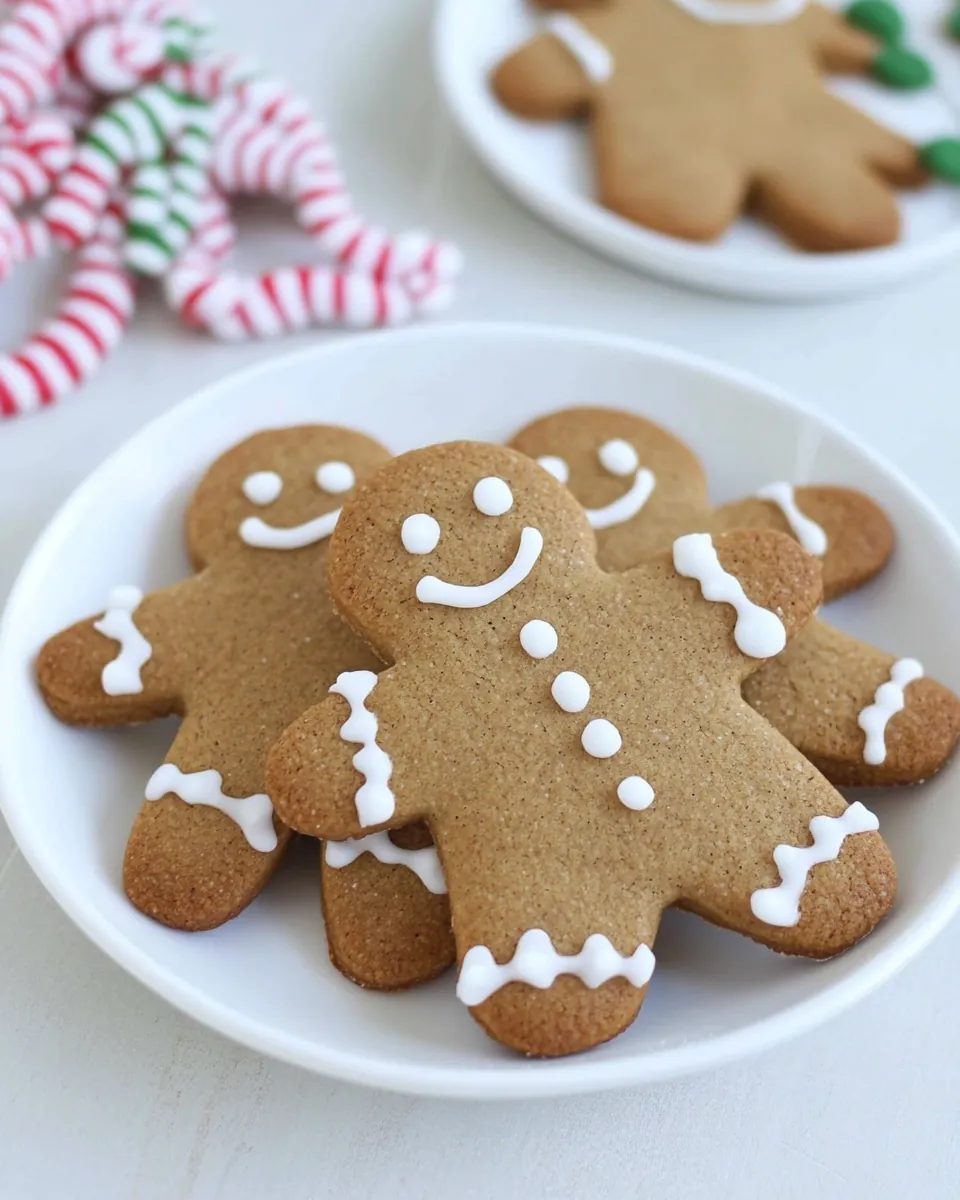
Easy Gingerbread Cookies
There’s something magical about the aroma of freshly baked cookies wafting through the air, and when it comes to holiday baking, Easy Gingerbread Cookies hold a special place in my heart. Growing up, my family would gather around the kitchen, flour dusting our faces as we rolled out dough and crafted gingerbread shapes, each one telling a unique story. As the cookies baked, we’d laugh, sharing memories of past holidays and creating new ones. These cookies aren’t just treats; they’re tradition, warmth, and love all rolled into one delicious bite.
Recipe Snapshot
39 mins
30 mins
9 mins
Medium
120 kcal
1 g
Standard
5 g
Baking Sheet, Mixing Bowl, Oven
The Charm of This Easy Gingerbread Cookies
Perfectly Spiced Flavor
One of the reasons I adore Easy Gingerbread Cookies is their perfect blend of spices. The combination of ginger, cinnamon, and allspice creates a warm, inviting flavor that encapsulates the essence of the holiday season. Each bite is like a hug from your favorite cozy blanket.
Fun for Everyone
Baking these cookies isn’t just about the end result; it’s about the experience. Rolling out the dough and cutting out festive shapes is a wonderful activity for families. Kids love getting involved, and there’s something joyous about decorating each cookie with icing and sprinkles. It’s a great way to bond and create lasting memories.
Customizable Designs
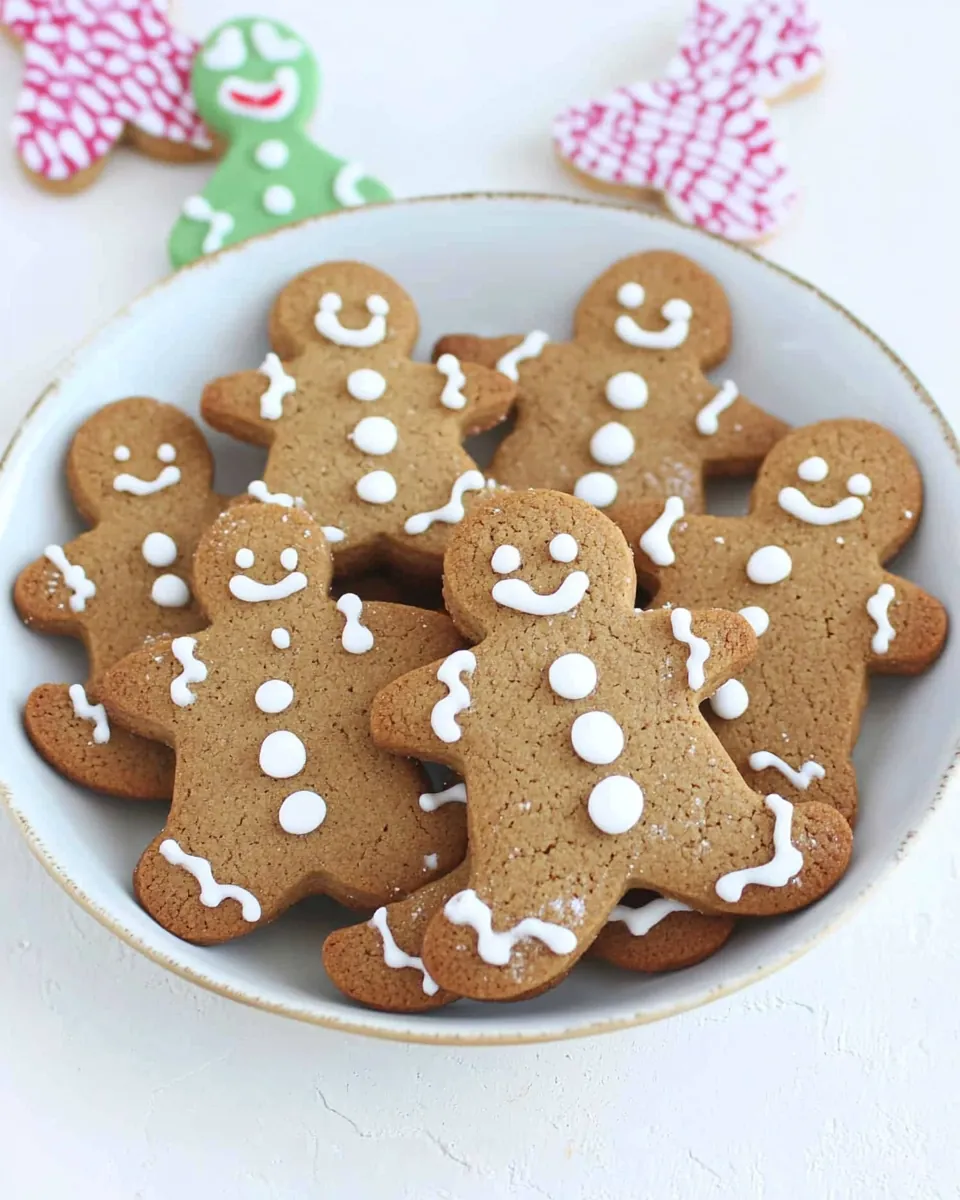
With Easy Gingerbread Cookies, the decorating possibilities are endless! Whether you prefer classic icing designs or fun, colorful sprinkles, let your creativity shine. You can even invite your friends over for a cookie decorating party, making it a fun and interactive way to celebrate the season.
Ideal for Gifting
These cookies also make for delightful gifts! Imagine presenting a beautifully packaged box of Easy Gingerbread Cookies to your loved ones. It’s a sweet gesture that will surely bring smiles and joy to their day. Not to mention, they taste even better when shared!
Perfect for Any Occasion
While they are particularly beloved during the holidays, these cookies can be enjoyed year-round. Whether it’s a cozy evening at home or a festive gathering, Easy Gingerbread Cookies fit right in. They’re perfect with a cup of tea or coffee, making them a versatile treat.
What You’ll Need for Easy Gingerbread Cookies
To create the perfect batch of Easy Gingerbread Cookies, you’ll want to gather a few key ingredients that work harmoniously together. The foundation of these cookies is built on a blend of flour and spices, giving them that signature flavor. The addition of butter and sweeteners like maple syrup and molasses ensures a rich, decadent taste that perfectly complements the spices.
- 1 cup white whole wheat flour (or half all-purpose and half whole wheat flour) – This provides a nutty flavor and a wholesome texture to the cookies.
- ½ teaspoon baking powder – Essential for giving the cookies a nice lift while baking.
- ½ teaspoon cinnamon – Adds a warm, sweet flavor that is synonymous with holiday treats.
- ½ teaspoon ground ginger – The star spice that gives gingerbread its characteristic zing.
- ¼ teaspoon allspice (or ground cloves) – A spice that enhances the warmth of the cookies, making each bite cozy.
- ½ teaspoon salt – Balances the sweetness and enhances the overall flavor profile.
- ¼ cup unsalted butter (softened at room temperature) – Provides a rich, creamy texture and flavor.
- 2 tablespoons milk – A little moisture to keep the dough pliable and soft.
- 2 tablespoons maple syrup – Adds sweetness and a hint of flavor that complements the spices.
- 1 tablespoon molasses – This is key for achieving that deep, rich color and flavor typical of gingerbread.
- Sprinkles, raisins, chocolate chips, icing (optional) – These are fun additions for decorating your cookies.
How to Cook Easy Gingerbread Cookies
Making Easy Gingerbread Cookies is a delightful process that brings warmth and joy right into your kitchen. Trust me, every step will fill your home with irresistible scents that will have everyone eagerly waiting for the first bite. Let’s dive into the steps!
- Start by gathering all your ingredients in one place. Take a large mixing bowl and add the flour, baking powder, cinnamon, ground ginger, allspice, and salt. Mix them well, so the spices are evenly distributed throughout the flour.
- In a separate bowl, beat the softened butter until it’s creamy and light. This will take a minute or two. Once it’s nice and fluffy, add the maple syrup and molasses. Mix until everything is well combined and smooth.
- Now, slowly incorporate the dry ingredients into the wet mixture, using your hands or a wooden spoon to combine them. You want to form a dough that holds together but isn’t too sticky. If it feels a bit dry, don’t hesitate to add a splash of milk to help it bind together.
- Once your dough is ready, shape it into a flattened disc. You can wrap it in plastic wrap if you’d like, but it’s optional. Let the dough chill in the refrigerator for about 10 minutes. This resting period helps the flavors meld and makes it easier to roll out later.
- While the dough rests, preheat your oven to 375 degrees F. Line two baking sheets with parchment paper to prevent sticking.
- After resting, roll out the dough between two pieces of parchment paper or plastic wrap to about ¼-inch thick. This makes it easier to cut shapes without sticking. If you skipped the cooling step, be sure to use parchment paper as it helps significantly.
- Use your favorite cookie cutters to cut out shapes from the rolled dough and transfer them to the prepared baking sheets. Leave a little space between each cookie as they will expand slightly while baking.
- Bake the cookies in the preheated oven for 8 to 10 minutes. Keep an eye on them! They should be lightly browned around the edges when ready. For me, 9 minutes usually does the trick just right.
- Once baked, let them cool on the baking sheets for about a minute before transferring them to a wire rack to cool completely. This helps them firm up and makes them easier to handle.
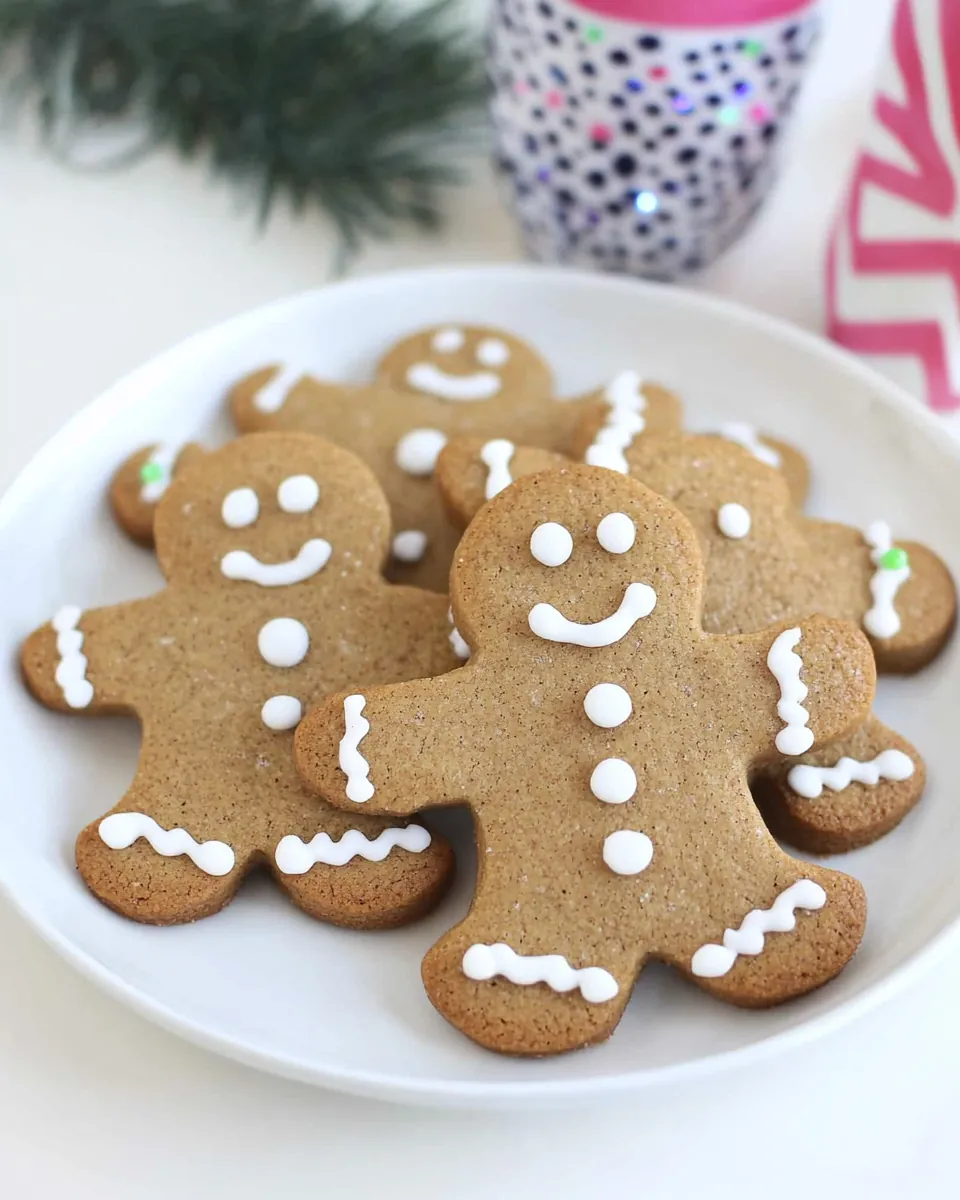
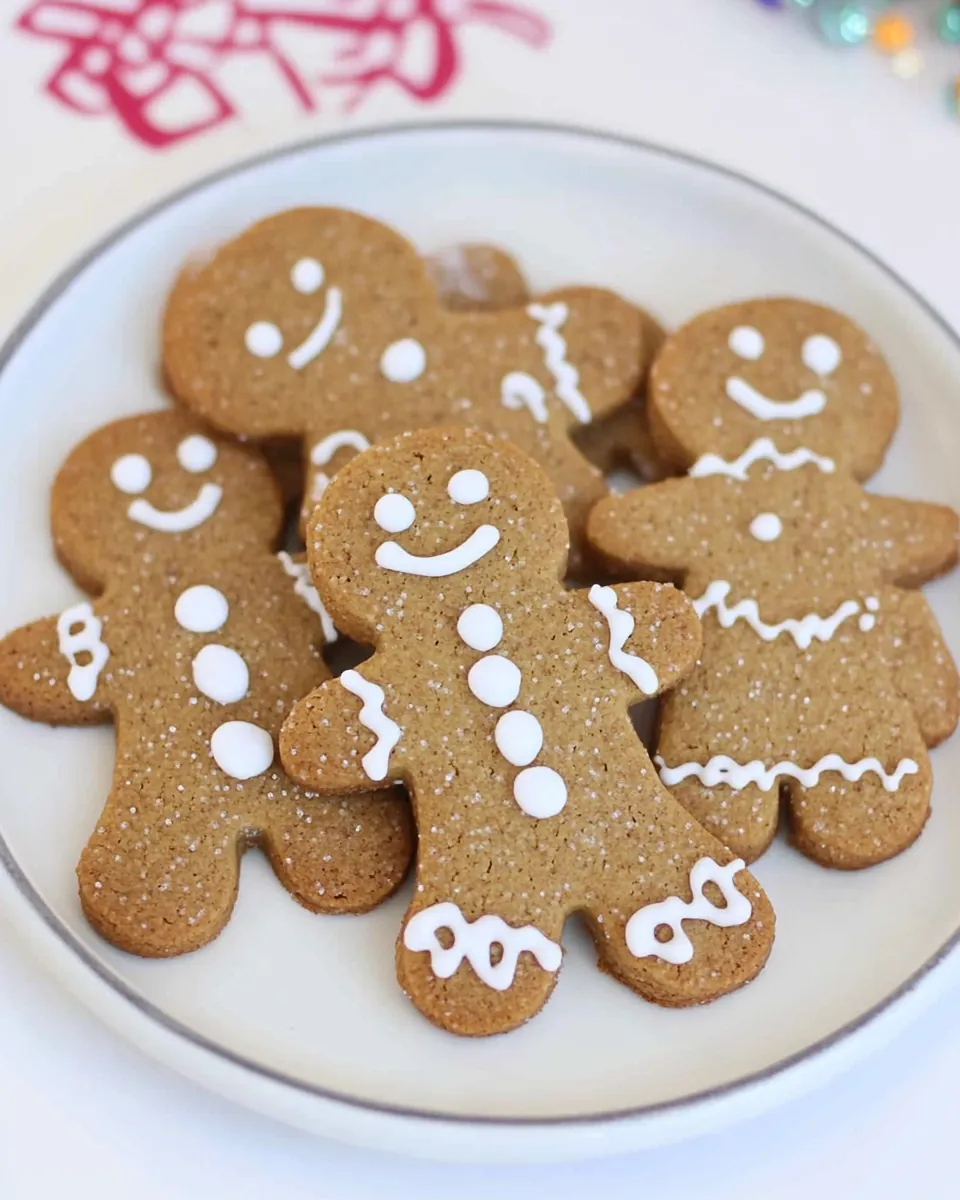
- Finally, once they are completely cool, it’s time to decorate! Use a small butter knife or a clean paintbrush to spread your icing, and sprinkle on your decorations like sprinkles, raisins, or chocolate chips as desired. Be creative!
Things Worth Knowing
- Chill the Dough: Chilling the dough before rolling it out helps to prevent sticking and makes it easier to cut out shapes.
- Watch the Baking Time: Every oven is different! Keep an eye on your cookies from 8 minutes onward to prevent over-baking.
- Experiment with Flavors: Feel free to add a pinch of nutmeg or cardamom for a unique twist on the traditional gingerbread flavor.
- Storage: Store leftover cookies in an airtight container to keep them fresh and soft for several days.
Ways to Adapt This Recipe
The beauty of Easy Gingerbread Cookies is their adaptability. You can make simple adjustments to create variations that cater to personal tastes or dietary needs. Here are some fantastic ideas:
- Gluten-Free: Substitute the flour with a gluten-free blend to accommodate those with gluten sensitivities.
- Dairy-Free: Use melted coconut oil instead of butter and unsweetened non-dairy milk to make this recipe completely dairy-free.
- Sweetness Level: For a sweeter cookie, consider adding 2 tablespoons of granulated sugar to the dough mixture.
- Flavor Infusion: Mix in some orange or lemon zest for a citrusy twist that enhances the spice profile.
- Decorating Options: Instead of traditional icing, try using dark chocolate for a rich, decadent finish.
- Make Ahead: Prepare the dough in advance and store it in the refrigerator overnight. It’ll be ready to roll out and bake the next day.
Serving Ideas for Easy Gingerbread Cookies
When it comes to serving Easy Gingerbread Cookies, the options are as delightful as the cookies themselves. Here are some creative ideas:
- Gift Packaging: Present your cookies in decorative tins or boxes, making them perfect gifts for friends and family during the holiday season.
- Cookie Decorating Parties: Host a cookie decorating party where guests can personalize their cookies with different toppings and icing.
- Festive Treats: Serve these cookies on a platter at holiday gatherings, alongside hot cocoa or spiced apple cider.
- Seasonal Displays: Create a beautiful centerpiece by stacking decorated cookies on a cake stand for a charming holiday display.
- Pair with Tea: Enjoy these cookies with a warm cup of tea or coffee, making for a cozy afternoon treat.
- Lunchbox Surprise: Pack these cookies in your children’s lunch as a delightful surprise that they’ll look forward to.
FAQ
Conclusion
Easy Gingerbread Cookies are not just cookies; they are a tradition filled with love, laughter, and delightful memories. Baking and decorating these cookies brings joy to any gathering, making them a perfect addition to your holiday celebrations. I encourage you to try this recipe and create your own family memories, one delicious cookie at a time!
Easy Gingerbread Cookies
Ingredients
Equipment
Method
- Start by gathering all your ingredients in one place. Take a large mixing bowl and add the flour, baking powder, cinnamon, ground ginger, allspice, and salt. Mix them well, so the spices are evenly distributed throughout the flour.
- In a separate bowl, beat the softened butter until it's creamy and light. This will take a minute or two. Once it’s nice and fluffy, add the maple syrup and molasses. Mix until everything is well combined and smooth.
- Now, slowly incorporate the dry ingredients into the wet mixture, using your hands or a wooden spoon to combine them. You want to form a dough that holds together but isn’t too sticky. If it feels a bit dry, don’t hesitate to add a splash of milk to help it bind together.
- Once your dough is ready, shape it into a flattened disc. You can wrap it in plastic wrap if you’d like, but it’s optional. Let the dough chill in the refrigerator for about 10 minutes. This resting period helps the flavors meld and makes it easier to roll out later.
- While the dough rests, preheat your oven to 375 degrees F. Line two baking sheets with parchment paper to prevent sticking.
- After resting, roll out the dough between two pieces of parchment paper or plastic wrap to about ¼-inch thick. This makes it easier to cut shapes without sticking. If you skipped the cooling step, be sure to use parchment paper as it helps significantly.
- Use your favorite cookie cutters to cut out shapes from the rolled dough and transfer them to the prepared baking sheets. Leave a little space between each cookie as they will expand slightly while baking.
- Bake the cookies in the preheated oven for 8 to 10 minutes. Keep an eye on them! They should be lightly browned around the edges when ready. For me, 9 minutes usually does the trick just right.
- Once baked, let them cool on the baking sheets for about a minute before transferring them to a wire rack to cool completely. This helps them firm up and makes them easier to handle.
- Finally, once they are completely cool, it’s time to decorate! Use a small butter knife or a clean paintbrush to spread your icing, and sprinkle on your decorations like sprinkles, raisins, or chocolate chips as desired. Be creative!
Notes
- Tip 1: Stir together ½ cup powdered sugar with a few drops of milk to make royal icing for decorating.
- Tip 2: Add 4 ounces of softened cream cheese with 1-2 tablespoons honey for a delicious cream cheese icing.
- Tip 3: You can make the dough night before and refrigerate it wrapped in plastic.
- Tip 4: For a gluten-free option, consider using a gluten-free flour blend.
- Tip 5: If the dough seems too dry, add an extra tablespoon of milk but be cautious not to overdo it.