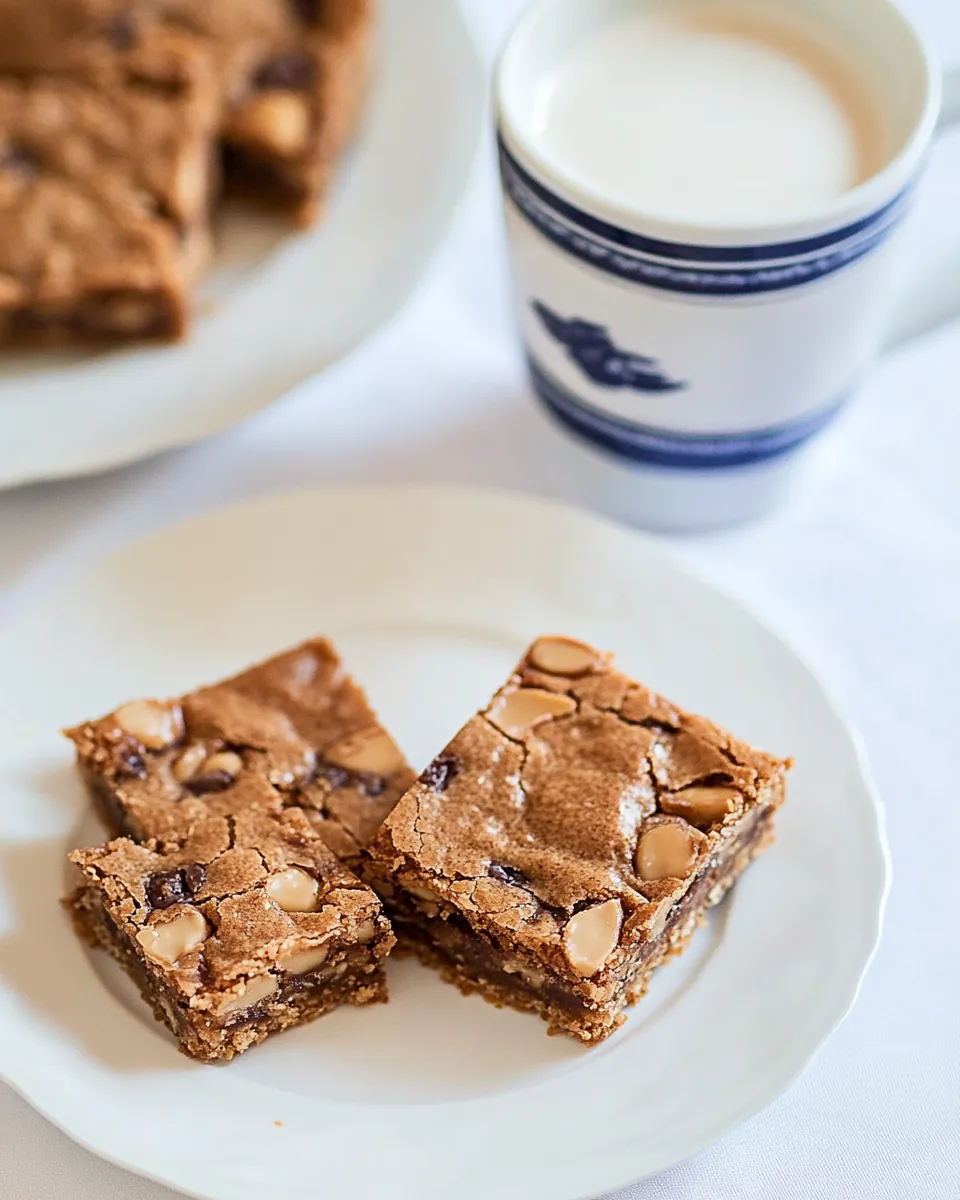
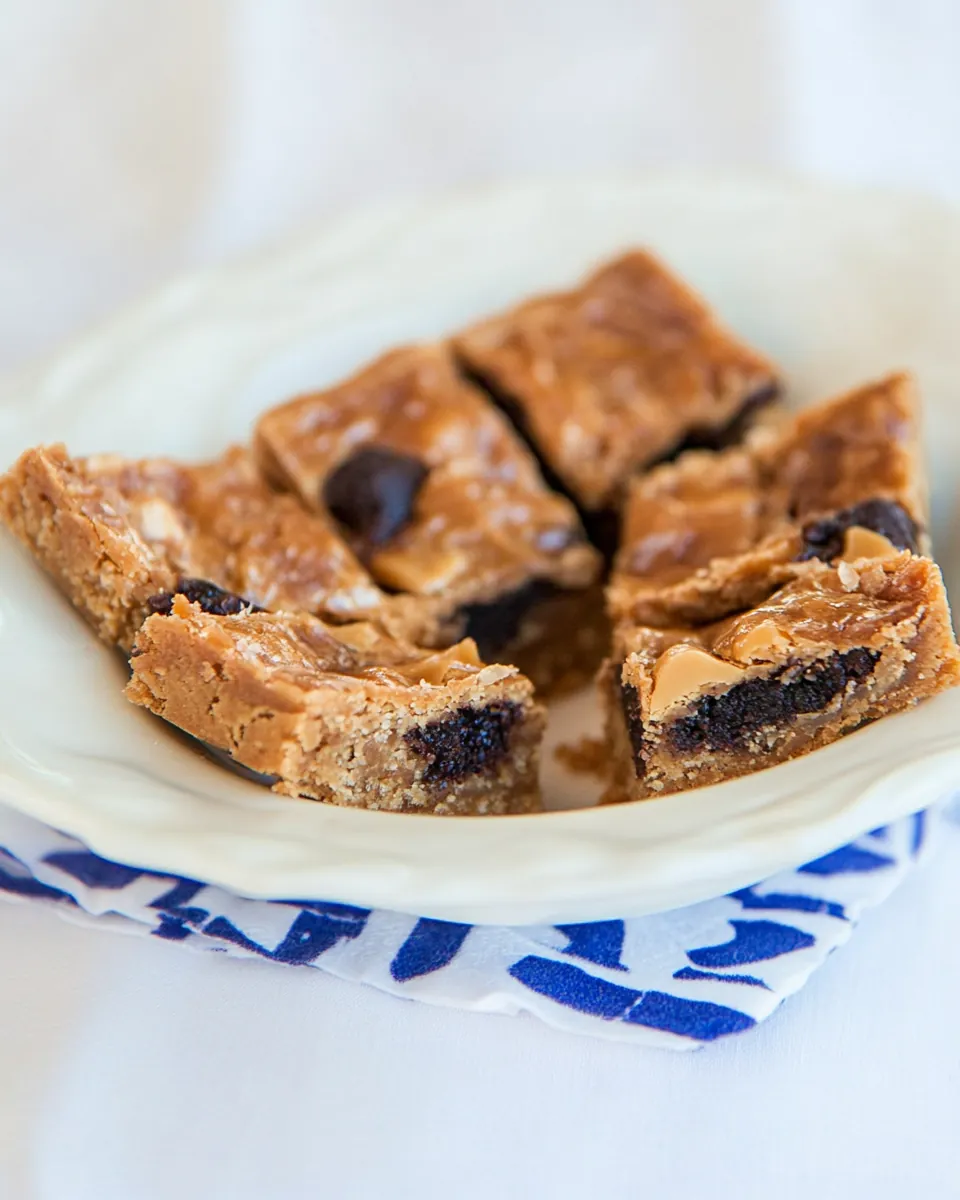
Butterscotch Bars
As the days turn chilly, I find myself craving the warmth of home-baked treats. One of my absolute favorites is Butterscotch Bars. These delicious bars remind me of evenings spent in the kitchen with my family, where the sweet scent of melting butterscotch chips would fill the air. They are the perfect combination of chewy and crispy, making each bite a little moment of joy. I remember the first time I baked them; I was amazed at how simple the recipe was, yet the outcome was so rewarding. Friends and family would gather around, and these bars would disappear in moments. Honestly, there’s something magical about these treats that brings people together.
Recipe Snapshot
60 mins
0 mins
0 mins
Medium
200 kcal
2 g
Gluten-Free, Low FODMAP
8 g
Oven, Baking Sheet, Frying Pan, Whisk, Mixing Bowl, Wooden Spoon
What You’ll Enjoy About This Butterscotch Bars
Everyone Loves Butterscotch
One of the main reasons I adore Butterscotch Bars is the nostalgic flavor they bring. The combination of brown sugar and butter creates a rich taste that’s simply irresistible.
Easy to Make
If you’re anything like me, you appreciate a recipe that isn’t too fussy. These bars come together in no time, perfect for a quick afternoon bake. You can even get the kids involved in measuring and mixing, making for a fun family activity.
Perfect for Any Occasion
Whether it’s a cozy family gathering or a party with friends, Butterscotch Bars are a hit. They’re great for potlucks, dessert tables, or just to enjoy with a cup of coffee. Every time I serve them, I get compliments that make my heart swell.
Versatile Treats
What I love about these bars is their versatility. You can enjoy them as is, or you can dress them up with toppings like whipped cream or a drizzle of chocolate. They’re deliciously decadent on their own, but there’s always room for a bit of creativity!
A Treat to Share
Sharing Butterscotch Bars is a joy. Whether I package them up for friends or enjoy them with loved ones, they always seem to bring smiles. There’s something special about treats made with love and shared with others.
What You Need for Butterscotch Bars
Gathering the right ingredients is essential for a delightful baking experience. Each one plays a role in creating that perfect texture and flavor. The key players here are granulated sugar, brown sugar, and butterscotch chips, all of which contribute to the unmistakable sweetness and richness of these bars.
- Granulated Sugar: Adds sweetness and aids in the browning process, creating a delightful crust.
- Brown Sugar: Provides moisture and a deeper flavor, giving these bars their signature taste.
- Unsalted Butter: Ensures rich flavor and tender texture.
- Eggs: Bind the ingredients together, adding moisture and richness.
- Flour: Acts as the base for the bars, providing structure.
- Salt: Enhances the overall flavor by balancing the sweetness.
- Baking Powder: Helps the bars rise, creating a light and fluffy texture.
- Butterscotch Chips: The star ingredient that adds bursts of butterscotch flavor.
Making This Butterscotch Bars
Making Butterscotch Bars is a straightforward and enjoyable process. You’ll love how quickly the kitchen fills with the warm, sweet aroma as they bake. Follow these steps, and you’ll have a delicious treat ready to share!
- Preheat your oven to 350ºF (180ºC). Line the inside of an 8-inch (20cm) square baking pan with foil, ensuring it overhangs the edges; this makes it easier to lift the bars out once baked. Butter the foil with melted butter or spray with non-stick spray for easy removal.
- In a medium bowl, using a stand mixer or by hand, beat together the granulated sugar, brown sugar, and unsalted butter at medium speed until the mixture is smooth and creamy, which should take about 2 minutes. The sugars should be well blended and the mixture should be light in color.
- Add in one egg, one egg white, and a teaspoon of vanilla. Continue to beat with the mixer on medium speed, stopping occasionally to scrape down the sides of the bowl to ensure everything is well incorporated.
- In a small bowl, whisk together the flour, salt, and baking powder. With the mixer on low speed, gradually mix the dry ingredients into the wet mixture. You may need to use a spatula to give it a few extra stirs until it is smooth and well combined.
- Spread the batter evenly into your prepared pan. Use a spatula to ensure it reaches the edges and is level. This will help the bars bake evenly.
- Evenly strew the butterscotch chips over the top of the batter, pressing them lightly into the surface for even distribution.
- Bake in your preheated oven for about 22 to 25 minutes. You’ll know they’re done when the top is moderately golden brown and feels just set in the center when you gently touch it.
- After baking, let the bars cool in the pan on a wire rack. Once they are cool enough to handle, lift the bars out using the foil overhang, remove the foil, and cut them into rectangles.
- Serve and enjoy! Feel free to share with friends or keep them all for yourself – I won’t judge!
Things Worth Knowing
- Check the Texture: Make sure the bars feel set but still soft in the center as they finish baking. Overbaking can result in dry bars.
- Let Them Cool: Allowing the bars to cool helps them firm up for easier cutting and a better texture.
- Use Quality Ingredients: Higher quality chocolate or butterscotch chips will enhance the flavor significantly.
- Experiment with Add-Ins: Feel free to add nuts, or replace some chips with chocolate for a delightful twist.
Expert Tips about Butterscotch Bars
To achieve the best results with your Butterscotch Bars, here are some expert tips to consider. They will guide you towards making the perfect batch every time.
- Storage: To keep your bars fresh, store them in an air-tight container at room temperature. They’ll stay delicious for up to five days.
- Freezing: Yes, you can freeze these bars! Wrap them well in plastic wrap and place them in a freezer-safe container. They’ll maintain their quality for up to three months.
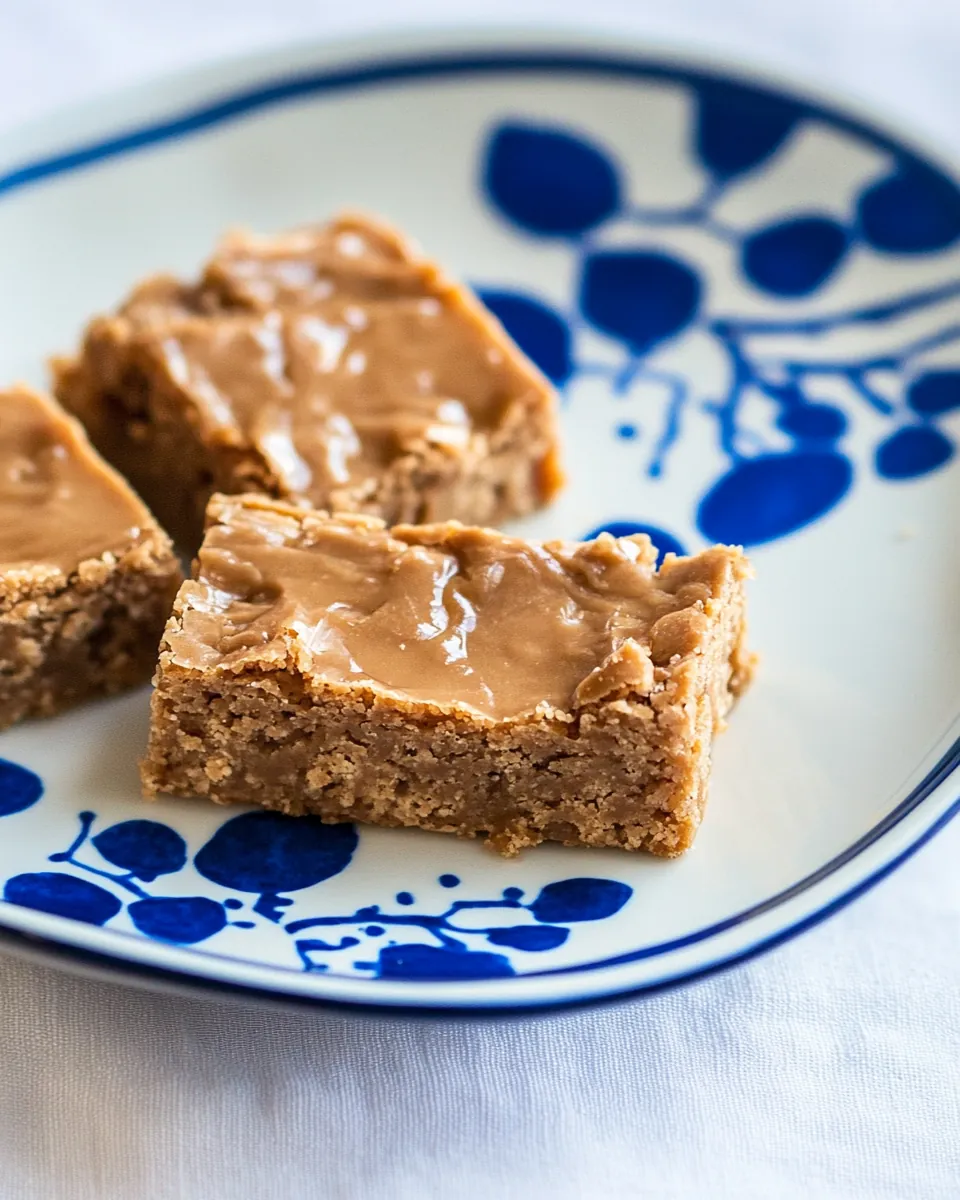
- Pairing: These bars pair beautifully with a scoop of vanilla ice cream or a dollop of whipped cream, taking the experience to another level.
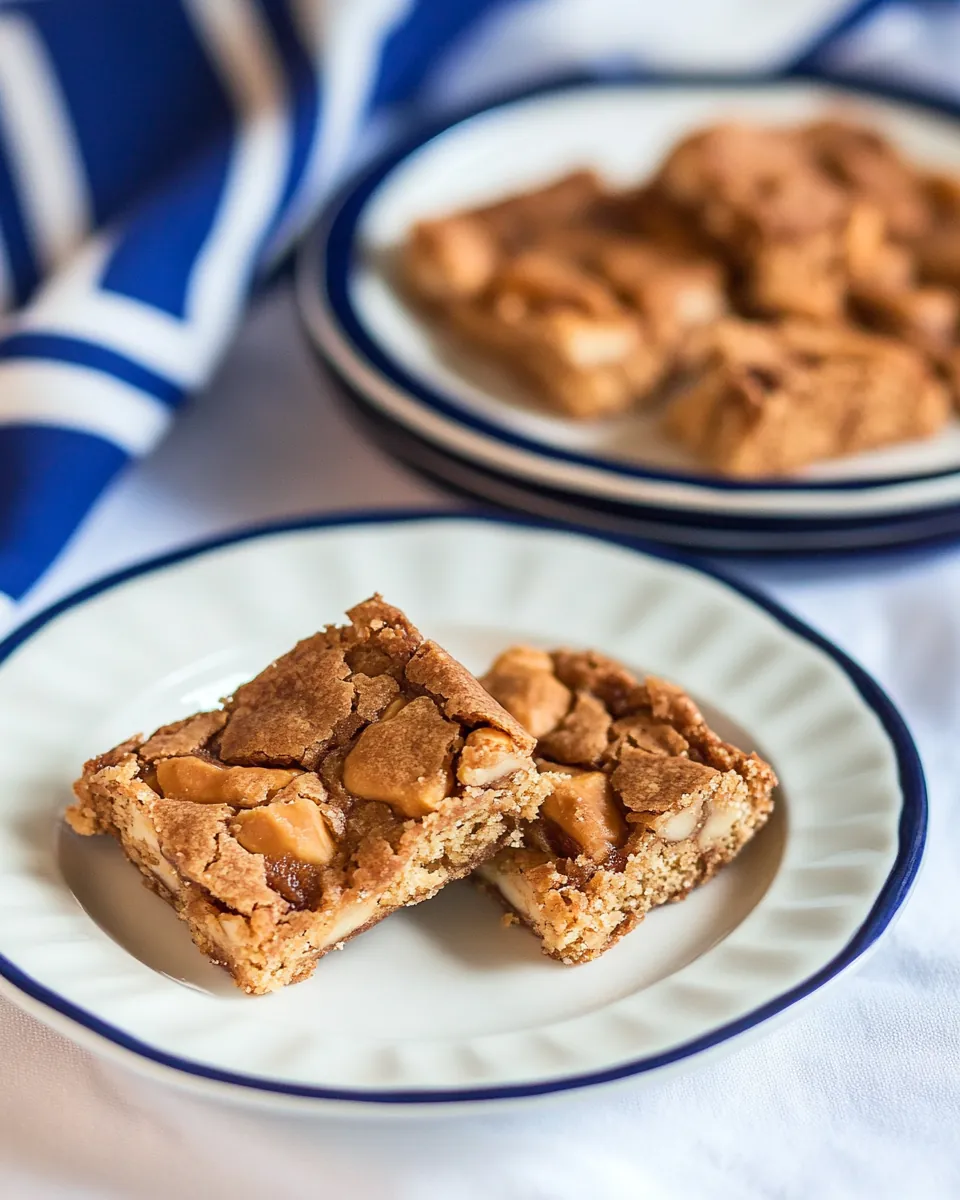
- Cuts: For cleaner cuts, use a sharp knife dipped in hot water. Wipe it clean between cuts for perfect rectangles.
- Variations: Consider adding a handful of nuts or a sprinkle of sea salt on top before baking for an interesting texture and flavor.
How to Enjoy Butterscotch Bars
- As a Snack: These bars are perfect for a quick snack, especially when you need a little pick-me-up during the day.
- Afternoon Treat: Pair them with tea or coffee for a delightful afternoon break.
- At Parties: Serve them at gatherings or potlucks; they’re sure to be a crowd-pleaser!
- Seasonal Events: These bars are fantastic for holidays and special occasions, providing a comforting sweetness that everyone loves.
- With Ice Cream: Top them with ice cream for dessert; the warm bars and cold ice cream create an incredible contrast.
- Leftover Tips: If you have leftovers, store them properly to maintain freshness, and enjoy them later!
FAQ
Conclusion
In conclusion, Butterscotch Bars encapsulate the essence of comfort food with their rich and delightful flavors. Their simple preparation makes them accessible for everyone, regardless of baking experience. I encourage you to try making these bars yourself; they are sure to evoke joy and satisfaction with every bite. Share them with family and friends, and watch as they become a beloved treat in your home.
Butterscotch Bars
Ingredients
Equipment
Method
- Preheat your oven to 350ºF (180ºC). Line the inside of an 8-inch (20cm) square baking pan with foil, ensuring it overhangs the edges; this makes it easier to lift the bars out once baked. Butter the foil with melted butter or spray with non-stick spray for easy removal.
- In a medium bowl, using a stand mixer or by hand, beat together the granulated sugar, brown sugar, and unsalted butter at medium speed until the mixture is smooth and creamy, which should take about 2 minutes. The sugars should be well blended and the mixture should be light in color.
- Add in one egg, one egg white, and a teaspoon of vanilla. Continue to beat with the mixer on medium speed, stopping occasionally to scrape down the sides of the bowl to ensure everything is well incorporated.
- In a small bowl, whisk together the flour, salt, and baking powder. With the mixer on low speed, gradually mix the dry ingredients into the wet mixture. You may need to use a spatula to give it a few extra stirs until it is smooth and well combined.
- Spread the batter evenly into your prepared pan. Use a spatula to ensure it reaches the edges and is level. This will help the bars bake evenly.
- Evenly strew the butterscotch chips over the top of the batter, pressing them lightly into the surface for even distribution.
- Bake in your preheated oven for about 22 to 25 minutes. You’ll know they’re done when the top is moderately golden brown and feels just set in the center when you gently touch it.
- After baking, let the bars cool in the pan on a wire rack. Once they are cool enough to handle, lift the bars out using the foil overhang, remove the foil, and cut them into rectangles.
- Serve and enjoy! Feel free to share with friends or keep them all for yourself – I won’t judge!
Notes
- Storage: To keep your bars fresh, store them in an air-tight container at room temperature. They’ll stay delicious for up to five days.
- Freezing: Yes, you can freeze these bars! Wrap them well in plastic wrap and place them in a freezer-safe container. They’ll maintain their quality for up to three months.
- Pairing: These bars pair beautifully with a scoop of vanilla ice cream or a dollop of whipped cream, taking the experience to another level.
- Cuts: For cleaner cuts, use a sharp knife dipped in hot water. Wipe it clean between cuts for perfect rectangles.
- Variations: Consider adding a handful of nuts or a sprinkle of sea salt on top before baking for an interesting texture and flavor.