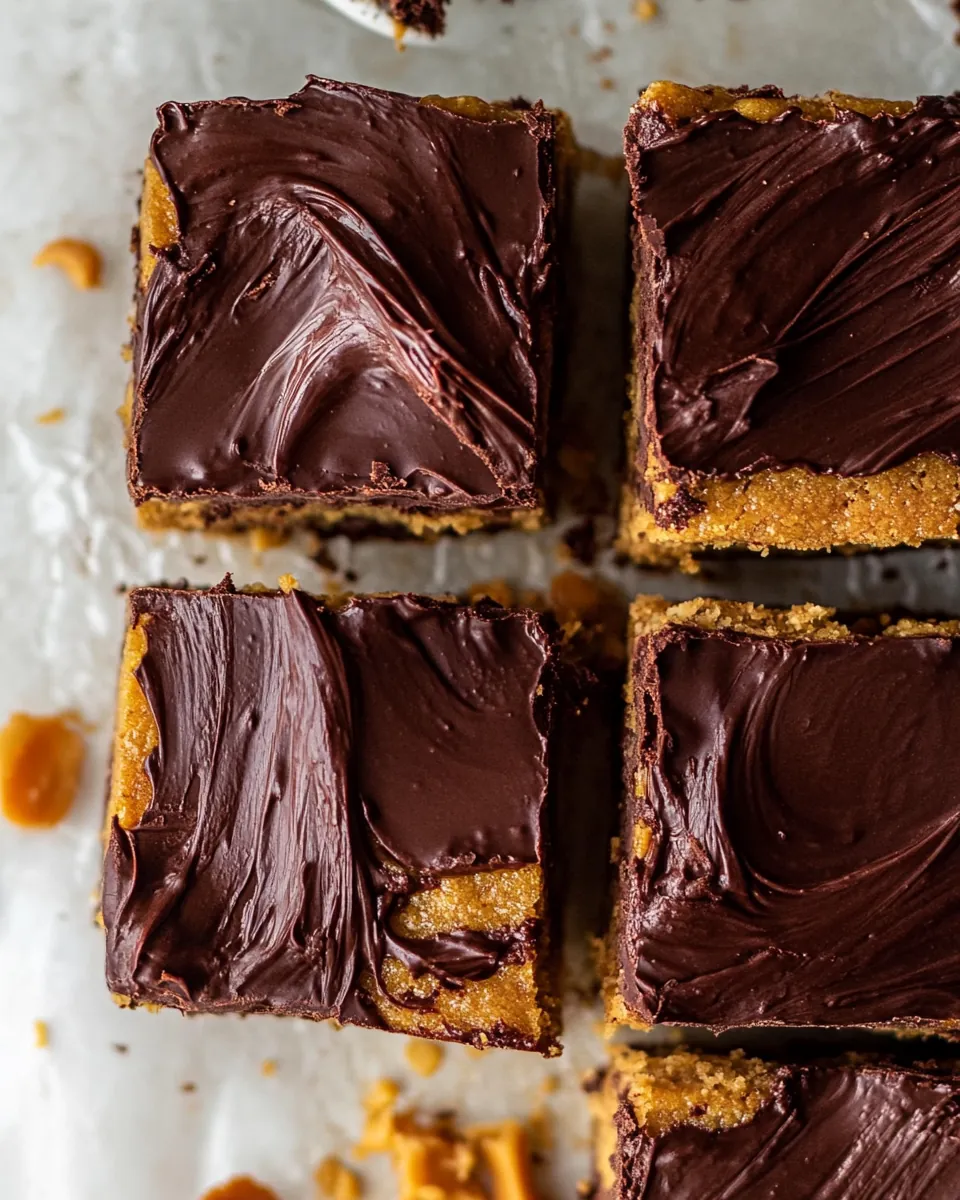
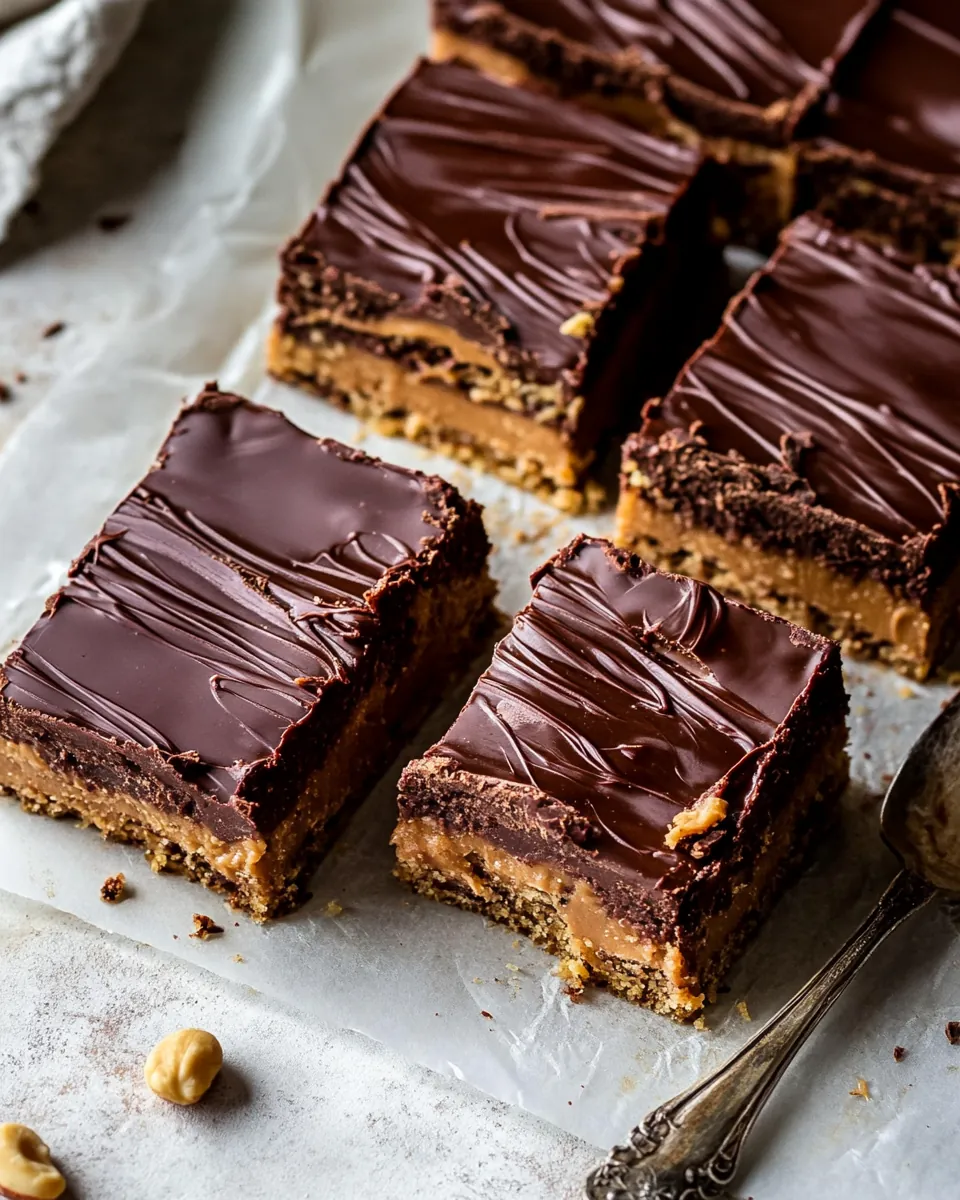
Fudgy Chocolate Peanut Butter Bars
The first time I made Fudgy Chocolate Peanut Butter Bars, I was in the midst of a chocolate craving that simply couldn’t be ignored. With the perfect blend of rich, fudgy chocolate and creamy peanut butter, these bars quickly became my go-to sweet treat for any occasion. I remember having friends over for a casual movie night, and as the smell of these delightful bars wafted through the house, they couldn’t wait to dig in. Each bite is a heavenly combination of sweetness and a touch of saltiness, making it an unforgettable experience. Whether it’s a cozy gathering or just a little indulgence after a long day, these bars have a way of bringing joy to every moment. Trust me, once you try making them, you’ll find yourself sharing the recipe with everyone you know!
Recipe Snapshot
40 mins
20 mins
20 mins
Medium
250 kcal
5 g
Keto, Paleo, Gluten-Free
14 g
Baking Sheet, Wooden Spoon, Chef’s Knife, Oven
What Sets This Fudgy Chocolate Peanut Butter Bars Apart
Rich Flavor Combination
What makes Fudgy Chocolate Peanut Butter Bars truly special is their rich flavor combination. The chocolate brings sweetness while the peanut butter adds a creamy texture, creating a perfect balance that keeps you coming back for more.
Easy to Make
If you’re looking for a quick and easy recipe, this is it! With simple ingredients and straightforward steps, you’ll have a batch of delicious bars ready in no time. Even novice bakers can master this recipe with ease.
Customizable Options
Another reason to love these bars is their versatility. You can easily customize the recipe based on your taste preferences. Want it a little sweeter? Add more chocolate chips! Prefer a nutty crunch? Throw in some chopped nuts. The possibilities are endless.
Perfect for Any Occasion
Whether it’s a holiday gathering, a birthday party, or just a regular weeknight, these bars fit right in. They’re great for sharing but are also perfect for enjoying solo while binge-watching your favorite series.
Healthier Indulgence
While they taste indulgent, these bars are made with wholesome ingredients, making them a healthier dessert option. With ingredients like almond flour and pure maple syrup, you can feel good about what you’re eating.
Fun to Make with Kids
Getting the kids involved in the kitchen is always a fun idea, and making Fudgy Chocolate Peanut Butter Bars is no exception. They can help with mixing the batter and spreading it in the pan, making it a perfect family activity.
Essential Ingredients for Fudgy Chocolate Peanut Butter Bars

When it comes to making Fudgy Chocolate Peanut Butter Bars, each ingredient plays a crucial role in achieving the perfect texture and flavor. The combination of nutty, sweet, and rich flavors works harmoniously, creating an irresistibly fudgy treat. Here are the key players:
- 1/2 cup melted coconut oil: This adds moisture and a hint of tropical flavor to the bars.
- 1/2 cup creamy peanut butter: The star ingredient that provides a smooth, nutty taste.
- 1/2 cup maple syrup: Nature’s sweetener that enhances the bars’ overall flavor.
- 2 eggs: These help bind the ingredients together and provide structure.
- 2 teaspoons vanilla extract: Improves the flavor profile with a sweet aroma.
- 3 cups almond flour: A gluten-free base that adds a nutty flavor and texture.
- 1 teaspoon baking powder: Helps the bars rise slightly during baking.
- 1/2 teaspoon kosher salt: Balances the sweetness and enhances overall flavor.
- 2 cups mini chocolate chips: For that extra chocolatey goodness throughout.
- 2 tablespoons avocado oil: Adds richness and keeps the bars moist.
- 1/3 cup whole milk: Incorporates creaminess into the chocolate glaze.
Recipe Steps for Fudgy Chocolate Peanut Butter Bars
Making Fudgy Chocolate Peanut Butter Bars is a delightful process that fills your kitchen with irresistible aromas. Let’s get started with these simple steps to create your own batch of fudgy goodness!
Preheat your oven to 350° F. Line a 9×13 inch baking dish with parchment paper, ensuring the sides are covered for easy removal later. This will help your bars come out easily and maintain their shape.
In a large mixing bowl, stir together melted coconut oil and creamy peanut butter until smooth. The mixture should blend seamlessly, creating a rich and creamy consistency. Next, add in the maple syrup, eggs, and vanilla extract. Mix until well combined, ensuring each ingredient is fully incorporated.
Now it’s time to add the dry ingredients. Gradually mix in almond flour, baking powder, and kosher salt. Stir gently until a dough forms. This dough should be thick and slightly sticky.
Spread the dough evenly into the prepared baking dish. You can use a spatula to smooth the top, making sure it’s evenly distributed across the dish. Bake in the preheated oven for 20 to 22 minutes, or until the center is just set. The edges will look slightly golden, but the center should remain fudgy.
Once done, remove the bars from the oven and let them cool completely in the baking dish. This will enhance the flavor and texture, ensuring they slice perfectly later.
While the bars are cooling, prepare the glaze. For Glaze 1, microwave 1 cup of chocolate chips and avocado oil together in a bowl, heating in 30-second intervals. Stir after each interval until the mixture is melted and smooth. This should result in a glossy glaze that drizzles beautifully.
For Glaze 2, repeat the process with another cup of chocolate chips and whole milk. This glaze will add a creamy layer on top of the bars, enriching their flavor.
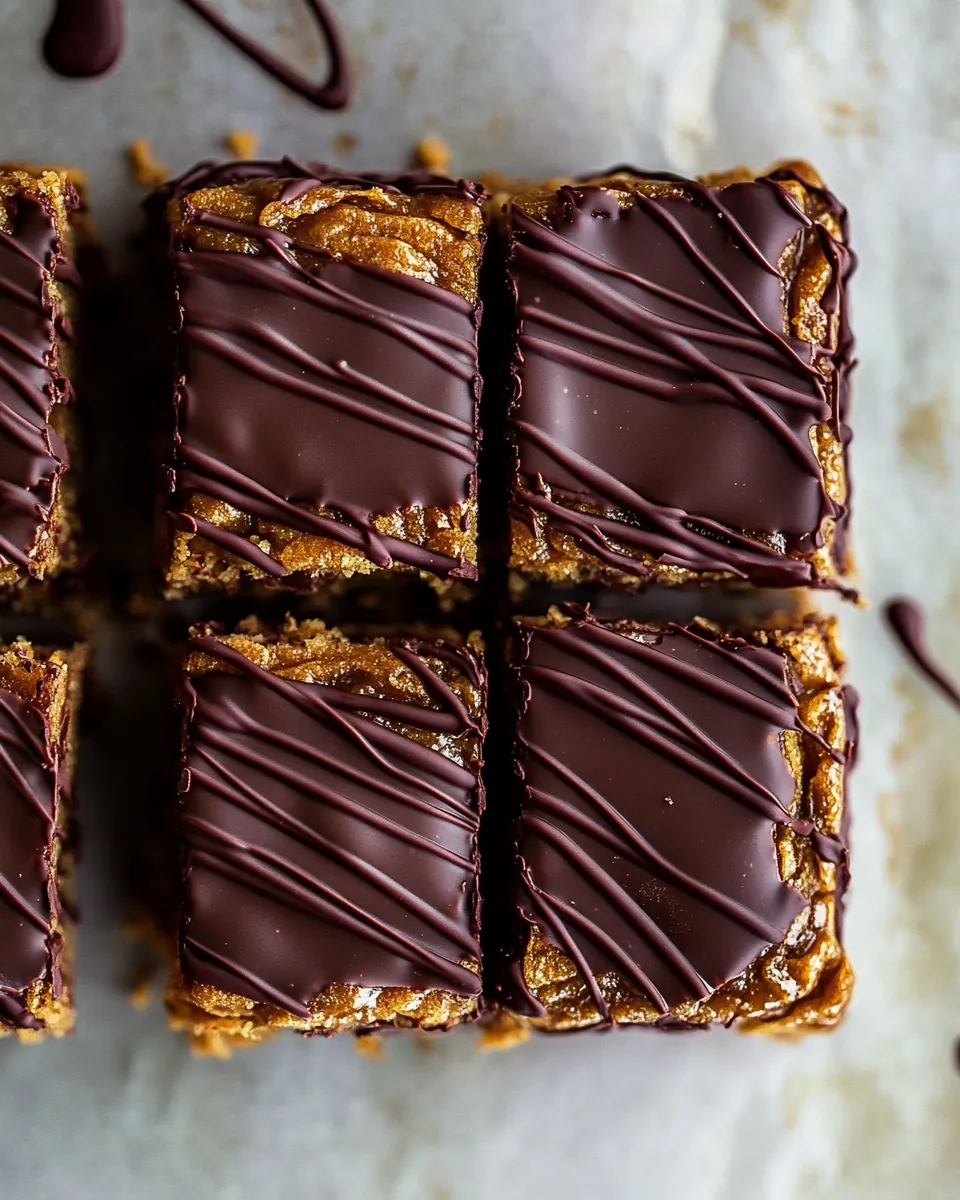
Once the bars are cool, spread Glaze 2 evenly over the surface. Allow it to sit for about 15 to 20 minutes to set slightly before drizzling Glaze 1 on top. Use a butter knife to swirl the two glazes together for an artistic finish.
Chill the prepared bars in the fridge for 30 minutes to an hour, until the glazes are fully set. The colder they get, the easier they will be to cut into neat squares.
Slice the bars into squares or rectangles, depending on your preferred serving size. Enjoy them chilled for the best flavor and texture. Store any leftovers in a cool place or in the fridge to maintain freshness.
Things Worth Knowing
- Be patient: Allow the bars to cool completely before cutting. This helps them set and makes slicing easier.
- Check for doneness: The bars should be just set in the center. Over-baking can lead to a dry texture.
- Storage tip: Keep the bars in an airtight container in the fridge to maintain their fudginess.
- Experiment with flavors: Feel free to add nuts or dried fruits for extra texture and flavor.
Tips for Success
To make your baking experience with Fudgy Chocolate Peanut Butter Bars as smooth as possible, here are some essential tips:
- Storage: Store leftover bars in an airtight container in the fridge to maintain freshness for up to one week.
- Freezing: You can freeze the bars for longer storage. Wrap them individually in plastic wrap and place them in an airtight container.
- Pairing: These bars pair beautifully with a scoop of vanilla ice cream for a decadent dessert.
- Serving suggestion: They are perfect for potlucks and gatherings, as they can easily be sliced into bite-sized pieces.
- Experiment with toppings: Consider adding crushed nuts or a sprinkle of sea salt on top of the glazes for added flavor and texture.
What Goes Well With This Fudgy Chocolate Peanut Butter Bars
When it comes to serving your Fudgy Chocolate Peanut Butter Bars, there are endless possibilities that can enhance your experience:
- Perfect for dessert: These bars are a fantastic way to satisfy your sweet tooth after dinner or during special occasions.
- Ideal for lunchboxes: Cut them into smaller squares for a delicious and nutritious treat that kids will love in their lunchboxes.
- Cup of coffee: Pair these bars with a hot cup of coffee or tea for a delightful afternoon pick-me-up.
- Great for gatherings: Bring them along to parties or potlucks; they’re sure to be a hit with friends and family.
- Seasonal variations: Consider topping them with seasonal fruits like raspberries or strawberries for a fresh twist in summer.
- Chilly weather comfort: Enjoy these bars while snuggled up on the couch during cold nights—comfort food at its best!
FAQ
Conclusion
The Fudgy Chocolate Peanut Butter Bars are truly a delightful treat that brings a perfect balance of flavor and texture. They offer a unique combination of fudgy chocolate and creamy peanut butter that satisfies any sweet craving. I encourage you to try making this recipe soon—it’s an easy way to elevate your dessert game and impress your family and friends. Trust me, once you taste these bars, you’ll want to make them over and over again!
Fudgy Chocolate Peanut Butter Bars
Ingredients
Equipment
Method
- 1. Preheat your oven to 350° F. Line a 9×13 inch baking dish with parchment paper, ensuring the sides are covered for easy removal later. This will help your bars come out easily and maintain their shape.
- 2. In a large mixing bowl, stir together melted coconut oil and creamy peanut butter until smooth. The mixture should blend seamlessly, creating a rich and creamy consistency. Next, add in the maple syrup, eggs, and vanilla extract. Mix until well combined, ensuring each ingredient is fully incorporated.
- 3. Now it's time to add the dry ingredients. Gradually mix in almond flour, baking powder, and kosher salt. Stir gently until a dough forms. This dough should be thick and slightly sticky.
- 4. Spread the dough evenly into the prepared baking dish. You can use a spatula to smooth the top, making sure it’s evenly distributed across the dish. Bake in the preheated oven for 20 to 22 minutes, or until the center is just set. The edges will look slightly golden, but the center should remain fudgy.
- 5. Once done, remove the bars from the oven and let them cool completely in the baking dish. This will enhance the flavor and texture, ensuring they slice perfectly later.
- 6. While the bars are cooling, prepare the glaze. For Glaze 1, microwave 1 cup of chocolate chips and avocado oil together in a bowl, heating in 30-second intervals. Stir after each interval until the mixture is melted and smooth. This should result in a glossy glaze that drizzles beautifully.
- 7. For Glaze 2, repeat the process with another cup of chocolate chips and whole milk. This glaze will add a creamy layer on top of the bars, enriching their flavor.
- 8. Once the bars are cool, spread Glaze 2 evenly over the surface. Allow it to sit for about 15 to 20 minutes to set slightly before drizzling Glaze 1 on top. Use a butter knife to swirl the two glazes together for an artistic finish.
- 9. Chill the prepared bars in the fridge for 30 minutes to an hour, until the glazes are fully set. The colder they get, the easier they will be to cut into neat squares.
- 10. Slice the bars into squares or rectangles, depending on your preferred serving size. Enjoy them chilled for the best flavor and texture. Store any leftovers in a cool place or in the fridge to maintain freshness.