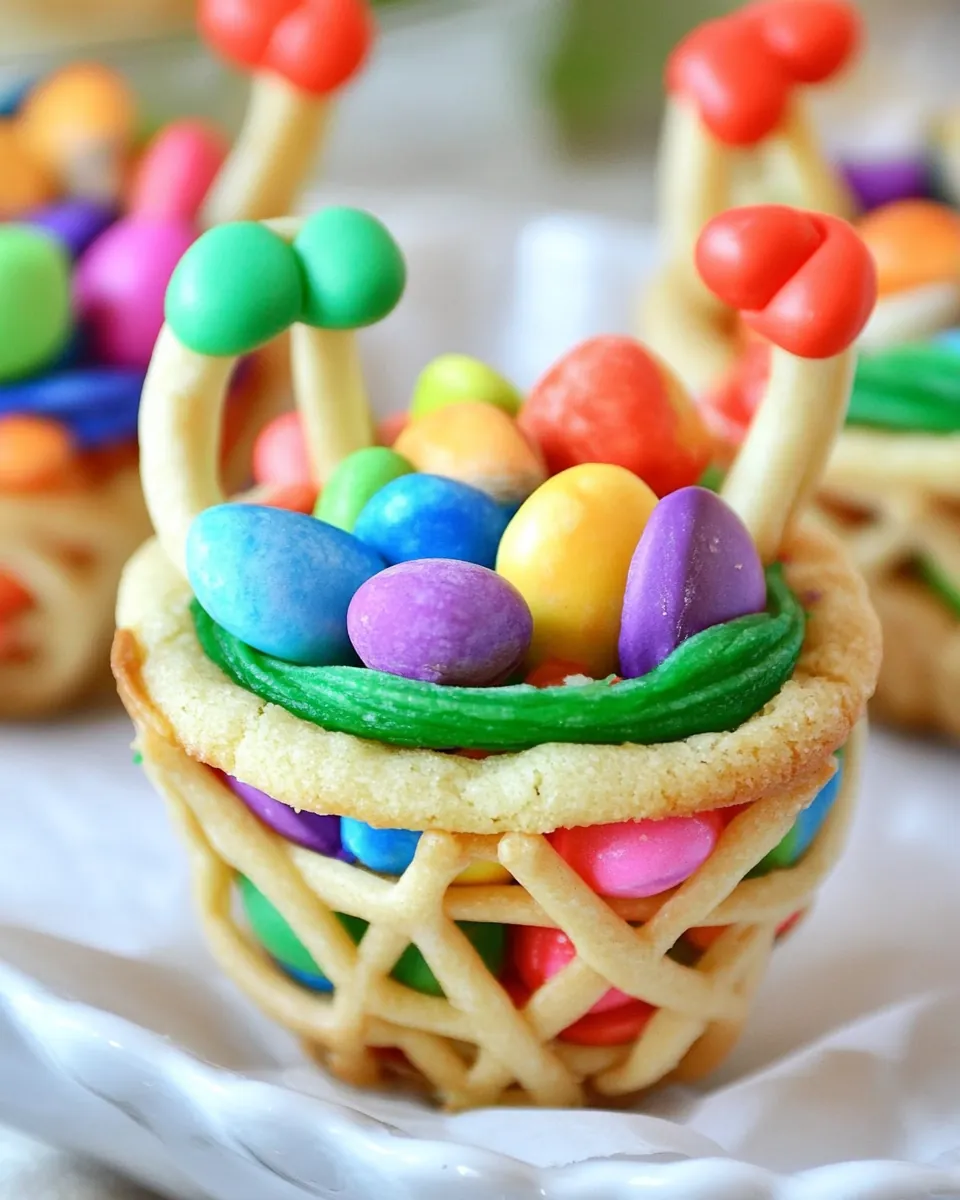
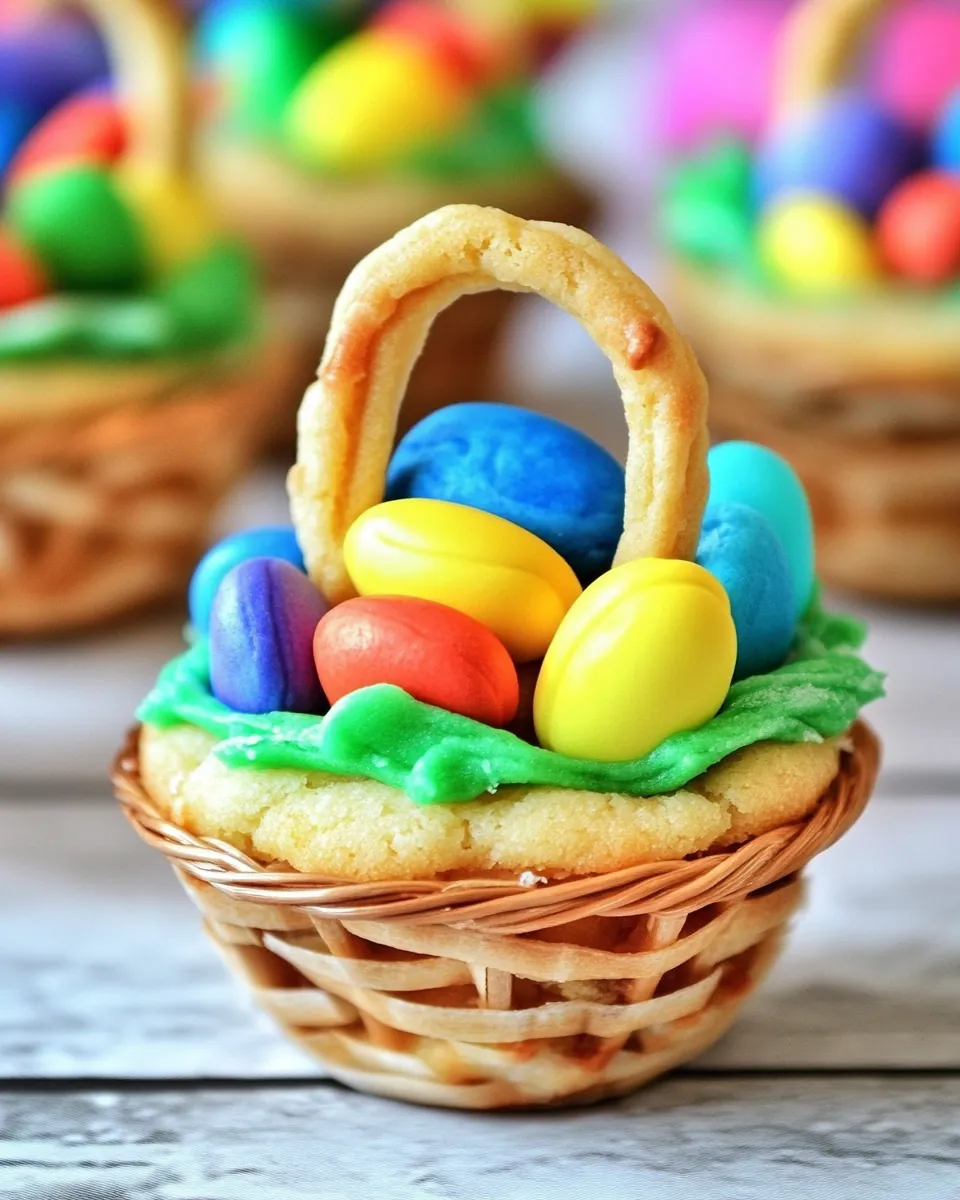
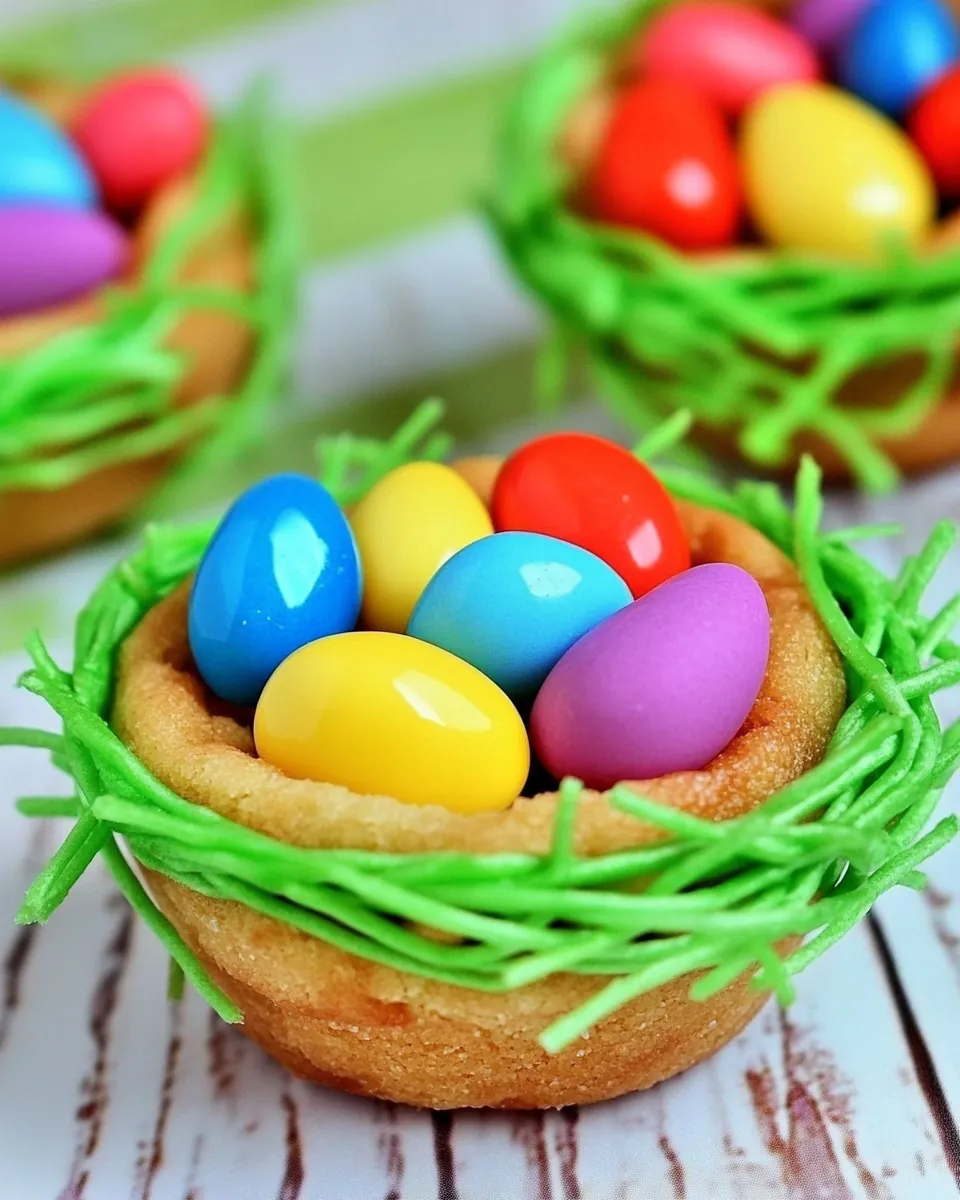
Easter Basket Cookie Cups
Every Easter, I find myself reminiscing about the joyous moments spent with family, decorated eggs, and of course, the sweet treats that come with it. One of our favorites is the Easter Basket Cookie Cups, a delightful blend of cookie dough and colorful candies that brings a smile to everyone’s face. I remember the first time I made these; the laughter in the kitchen, the excitement on the kids’ faces as they decorated their cookie cups with all sorts of fun candy. This recipe isn’t just about baking; it’s about creating memories, a chance to bond over something delicious that everyone can enjoy. Plus, they make the perfect addition to any Easter celebration, brightening up the dessert table with their festive look.
Recipe Snapshot
15 mins
5 mins
10 mins
Hard
150 kcal
2 g
Vegan, Gluten-Free, AIP
6 g
Baking Sheet, Frying Pan, Blender, Oven
The Charm of This Easter Basket Cookie Cups
Perfect for Spring Celebrations
Nothing says spring like a festive treat that captures the essence of the season. The Easter Basket Cookie Cups are not only visually appealing, but they also embody the spirit of Easter. With vibrant colors and delicious flavors, they’re a great way to celebrate this beautiful time of year.
Fun to Make with Kids
These cookie cups are a fantastic baking project for families. Kids will love helping shape the cookie dough and decorating the cups with their favorite candies. It’s an excellent opportunity to teach children about measuring ingredients and baking while having fun together.
Customizable for Any Occasion
One of the best aspects of the Easter Basket Cookie Cups is their versatility. You can easily customize them with different candies or colors to fit various holidays or parties. Whether it’s Christmas or a birthday celebration, you can adapt the design to match the occasion.
Easy to Make
If you’re short on time but still want to impress your guests, this recipe is for you. With just a few ingredients and simple steps, you can whip up these delightful cookie cups in no time, making them perfect for impromptu gatherings or last-minute celebrations.
Deliciously Decadent
Each bite of a Easter Basket Cookie Cup is a delightful combination of flavors—from the sweetness of the cookie dough to the crunch of the candy coating. It’s a treat that satisfies cravings while bringing joy to your taste buds.
Perfect for Sharing
What’s better than a delicious dessert? Sharing it with others! These cookie cups are perfect for potlucks or family gatherings, allowing everyone to indulge in a fun and tasty treat. They’re sure to spark conversations and smiles around the table.
Ingredients to Make Easter Basket Cookie Cups
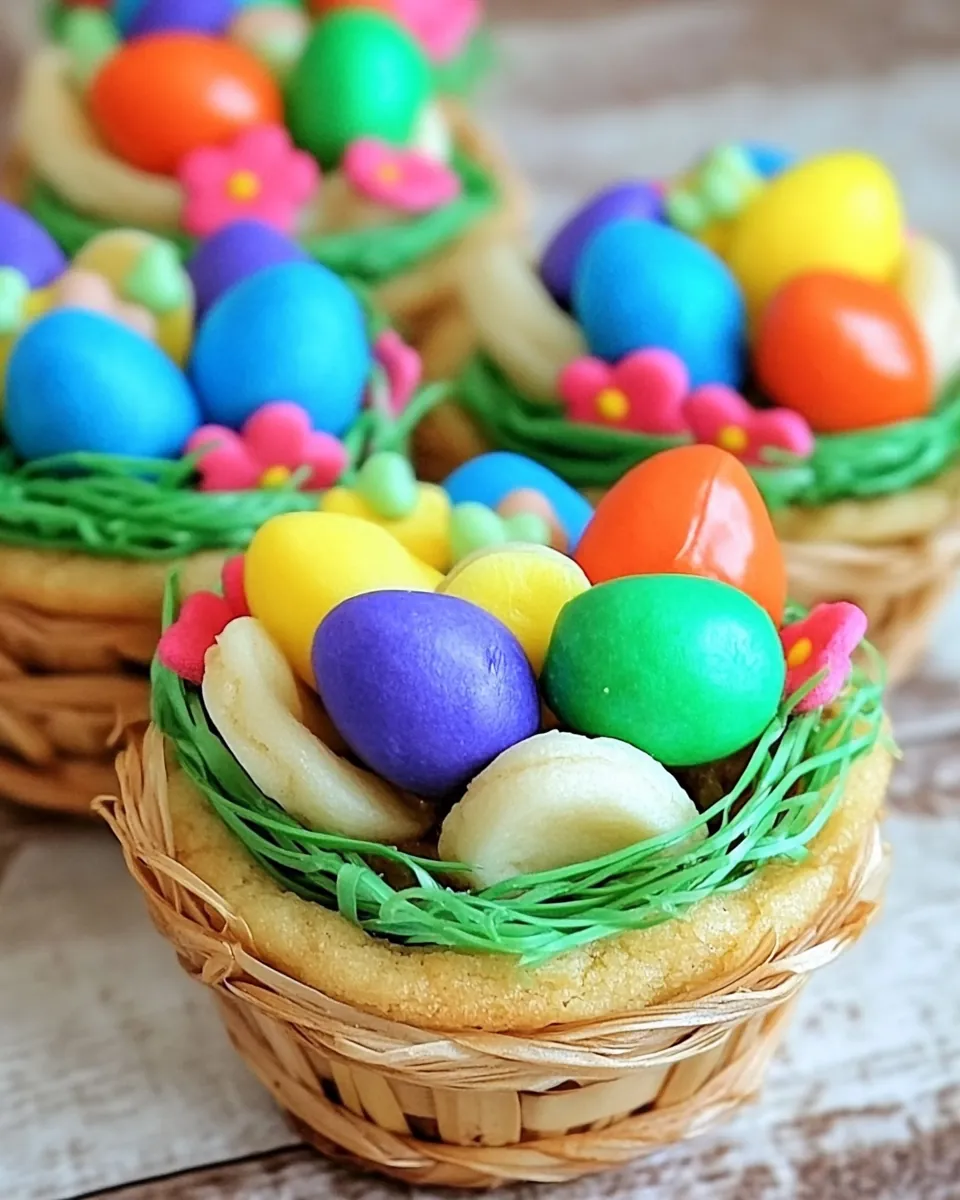
The ingredients for Easter Basket Cookie Cups are a delightful mix that plays well together, creating a fun and tasty dessert. Each element brings its own unique flavor and texture, making the dish as enjoyable to make as it is to eat. The key players include sugar cookie dough, which forms the base, and colorful jimmies and jelly beans that elevate the cookie cups into something truly special.
- Pillsbury® refrigerated sugar cookie dough – 16.5oz – This is the foundation of our cookie cups, providing a sweet and chewy base that holds everything together wonderfully.
- all-purpose flour – 1/3 cup – Adding this helps to give the dough the right consistency, ensuring it’s not too sticky and holds its shape when baked.
- white candy coating – 6oz – A smooth and creamy coating that adds a delicious sweetness and a beautiful finish to our cookie cups.
- green jimmies or sprinkles – 1/2 cup – These colorful toppings add a festive touch, mimicking the appearance of grass in a basket and making the cups look fun and inviting.
- Twizzlers twists (rainbow) – 12 – These candy twists serve as the handles of our cookie cups, adding a playful element that everyone will enjoy.
- jelly beans – 72 – The ultimate Easter candy, jelly beans fill the cups with fruity goodness, adding a burst of flavor and color to each bite.
The Method for Easter Basket Cookie Cups
Making Easter Basket Cookie Cups is a fun and straightforward process that will fill your home with delightful aromas. Follow these simple steps to create your own batch of cookie cups, perfect for sharing with family and friends.
- Preheat your oven to 350°F. It’s essential to get your oven nice and hot before baking, ensuring that your cookie cups will rise and bake evenly.
- Coat a mini muffin tin with nonstick cooking spray. This step is crucial as it prevents the cookie cups from sticking, allowing for easy removal once baked.
- In a large bowl, combine the Pillsbury® refrigerated sugar cookie dough and all-purpose flour. Knead the mixture together until it’s well blended. This will make the dough easier to shape and hold together during baking.
- Shape the dough into one-inch balls. Use your hands to roll the dough into small balls, which will fit perfectly in the muffin tin.
- Press the cookie dough balls into the bottoms and up the sides of each muffin cup, forming a cup shape. Make sure to create a good depth so you can fill them later with candies.
- Bake for 10 to 12 minutes or until the edges start to turn golden brown. Keep an eye on them; you want them just golden, not overly brown, to maintain the soft texture inside.
- Once baked, remove the tin from the oven and let it cool for at least ten minutes. This cooling period helps the cookie cups to firm up, making it easier to remove them from the pan.
- Gently twist to remove the cookie cups from the pan and place them on a cooling rack. This allows the air to circulate around them, preventing them from getting soggy.
- Melt the white candy coating according to the package directions. Make sure to do this carefully, as overheating can cause it to seize.
- Place the green jimmies in a separate shallow bowl or ramekin. This makes it easy to coat the cookie cups once the candy coating is ready.
- Gently dip the cooled cookie cups in the melted candy coating, making sure to cover the edges. Then, immediately dip them into the jimmies to coat the outside.
- Place the coated cookie cups on a waxed paper lined baking sheet and let them set up. This shouldn’t take long, just a few minutes until the candy coating hardens.
- Cut the Twizzlers twists in half. These will be fitted into the cookie cups, acting like a handle for your baskets.
- Bend them to fit inside the cookie cup. This step adds a fun and whimsical touch to your dessert.
- Next, press a jelly bean into the bottom of each cookie cup, securing the Twizzler handle in place. This creates a sturdy base to hold everything together.
- Fill the cups with 3 to 5 more jelly beans to complete the look. Repeat this process until all the cookie cups are filled and ready to serve. And there you have it, a delicious way to make someone smile!
Things Worth Knowing
- Don’t overbake: Keep an eye on the cookie cups while they bake. You want a soft center and firm edges for the best texture.
- Cool completely: Ensure the cookie cups are completely cool before removing them from the muffin tin to prevent them from breaking.
- Be creative: Feel free to use different colored sprinkles or candies to match your theme or personal preference.
- Store properly: Keep the cookie cups in an airtight container to maintain freshness and prevent them from getting stale.
Making Adjustments
When it comes to baking, adjustments can help cater to various preferences and occasions. Here are some tips to consider when making your Easter Basket Cookie Cups.
- Storage: Store any leftover cookie cups in an airtight container at room temperature. They’ll stay fresh for up to three days, making them a great treat for snacking later.
- Freezing: You can freeze the cookie cups after they’ve cooled completely. Just place them in a single layer on a baking sheet until frozen, then transfer to a zip-top bag. They can be stored for up to a month.
- Pairing: These cookie cups pair wonderfully with a glass of milk or a scoop of vanilla ice cream. They make a sweet ending to any meal.
- Variations: Consider using different flavored cookie dough or coatings to create new versions. Chocolate cookie dough, for example, could be a delicious twist.
- Seasonal Themes: You can adapt this recipe for other holidays by changing the colors and types of candies used. Think red and green for Christmas or pastels for spring celebrations.
Serving This Easter Basket Cookie Cups
- Occasions: Easter Basket Cookie Cups are perfect for Easter gatherings, spring parties, or any festive occasion. Their cheerful appearance makes them a hit with kids and adults alike.
- Presentation: Serve the cookie cups on a decorative platter or in a basket to enhance their festive feel. You might even add some faux grass to mimic a basket display.
- Portion Control: These treats are small and easy to eat, making them perfect for portion control at parties. You don’t have to worry about cutting slices or serving sizes.
- Seasonal Pairing: Complement the cookie cups with other spring-themed desserts, like fruit tarts or lemon bars, for a well-rounded dessert table.
- Kids’ Parties: These cookie cups are ideal for kids’ parties where a fun, interactive dessert is needed. Kids can help decorate their own, making it a memorable activity.
- Storage Tips: If you have leftovers (which is rare!), make sure they’re stored in an airtight container to keep them fresh for as long as possible.
FAQ
Conclusion
The Easter Basket Cookie Cups are truly a delightful treat that captures the spirit of Easter with their fun and festive design. They not only taste amazing but also bring together family and friends for a memorable baking experience. I encourage you to try making these whimsical cookie cups, as they’re sure to be a hit at your next gathering. Happy baking, and enjoy every sweet moment!
Easter Basket Cookie Cups
Ingredients
Equipment
Method
- Preheat your oven to 350°F. It’s essential to get your oven nice and hot before baking, ensuring that your cookie cups will rise and bake evenly.
- Coat a mini muffin tin with nonstick cooking spray. This step is crucial as it prevents the cookie cups from sticking, allowing for easy removal once baked.
- In a large bowl, combine the Pillsbury® refrigerated sugar cookie dough and all-purpose flour. Knead the mixture together until it’s well blended. This will make the dough easier to shape and hold together during baking.
- Shape the dough into one-inch balls. Use your hands to roll the dough into small balls, which will fit perfectly in the muffin tin.
- Press the cookie dough balls into the bottoms and up the sides of each muffin cup, forming a cup shape. Make sure to create a good depth so you can fill them later with candies.
- Bake for 10 to 12 minutes or until the edges start to turn golden brown. Keep an eye on them; you want them just golden, not overly brown, to maintain the soft texture inside.
- Once baked, remove the tin from the oven and let it cool for at least ten minutes. This cooling period helps the cookie cups to firm up, making it easier to remove them from the pan.
- Gently twist to remove the cookie cups from the pan and place them on a cooling rack. This allows the air to circulate around them, preventing them from getting soggy.
- Melt the white candy coating according to the package directions. Make sure to do this carefully, as overheating can cause it to seize.
- Place the green jimmies in a separate shallow bowl or ramekin. This makes it easy to coat the cookie cups once the candy coating is ready.
- Gently dip the cooled cookie cups in the melted candy coating, making sure to cover the edges. Then, immediately dip them into the jimmies to coat the outside.
- Place the coated cookie cups on a waxed paper lined baking sheet and let them set up. This shouldn’t take long, just a few minutes until the candy coating hardens.
- Cut the Twizzlers twists in half. These will be fitted into the cookie cups, acting like a handle for your baskets.
- Bend them to fit inside the cookie cup. This step adds a fun and whimsical touch to your dessert.
- Next, press a jelly bean into the bottom of each cookie cup, securing the Twizzler handle in place. This creates a sturdy base to hold everything together.
- Fill the cups with 3 to 5 more jelly beans to complete the look. Repeat this process until all the cookie cups are filled and ready to serve. And there you have it, a delicious way to make someone smile!
Notes
- Storage: Store any leftover cookie cups in an airtight container at room temperature. They’ll stay fresh for up to three days, making them a great treat for snacking later.
- Freezing: You can freeze the cookie cups after they’ve cooled completely. Just place them in a single layer on a baking sheet until frozen, then transfer to a zip-top bag. They can be stored for up to a month.
- Pairing: These cookie cups pair wonderfully with a glass of milk or a scoop of vanilla ice cream. They make a sweet ending to any meal.
- Variations: Consider using different flavored cookie dough or coatings to create new versions. Chocolate cookie dough, for example, could be a delicious twist.
- Seasonal Themes: You can adapt this recipe for other holidays by changing the colors and types of candies used. Think red and green for Christmas or pastels for spring celebrations.