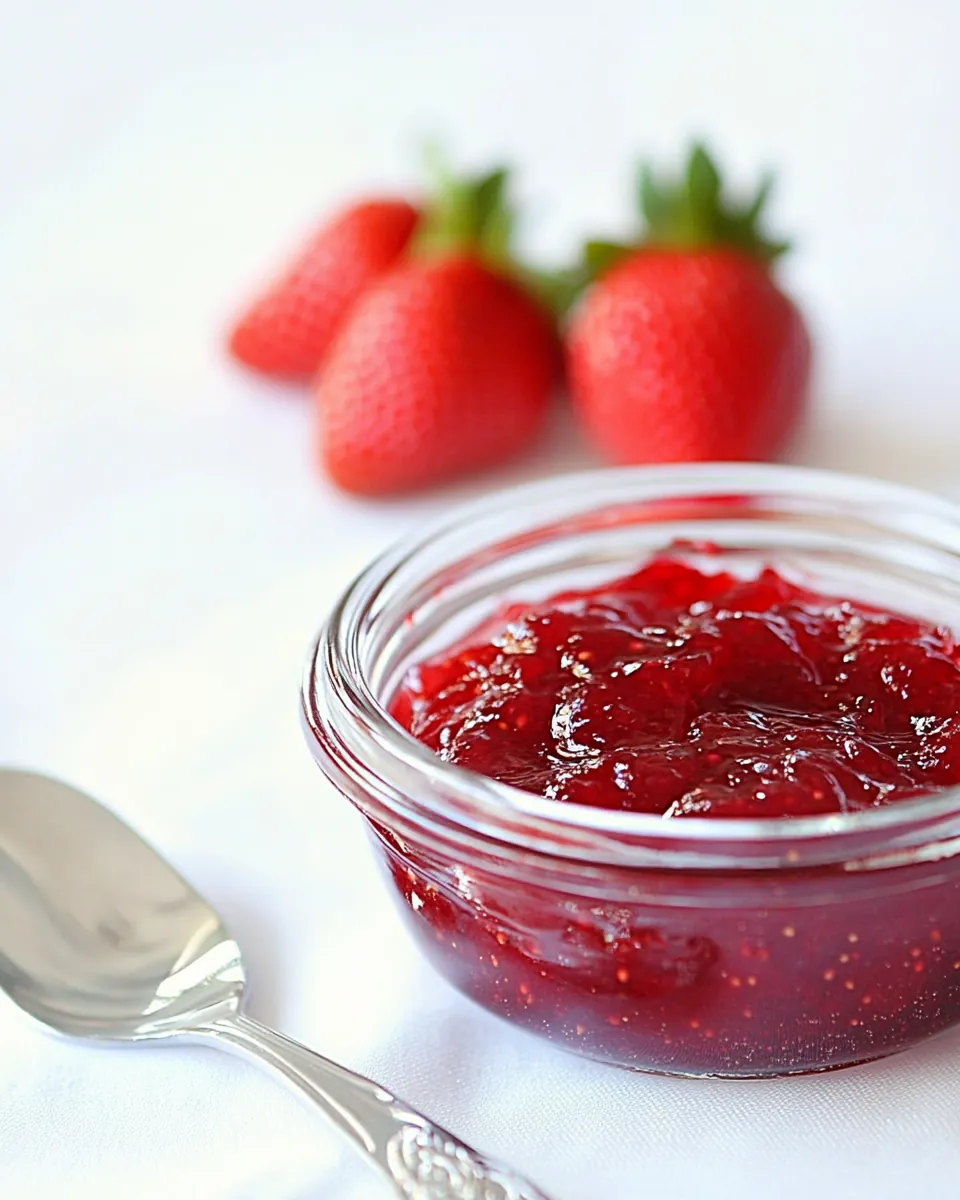
Strawberry Jam
There’s something truly magical about making Strawberry Jam from scratch. I still remember the first time I decided to try my hand at it. A warm afternoon in spring, I found myself overwhelmed by a bounty of fresh strawberries at the local market. Their vibrant red color and sweet aroma called out to me, sparking a desire to create something special. I envisioned spreading homemade Strawberry Jam on warm toast, the rich taste bursting with the essence of summer. As I meticulously prepared the strawberries, cutting and crushing them, I felt a connection to the past, just like my grandmother did when she made her preserves. This isn’t just about cooking; it’s about capturing memories and flavors that will last well beyond the season.
Recipe Snapshot
40 mins
10 mins
30 mins
Easy
100 kcal
0.5 g
Keto, Paleo, Whole30
0.2 g
Frying Pan, Wooden Spoon, Saucepan
The Best Thing About This Strawberry Jam
A Taste of Tradition
There’s a deep-rooted tradition in making Strawberry Jam that many families cherish. Growing up, I watched my mother and grandmother preserve the season’s best fruits, turning them into vibrant jars of joy. Each jar tells a story, encapsulating the essence of those ripe strawberries, and the love that went into making them.
Simple Ingredients, Amazing Flavors
One of the reasons I adore Strawberry Jam is its simplicity. With just a handful of ingredients—fresh strawberries, sugar, and lemon juice—you can create a spread that elevates any breakfast or snack. There’s nothing more rewarding than knowing exactly what’s in your food!
Perfect for Gifting
Homemade Strawberry Jam makes for a wonderful gift. Imagine presenting a beautifully sealed jar to a friend or loved one—it’s a personal touch that store-bought jams simply can’t match. Every scoop is a reminder of the time and effort you put into crafting something special for them.
Year-Round Delight
Though strawberries are seasonal, Strawberry Jam allows you to enjoy that fresh taste year-round. You can make enough to last through the winter months, providing a burst of summer flavor even when the snow is falling outside.
Versatile and Fun
This jam isn’t just for toast! I love using Strawberry Jam in various recipes, from filling for cakes to a delightful topping for yogurt. The possibilities are endless, and it inspires creativity in the kitchen.
Ingredients You’ll Need for Strawberry Jam
When it comes to making Strawberry Jam, the ingredients are what set it apart. Each component plays a vital role in achieving that perfect balance of sweetness and tartness. Fresh strawberries bring the vibrant flavor, while sugar enhances the natural sweetness and helps in preserving the jam. Lastly, lemon juice adds a touch of acidity that brightens the overall flavor, making every bite a sweet delight.
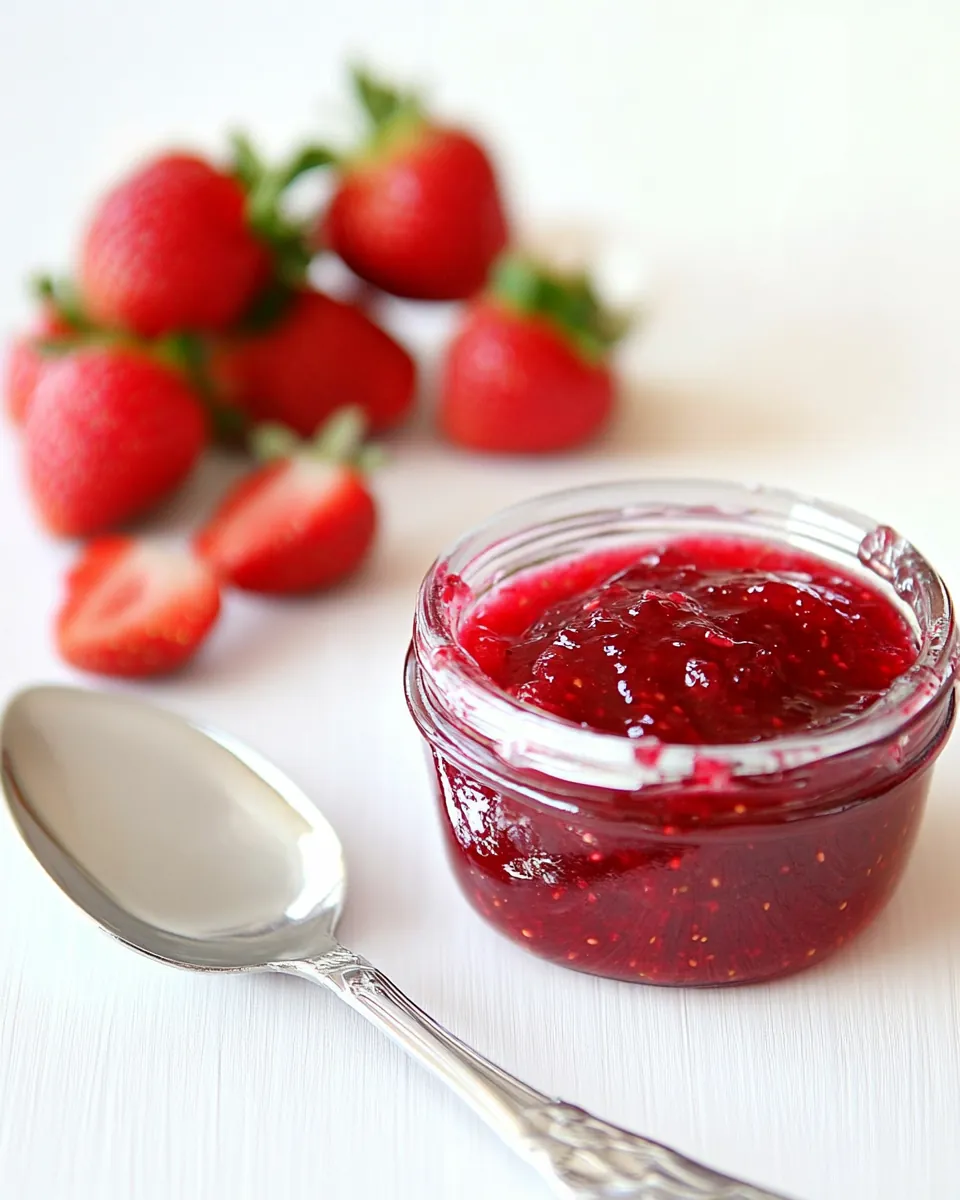
- 1 lb. (500g) fresh strawberries: The star of the show! Choose ripe, plump strawberries for the best flavor.
- 1 cup sugar, or to taste: This helps to sweeten the jam and acts as a preservative.
- 2 tablespoons lemon juice: Provides acidity that balances the sweetness and enhances the flavor.
Preparation Steps for Strawberry Jam
Let’s dive into the delightful process of making Strawberry Jam. It’s a simple yet satisfying experience that will fill your kitchen with the sweet aroma of fresh strawberries. Follow along as we transform those beautiful berries into a delicious jam!
- Start by washing the fresh strawberries thoroughly. Remove the green tops and cut them into halves or quarters, depending on your preference. Crushing them slightly will help release their natural juices.
- Once your strawberries are prepared, place them in a large saucepan. Add the sugar to the pan, mixing it well with the strawberries. Let this sit for around 15 minutes, allowing the strawberries to macerate and release their juices.
- After the strawberries have released their juices, turn on the stove to medium heat. Gently stir the mixture, ensuring the sugar is fully dissolved as the strawberries begin to cook.
- As the mixture heats, you’ll notice the color deepening and the texture becoming syrupy. This usually takes about 10 to 15 minutes. Keep an eye on it and stir occasionally to prevent sticking.
- Once the strawberries have cooked down and reached a jam-like consistency, lower the heat to a simmer. At this stage, add the lemon juice and stir it in well. The acidity from the lemon juice will elevate the taste and help with preservation.
- Continue to simmer the jam for about 10 more minutes, stirring regularly. You’ll want to check the consistency by dropping a spoonful onto a cold plate. If it holds its shape and doesn’t run, it’s ready.
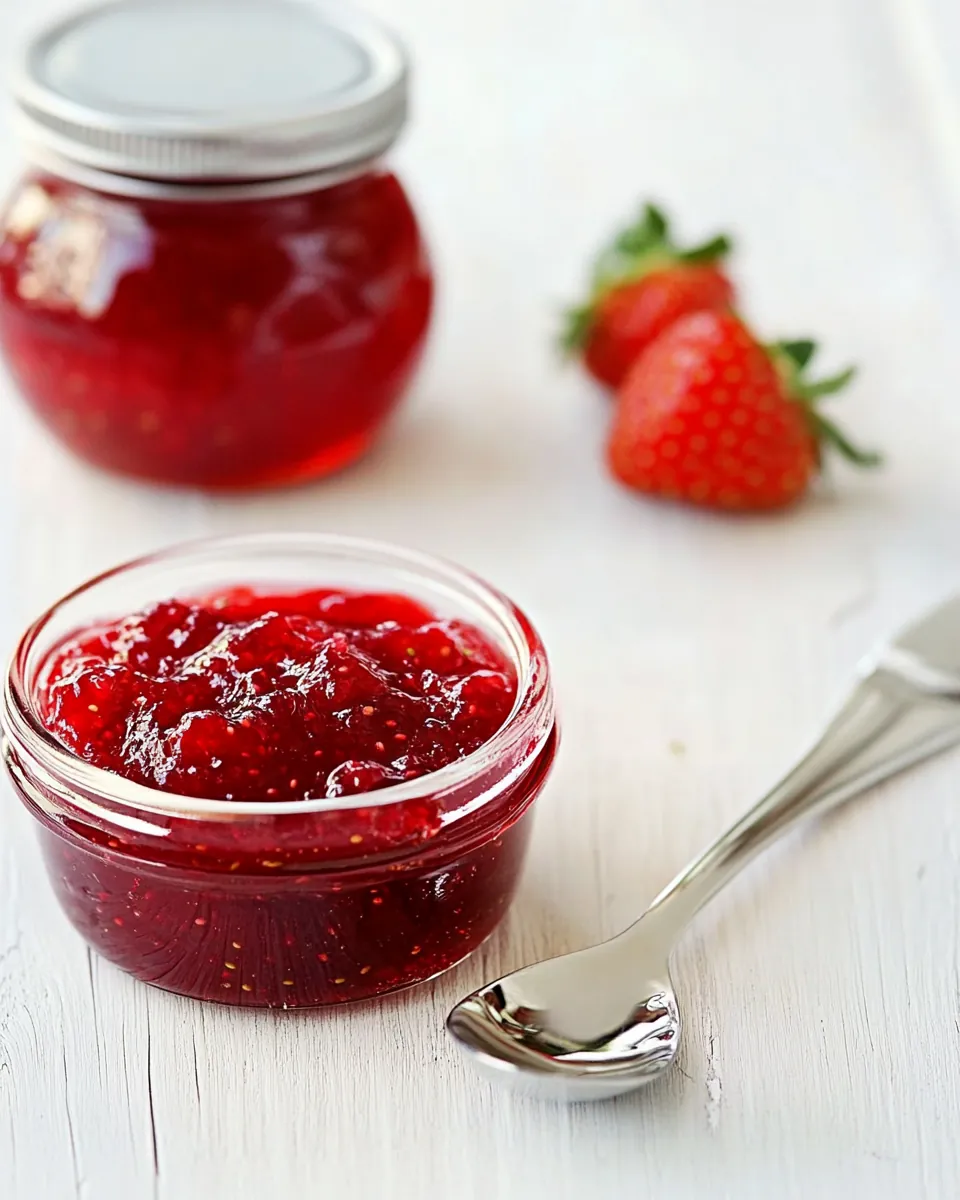
- Once the jam has reached the desired consistency, remove it from the heat. Allow it to cool slightly before transferring the strawberry jam into sterilized jars. Fill them to the top, leaving no air pockets.
- Seal the jars tightly and let them cool completely at room temperature. Once cooled, store them in the refrigerator or in a cool dark place.
- For the best flavor, let your Strawberry Jam sit for a day before using it. This allows the flavors to meld beautifully!
Things Worth Knowing
- Choosing Strawberries: Select strawberries that are ripe and free of blemishes. The flavor and sweetness will be at their peak.
- Jar Sterilization: Ensure you sterilize your jars properly to prevent spoilage. A quick wash in hot, soapy water followed by rinsing in hot water works well.
- Testing Consistency: Use the cold plate method to test the jam’s consistency quickly. If it thickens nicely, it’s ready to jar.
- Storage Tips: Store the sealed jars in the fridge to prolong freshness. Opened jars should be consumed within a few weeks.
How to Switch It Up
Getting creative with Strawberry Jam is a fun way to explore new flavors in your kitchen. Here are some ideas to switch things up and personalize your jam-making experience!
- Mix with Other Berries: Combine strawberries with raspberries or blueberries for a mixed berry jam.
- Spice It Up: Add a pinch of cinnamon or a dash of vanilla (if acceptable) for a unique flavor twist.
- Infuse with Herbs: Consider infusing your jam with fresh mint or basil for a refreshing herbal note.
- Use Alternative Sweeteners: Try honey or agave syrup instead of sugar for a different sweetness profile.
- Jar Labels: Get creative with your jar labels! Personalize them for gifts, marking the date and ingredients.
- Layering Flavors: Include a bit of fruit zest from orange or lemon for extra brightness.
Great Combinations for Strawberry Jam
When it comes to enjoying Strawberry Jam, the possibilities are endless! Here are some delightful ways to serve your homemade jam:
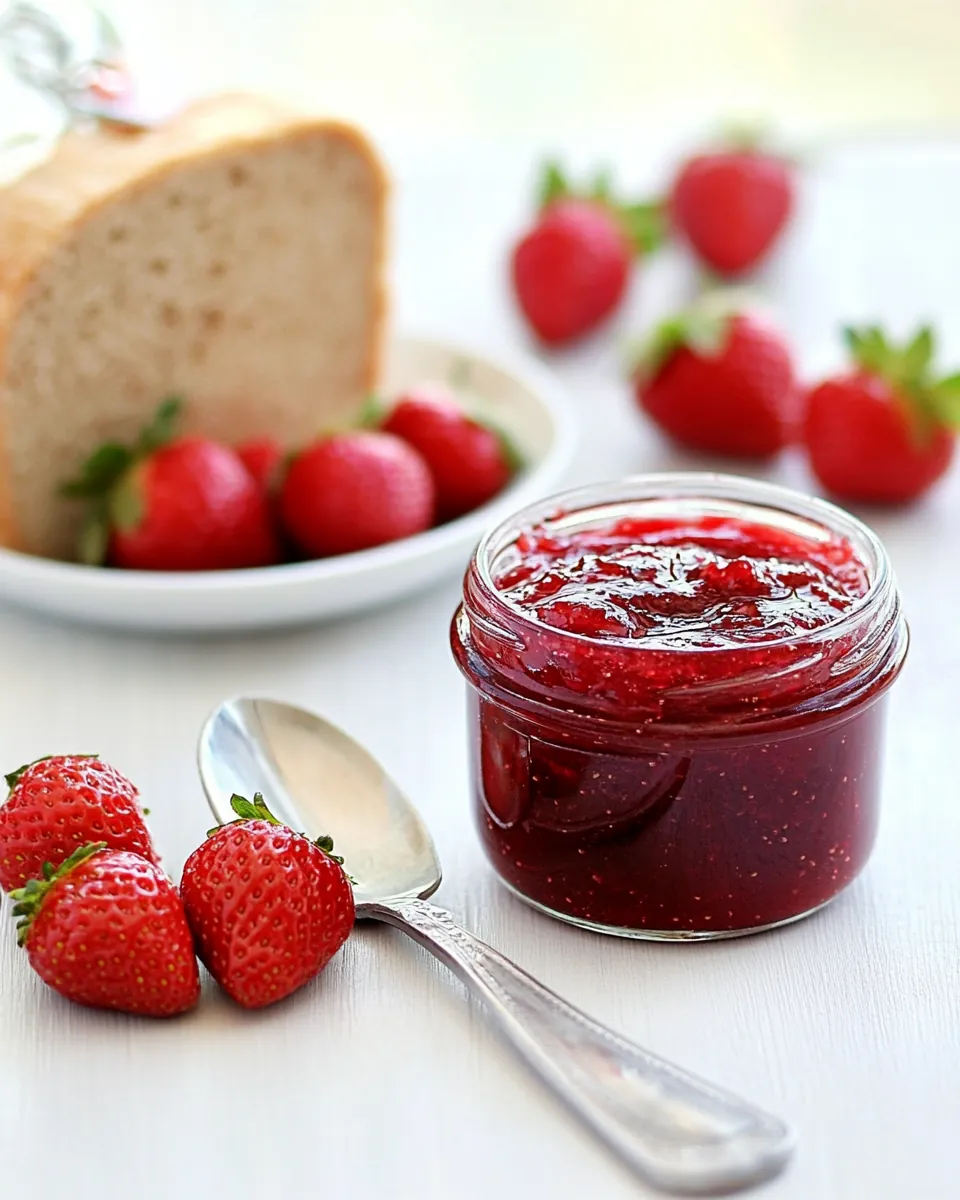
- Toast: Spread a generous layer on warm toast for a classic breakfast treat.
- Pancakes: Use Strawberry Jam as a topping for pancakes or waffles, adding a sweet burst of flavor.
- Yogurt Parfaits: Layer your favorite yogurt with granola and Strawberry Jam for a refreshing snack.
- Cheese Boards: Pair your jam with a selection of cheeses like brie or goat cheese for a fancy cheese board.
- Ice Cream: Drizzle Strawberry Jam over vanilla ice cream for a simple yet delicious dessert.
- Gift Giving: Present jars of Strawberry Jam as thoughtful gifts for friends and family, perfect for any occasion.
- Layer Cakes: Use Strawberry Jam as a filling between cake layers for a beautiful and delicious dessert.
FAQ
Conclusion
Making Strawberry Jam is not only a rewarding process but also a delightful way to preserve the flavors of summer. With just a few simple ingredients, you can create a delicious spread that enhances your breakfasts and desserts. I encourage you to try this recipe and experience the joy of creating your own homemade jam. It’s a wonderful way to connect with the seasons and enjoy the sweetness of fresh strawberries all year round.
Strawberry Jam
Ingredients
Equipment
Method
- Cut and then crush the fresh strawberries. Set aside.
- Heat up a saucepan and add the strawberries and sugar. Stir over medium heat until the strawberries are cooked and become a watery jam-like consistency.
- Lower the heat to simmer, add lemon juice and reduce the liquid in the strawberry jam until it reaches your desired consistency.
- Turn off the heat and let cool. Transfer the strawberry jam into an airtight jar or container.
Notes
- Storage: For best results, store your jam in the refrigerator once opened.
- Freezing: You can freeze the strawberry jam in the freezer for as long as you want, until ready to use.
- Pairing: Enjoy with toast, pancakes, or yogurt!
- Gifting: Make beautiful gifts for friends and family with homemade jam.
- Variations: Experiment with other fruits or spices to create unique flavors.