Skinny Chicken Nuggets
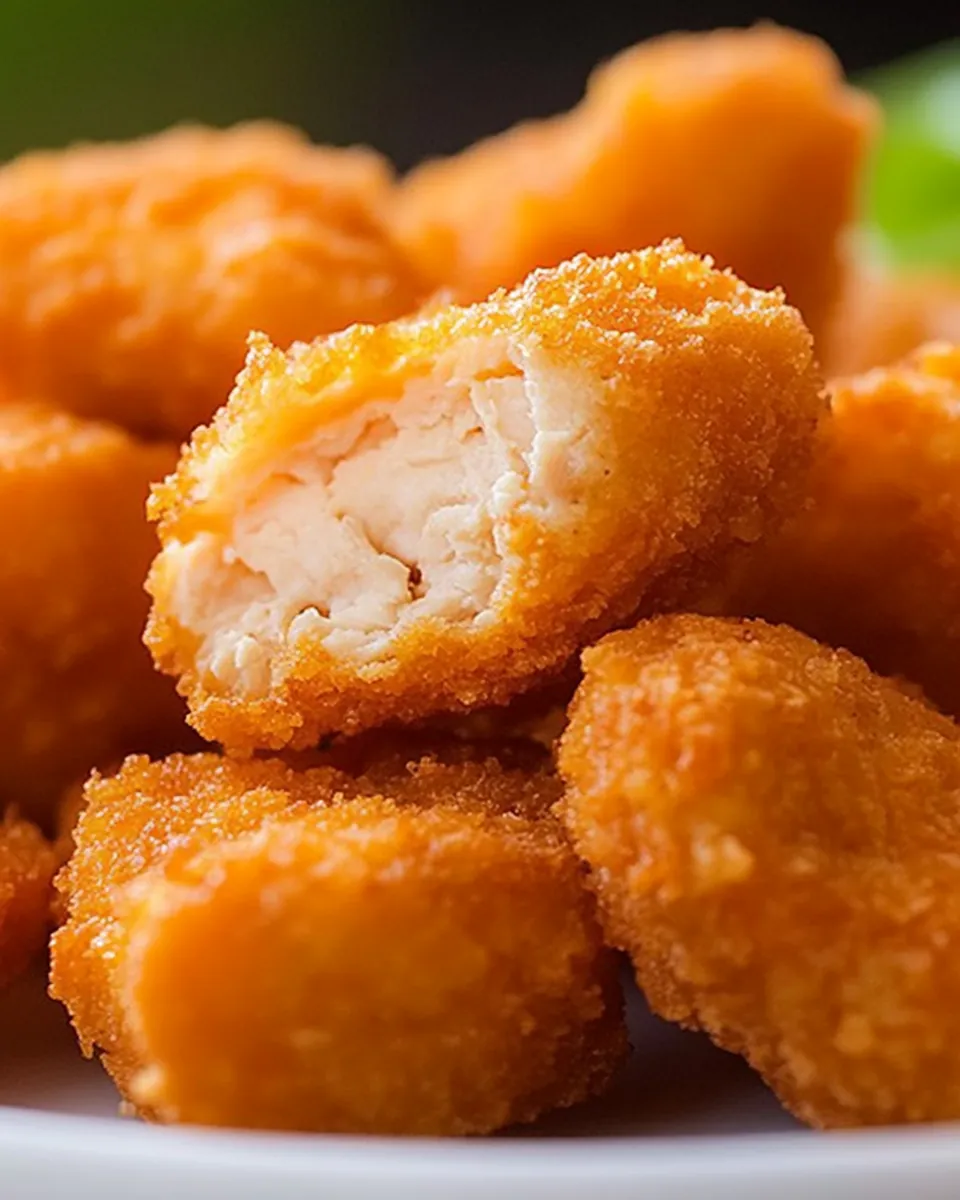
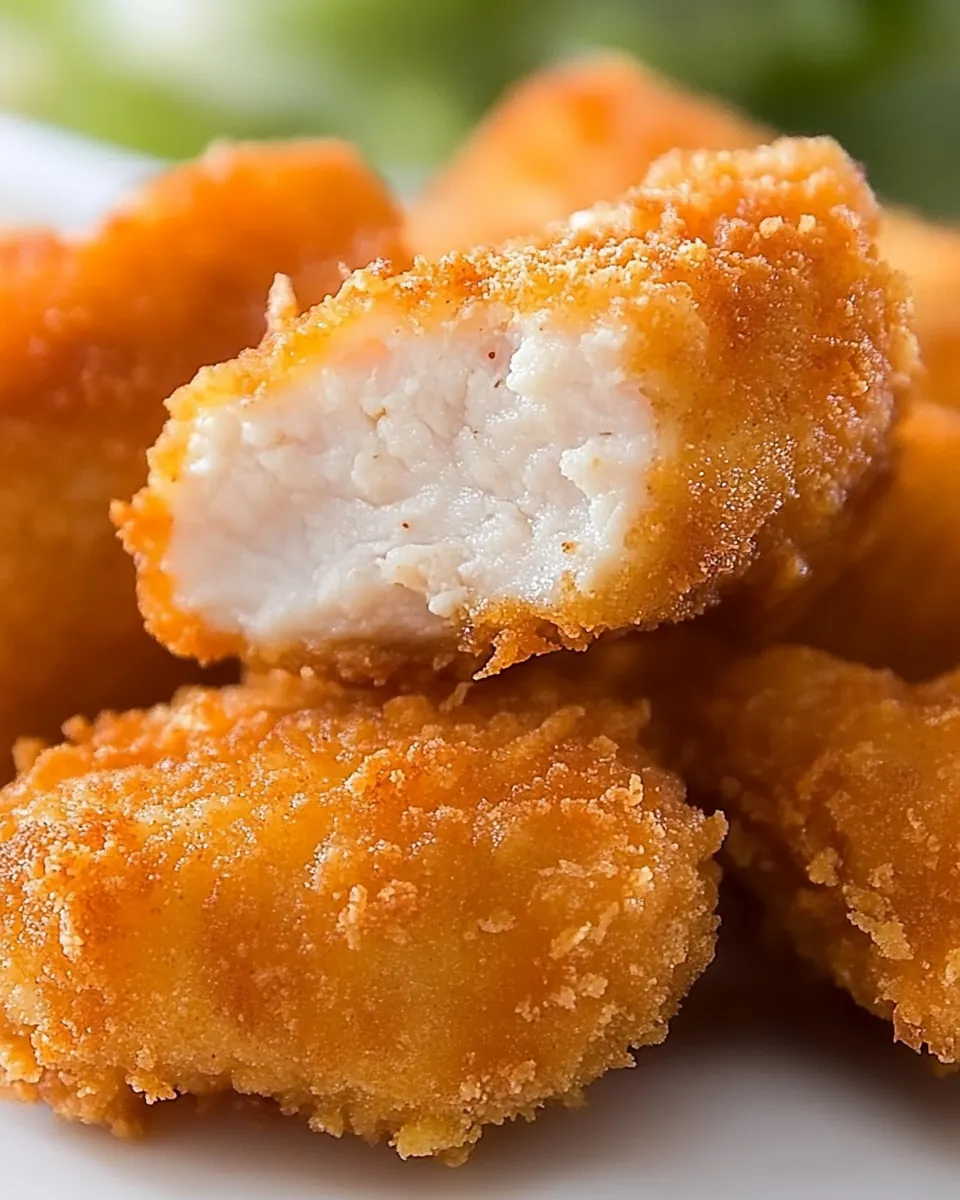
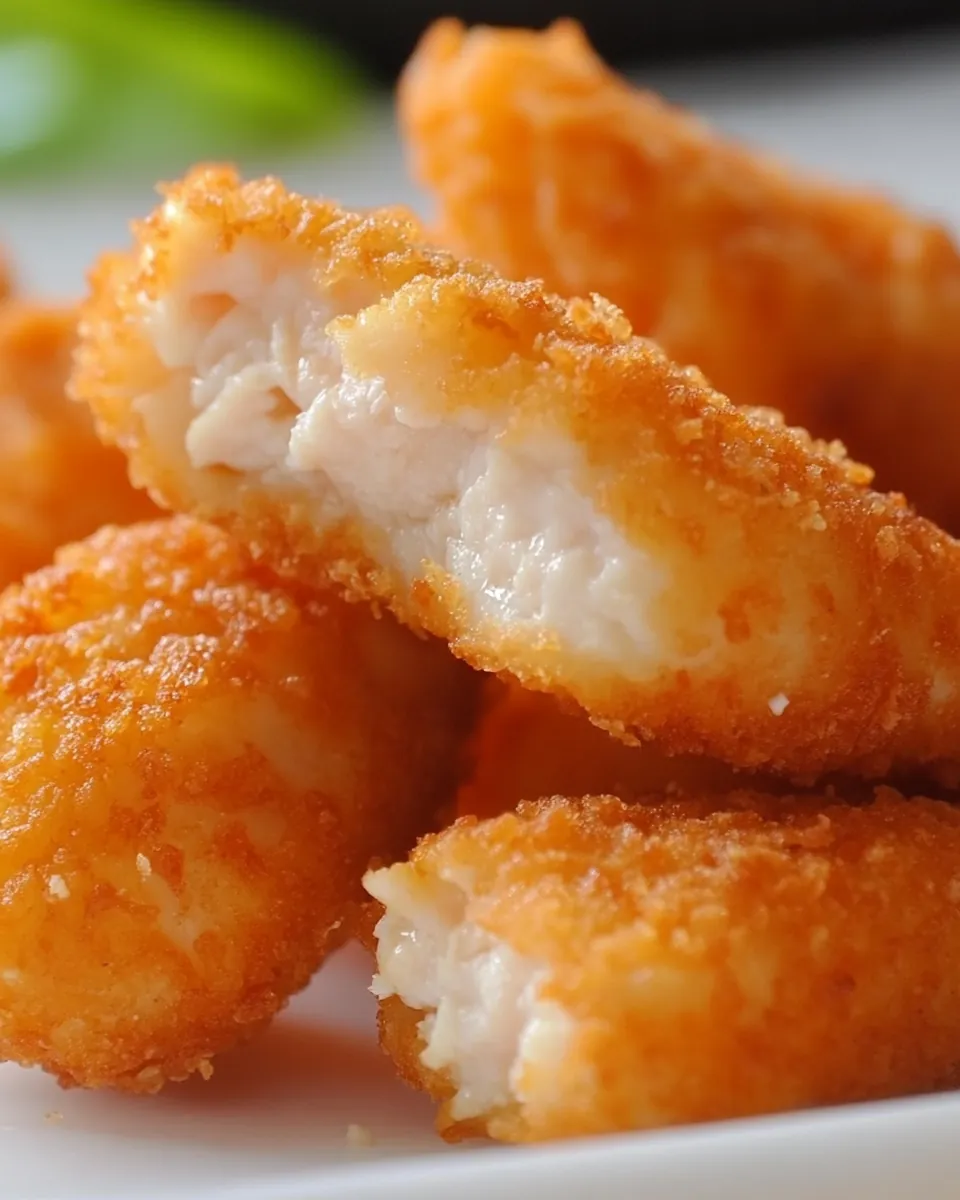
When I think of comfort food, Skinny Chicken Nuggets always comes to mind. These crispy, tender bites of chicken are a hit with everyone in my family, from the kids to the adults. The best part is that I can enjoy them guilt-free, knowing that they’re a healthier alternative to the typical fried nuggets. I remember the first time I made them; the kitchen was filled with the mouthwatering aroma of baked chicken and spices, and I couldn’t help but sneak a taste before dinner. The crunch of the panko bread crumbs and the juicy goodness of the chicken made it an instant favorite. Whether it’s a busy weeknight or a weekend gathering, these nuggets are perfect for any occasion.
Recipe Snapshot
40 mins
10 mins
30 mins
Medium
280 kcal
25 g
Standard
10 g
Frying Pan, Oven
They’re not just easy to make but also incredibly versatile. I love serving them with a variety of dipping sauces—whether it’s classic ketchup, a tangy barbecue sauce, or a creamy ranch dressing, there’s something for everyone. Plus, they’re great for meal prep; I often make a big batch and store them in the fridge for quick lunches or snacks. With the flavorful seasoning and the satisfying crunch, the Skinny Chicken Nuggets truly redefine comfort food.
In this recipe, I’ll take you through how to prepare these delicious bites right in your own kitchen. Let’s get started and enjoy some Skinny Chicken Nuggets that are sure to impress!
Recipe Snapshot
40 mins
10 mins
30 mins
Medium
280 kcal
25 g
Standard
10 g
Frying Pan, Oven
Why This Skinny Chicken Nuggets Is So Good
Healthy Twist on a Classic
There’s something magical about a dish that allows you to indulge without guilt. The Skinny Chicken Nuggets offer just that! By using less oil and baking instead of frying, you can enjoy the crispy texture and flavor without the excess calories.
Quick and Easy
These nuggets are a breeze to whip up! With a prep time of only 10 minutes, they’re perfect for those nights when you need something quick and satisfying. Just pop them in the oven, and you’re free to spend time with family or catch up on your favorite show.
Kids Love Them
In my experience, kids are often picky eaters, but they can’t resist the allure of crispy chicken nuggets. The Skinny Chicken Nuggets are a great way to get them to eat more protein. Plus, you can let them help with the coating process, making it a fun family activity.
Perfect for Dipping
Who doesn’t love a good dipping sauce? These nuggets pair wonderfully with a variety of sauces, making them great for parties or casual get-togethers. Whether it’s sweet, spicy, or creamy, you can create a dipping station that will have everyone raving!
Meal Prep Friendly
If you’re looking for a make-ahead option, Skinny Chicken Nuggets fit the bill perfectly. Bake a batch on the weekend and have a ready-to-go snack throughout the week. They reheat beautifully and make for a quick lunch or dinner option.
Customizable
The beauty of these nuggets is that you can customize them to your taste! Want to spice things up? Add some cayenne to the coating. Prefer a milder flavor? Stick to classic seasonings. The possibilities are endless, allowing you to create a version that’s just right for you!
Essential Ingredients for Skinny Chicken Nuggets
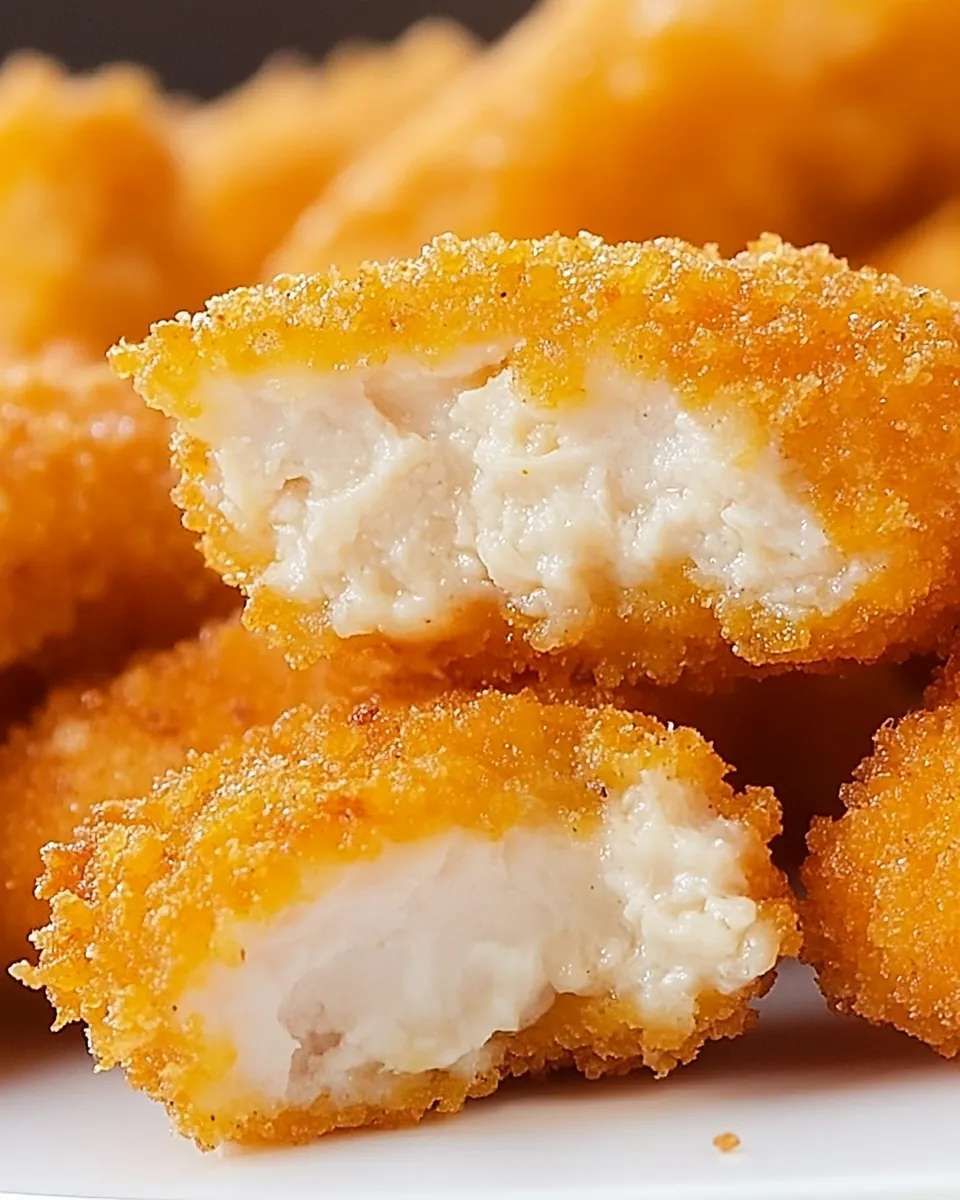
Creating the perfect Skinny Chicken Nuggets starts with the right ingredients. Each component plays a key role in achieving that irresistible crunch and flavor. The main star is, of course, the chicken, which provides a lean source of protein. Coupled with the panko bread crumbs, these ingredients work together to create a delightful contrast of textures. Let’s dive into the essential ingredients for this recipe:
- 3 boneless and skinless chicken breasts cut into 1 inch cubes: This is your primary ingredient, offering lean protein without excess fat.
- 2 cups panko bread crumbs: These provide that satisfying crunch. Opt for whole wheat for added fiber and nutrition.
- 1 egg white: Used to help the breadcrumbs adhere to the chicken. It lightens the dish while still keeping it flavorful.
- 1 tablespoon extra virgin olive oil: A small amount is enough to give the nuggets a crispy finish without frying.
- 1 teaspoon black pepper: This adds a touch of spice without overwhelming the flavor of the chicken.
- 1/8 teaspoon cayenne pepper: Just a hint for those who love a little kick!
- 1/4 teaspoon onion powder: This enhances the overall flavor profile.
- Salt to taste: Essential for bringing out the flavors of all the ingredients.
Cooking Instructions for Skinny Chicken Nuggets
When it comes to making Skinny Chicken Nuggets, the process is as enjoyable as the outcome. Let’s get right into the cooking instructions so you can experience the deliciousness yourself!
Preheat your oven to 400 degrees Fahrenheit. This is crucial for getting that crispy finish. A preheated oven ensures that your nuggets cook evenly and develop a lovely golden color.
In a large bowl, add the egg white and chicken cubes. Toss them together until the chicken is fully coated. This step is important for ensuring the breadcrumbs stick well and give you that crunchy texture.
Add the seasonings to the chicken, including black pepper, cayenne pepper, and onion powder. Mix well to ensure each piece is flavorful. The spices will enhance the flavor of the chicken, making every bite delicious.
Next, sprinkle in the panko bread crumbs. Toss the chicken again to coat thoroughly. You want to make sure that every piece is well-covered. If necessary, don’t hesitate to press the crumbs onto the chicken pieces to ensure they stick.
Prepare a non-stick baking sheet by either greasing it lightly with olive oil or using an oil sprayer. This helps to prevent sticking and ensures that the nuggets crisp up nicely.
Arrange the coated chicken pieces on the baking sheet in a single layer. Make sure there’s space between each piece for even cooking. Overcrowding the pan can lead to steaming instead of crisping.
Drizzle some oil over the nuggets or use your sprayer to apply a light mist. This is a key step that aids in achieving that golden brown color.
Bake for about 30 minutes or until the chicken is cooked through and the nuggets are golden brown. Halfway through baking, it’s a good idea to flip the nuggets to ensure they cook evenly.
Once cooked, remove the nuggets from the oven and let them cool slightly before serving. This brief cooling period helps the coating firm up a bit more, making them even crunchier.
Serve your Skinny Chicken Nuggets with your favorite dipping sauces and enjoy! You’ll find that they’re as delightful to eat as they are to prepare.
Things Worth Knowing
- Cooking at High Temperatures: Baking at 400 degrees Fahrenheit helps to create that crispy exterior without the need for frying. The high heat not only cooks the chicken quickly but also ensures it stays juicy on the inside.
- Using Panko: Panko bread crumbs are coarser than regular bread crumbs, which allows for a crunchier texture. They absorb less oil, making them ideal for healthier baking methods.
- Chicken Coating Tips: Allowing the chicken to sit in the coating for a few minutes before baking helps the breading adhere better, leading to a more satisfying crunch.
- Egg White Benefits: Using only the egg white instead of the whole egg reduces fat while maintaining moisture. It acts as a great binding agent without adding too many calories.
Recipe Variations about Skinny Chicken Nuggets
If you’re looking to mix things up, here are some fun variations you can try with your Skinny Chicken Nuggets:
- Different Coatings: Experiment with crushed cornflakes or almond flour to change the texture and flavor profile of the nuggets. Each will give a unique crunch!
- Spice it Up: Add different seasonings to the breading, such as garlic powder, paprika, or Italian herbs to change the flavor profile. These can elevate your nuggets to a whole new level.
- Make it a Meal: Serve the nuggets over a bed of greens or with a side of roasted vegetables for a complete meal. This not only adds nutrition but also makes the dish more filling.
- Sweet and Savory: Try adding a touch of honey or maple syrup to the breadcrumbs for a sweet twist that pairs perfectly with spicy dipping sauces.
- Freezing for Later: You can freeze extra cooked nuggets. Simply place them in a single layer on a baking sheet, freeze until solid, then transfer to a freezer bag. Reheat in the oven for a quick meal!
- Vegetarian Option: Substitute chicken with tofu or portobello mushrooms for a tasty vegetarian nugget that everyone can enjoy. Just adjust the cooking time accordingly.
Perfect Matches for Skinny Chicken Nuggets
When it comes to serving Skinny Chicken Nuggets, there are plenty of delicious options to enhance your meal:
- Fresh Vegetables: Pair your nuggets with a vibrant salad or veggie sticks for a crunchy, refreshing side.
- Homemade Dips: Create a dipping station with various sauces like honey mustard, ranch, or spicy aioli to please every palate.
- Family Gatherings: Perfect for parties, the nuggets easily disappear off the platter, making them a hit with guests.
- Lunchboxes: These nuggets are fantastic for school lunches. Pack with some fruit and a whole grain for a balanced meal.
- Game Day Snacks: Serve these alongside other finger foods during the big game to keep everyone satisfied.
- Winter Comfort: Nothing warms you up like a plate of crispy nuggets on a chilly day! They’re perfect for cozy family dinners.
FAQ
Conclusion
The Skinny Chicken Nuggets are not just a delicious snack; they redefine what comfort food can be. With their crispy exterior and juicy interior, these nuggets are sure to become a staple in your home. I encourage you to try making them for yourself and your family! You’re bound to find a new favorite recipe that everyone can enjoy together.
Skinny Chicken Nuggets
Ingredients
Equipment
Method
- Preheat your oven to 400 degrees Fahrenheit. This is crucial for getting that crispy finish. A preheated oven ensures that your nuggets cook evenly and develop a lovely golden color.
- In a large bowl, add the egg white and chicken cubes. Toss them together until the chicken is fully coated. This step is important for ensuring the breadcrumbs stick well and give you that crunchy texture.
- Add the seasonings to the chicken, including black pepper, cayenne pepper, and onion powder. Mix well to ensure each piece is flavorful. The spices will enhance the flavor of the chicken, making every bite delicious.
- Next, sprinkle in the panko bread crumbs. Toss the chicken again to coat thoroughly. You want to make sure that every piece is well-covered. If necessary, don’t hesitate to press the crumbs onto the chicken pieces to ensure they stick.
- Prepare a non-stick baking sheet by either greasing it lightly with olive oil or using an oil sprayer. This helps to prevent sticking and ensures that the nuggets crisp up nicely.
- Arrange the coated chicken pieces on the baking sheet in a single layer. Make sure there’s space between each piece for even cooking. Overcrowding the pan can lead to steaming instead of crisping.
- Drizzle some oil over the nuggets or use your sprayer to apply a light mist. This is a key step that aids in achieving that golden brown color.
- Bake for about 30 minutes or until the chicken is cooked through and the nuggets are golden brown. Halfway through baking, it’s a good idea to flip the nuggets to ensure they cook evenly.
- Once cooked, remove the nuggets from the oven and let them cool slightly before serving. This brief cooling period helps the coating firm up a bit more, making them even crunchier.
- Serve your Skinny Chicken Nuggets with your favorite dipping sauces and enjoy! You’ll find that they’re as delightful to eat as they are to prepare.
Notes
- Storage: Store leftovers in an airtight container in the refrigerator for up to three days.
- Freezing: Freeze cooked nuggets in a single layer, then transfer to a freezer bag for easy reheating.
- Pairing: These nuggets pair well with a variety of dipping sauces, adding flavor and excitement to each bite.
- Variations: Feel free to change up the seasonings or sauces based on your preference, making it a fun meal each time.
- Meal Prep: Make a large batch for meal prep and enjoy them throughout the week for quick snacks or lunches.