How to Feed Sourdough Starter
Feeding your sourdough starter is like nurturing a living thing, and nothing excites me more than the idea of reviving my bubbly friend. Every time I come back to it, the aroma of freshly mixed flour and water takes me to a cozy bakery where the scent of bread fills the air. I can still remember the first time I learned how to properly feed my sourdough starter. I was a novice in the kitchen, but the process felt like a delightful science experiment. It’s a simple yet rewarding task that brings life to my baking adventures. As I carefully measure out the flour and water, I feel a connection to the age-old tradition of sourdough baking, passing down knowledge that has been cherished for generations.
Recipe Snapshot
5 mins
5 mins
0 mins
Easy
120 kcal
3 g
Paleo, Whole30, Vegan
1 g
Food Processor, Wooden Spoon
The Best Thing About This How to Feed Sourdough Starter
1. It’s Alive!
When you realize that your sourdough starter is a living culture, it completely changes your perspective on baking. This bubbling concoction is a mix of wild yeast and bacteria, and by feeding it, you’re nurturing a community of microorganisms that transform simple ingredients into delicious bread. It’s fascinating to witness the magic unfold as the starter grows and strengthens over time.
2. Simplicity at Its Best
The beauty of feeding a sourdough starter lies in its simplicity. With just a few ingredients—flour, water, and an active starter—you can effortlessly create something extraordinary. This process allows even beginners to participate in the art of baking without feeling overwhelmed.
3. Cost-Effective Baking
Feeding your sourdough starter can save you money in the long run. Instead of purchasing pre-made bread, you can create artisan-quality loaves at home. Plus, using ingredients you already have on hand means less waste and more savings.
4. Unique Flavor Profiles
The more you feed and care for your sourdough starter, the more unique it becomes. Each starter develops its own flavor based on the environment, the flour used, and the care it receives. This means your baked goods will have a flavor profile that is truly one-of-a-kind.
5. A Sense of Accomplishment
There’s something incredibly satisfying about watching your starter come to life and knowing it’s a reflection of your efforts. Each time it doubles in size, it’s like a little celebration of your patience and care, reinforcing your confidence in the kitchen.
6. Versatility in Baking
Once you’ve mastered the art of feeding your sourdough starter, the sky’s the limit! You can use it to make a variety of baked goods, from artisanal loaves to pancakes and even waffles. It opens up a world of culinary possibilities.
Ingredients Required for How to Feed Sourdough Starter
Feeding your sourdough starter requires just a few simple ingredients, each playing a crucial role in revitalizing this culture. The harmony between flour, water, and the starter itself creates a perfect environment for fermentation. Together, they work to produce an active starter that’s ready for all your baking needs.
- Active sourdough starter: 100 grams (1/2 cup) – This is the base of your feeding, providing the culture for fermentation.
- Filtered water: 100 grams (1/2 cup) – Essential for hydration, it’s important to use water free of chlorine to avoid hindering yeast growth.
- All-purpose flour: 100 grams (1 scant cup) – The main food source for your starter, allowing it to thrive and develop flavor.
Step by Step Guide for How to Feed Sourdough Starter
Feeding your sourdough starter is straightforward, yet it requires careful attention. You’ll be amazed as you watch your starter grow and bubble with life. Let’s dive into the steps for this nourishing ritual!
- Bring Starter to Room Temperature: If your starter has been in the refrigerator, remove it a few hours beforehand to let it warm up. This allows the yeast to become active again. If your starter is already at room temperature, it’s ready to be fed.
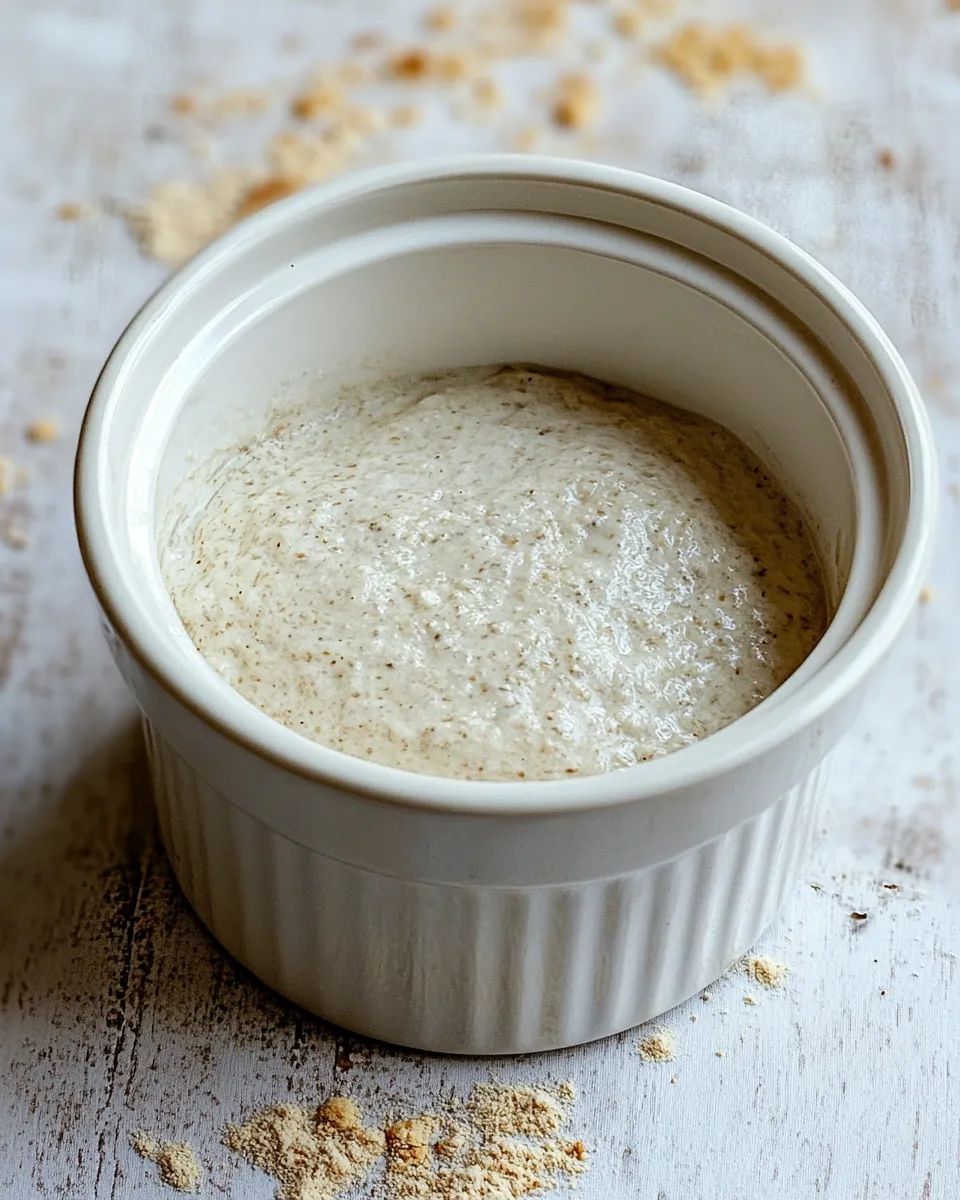
- Feed the Starter: Using a kitchen scale, weigh out 100 grams of your starter in a glass jar. Discard all but this amount. Add another 100 grams of flour and 100 grams of water. Stir thoroughly with a silicone spatula until well combined.
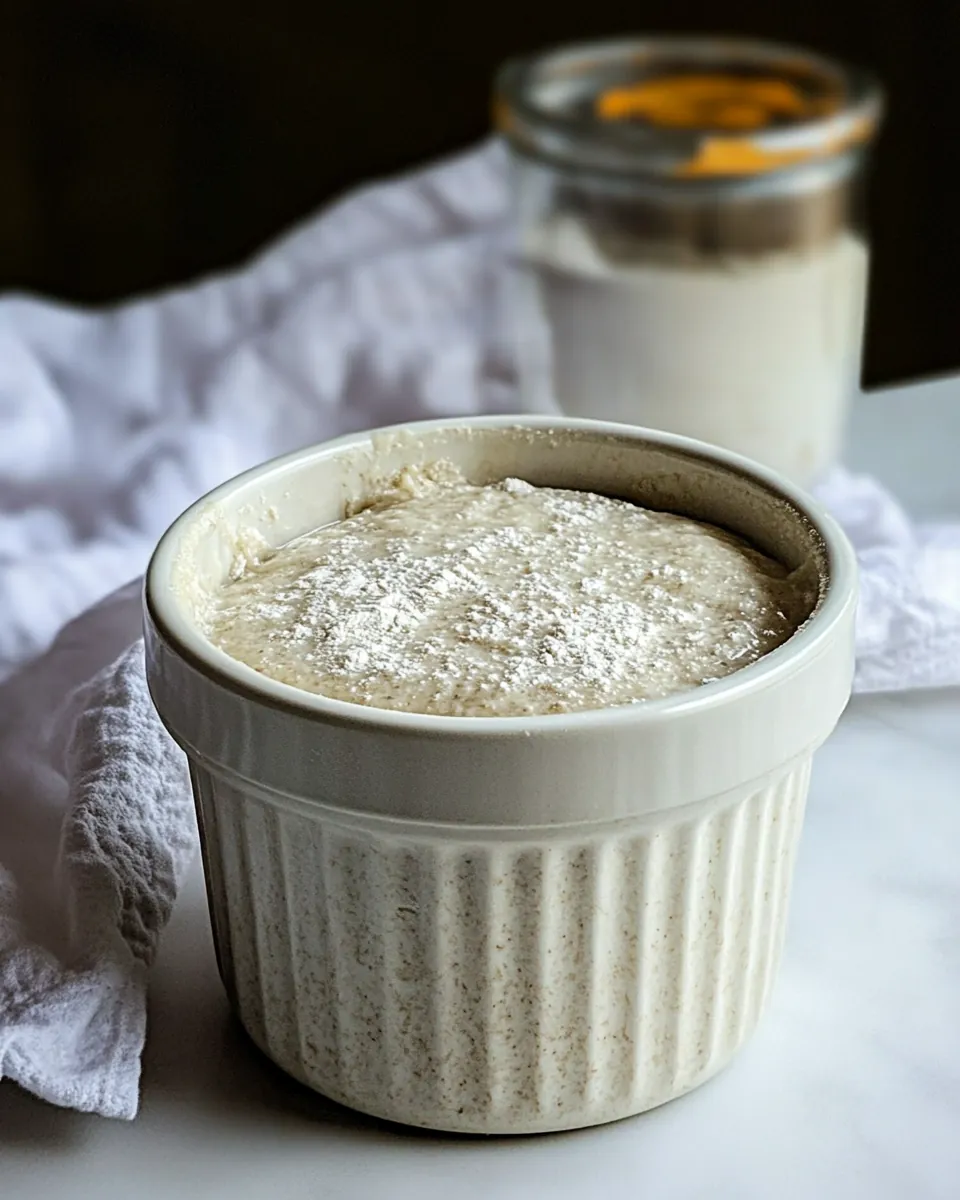
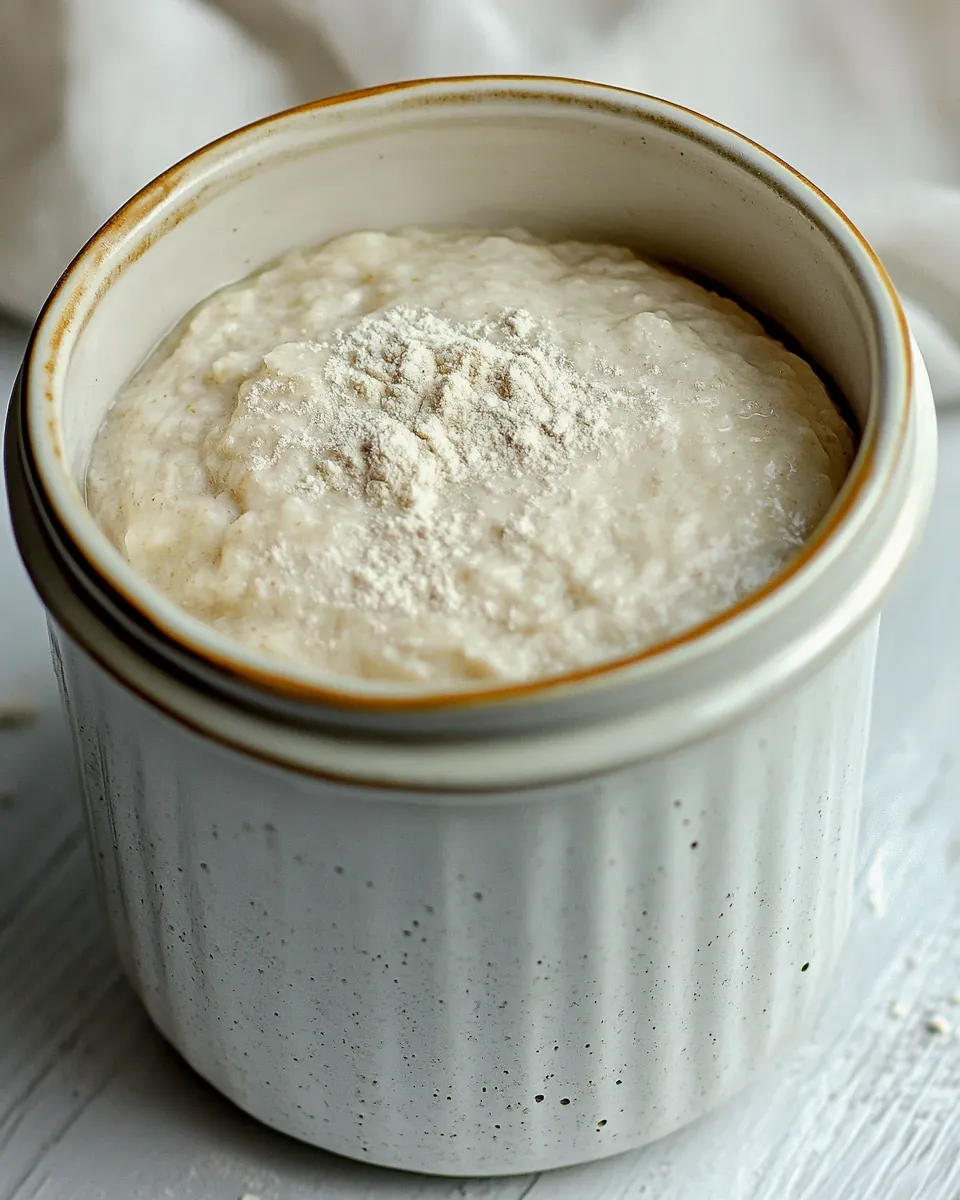
- Let it Rise: Scrape down the sides of the jar, cover it loosely with a lid, and place a rubber band around the jar as a marker for how much it rises. Let the starter sit at room temperature (70 to 75 degrees Fahrenheit) to grow. It should double in size within 4 to 6 hours.
- Check for Activity: Once your starter has doubled, it’s ready to use in your favorite sourdough recipes. If it falls, that means it’s time to feed it again.
- To Refrigerate the Starter: After using what you need, feed the starter again with the same proportions. You can leave it at room temperature for about 1 hour before putting it back in the fridge. Don’t forget to feed it weekly to keep it alive!
Things Worth Knowing
Things Worth Knowing
- Water Quality: It’s critical to use filtered, non-chlorinated water for the best results. Chlorine can inhibit the growth of yeast.
- Flour Type: Regular all-purpose flour works well, but consider using whole wheat or rye flour to enhance the activity of your starter.
- Serving Size: Adjust the feeding amount based on how much starter you have. A smaller feeding ratio is fine for limited use.
- Cleaning: Clean your jar regularly to prevent mold. A little upkeep goes a long way in maintaining a healthy starter.
Ways to Customize
Feeding your sourdough starter is personal and can be adjusted to fit your cooking style. Here are some ways you can make it your own:
- Experiment with Flours: Use different types of flour, like rye or whole wheat, to see how it affects flavor.
- Adjust Water Temperature: Use lukewarm water if your house is cool to boost yeast activity.
- Make a Larger Batch: Scale up your feeding amounts to have more starter on hand for larger baking projects.
- Try Different Containers: Use jars with varying sizes and shapes to see how they affect the fermentation process.
- Create a Schedule: Develop a feeding schedule that suits your baking routine, ensuring your starter is always ready.
What Complements This How to Feed Sourdough Starter
Feeding your sourdough starter paves the way for delightful baking adventures. Here are some ideas on how to complement this process:
- Pair with Fresh Breads: Use your active starter to create delicious sourdough bread that pairs perfectly with soups or salads.
- Perfect for Breakfast: Turn your starter into fluffy pancakes or waffles for a weekend brunch.
- Gift a Starter: Share your love for sourdough by gifting a jar of your starter to a friend who loves to bake.
- Seasonal Variations: Incorporate seasonal ingredients into your baked goods, such as pumpkin in the fall or berries in the summer.
- Storage Tips: Keep your starter in the fridge between uses and remember to feed it weekly.
FAQ
Conclusion
Feeding your sourdough starter is an essential step for anyone looking to bake delicious, homemade sourdough bread. It’s a simple yet rewarding process that connects you to the age-old tradition of bread-making. I encourage you to give it a try and experience the joy of nurturing your very own starter. With a little care and attention, you’ll unlock a world of flavor in your baking adventures.

How to Feed Sourdough Starter
Ingredients
Equipment
Method
- Bring Starter to Room Temperature: If your starter is refrigerated, remove it from the refrigerator a few hours or the night before to come to room temperature. If your starter is at room temperature, you’ll want to feed it daily or at least every other day to keep it bubbly and happy.
- Feed the Starter: Using a kitchen scale to weigh in grams, discard all but 100 grams of your starter in your glass jar. Add 100 grams of flour and 100 grams of water and stir thoroughly with a silicone spatula to combine.
- Let it Rise: Scrape down the sides of the jar, cover with a loose-fitting lid, place a rubber band on the jar to track how far the starter has risen, and let it grow at room temperature (70-75 ̊F). Once it has at least doubled in volume (4-6 hours), it is considered 'active sourdough starter' and you can use it to make sourdough recipes. Once it falls and is no longer active, you can repeat the feeding process in this step.
- To Refrigerate the starter: Once you have used the amount of active sourdough starter needed for your recipe, feed the starter again using the same proportions as in the previous steps. Optional: Let it sit at room temperature for 1 hour to jump-start the process then refrigerate. Feed weekly to keep it alive.
Notes
- Water Quality: It’s critical to use filtered, non-chlorinated water for the best results. Chlorine can inhibit the growth of yeast.
- Flour Type: Regular all-purpose flour works well, but consider using whole wheat or rye flour to enhance the activity of your starter.
- Cleaning: Clean your jar regularly to prevent mold. A little upkeep goes a long way in maintaining a healthy starter.