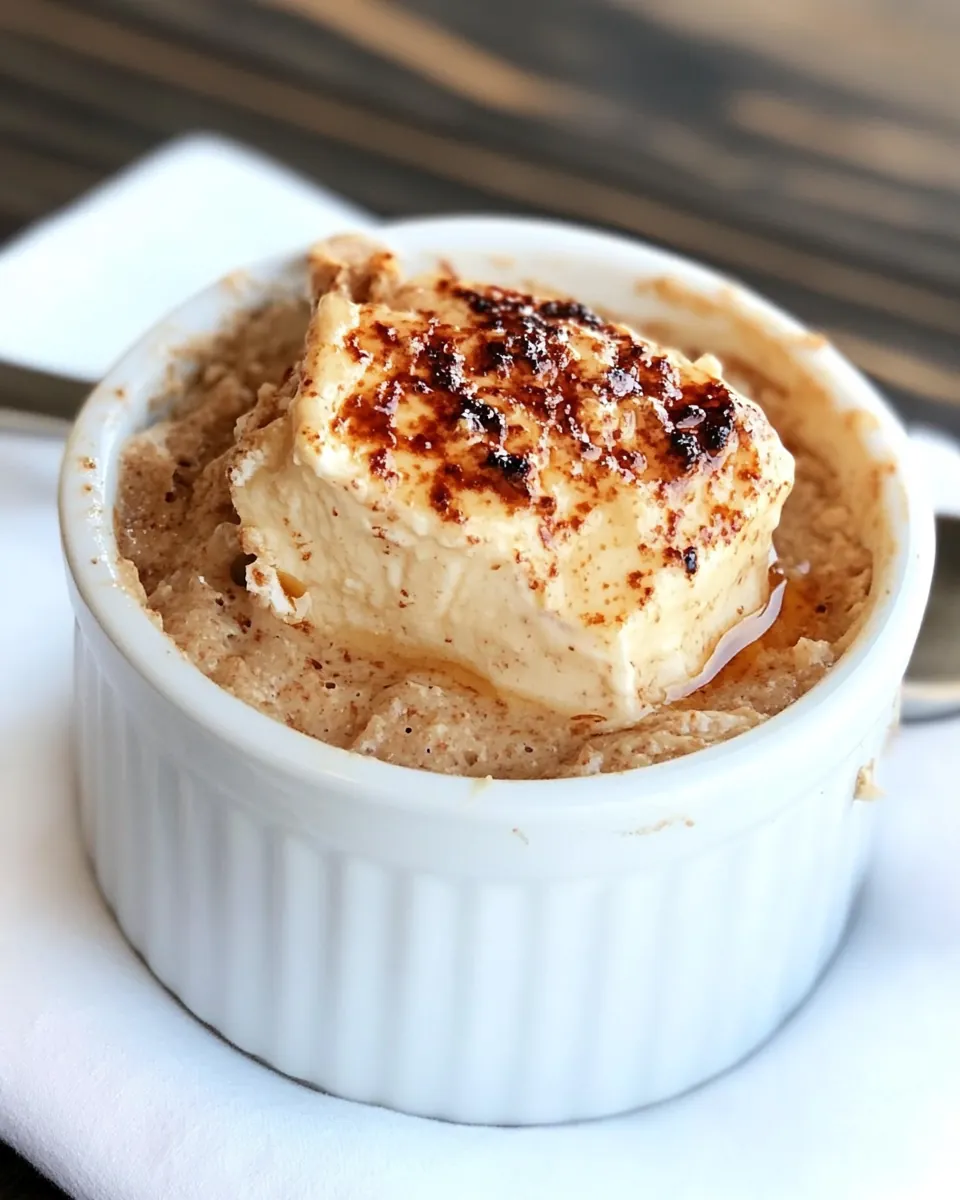
Burnt Butter
When I first discovered the magic of Burnt Butter, it was like unearthing a treasure in my kitchen. I remember the moment vividly: I had some butter to use up and thought, why not try something new? I placed it in a skillet, and as the gentle heat worked its wonders, the aroma enveloped my kitchen. It was nutty, rich, and seductive, and just like that, I was hooked. The transformation was mesmerizing; the golden-brown color was a sign that a new culinary adventure was unfolding. Whether drizzled over fresh bread or used as a base for sauces, Burnt Butter brings a depth of flavor that elevates any dish.
Recipe Snapshot
13 mins
5 mins
8 mins
Medium
100 kcal
0 g
Paleo, Vegan, Gluten-Free
11 g
Skillet, Wooden Spoon, Whisk, Mixing Bowl
Why This Burnt Butter Is So Good
1. It’s All About the Flavor
What I love most about Burnt Butter is the incredible flavor it adds to dishes. The process of browning the butter enhances its natural nuttiness, making it a delightful addition to both savory and sweet creations. It gives you that elegant touch without requiring any fancy ingredients.
2. Perfect for Any Occasion
This isn’t just a recipe; it’s a versatile companion for many meals. You can whip it up quickly for an impromptu dinner party or use it to elevate a casual weekday meal. It’s impressive yet simple, making it a go-to for any occasion.
3. Quick and Easy
One of the best things about Burnt Butter is how easy it is to make. With just butter, a pinch of salt, and a little patience, you can create something extraordinary. No complicated techniques or lengthy prep times needed!
4. A Beautiful Texture
When prepared correctly, Burnt Butter has a velvety texture that coats your dishes beautifully. This richness enhances the mouthfeel of whatever you pair it with, whether it’s pasta, vegetables, or even desserts.
5. Elevates Everyday Ingredients
Ever had plain bread? Just a drizzle of Burnt Butter can turn a simple snack into a gourmet treat. It’s a reminder that sometimes, the simplest ingredients can become something spectacular.
6. Great for Meal Prepping
If you’re into meal prepping, Burnt Butter is a fantastic addition to your weekly routine. Make a batch and store it in the fridge; you’ll have a flavor-packed addition ready to go whenever you need it.
Shopping List for Burnt Butter
The beauty of Burnt Butter lies in its simplicity. Each ingredient plays a vital role in creating a depth of flavor that is both rich and satisfying. The key players include high-quality butter, which becomes the star of the show, flaky salt to enhance the flavors, and fresh bread to serve alongside. Together, they create a harmony that is truly delightful.
- ½ cup butter (equal to 1 stick) – The foundation of this recipe, butter is what gives the dish its rich flavor and creamy texture. Opt for a high-quality product for the best results.
- Flaky salt – A finishing touch that enhances the nutty flavor of the butter. It provides a delightful contrast to the richness.
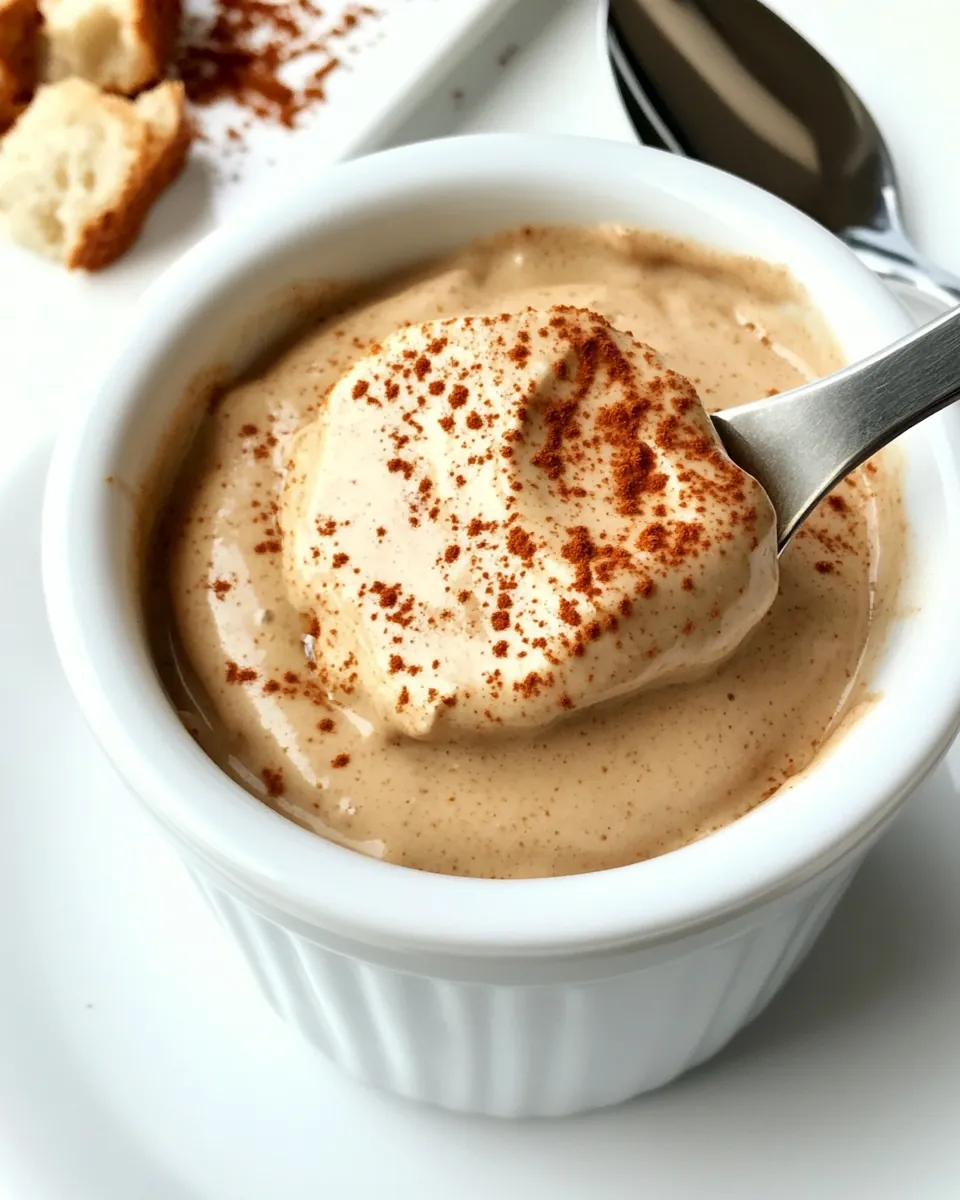
- Fresh bread – Perfect for serving, bread acts as a vehicle for the Burnt Butter, soaking up its deliciousness.
Putting Together Burnt Butter
Making Burnt Butter is a delightful process that rewards you with a rich, nutty flavor. Follow these steps to create your own batch. Enjoy the journey as you transform simple ingredients into something extraordinary!
- Start by placing the butter into a small skillet over medium heat. As it begins to melt, keep an eye on it and whisk occasionally to ensure even heating. You’ll notice it bubbling gently, which is perfectly normal.
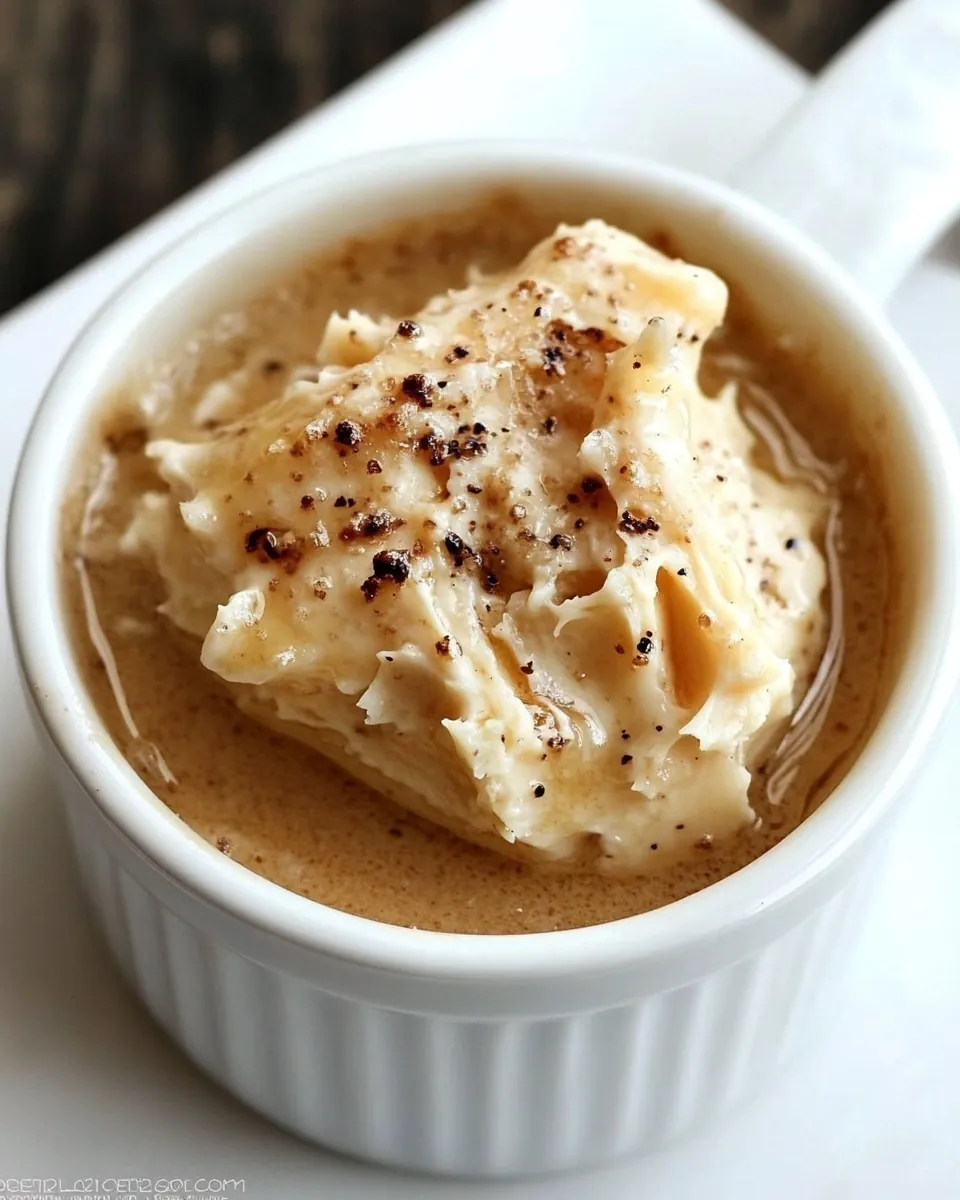
- Continue whisking until the butter reaches a deep caramel golden brown color. This process is where the magic happens! As you whisk, watch for small dark specks forming; they are the flavor bombs of your Burnt Butter.
- Pay attention to the aroma; once it becomes nutty and fragrant, you’re on the right track. Just remember, actual cooking times can vary, so trust your senses over the clock.
- When the butter reaches the desired color, remove it from the heat to prevent burning. It’s important to act quickly at this stage, as butter can go from perfect to burnt in seconds.
- Fill a large mixing bowl with ice and place a smaller mixing bowl on top of the ice. This will help cool the butter quickly while maintaining its texture.
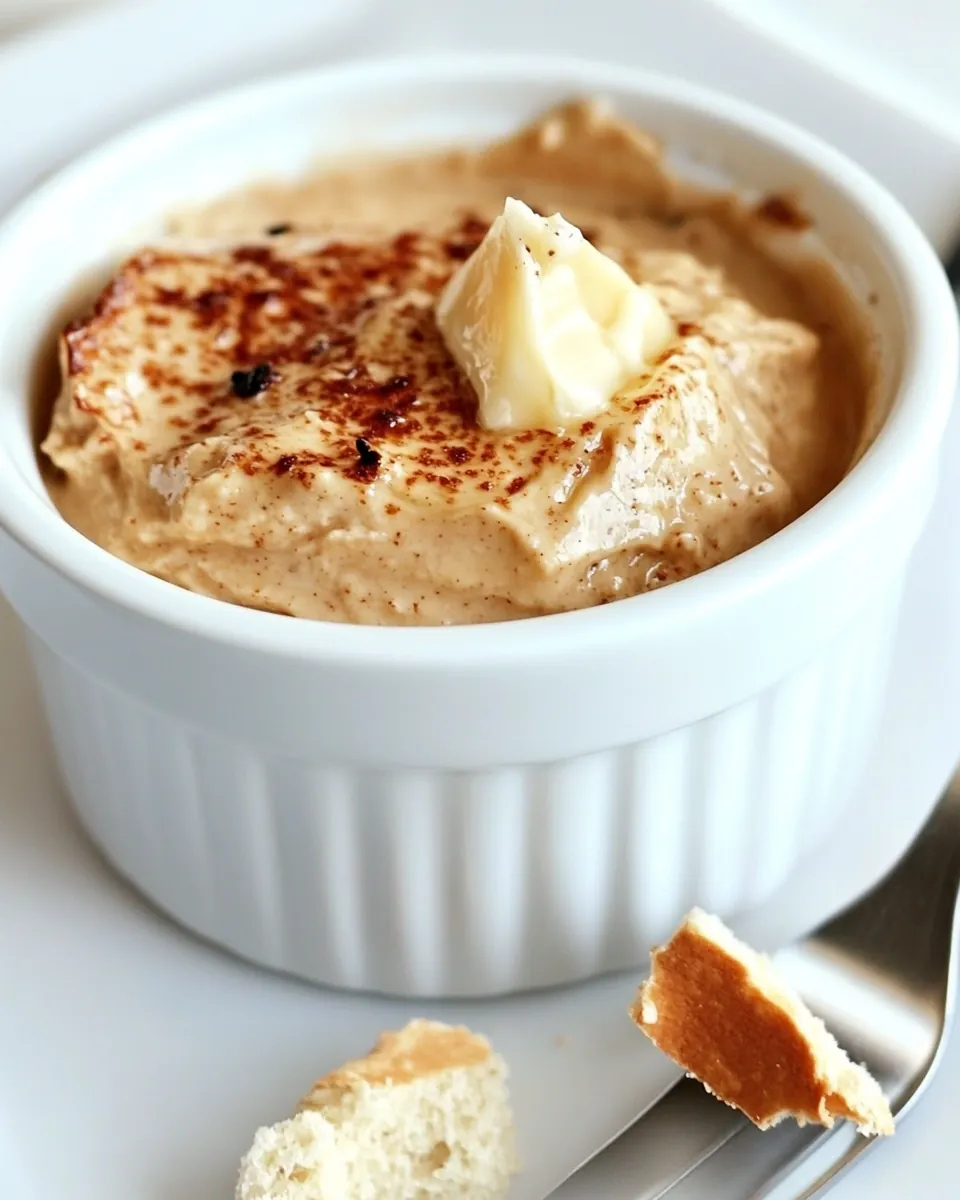
- Pour the melted butter into the smaller bowl and whisk it until it solidifies again, which should take about 2 to 3 minutes. This step ensures that your Burnt Butter retains its creamy consistency.
- Add a pinch of flaky salt to taste, enhancing the rich flavor of your creation. Adjust the amount based on your preference for saltiness.
- Serve your Burnt Butter immediately, generously topping it on fresh bread. For an extra touch, sprinkle an additional dash of flaky salt on top to elevate the flavor even further.
- If you have any leftovers, cover and refrigerate them until you’re ready to use in other recipes. It’s a versatile ingredient that can be added to various dishes!
Things Worth Knowing
- Watch the Color: The color of the butter is crucial. You want it to be a rich golden brown, not too dark, to avoid a burnt taste.
- Constant Whisking: Keep whisking continuously to prevent the butter from burning. It helps to achieve an even browning.
- Cooling Trick: Use the ice bath method to cool your Burnt Butter quickly. It helps maintain the right consistency.
- Storage: Store any leftover Burnt Butter in an airtight container in the fridge. It can last up to a week.
- Serving Suggestions: Try pairing Burnt Butter with vegetables or pasta for an elegant twist.
Pro Tips and Tweaks
Whether you’re a novice or an experienced cook, these tips will help you master Burnt Butter and enhance your culinary repertoire.
- Experiment with Flavors: Add herbs or spices like thyme or garlic to the butter as it cooks for additional depth.
- Don’t Rush: Take your time during the browning process. It might take a little longer, but the flavor will be worth the wait.
- Storage: Keep leftover Burnt Butter in the fridge for up to a week. Let it sit out for 15 minutes before using so it becomes spreadable.
- Freezing: You can freeze Burnt Butter in ice cube trays for easy portioning. It’s a great way to have it ready for quick use in recipes.
- Pairing: Serve Burnt Butter with fresh bread for a simple snack or use it as a base for sauces to elevate any meal.
What to Pair With Burnt Butter
Finding the perfect pairings for Burnt Butter can elevate your dining experience to new heights. Here are some ideas on how to enjoy it:
- With Fresh Bread: Enjoy Burnt Butter spread on warm, crusty bread for a simple yet indulgent snack.
- Pasta Dishes: Drizzle Burnt Butter over your favorite pasta for a luxurious finish that complements various sauces.
- Vegetables: Use Burnt Butter as a dressing for roasted or sautéed vegetables, adding a rich flavor that enhances their natural sweetness.
- Seasonal Occasions: Perfect for special occasions like dinner parties or festive gatherings, Burnt Butter impresses guests with its depth of flavor.
- Storage Tips: If you have leftovers, store Burnt Butter in an airtight container in the fridge for easy use later.
FAQ
Conclusion
The beauty of Burnt Butter lies in its ability to transform a simple ingredient into a culinary masterpiece. It’s not just a cooking technique; it’s an art that adds depth, flavor, and a touch of elegance to any dish. I encourage you to give it a try and experience the wonderful taste enhancement it brings. You won’t regret adding this delightful twist to your cooking repertoire!
Burnt Butter
Ingredients
Equipment
Method
- Start by placing the butter into a small skillet over medium heat. As it begins to melt, keep an eye on it and whisk occasionally to ensure even heating. You’ll notice it bubbling gently, which is perfectly normal.
- Continue whisking until the butter reaches a deep caramel golden brown color. This process is where the magic happens! As you whisk, watch for small dark specks forming; they are the flavor bombs of your Burnt Butter.
- Pay attention to the aroma; once it becomes nutty and fragrant, you’re on the right track. Just remember, actual cooking times can vary, so trust your senses over the clock.
- When the butter reaches the desired color, remove it from the heat to prevent burning. It’s important to act quickly at this stage, as butter can go from perfect to burnt in seconds.
- Fill a large mixing bowl with ice and place a smaller mixing bowl on top of the ice. This will help cool the butter quickly while maintaining its texture.
- Pour the melted butter into the smaller bowl and whisk it until it solidifies again, which should take about 2 to 3 minutes. This step ensures that your Burnt Butter retains its creamy consistency.
- Add a pinch of flaky salt to taste, enhancing the rich flavor of your creation. Adjust the amount based on your preference for saltiness.
- Serve your Burnt Butter immediately, generously topping it on fresh bread. For an extra touch, sprinkle an additional dash of flaky salt on top to elevate the flavor even further.
- If you have any leftovers, cover and refrigerate them until you’re ready to use in other recipes. It’s a versatile ingredient that can be added to various dishes!
Notes
- Storage: Store any leftover Burnt Butter in an airtight container in the fridge. It can last up to a week.
- Freezing: You can freeze Burnt Butter in ice cube trays for easy portioning. It’s a great way to have it ready for quick use in recipes.
- Pairing: Serve Burnt Butter with fresh bread for a simple snack or use it as a base for sauces to elevate any meal.