Brown Butter
There’s something magical about mastering the art of making Brown Butter. It transforms an ordinary ingredient into a culinary wonder. I remember the first time I stumbled upon this technique; the rich, nutty aroma filled my kitchen, and I was instantly hooked. Whether you’re baking cookies or sautéing vegetables, Brown Butter brings a depth of flavor that elevates every dish. It all started when I was trying to recreate a classic recipe from my childhood and discovered that simply browning the butter before incorporating it could make all the difference. The warm, complex flavors of Brown Butter have since become a staple in my kitchen, and I love sharing this technique with friends and family. Cooking is about exploration, and I’ve found that Brown Butter opens up a world of delicious possibilities. So let’s dive into this simple yet profound technique and discover how to make it your own!
Recipe Snapshot
8 mins
0 mins
8 mins
Easy
102 kcal
0 g
Keto, Gluten-Free, Low FODMAP
12 g
Frying Pan, Wooden Spoon
What Sets This Brown Butter Apart
Rich Flavor
One of the standout features of Brown Butter is its deep, nutty flavor, which adds a layer of complexity to both sweet and savory dishes. The process of browning the butter caramelizes the milk solids, transforming them into a golden-brown color that enhances the taste. You’ll find that just a small amount of Brown Butter can make a significant impact on your recipes.
Versatility
Another reason to fall in love with Brown Butter is its versatility. You can use it in various dishes, from cookies and cakes to pasta and vegetables. The possibilities are endless! I often drizzle Brown Butter over freshly cooked pasta or use it to make a luscious sauce for fish. It’s a game changer in the kitchen!
Quick and Easy
Making Brown Butter is incredibly quick and easy, taking just a few minutes. You don’t need any special equipment or hard-to-find ingredients. Just some good-quality unsalted butter and a saucepan are all it takes. I love how such a simple technique can yield profound results in my cooking.
Perfect for Meal Prep
One of my favorite things about Brown Butter is how well it stores. Once made, you can keep it in the fridge for several days, ready to add a burst of flavor to your meals. I often prepare a batch at the beginning of the week, so it’s on hand when I need a quick flavor boost.
Elevates Everyday Dishes
Last but not least, Brown Butter has an incredible ability to elevate everyday dishes. Whether you’re making a simple vegetable sauté or classic pancakes, a spoonful of Brown Butter adds that gourmet touch that impresses everyone at the table. It’s a simple way to take home-cooked meals from good to extraordinary.
Ingredients You’ll Need for Brown Butter
When it comes to making Brown Butter, the ingredient list is refreshingly simple. The star of the show is, of course, unsalted butter. Using unsalted butter allows you to control the saltiness of your dish, ensuring that the rich, nutty flavor of the browned milk solids shines through without overpowering your recipe. It’s all about maximizing flavor!
- Unsalted Butter – The key ingredient that you’ll be browning. It’s best to use high-quality butter for the richest flavor.
Putting Together Brown Butter
Getting started with Brown Butter is as delightful as the end result. Follow these steps carefully, and you’ll be rewarded with a beautiful, fragrant butter in no time. Let’s whip up this amazing ingredient!
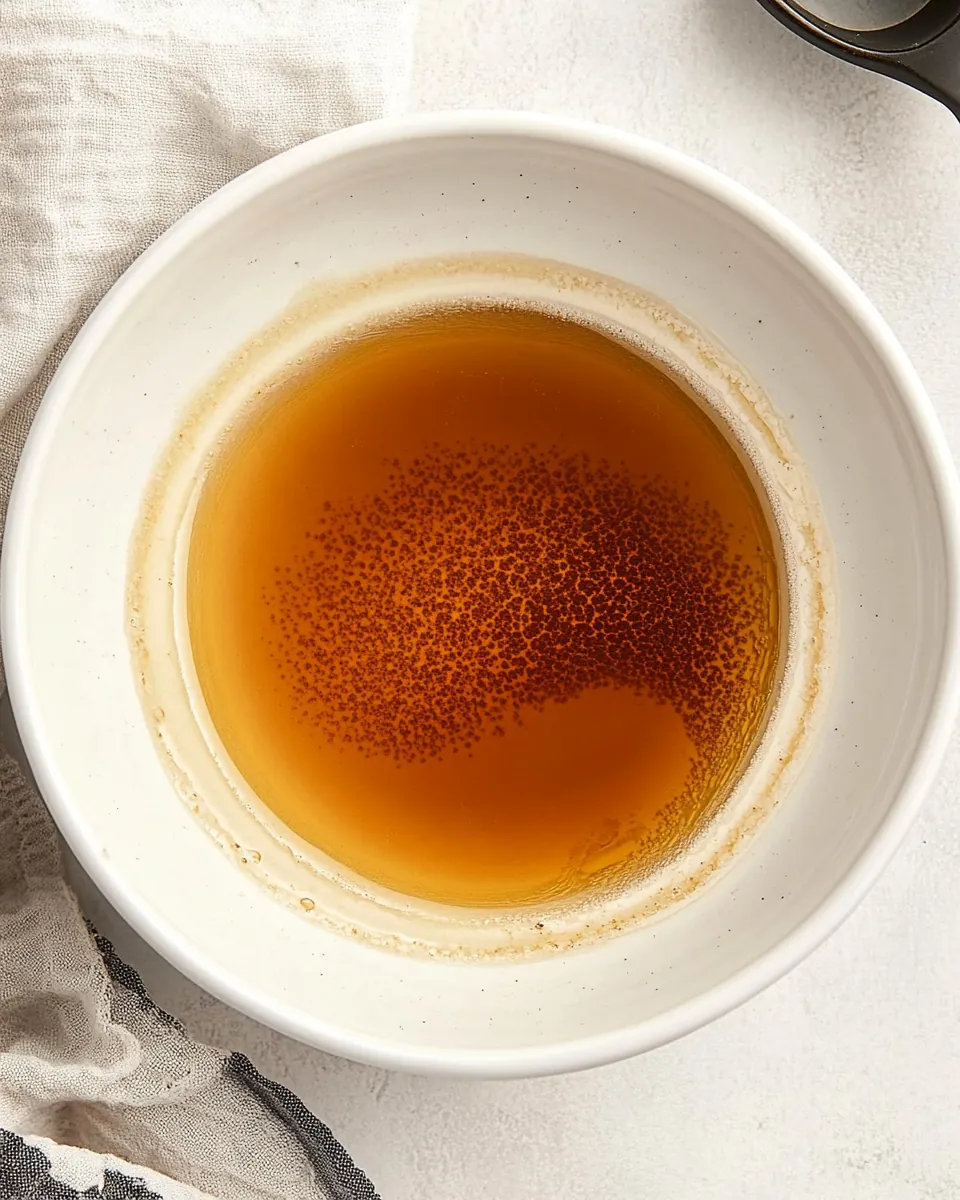
First, place your unsalted butter in a medium-sized saucepan. It’s essential to use a pan with a light-colored bottom so you can easily monitor the color of the butter as it cooks. Turn the heat to medium and let the butter melt completely. Keep an eye on it as it begins to melt; you want to ensure it doesn’t burn.
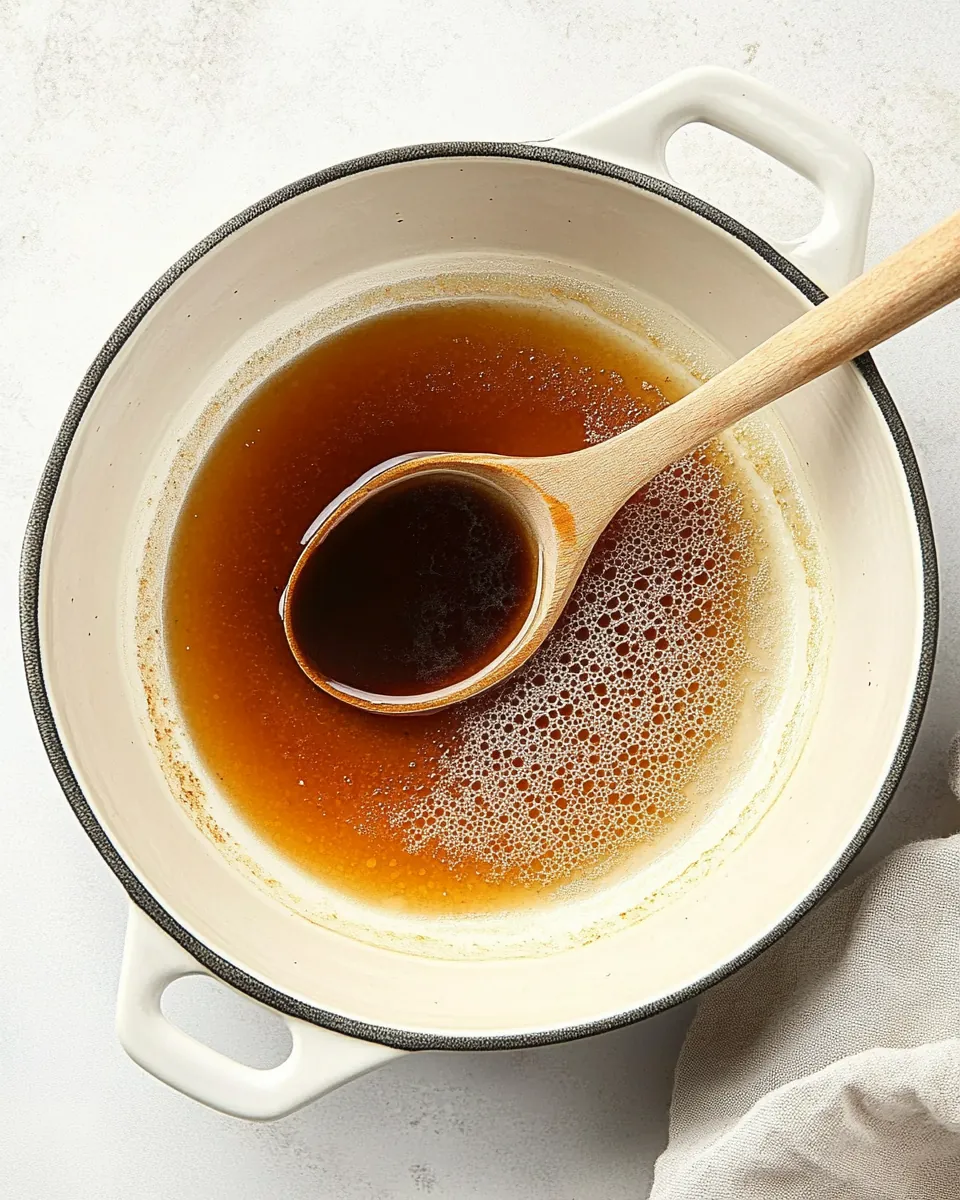
Once the butter has melted, you’ll notice it starts to bubble and foam. Now it’s time to slightly increase the heat to just above medium. Stir the butter constantly using a wooden spoon or heatproof spatula. This is crucial as it helps to distribute the heat evenly and prevents any milk solids from sticking to the bottom of the pan.
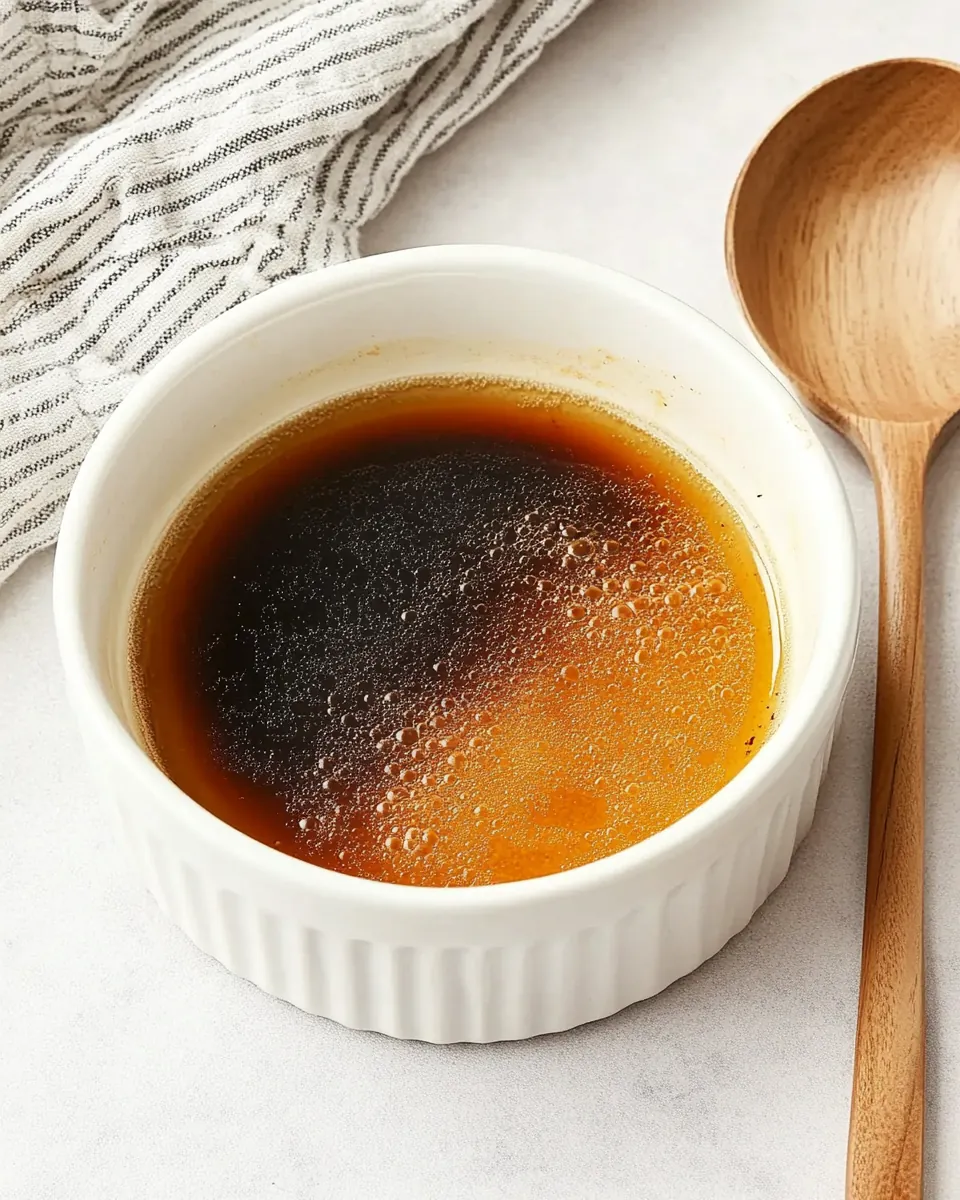
The butter will start to make a lovely sizzling sound as the water content evaporates. At this stage, the milk solids will begin to separate and sink to the bottom. Keep stirring and watching for any change in color. After about 4 to 5 minutes, the butter will begin to turn a golden brown. This is when the magic happens!
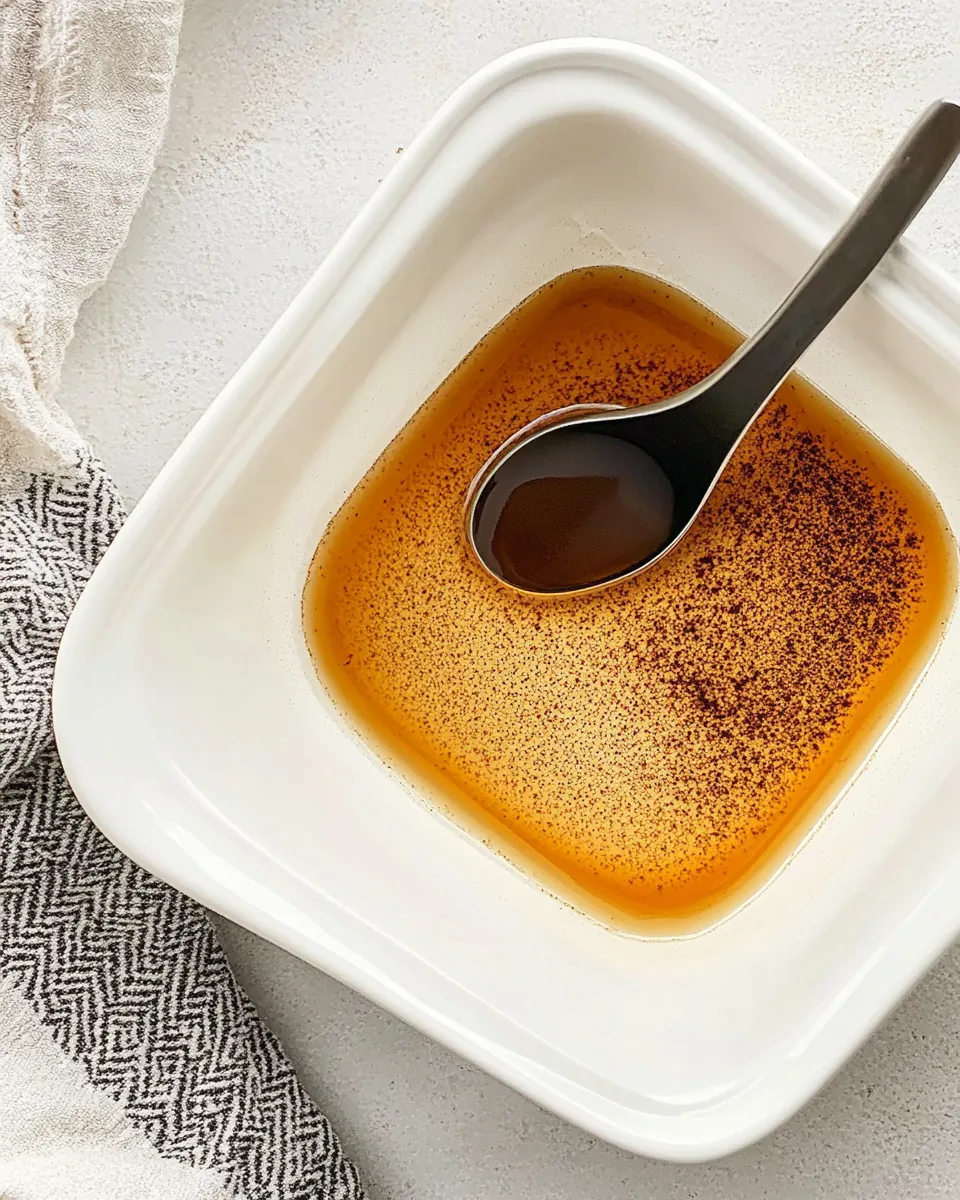
Continue cooking and stirring until the butter turns a rich amber color and has a nutty aroma. It’s essential to stay vigilant at this point; the transition from perfectly brown to burnt can happen very quickly. Look for a color that is reminiscent of hazelnut, which indicates it’s just right. This process typically takes around 6 to 8 minutes total.
Once your butter has reached that perfect brown color, immediately remove it from the heat. Pour the browned butter into a small heat-proof bowl. This is vital to prevent it from cooking further in the hot pan.
Let the Brown Butter cool for about 10 to 15 minutes. Depending on how you plan to use it, you can either use it right away or allow it to cool completely before storing it in the fridge. It can stay fresh for up to 5 days in the refrigerator.
Things Worth Knowing
- Watch Carefully: When browning butter, it’s crucial to keep an eye on it as it can go from perfectly browned to burnt in a matter of seconds.
- Use a Light-Colored Pan: A light-colored saucepan allows you to see the color changes in the butter, making it easier to catch the perfect browning stage.
- Control the Heat: Adjusting the heat slightly above medium gives you the right temperature to achieve a beautiful brown without burning.
- Stir Constantly: Constant stirring prevents the milk solids from sitting on the bottom and burning while helping to evenly distribute heat.
Variations to Try
Making Brown Butter opens up a world of flavor, and experimenting with variations can make the experience even more enjoyable. Here are some fun ideas!
- Add Herbs: Try adding fresh herbs like thyme or sage to the butter just before it finishes browning. This infusion will add aromatic flavors to your Brown Butter.
- Spice It Up: Consider adding spices such as cinnamon or nutmeg during the browning process for a sweet twist. This can enhance baked goods or pancakes significantly.
- Use in Sauces: Use Brown Butter as a base for sauces, especially for pasta dishes. Toss some cooked noodles with Brown Butter, garlic, and parsley for a simple yet elegant dish.
- Sweet Treats: Incorporate Brown Butter into cookie and cake recipes. The nutty flavor complements chocolate and enhances the overall taste of baked goods.
- Store for Later: Make a larger batch of Brown Butter and store it in the fridge for quick flavor boosts in future recipes.
Pairing Suggestions for Brown Butter
Knowing how to serve Brown Butter can elevate any meal. Here are some suggestions to maximize its deliciousness:
- Pasta: Drizzle Brown Butter over freshly cooked pasta and toss with vegetables or protein for a satisfying dish.
- Vegetables: Use Brown Butter to sauté vegetables like green beans or Brussels sprouts, adding a rich flavor that makes them irresistible.
- Grains: Pour Brown Butter over grains such as rice or quinoa for an added depth of flavor.
- Bread: Serve Brown Butter with warm bread or rolls. It’s an elegant way to add flavor to your bread basket.
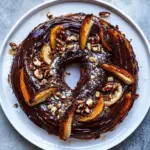
- Seasonal Dishes: Use Brown Butter in seasonal dishes, especially during fall and winter, to create heartwarming flavors that match the season.
FAQ
Conclusion
Making Brown Butter is a simple yet transformative technique that enhances the flavor of your dishes. The rich, nutty flavor it brings to both savory and sweet recipes is truly special. I encourage you to give it a try and experience the difference it can make in your cooking. You might just find yourself making Brown Butter a regular staple in your kitchen!
Brown Butter
Ingredients
Equipment
Method
- First, place your unsalted butter in a medium-sized saucepan. It’s essential to use a pan with a light-colored bottom so you can easily monitor the color of the butter as it cooks. Turn the heat to medium and let the butter melt completely. Keep an eye on it as it begins to melt; you want to ensure it doesn’t burn.
- Once the butter has melted, you’ll notice it starts to bubble and foam. Now it's time to slightly increase the heat to just above medium. Stir the butter constantly using a wooden spoon or heatproof spatula. This is crucial as it helps to distribute the heat evenly and prevents any milk solids from sticking to the bottom of the pan.
- The butter will start to make a lovely sizzling sound as the water content evaporates. At this stage, the milk solids will begin to separate and sink to the bottom. Keep stirring and watching for any change in color. After about 4 to 5 minutes, the butter will begin to turn a golden brown. This is when the magic happens!
- Continue cooking and stirring until the butter turns a rich amber color and has a nutty aroma. It’s essential to stay vigilant at this point; the transition from perfectly brown to burnt can happen very quickly. Look for a color that is reminiscent of hazelnut, which indicates it’s just right. This process typically takes around 6 to 8 minutes total.
- Once your butter has reached that perfect brown color, immediately remove it from the heat. Pour the browned butter into a small heat-proof bowl. This is vital to prevent it from cooking further in the hot pan.
- Let the Brown Butter cool for about 10 to 15 minutes. Depending on how you plan to use it, you can either use it right away or allow it to cool completely before storing it in the fridge. It can stay fresh for up to 5 days in the refrigerator.
Notes
- Watch Carefully: When browning butter, it's crucial to keep an eye on it as it can go from perfectly browned to burnt in a matter of seconds.
- Use a Light-Colored Pan: A light-colored saucepan allows you to see the color changes in the butter, making it easier to catch the perfect browning stage.
- Control the Heat: Adjusting the heat slightly above medium gives you the right temperature to achieve a beautiful brown without burning.
- Stir Constantly: Constant stirring prevents the milk solids from sitting on the bottom and burning while helping to evenly distribute heat.