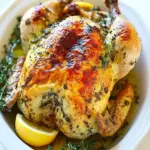
Spatchcock Chicken
When I first discovered how to make Spatchcock Chicken, I knew I had stumbled upon a game-changer for weeknight dinners. Imagine a tender, juicy chicken, cooked to perfection with crispy skin that practically begs to be devoured! The beauty of spatchcocking lies in its ability to cut down cooking time while ensuring that every part of the chicken is evenly cooked. Whether you’re hosting a dinner party or just treating yourself, this dish simplifies cooking without compromising flavor.
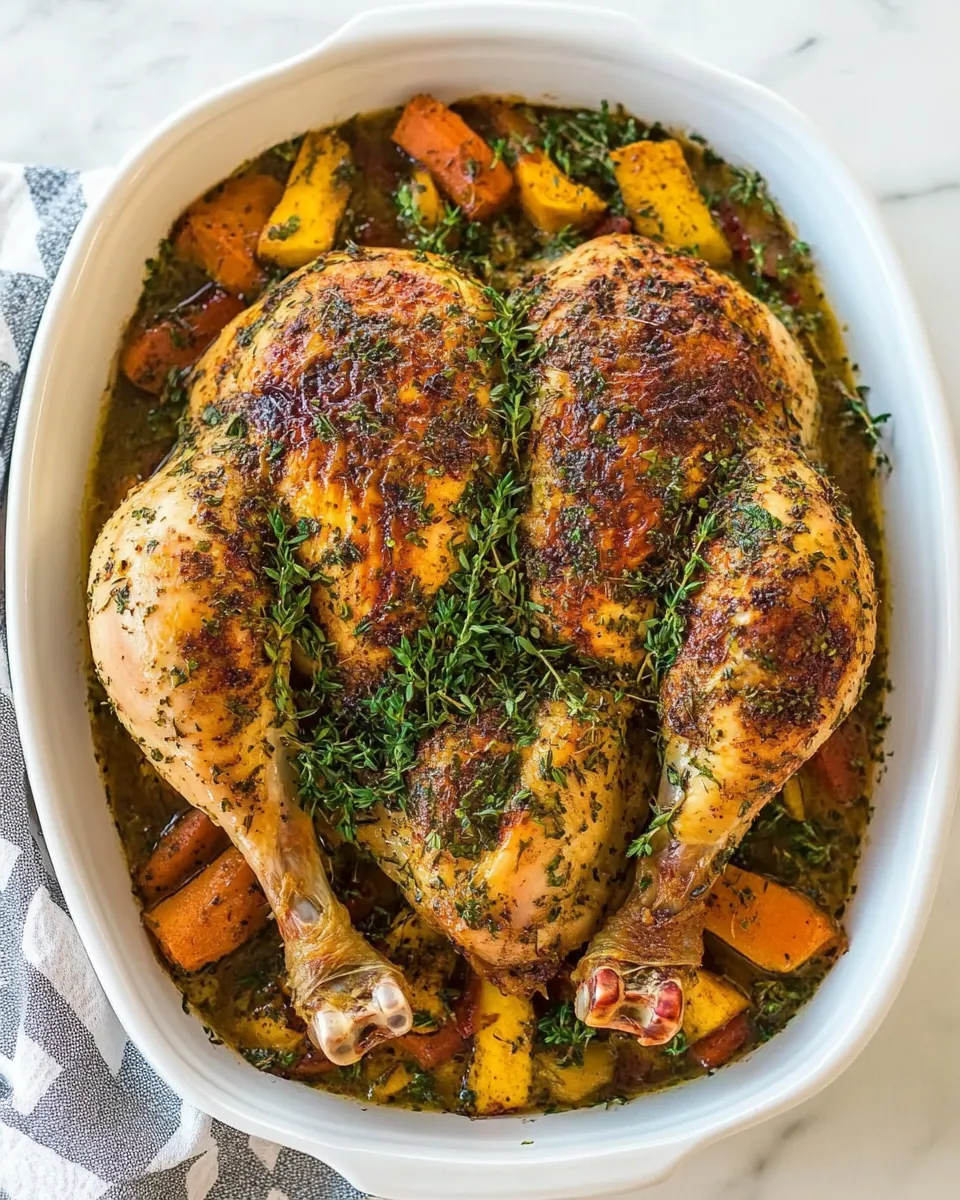
One evening, I was entertaining friends and wanted to serve something special without spending hours in the kitchen. I remember flipping through my recipe book when I stumbled upon this technique. With just a few snips of my kitchen shears, I transformed a whole chicken into a beautifully flattened masterpiece. The aroma wafting from the oven was nothing short of intoxicating. As I pulled the golden-brown Spatchcock Chicken out of the oven, my friends gathered around, eyes wide with anticipation. Each bite was met with delighted murmurs, and the vibrant vegetables roasted alongside added a burst of color and flavor to the plate.
This recipe is not just about the stunning presentation; it’s about creating a memorable experience around the dinner table. The Spatchcock Chicken is perfect for sharing stories and laughter, as everyone digs in and enjoys the succulent meat, seasoned just right. Trust me, once you try making Spatchcock Chicken, it will become a staple in your cooking repertoire.
Recipe Snapshot
1 hr 15 mins
15 mins
60 mins
Medium
350 kcal
45 g
Keto, Paleo, Whole30
12 g
Frying Pan, Peeler, Baking Sheet, Oven
What Sets This Spatchcock Chicken Apart
Time-Saving Technique
One of the best things about Spatchcock Chicken is the time it saves in the kitchen. By removing the backbone, you allow the chicken to lay flat, which helps it cook faster and more evenly. This means you can enjoy a delicious meal without the long wait time typically associated with roasting whole chickens.
Flavorful Results
The technique of spatchcocking doesn’t just speed things up; it also enhances the flavor. The increased surface area allows for better seasoning penetration. When you rub the chicken with your favorite spices, every bite is infused with flavor, making it a taste sensation.
Versatility
Another reason I love this recipe is its versatility. You can easily adapt the seasonings and vegetables to suit your mood or the season. Whether you want a Mediterranean vibe with olives and herbs or a barbecue twist with your favorite sauces, the possibilities are endless.
Perfect for Family Gatherings
Spatchcock Chicken is not only a crowd-pleaser but also a fantastic dish for family gatherings. Its impressive presentation makes it look like you’ve put in a lot of effort, but in reality, it’s quite simple to prepare. Everyone can enjoy carving their own pieces and savoring the juicy meat.
Healthy and Wholesome
This recipe offers a healthy option for dinner, as it focuses on lean protein and fresh vegetables. By roasting the chicken with seasonal veggies, you’re not only adding flavor but also nutrition, making it a wholesome meal for the whole family.
Easy Cleanup
Lastly, roasting a Spatchcock Chicken often requires just one pan, which means less cleanup for you. After a lovely dinner, you can relax and enjoy the time spent with your loved ones without worrying about a mountain of dishes waiting for you.
What Goes Into Spatchcock Chicken
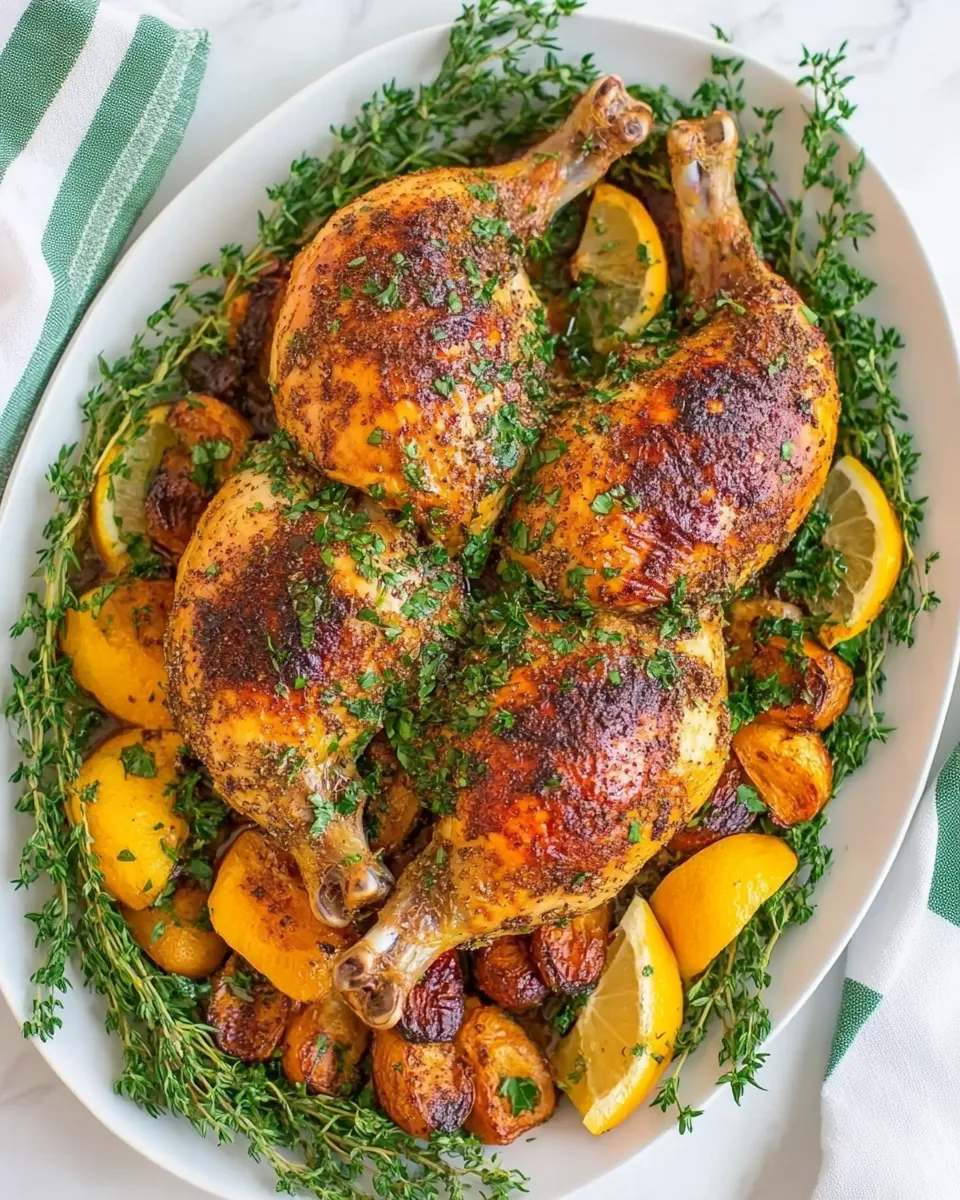
The ingredients for Spatchcock Chicken are simple yet powerful. Each component plays a crucial role in creating a balanced and flavorful dish. The star of the show is, of course, the whole chicken, which is complemented by homemade chicken seasoning that enhances its natural flavors. Fresh vegetables like baby potatoes and carrots not only add colors but also provide a delightful contrast in texture.
- 1 whole chicken (4-5 pounds): The main ingredient that will be the centerpiece of your meal. A fresh, quality chicken will yield the best results.
- ⅓ cup homemade chicken seasoning: A blend of herbs and spices that will elevate the flavor profile of the chicken.
- 1 pound yellow baby potatoes, halved: These bite-sized potatoes roast beautifully alongside the chicken, soaking up delicious flavors.
- 4 whole carrots, peeled and cut into 3-inch pieces: Sweet and vibrant, carrots add both color and sweetness to the dish.
- 2 tablespoons olive oil: Used to toss the vegetables and help with browning the chicken.
- Kosher salt and pepper, to taste: Essential for seasoning to enhance the flavors of the chicken and vegetables.
- Rosemary and parsley for garnish: Fresh herbs that provide a pop of color and added freshness to the dish.
The Process for Making Spatchcock Chicken
Making Spatchcock Chicken is a rewarding process that allows you to connect with the ingredients. The steps may seem lengthy, but with each one, you’ll see how simple it can be to create a delicious meal. Let’s get started!
- Pat dry the chicken with a paper towel. This step helps to ensure that the skin becomes crispy while cooking. If the skin is damp, it will steam instead of roast. Make sure to remove any excess moisture before proceeding.
- Set the chicken breast side down on a baking sheet with a wire rack. Using very sharp kitchen shears, cut along the backbone from the tail to the neck. This requires some strength, but it’s worth it! Carefully cut along each side until it is removed. Discard the backbone or save it to make a stock later.
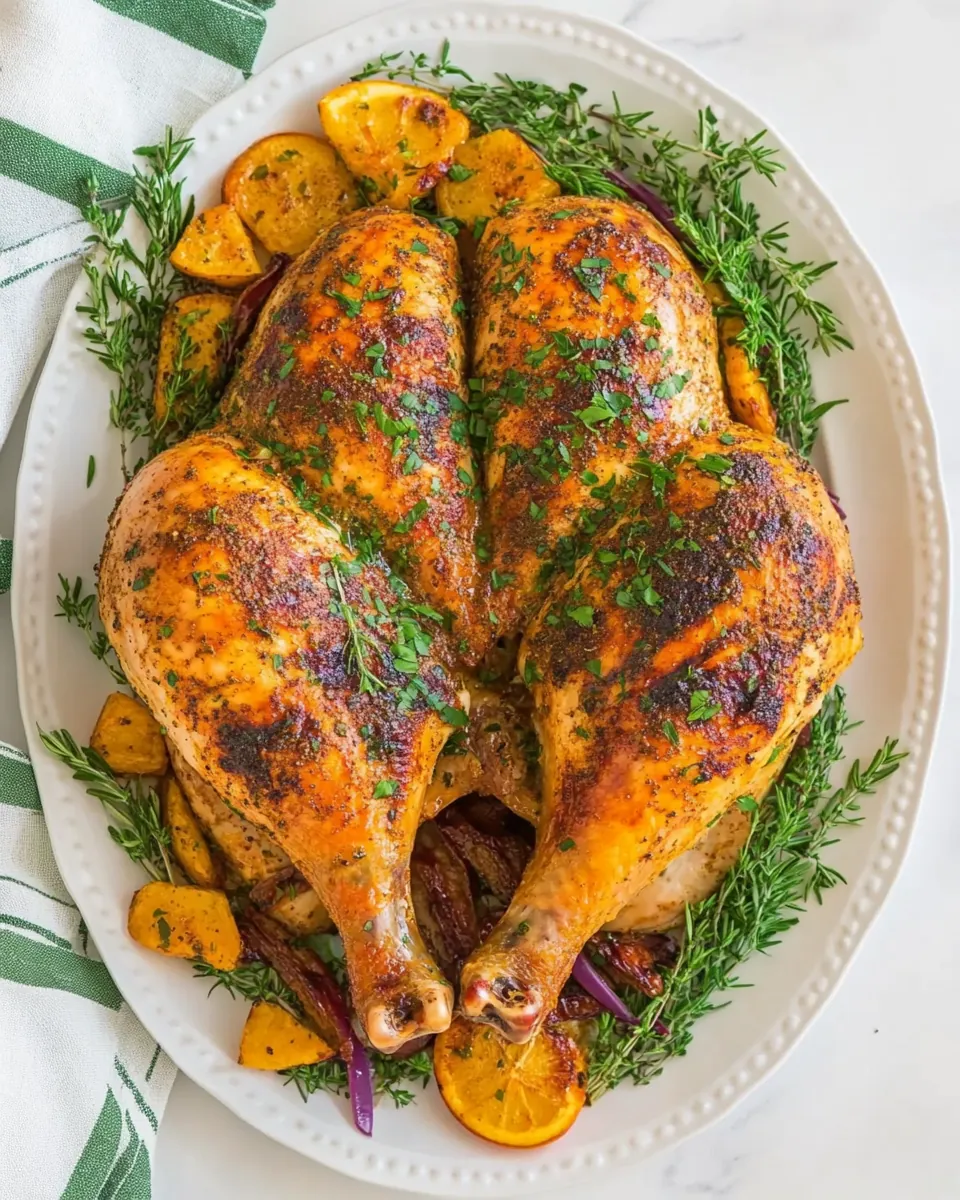
- Flip the chicken over and use your hands to press firmly to flatten the ribs. This is crucial; pressing down will help the chicken cook evenly and ensure that it’s completely flat. Position the thighs out on the baking sheet to maximize space.
- Rub the chicken generously with the chicken seasoning. Don’t be shy here! Make sure it’s well coated, as the seasoning is what brings out the best flavors.
- To season the vegetables, toss the yellow baby potatoes and carrots with olive oil, salt, and pepper to taste. This step is important because it allows the veggies to caramelize beautifully in the oven.
- Preheat the oven to 425 degrees Fahrenheit. This high initial temperature will kickstart the browning of the chicken and veggies.
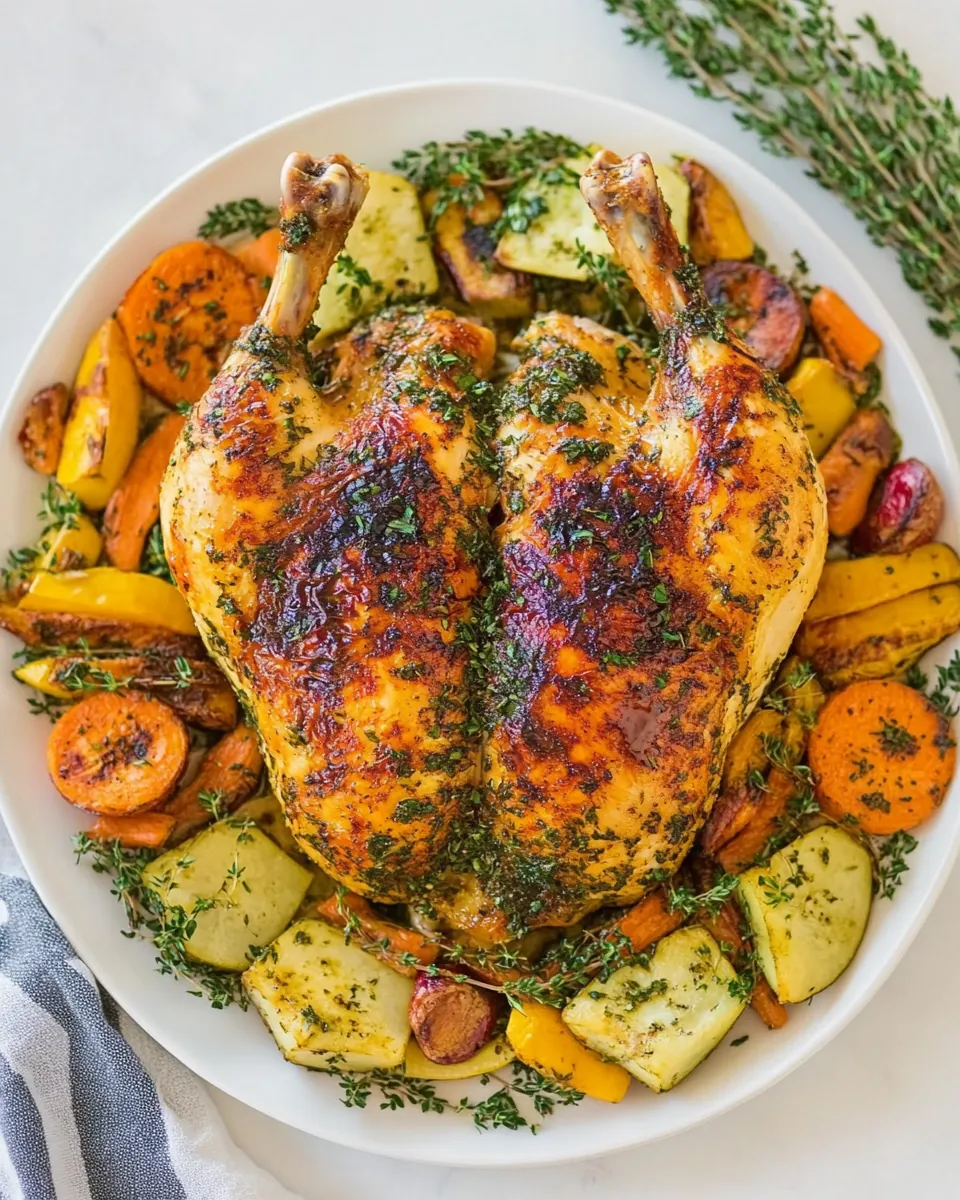
- Place the chicken in the middle of a large baking sheet pan, ensuring that it is skin-side up. Scatter the seasoned vegetables around the chicken, making sure they are evenly spaced.
- Bake the spatchcocked chicken and veggies for 15 minutes. After this, reduce the oven temperature to 400 degrees Fahrenheit and continue to cook for about an hour or until the thickest part of the chicken reaches 165 degrees Fahrenheit. This adjustment in temperature helps to cook everything through without overcooking the skin.
- Once done, remove the chicken from the oven and tent it with foil. Let it rest for 10 to 20 minutes. This resting time is essential as it allows the juices to redistribute, making for a moister chicken when you carve.
- Carve and serve the chicken with the roasted vegetables. Enjoy the fruits of your labor!
- For a smoky option, preheat your smoker to 240 degrees Fahrenheit. Place the chicken in the middle of a large baking sheet pan, skin-side up, and scatter the vegetables around it. Smoke for 3 to 4 hours or until the thickest part reaches 165 degrees Fahrenheit. This will infuse the chicken with a delightful smoky flavor.
- Alternatively, you can cook the vegetables separately, but I personally love cooking them in the smoker! Sometimes, I’ll place the vegetables in their own smoker-safe pan and pull them out if they get done sooner.
- Once again, remove from the heat, tent with foil, let rest for 10 to 20 minutes, carve, and serve. The smoky flavor combined with the juicy chicken is absolutely to die for.
Things Worth Knowing
- Use a sharp knife: When spatchcocking, a sharp knife or kitchen shears are essential for cutting through the bones easily.
- Temperature matters: Ensure your oven is preheated properly; a hot oven is key for crispy skin.
- Resting is crucial: Never skip the resting step, as it allows the juices to redistribute for a moist chicken.
- Flavor infusion: Consider marinating the chicken overnight with the seasoning for even deeper flavor.
Ways to Adapt This Recipe
There are numerous ways to adapt Spatchcock Chicken to fit your taste preferences and dietary needs. Let’s explore some creative variations!
- Herb variations: Experiment with different herbs such as thyme, sage, or oregano to change up the flavor profile.
- Cooking method: Try grilling the chicken for a charred taste, or use an air fryer for a quick and crispy alternative.
- Vegetable options: Feel free to substitute the baby potatoes and carrots with seasonal vegetables like zucchini or bell peppers.
- Marinade: Marinate the chicken in your favorite dressing or sauce the night before for a flavor boost.
- Serve with sides: Pair the chicken with a fresh salad or some garlic bread for a complete meal.
- Smoky flavor: For a deeper smoky flavor, add wood chips to your smoker when cooking.
- Spicy kick: Add crushed red pepper flakes or your favorite hot sauce to the seasoning for an extra kick!
Best Served With
Spatchcock Chicken is incredibly versatile and pairs beautifully with a wide array of sides and flavors. Here are some ideas to elevate your meal:- Roasted Vegetables: Any medley of seasonal vegetables will complement the chicken nicely.
- Salads: A crisp green salad with vinaigrette can balance the richness of the chicken.
- Grains: Serve with quinoa or couscous to soak up the juices from the chicken.
- Potato Dishes: Creamy mashed potatoes or garlicky roasted potatoes make for comforting sides.
- Occasions: This dish is perfect for family dinners, gatherings, or holiday feasts.
- Storage: After serving, leftovers can be stored in an airtight container in the refrigerator for 3 to 4 days.
- Freezing: Wrapped properly, Spatchcock Chicken can be frozen for up to 3 months.
FAQ
Conclusion
Spatchcock Chicken is a remarkable dish that combines simplicity with impressive results. The ability to cook it faster while achieving a beautifully roasted and flavorful chicken is what makes this recipe a winner in any kitchen. I invite you to give this method a try; it’s not just about the food, it’s about creating memorable moments with family and friends. Enjoy the process and savor each bite!
Spatchcock Chicken
Ingredients
Equipment
Method
- Pat dry the chicken with a paper towel. This step helps to ensure that the skin becomes crispy while cooking. If the skin is damp, it will steam instead of roast. Make sure to remove any excess moisture before proceeding.
- Set the chicken breast side down on a baking sheet with a wire rack. Using very sharp kitchen shears, cut along the backbone from the tail to the neck. This requires some strength, but it’s worth it! Carefully cut along each side until it is removed. Discard the backbone or save it to make a stock later.
- Flip the chicken over and use your hands to press firmly to flatten the ribs. This is crucial; pressing down will help the chicken cook evenly and ensure that it’s completely flat. Position the thighs out on the baking sheet to maximize space.
- Rub the chicken generously with the chicken seasoning. Don't be shy here! Make sure it’s well coated, as the seasoning is what brings out the best flavors.
- To season the vegetables, toss the yellow baby potatoes and carrots with olive oil, salt, and pepper to taste. This step is important because it allows the veggies to caramelize beautifully in the oven.
- Preheat the oven to 425 degrees Fahrenheit. This high initial temperature will kickstart the browning of the chicken and veggies.
- Place the chicken in the middle of a large baking sheet pan, ensuring that it is skin-side up. Scatter the seasoned vegetables around the chicken, making sure they are evenly spaced.
- Bake the spatchcocked chicken and veggies for 15 minutes. After this, reduce the oven temperature to 400 degrees Fahrenheit and continue to cook for about an hour or until the thickest part of the chicken reaches 165 degrees Fahrenheit. This adjustment in temperature helps to cook everything through without overcooking the skin.
- Once done, remove the chicken from the oven and tent it with foil. Let it rest for 10 to 20 minutes. This resting time is essential as it allows the juices to redistribute, making for a moister chicken when you carve.
- Carve and serve the chicken with the roasted vegetables. Enjoy the fruits of your labor!
- For a smoky option, preheat your smoker to 240 degrees Fahrenheit. Place the chicken in the middle of a large baking sheet pan, skin-side up, and scatter the vegetables around it. Smoke for 3 to 4 hours or until the thickest part reaches 165 degrees Fahrenheit. This will infuse the chicken with a delightful smoky flavor.
- Alternatively, you can cook the vegetables separately, but I personally love cooking them in the smoker! Sometimes, I’ll place the vegetables in their own smoker-safe pan and pull them out if they get done sooner.
- Once again, remove from the heat, tent with foil, let rest for 10 to 20 minutes, carve, and serve. The smoky flavor combined with the juicy chicken is absolutely to die for.