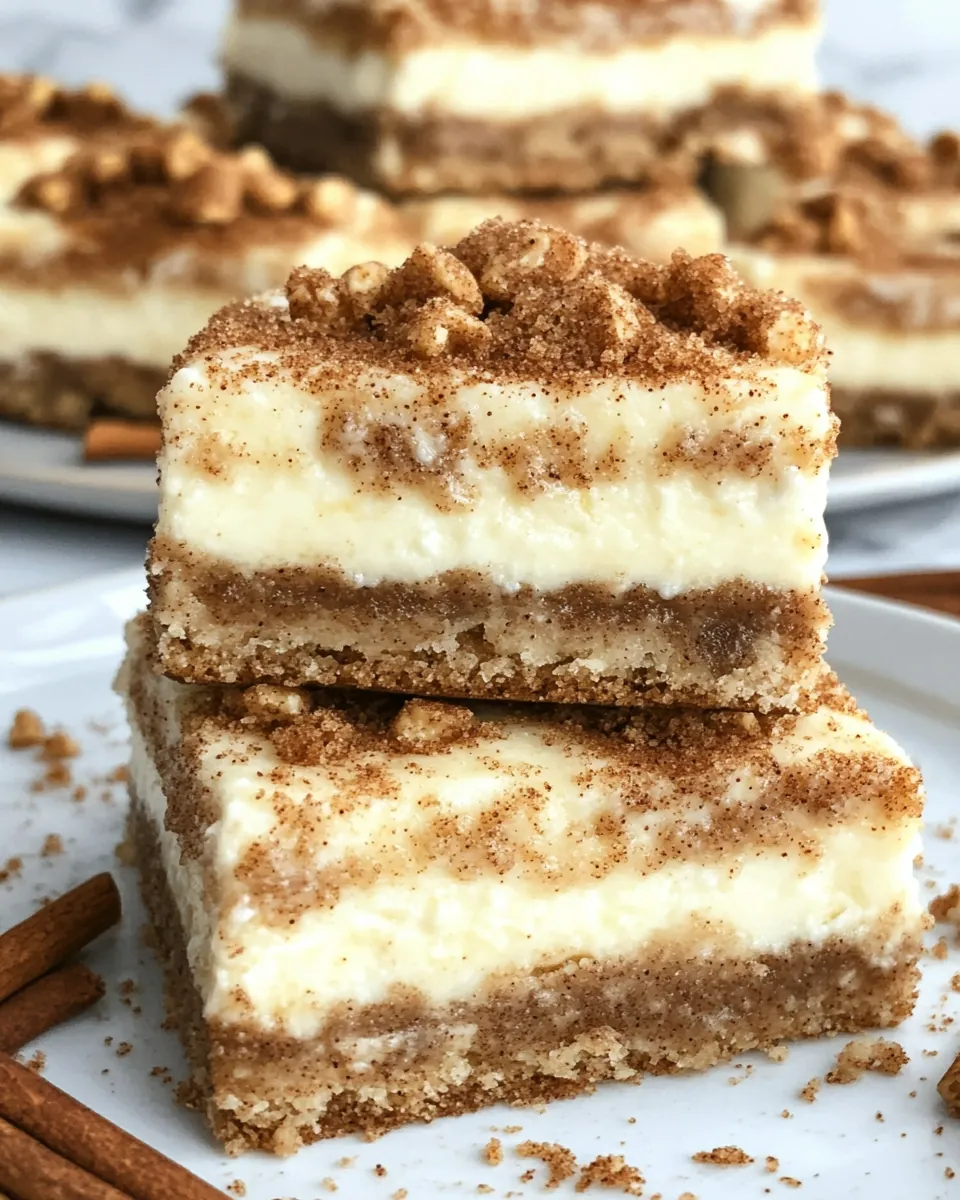
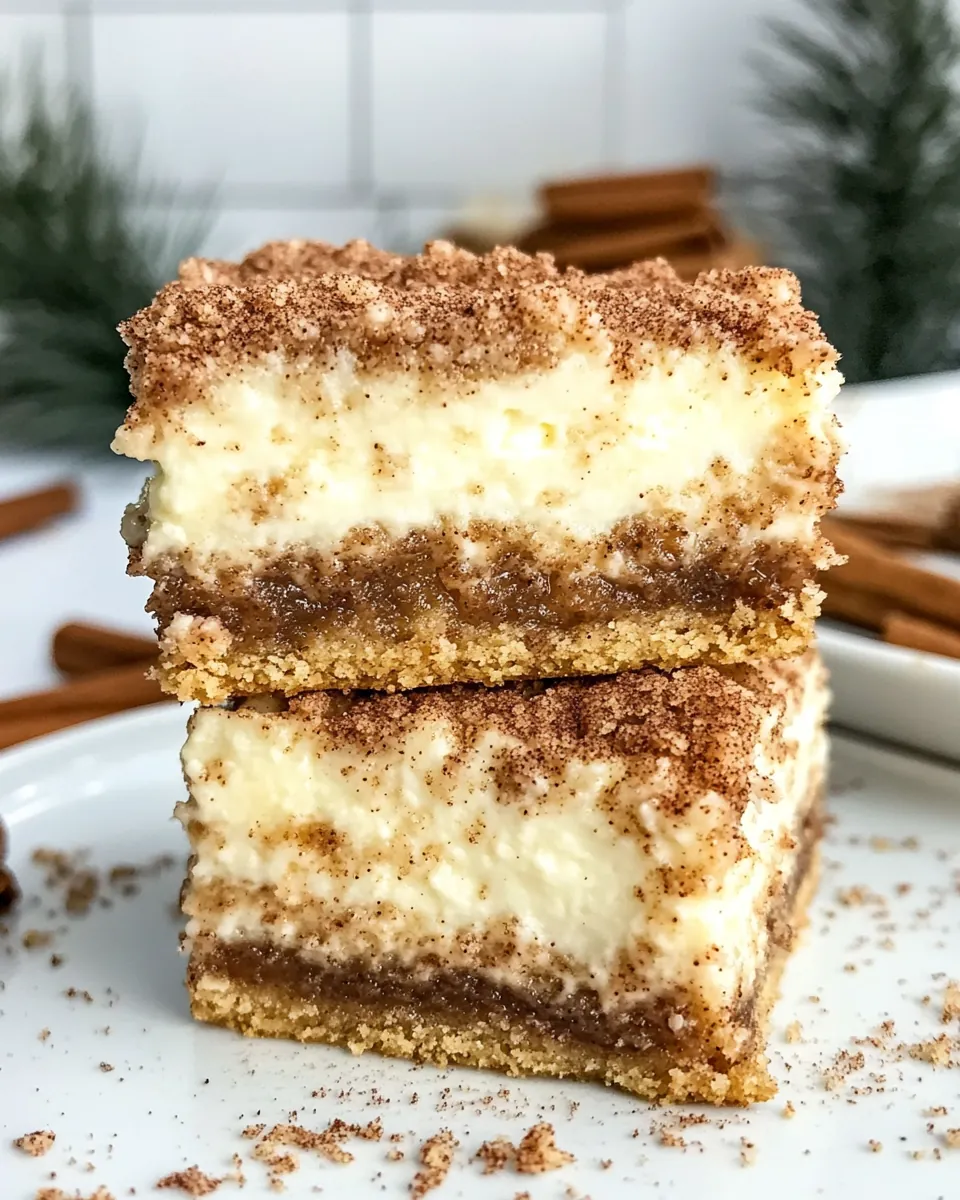
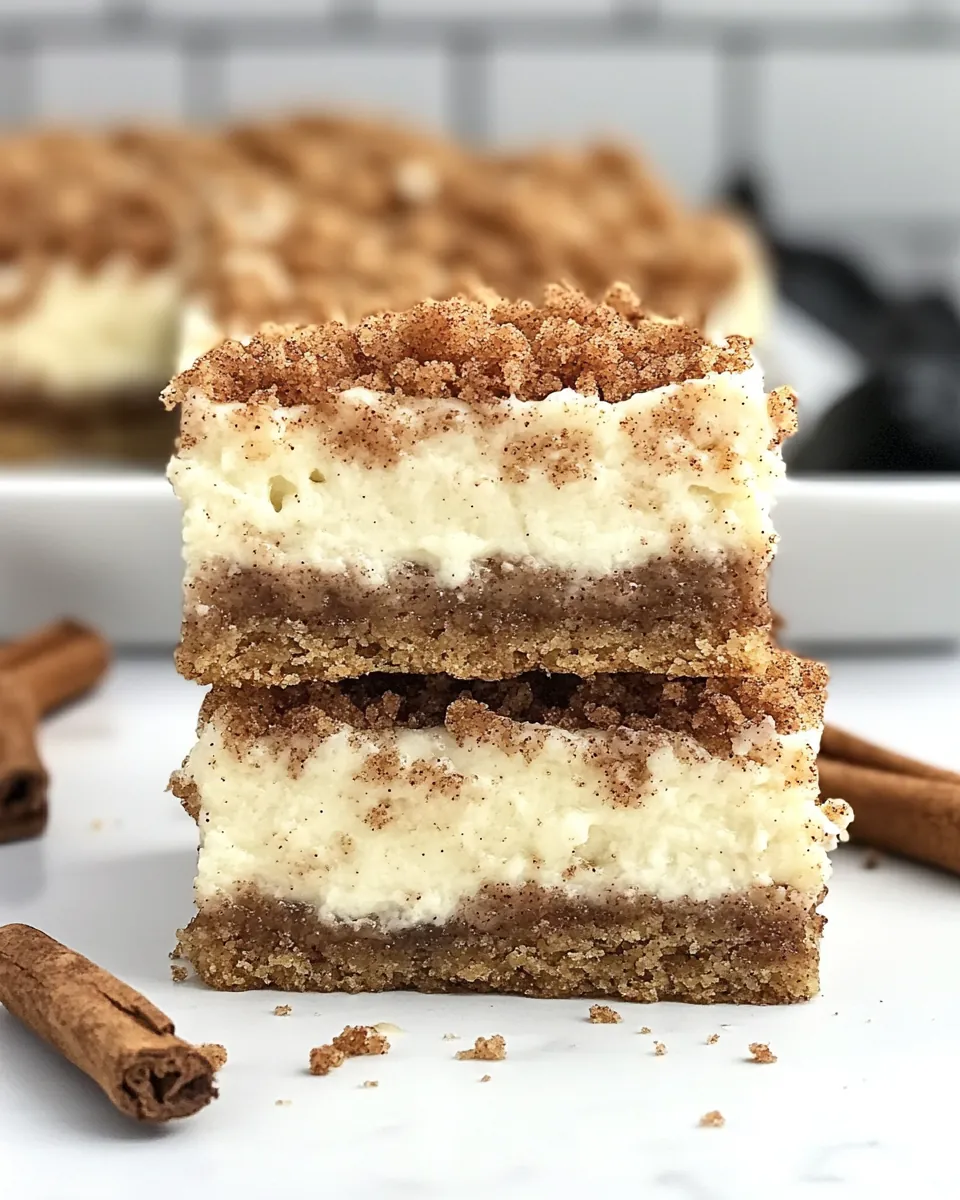
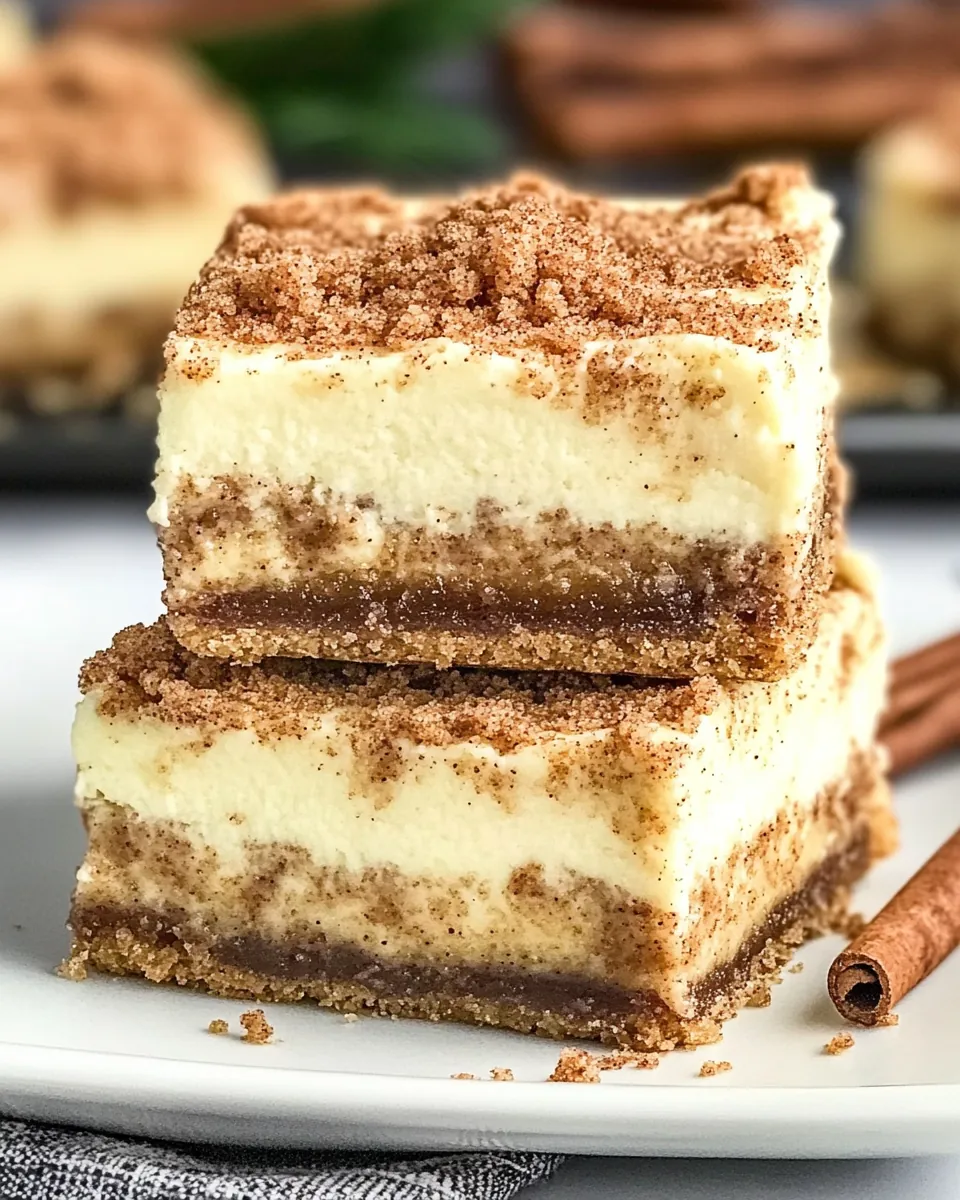
Snickerdoodle Cheesecake Bars
There’s something magical about blending two beloved desserts, and that’s exactly what I had in mind when I created these Snickerdoodle Cheesecake Bars. Imagine the warm aroma of freshly baked snickerdoodles wafting through the house, intertwined with the creamy richness of cheesecake. That’s the experience I wanted to capture, and let me tell you, it did not disappoint! These bars are a nostalgic nod to my childhood baking adventures, where I often experimented with flavors in my grandmother’s cozy kitchen. I can still remember how her snickerdoodle cookies made everything feel right in the world. Fast forward to today, and I’ve turned that cherished memory into a rich, soft bar that practically melts in your mouth. It’s the perfect blend of chewy and creamy, with just the right amount of cinnamon to tickle your taste buds.
Recipe Snapshot
50 mins
15 mins
35 mins
Medium
280 kcal
4 g
Gluten-Free, Low FODMAP
15 g
Mixing Bowls, Hand Mixer, Kitchen-Aid Mixer, 9×13-inch Baking Dish
Why This Snickerdoodle Cheesecake Bars Is So Good
1. The Ultimate Flavor Fusion
Combining two classics—snickerdoodles and cheesecake—creates a unique flavor experience that’s both comforting and indulgent. The soft, chewy texture of snickerdoodle cookie dough melds perfectly with the creamy cheesecake layer, elevating each bite to a new level of deliciousness.
2. Perfect for Any Occasion
Whether it’s a cozy fall gathering or a casual weeknight treat, these Snickerdoodle Cheesecake Bars fit right in. They can steal the spotlight at any potluck or dessert table, making them a versatile choice for all occasions.
3. Easy to Make
If you’re new to baking, don’t fret! This recipe breaks down the process into simple steps, making it approachable for everyone. You’ll feel like a pro as you whip up these delightful bars.
4. Gorgeous Presentation
With their lovely layers of cookie dough and creamy cheesecake, these bars are visually stunning. A sprinkle of cinnamon sugar on top adds that final touch of elegance, making them as beautiful as they are tasty.
5. Make Ahead and Enjoy
These bars can be made ahead of time and refrigerated, allowing the flavors to meld beautifully. It’s a great option for busy bakers who want to plan ahead but still enjoy a fresh treat.
6. A Crowd-Pleaser
Everyone loves a good dessert, but these bars resonate with fans of both cookies and cheesecake. They’re bound to disappear quickly, so be prepared to share the recipe!
Ingredients You’ll Need for Snickerdoodle Cheesecake Bars
The beauty of these ingredients lies in their perfect harmony. The rich, creamy cream cheese forms the base of the cheesecake, while the combination of unsalted butter, granulated sugar, and brown sugar creates a rich, flavorful cookie dough. The hint of cinnamon ties it all together, evoking cozy memories of baking in the fall.
- 2 (8-oz) packages cream cheese, softened
- ½ cup granulated sugar
- 2 large eggs
- 1 tsp vanilla extract
- 2¼ cups all-purpose flour
- 1 tsp salt
- ½ tsp baking soda
- ¾ cup unsalted butter, softened
- 1 cup granulated sugar
- ½ cup packed brown sugar
- 2 large eggs
- 1 tsp vanilla extract
- 1½ tsp ground cinnamon
- 2 Tbsp granulated sugar
- 1 tsp ground cinnamon
Making Snickerdoodle Cheesecake Bars
Let’s dive into the wonderful world of baking these Snickerdoodle Cheesecake Bars. With a few simple steps, you’ll create a dessert that’s not only delicious but also visually appealing.
- Preheat your oven to 350ºF. Prepare a 9×13-inch cake pan by spraying it with nonstick cooking spray and lining it with parchment paper, allowing some overhang. This will make it easier to lift the bars out once they’re cool.
- In a large bowl, combine the softened cream cheese, granulated sugar, eggs, and vanilla extract. Use an electric mixer to beat the mixture until it’s smooth and creamy. Set this aside for later.
- In a small bowl, mix together the granulated sugar and ground cinnamon. This cinnamon sugar mixture will add a delightful sweetness to the top of your bars.
- Now, in the bowl of your electric stand mixer fitted with the paddle attachment, beat the softened unsalted butter, granulated sugar, and brown sugar together until the mixture is light and fluffy. This step is crucial because it incorporates air, which helps make your bars nice and tender.
- Add in the eggs and vanilla extract to the butter mixture, mixing well until fully blended. You want a nice, homogenous batter before moving on.
- Next, slowly add the all-purpose flour, ground cinnamon, salt, and baking soda. Mix on low speed just until everything is combined. Be careful not to overmix to keep the bars light and fluffy.
- Take about two-thirds of the cookie dough and press it firmly into the bottom of the prepared cake pan. This forms the base for your cheesecake layer.
- Sprinkle half of the cinnamon sugar mixture evenly over the cookie dough layer. This adds a lovely sweet crunch to the bottom of your bars.
- Now, gently spread the cheesecake filling over the cookie dough layer with an offset spatula, smoothing it out evenly to cover the base completely.
- Break up the remaining cookie dough into small pieces and scatter them evenly over the cheesecake layer. This adds a delightful texture to the top of your bars.
- Finally, sprinkle the remaining cinnamon sugar mixture across the top. This will provide a beautiful topping once baked.
- Bake in the preheated oven for 35 to 40 minutes. You want the center to be just slightly jiggly while the edges are set. Keep an eye on them—the aroma will fill your kitchen!
- Once baked, remove the cake pan from the oven and let it cool completely on a wire rack. After cooling, refrigerate for a few hours before lifting the bars out of the pan and cutting them into squares. Enjoy your delightful creations!
Things Worth Knowing
- Check for doneness: The center of the bars should be slightly jiggly when you take them out of the oven, as they will continue to set as they cool.
- Cooling time is essential: Allow the bars to cool completely on a wire rack to help them firm up before cutting.
- Storage tip: Store any leftovers in an airtight container in the refrigerator for up to a week.
- Serving suggestion: Serve these bars with a dollop of whipped cream or a scoop of vanilla ice cream on top for an extra treat!
Making Adjustments
These Snickerdoodle Cheesecake Bars are a hit as is, but if you’d like to make some adjustments, here are some tips to consider:
- Storage: To keep these bars fresh, store them in an airtight container in the refrigerator. They’ll last for up to a week and can be enjoyed cold or at room temperature.
- Freezing: Yes, you can freeze these bars! Cut them into squares, place them in a single layer on a baking sheet to freeze, and then transfer them to a freezer-safe container. They’ll keep well for up to three months.
- Variations: Feel free to experiment! Try adding chocolate chips or nuts to the cookie dough for a different flavor profile.
- Serving: These bars are perfect for potlucks or family gatherings. They’re easy to cut and serve, and everyone will love them!
- Presentation: Dust the top with powdered sugar or drizzle with caramel sauce before serving for an extra special touch.
What to Pair With Snickerdoodle Cheesecake Bars
When it comes to serving your Snickerdoodle Cheesecake Bars, you want to ensure they’re the star of the show. Here are some pairing suggestions to complement these delicious treats:
- Fresh Berries: A side of fresh raspberries or strawberries adds a refreshing contrast to the creamy cheesecake.
- Coffee or Tea: Enjoy these bars with a warm cup of coffee or tea for a cozy afternoon treat. The flavors meld beautifully!
- Ice Cream: A scoop of vanilla or cinnamon ice cream on the side takes the indulgence to the next level.
- Whipped Cream: Top each bar with a dollop of whipped cream to enhance the creamy texture.
- Fruit Salad: A simple fruit salad can balance the richness of the bars while adding a splash of color to your plate.
- Seasonal Treats: As fall approaches, consider serving these bars with caramel apples or pumpkin spice treats for a festive touch.
FAQ
Conclusion
These Snickerdoodle Cheesecake Bars truly stand out as a delightful fusion of flavors and textures. Their soft, chewy base combined with the creamy cheesecake filling makes every bite an absolute pleasure. I encourage you to give this recipe a try and treat yourself and your loved ones to something special. Whether it’s for a gathering or just a cozy night in, these bars are sure to bring joy to your table!
Snickerdoodle Cheesecake Bars
Ingredients
Equipment
Method
- Preheat your oven to 350ºF. Prepare a 9×13-inch cake pan by spraying it with nonstick cooking spray and lining it with parchment paper, allowing some overhang. This will make it easier to lift the bars out once they’re cool.
- In a large bowl, combine the softened cream cheese, granulated sugar, eggs, and vanilla extract. Use an electric mixer to beat the mixture until it’s smooth and creamy. Set this aside for later.
- In a small bowl, mix together the granulated sugar and ground cinnamon. This cinnamon sugar mixture will add a delightful sweetness to the top of your bars.
- Now, in the bowl of your electric stand mixer fitted with the paddle attachment, beat the softened unsalted butter, granulated sugar, and brown sugar together until the mixture is light and fluffy. This step is crucial because it incorporates air, which helps make your bars nice and tender.
- Add in the eggs and vanilla extract to the butter mixture, mixing well until fully blended. You want a nice, homogenous batter before moving on.
- Next, slowly add the all-purpose flour, ground cinnamon, salt, and baking soda. Mix on low speed just until everything is combined. Be careful not to overmix to keep the bars light and fluffy.
- Take about two-thirds of the cookie dough and press it firmly into the bottom of the prepared cake pan. This forms the base for your cheesecake layer.
- Sprinkle half of the cinnamon sugar mixture evenly over the cookie dough layer. This adds a lovely sweet crunch to the bottom of your bars.
- Now, gently spread the cheesecake filling over the cookie dough layer with an offset spatula, smoothing it out evenly to cover the base completely.
- Break up the remaining cookie dough into small pieces and scatter them evenly over the cheesecake layer. This adds a delightful texture to the top of your bars.
- Finally, sprinkle the remaining cinnamon sugar mixture across the top. This will provide a beautiful topping once baked.
- Bake in the preheated oven for 35 to 40 minutes. You want the center to be just slightly jiggly while the edges are set. Keep an eye on them—the aroma will fill your kitchen!
- Once baked, remove the cake pan from the oven and let it cool completely on a wire rack. After cooling, refrigerate for a few hours before lifting the bars out of the pan and cutting them into squares. Enjoy your delightful creations!