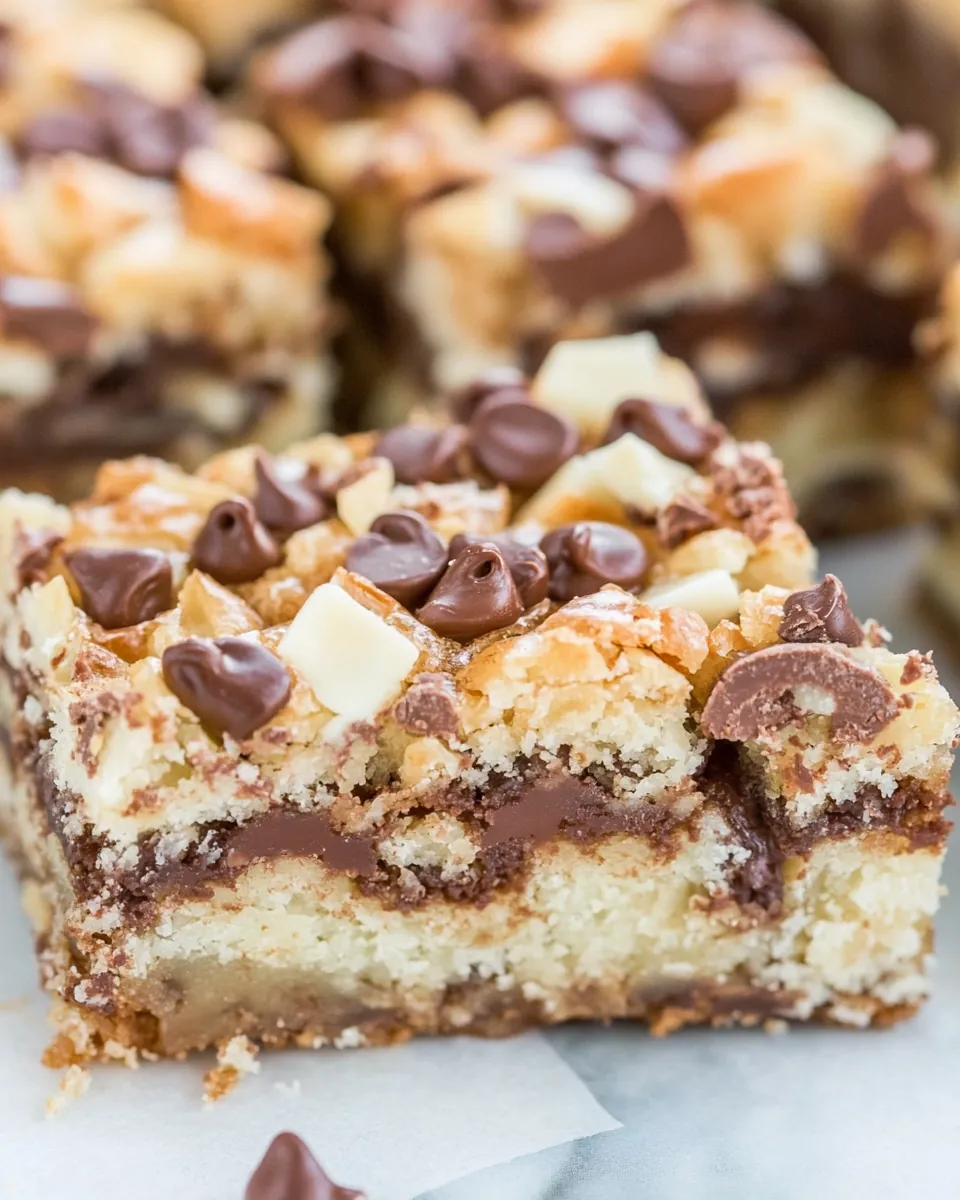
Seven Layer Bars
There’s something magical about Seven Layer Bars that takes me back to my childhood, where the kitchen was always filled with laughter and the warm scent of baked treats. I remember the excitement of watching my mom whip up this delightful dessert, layering flavors and textures that seemed to dance together in perfect harmony. These bars are more than just a recipe; they’re a nostalgic tribute to family gatherings where we’d devour them without a second thought. They’ve become a staple in my own kitchen, a testament to their irresistible sweetness and a surefire way to make any gathering feel special. Whenever I take a bite, it’s not just about the taste; it’s a journey back to those cherished moments. Now, I can’t wait to share this recipe with you so you can create your own memories around these amazing bars!
Recipe Snapshot
30 mins
5 mins
25 mins
Medium
230 kcal
2 g
Gluten-Free, Low FODMAP
11 g
Baking Sheet, Frying Pan, Mixing Bowl, Oven
So why do I love these Seven Layer Bars? There’s quite a bit to appreciate! Imagine the combination of flavors and textures that come together so beautifully. They’re not just any dessert; they’re a celebration in every bite.
What’s Great About This Seven Layer Bars
Decadent Layers
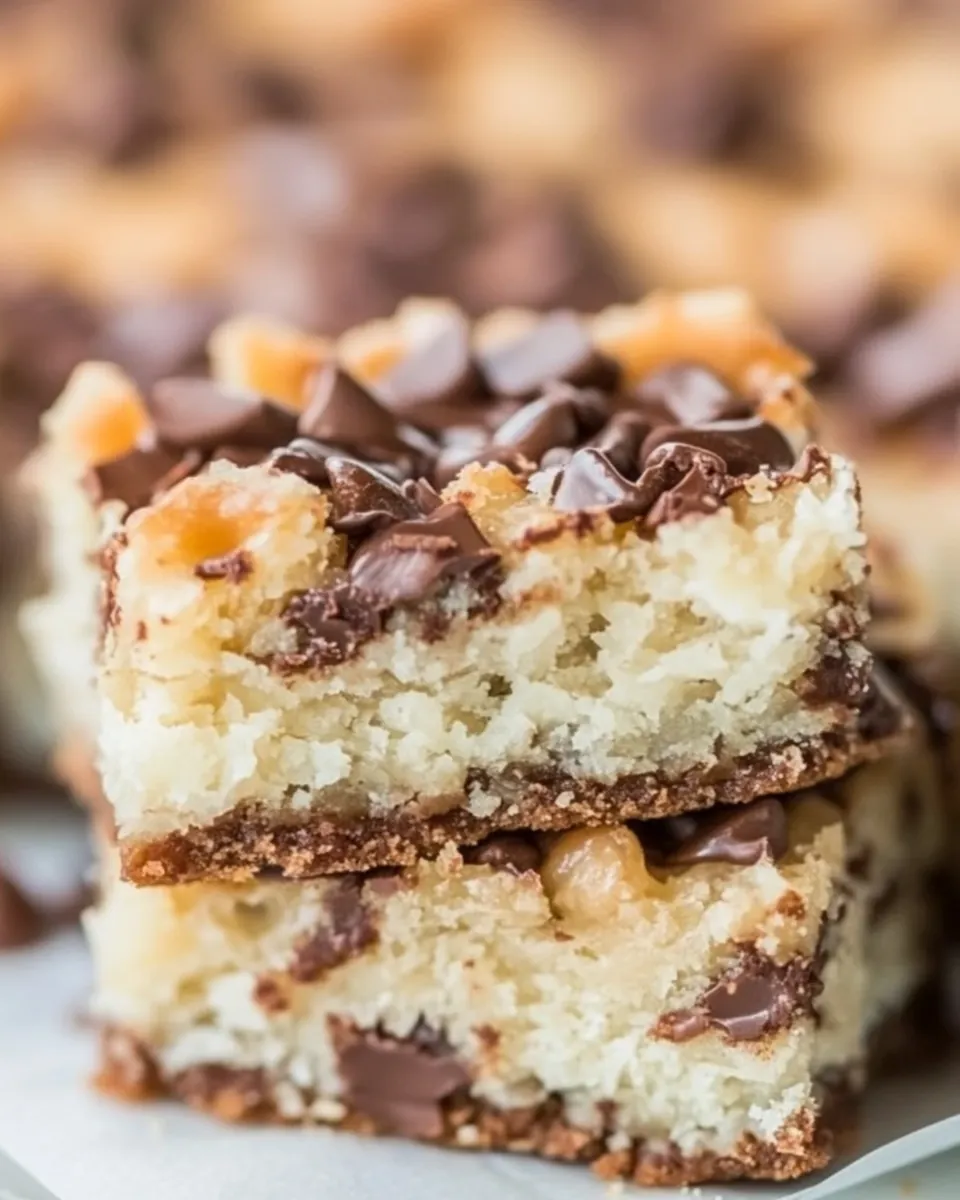
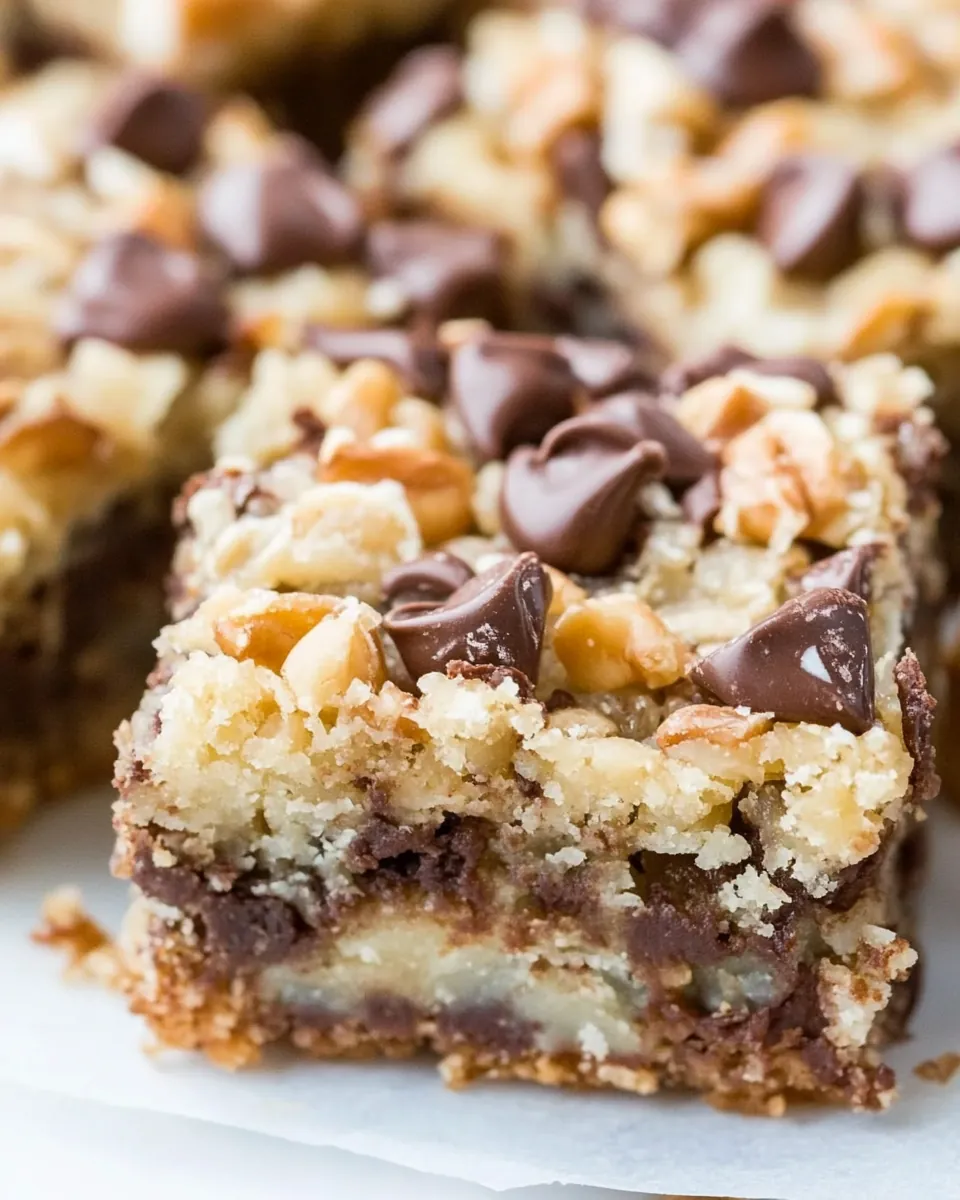
The beauty of Seven Layer Bars lies in their layers. Each one brings something unique to the table, from the buttery crumb base to the rich chocolate chips and sweetened coconut. You get a delightful contrast of textures that keeps your taste buds engaged and wanting more.
Quick and Easy
These bars come together with minimal fuss. You don’t need advanced baking skills to create this sweet sensation. Just layer the ingredients and let the oven do the magic, making them perfect for busy days when you want something sweet without spending hours in the kitchen.
Versatile and Customizable
Another reason I adore Seven Layer Bars is their versatility. Feel free to mix and match the ingredients based on what you have at home. Don’t like coconut? Swap it for nuts! Want to add some more chocolate? Go ahead! The possibilities are endless, and that makes them even more delightful.
Perfect for Any Occasion
Whether it’s a casual family dinner or a festive celebration, these bars are a hit. They’re easy to transport, making them perfect for potlucks, parties, or just a sweet treat to enjoy at home. Everyone loves them, and they’ll surely be the star of the show!
Memories in Every Bite
Lastly, I think about all the memories tied to Seven Layer Bars. From baking sessions with loved ones to enjoying them with friends, each bite carries a story. It’s a dessert that not only satisfies your sweet tooth but also warms your heart.
Everything You Need for Seven Layer Bars
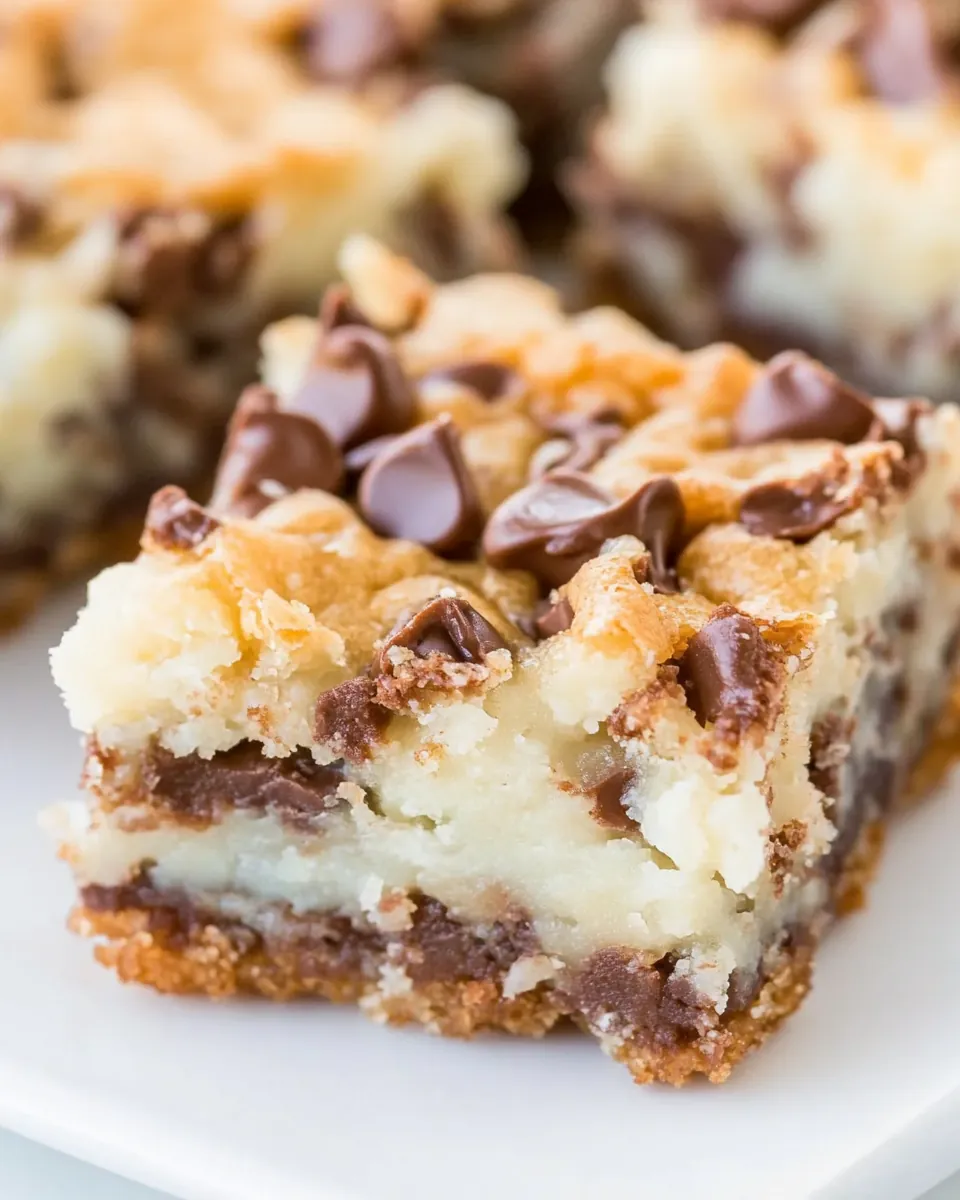
When it comes to Seven Layer Bars, the ingredients are what set the stage for that delightful flavor explosion. Each ingredient plays a crucial role in creating the perfect balance of sweet and crunchy. The key players include butter, providing a rich base, and sweetened condensed milk, which helps bind everything together with a creamy texture. Combine these with graham cracker crumbs, chocolate chips, butterscotch chips, coconut, and Rolo candies, and you’ve got a heavenly dessert that’s not only easy to make but absolutely delicious!
- ¼ cup butter, melted: This rich ingredient forms the base of your bars and brings a delightful buttery flavor.
- Scant ¾ cup graham cracker crumbs: These crumbs create a delightful crust that holds everything together.
- ½ cup semi-sweet chocolate chips: Rich and melty, these chocolate chips add depth to each bite.
- ½ cup butterscotch chips: The sweet, buttery flavor of butterscotch chips makes these bars even more indulgent.
- 20 Rolo candies, unwrapped: These chewy chocolates add a fun surprise with their caramel center.
- 1 cup sweetened shredded coconut flakes: Coconut brings a chewy texture and sweet flavor that balances the richness.
- About two-thirds can, 14-ounce sweetened condensed milk: This magical ingredient binds everything together, adding creaminess and sweetness.
Preparation Steps for Seven Layer Bars
Making Seven Layer Bars is a delightful experience that’s just as fun as eating them. Get ready to layer up some deliciousness in your kitchen! Here’s how to do it step-by-step.
Preheat your oven to 350°F. Before you do anything else, make sure your oven is nice and hot, as this will ensure even baking. While the oven heats up, prepare your baking pan.
Line an 8-by-8-inch baking pan with aluminum foil and spray it with cooking spray. This step is crucial to prevent sticking, so don’t skip it! The foil will help you lift the bars out easily once they’re baked. I usually leave some overhang on the sides for easy removal.
In a large, microwave-safe bowl, melt the butter. Just pop it in the microwave for about 1 minute on high power. You want it completely melted but not bubbling. If you have to do it in intervals, that’s okay!
Add the graham cracker crumbs to the melted butter and toss lightly with a fork to coat the crumbs evenly. You’ll get a mixture that’s moist and slightly crumbly, perfect for your crust.
Turn the mixture out into the prepared pan and form an even, smooth layer. Use a spatula or your fingertips to press it down firmly. This layer may seem skimpy, but it will hold beautifully!
Evenly sprinkle the semi-sweet chocolate chips, butterscotch chips, and Rolo candies over the crust. Arrange them as you like; I often make rows of Rolo candies for a fun pattern.
Top with the sweetened shredded coconut flakes. Sprinkle them evenly across the top, ensuring some coconut is present in every bite.
Now it’s time to drizzle the sweetened condensed milk over everything. Pour it evenly to coat the layers. This will help everything stick together as it bakes.
Bake in the preheated oven for about 25 to 30 minutes. You’re looking for a lightly golden brown around the edges and a center that’s just set. Keep an eye on them, especially in the last 10 minutes, as the coconut can burn quickly!
Once they’re done, remove the pan and let it cool on a wire rack. Allow the bars to cool in the pan for at least 2 hours or preferably overnight. This cooling time is essential for them to firm up nicely.
When they’ve cooled, lift them out of the pan using the overhang of foil, slice into bars, and enjoy the sweet rewards of your labor!
Things Worth Knowing
- Watch the baking time: The last 10 minutes are crucial! Keep a close eye on the bars, as they can go from perfectly baked to burnt in no time.
- Layering is key: Make sure to layer your ingredients evenly for a balanced bite. This ensures that every bar captures that amazing flavor profile.
- Cooling is essential: Allowing your bars to cool completely helps them set properly, making them easier to slice and serve.
- Storage matters: Store any leftovers in an airtight container to keep them fresh and tasty.
Change It Up
Feeling adventurous? Here are some fun ways to mix up your Seven Layer Bars experience!
- Storage: If you have leftovers (which is rare!), store them in an airtight container at room temperature for up to one week.
- Freezing: You can freeze these bars! Wrap them tightly in plastic wrap and then in foil before placing them in an airtight container. They’ll keep well for up to six months in the freezer.
- Variations: Swap out chocolate chips for white chocolate or peanut butter chips for a different flavor twist.
- Nutty Addition: Add chopped nuts like walnuts or pecans for added texture and flavor!
- Layer It Up: Feel free to add a layer of your favorite candy bar chunks for a fun surprise in each bite!
- Ideal Pairings: Serve these bars warm with a scoop of ice cream for a delightful dessert combination!
How to Enjoy Seven Layer Bars
Enjoying Seven Layer Bars is all about finding the perfect moments and pairings. Here are some ideas:
- Family Gatherings: These bars are perfect for family get-togethers. They’re easy to share and loved by all!
- Potlucks: If you’re looking for a dish to bring to a potluck, these bars are a guaranteed hit. Everyone will be asking for the recipe!
- Movie Nights: Pair these bars with your favorite films for a delightful movie night treat.
- Seasonal Celebrations: They can be a fantastic addition to holiday celebrations, from Fourth of July cookouts to Christmas parties.
- Lunchbox Treats: Cut them into smaller squares for a sweet addition to lunchboxes, satisfying that midday craving!
- Afternoon Snacks: Enjoy a bar with your afternoon tea or coffee for a delightful pick-me-up!
FAQ
Conclusion
The Seven Layer Bars are truly a delightful mix of flavors and textures, making them a standout dessert. Each layer creates a delicious harmony that captivates everyone’s taste buds. I encourage you to try making these bars for your next gathering or just to enjoy at home. You won’t regret bringing this sweet treat into your kitchen, and I’m sure it will become a favorite in no time!
Seven Layer Bars
Ingredients
Equipment
Method
- Preheat your oven to 350°F. Before you do anything else, make sure your oven is nice and hot, as this will ensure even baking. While the oven heats up, prepare your baking pan.
- Line an 8-by-8-inch baking pan with aluminum foil and spray it with cooking spray. This step is crucial to prevent sticking, so don’t skip it! The foil will help you lift the bars out easily once they’re baked. I usually leave some overhang on the sides for easy removal.
- In a large, microwave-safe bowl, melt the butter. Just pop it in the microwave for about 1 minute on high power. You want it completely melted but not bubbling. If you have to do it in intervals, that’s okay!
- Add the graham cracker crumbs to the melted butter and toss lightly with a fork to coat the crumbs evenly. You’ll get a mixture that’s moist and slightly crumbly, perfect for your crust.
- Turn the mixture out into the prepared pan and form an even, smooth layer. Use a spatula or your fingertips to press it down firmly. This layer may seem skimpy, but it will hold beautifully!
- Evenly sprinkle the semi-sweet chocolate chips, butterscotch chips, and Rolo candies over the crust. Arrange them as you like; I often make rows of Rolo candies for a fun pattern.
- Top with the sweetened shredded coconut flakes. Sprinkle them evenly across the top, ensuring some coconut is present in every bite.
- Now it’s time to drizzle the sweetened condensed milk over everything. Pour it evenly to coat the layers. This will help everything stick together as it bakes.
- Bake in the preheated oven for about 25 to 30 minutes. You’re looking for a lightly golden brown around the edges and a center that’s just set. Keep an eye on them, especially in the last 10 minutes, as the coconut can burn quickly!
- Once they’re done, remove the pan and let it cool on a wire rack. Allow the bars to cool in the pan for at least 2 hours or preferably overnight. This cooling time is essential for them to firm up nicely.
Notes
- Tip 1: Bars will keep airtight at room temperature for up to 1 week.
- Tip 2: They can be frozen for up to 6 months.