Romanian Lemon Cake
There’s something magical about the way a slice of Romanian Lemon Cake can brighten a gloomy day. I first encountered this delightful dessert at a family gathering, where my aunt’s baking skills were the talk of the town. Each bite of that cake was a perfect blend of tangy lemon and sweet cream, sending my taste buds into a frenzy of happiness. I’ve often wished to recreate that moment, and now, with this recipe, I can bring a piece of my childhood back to life. If you’re looking for a treat that evokes nostalgia and adds a special touch to your gatherings, this Romanian Lemon Cake is the answer. Every layer tells a story, and I can’t wait for you to experience it too.
Recipe Snapshot
1 hr 50 mins
60 mins
50 mins
Hard
350 kcal
3 g
Gluten-Free, Low FODMAP
17 g
Food Processor, Oven, Baking Sheet, Frying Pan, Blender, Large Pot, Whisk, Mixing Bowl, Grater, Wooden Spoon
Why This Romanian Lemon Cake Is a Winner
Layers of Flavor
One of the best things about Romanian Lemon Cake is its unique structure. The cake consists of multiple thin layers, providing a delightful texture that contrasts with the creamy filling. Each layer is baked to a perfect golden hue, ensuring that every bite is an absolute treat.
Bright Citrus Zest
The star of the show is undoubtedly the fresh lemon zest and juice. Adding this citrus goodness not only brightens the flavor profile but also brings a refreshing element that cuts through the richness of the cream. It’s this balance that makes the cake so spectacular.
Versatile for Any Occasion
This cake is perfect for any celebration, from birthdays to festive family gatherings. The Romanian Lemon Cake truly shines during summertime, but its rich flavor is a delightful addition to any dessert table year-round. It’s a cake that resonates with love and tradition.
Simple Yet Elegant Presentation
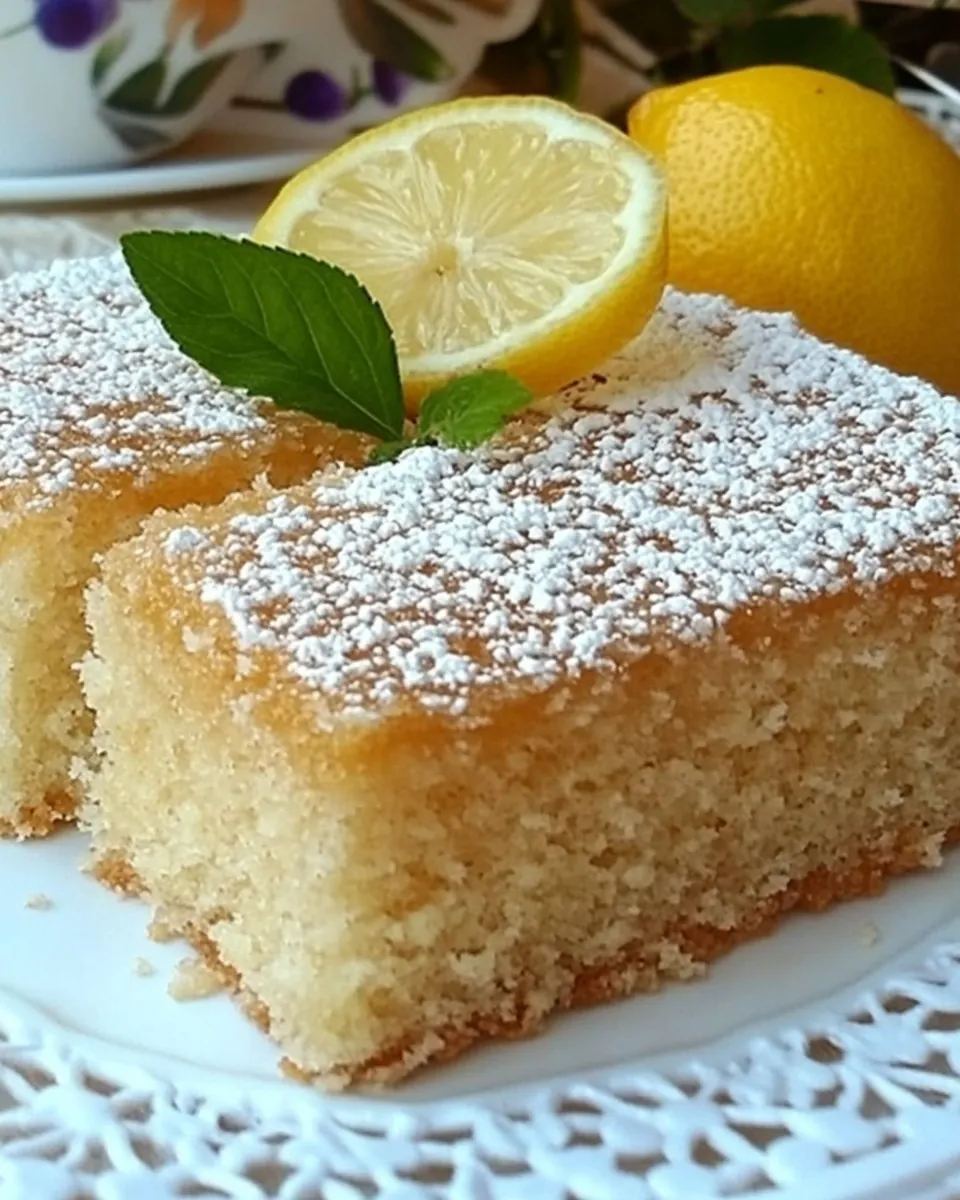
What I love about this cake is its simplicity. A light dusting of powdered sugar is all it needs to look stunning on any table. You don’t need to be a professional baker to achieve a beautiful presentation—this cake does all the talking!
Perfect for Sharing
Sharing is caring, and this cake embodies that sentiment. Each piece can be cut into small servings, making it ideal for sharing with friends or family. There’s something heartwarming about watching others enjoy a slice of your homemade creation.
Comforting Nostalgia
Finally, this cake reminds me of home and family. It’s a recipe that has been passed down through generations, and making it brings back cherished memories. Whether you’re baking for yourself or loved ones, the Romanian Lemon Cake will surely bring smiles to everyone’s faces.
Ingredients to Make Romanian Lemon Cake

When it comes to the ingredients for Romanian Lemon Cake, each one plays a vital role in creating a harmonious blend of flavors and textures. The magic lies in the balance between the rich buttery layers and the vibrant, zesty filling. Here’s what you’ll need:
- 600g Flour – This is the backbone of the cake, providing structure and texture.
- 220g Butter (room temperature) – Essential for that rich, moist texture.
- 2 Eggs – Aiding in binding the ingredients and adding moisture.
- 200g Sugar – Sweetens the cake and adds depth of flavor.
- 1 tbsp Vanilla Sugar – Enhances the overall sweetness with a hint of vanilla.
- 6 tbsp Sour Cream (rounded tablespoons, min 20% fat) – Adds moisture and a slight tang.
- 1 tsp Baker’s Ammonia (dissolved in 4 tablespoons of cold milk) – A key ingredient for achieving the perfect rise.
- 1 Lemon Zest – Infuses the cake with bright, citrusy notes.
- Extra Butter and Flour – For greasing and dusting the pan.
- 1 litre Milk – Used in the filling, adding creaminess.
- 130g Corn Starch – Thickens the filling for a luscious texture.
- 300g Butter – For the filling, making it rich and buttery.
- 1-2 Lemons (juice and zest) – To achieve that refreshing lemon flavor.
- 1 Vanilla Bean – Adds aromatic sweetness to the filling.
How to Cook Romanian Lemon Cake

Making the Romanian Lemon Cake is a rewarding experience that combines technique and love. Follow these steps closely to create this amazing dessert:
- Start by ensuring all your ingredients are at room temperature. This is crucial for achieving the right texture. In a large mixing bowl, whisk together the softened butter and sugar until they become light and fluffy. This process should take about 5 to 7 minutes.
- Add the eggs one at a time, ensuring they are fully incorporated after each addition. The mixture should look smooth and creamy.
- In a separate bowl, mix the baker’s ammonia with the cold milk and set it aside for a moment. This mixture is essential for the cake to rise properly.
- In another bowl, combine the flour and grated lemon zest. Gradually add this dry mixture to the butter and sugar blend, alternating with the milk mixture. You should see the dough becoming smoother as you mix.
- Once combined, the dough will have a slightly oily appearance. If it feels too sticky, don’t hesitate to add an extra tablespoon of flour.
- Cover the dough with plastic wrap and refrigerate it for about 30 minutes. This chilling time helps to firm up the dough, making it easier to handle.
- Preheat your oven to 360°F (180°C). Meanwhile, prepare your baking pan by generously greasing the bottom with butter and dusting it with flour. This will prevent sticking.
- Once chilled, take the dough out and divide it into six equal pieces. Roll each piece out on a floured surface until it’s less than 1/8-inch thick. This might take some practice, so don’t rush it.
- Carefully transfer each rolled-out dough layer to the prepared baking pan, trimming the edges for a neat appearance. Bake each layer for about 10 to 15 minutes, watching them closely until the edges turn a light golden color.
- After baking, allow the layers to cool on a wire rack. It’s essential to stack them carefully, with a heavy board on top to compress them and help them cool completely, ideally overnight.
- While the layers cool, start preparing the filling. In a saucepan, combine sugar and milk, heating on medium until it reaches a soft boil.
- In a separate bowl, mix the remaining milk with the cornstarch. Gradually pour this into the boiling mixture, stirring constantly until it thickens. Remember, it will thicken more as it cools.
- Remove the thickened mixture from heat and let it cool. While cooling, stir occasionally to prevent a skin from forming.
- Once cooled, add the freshly squeezed lemon juice to the mixture. Adjust the tartness by adding more lemon juice if desired. The filling must be completely cooled before adding the butter.
- In a large bowl, soften the remaining butter and beat it until creamy. Gradually add the cooled filling and mix until smooth.
- To assemble, take the first cake layer and spread about 5 spoonfuls of filling evenly over it. Ensure the filling is as thick as the cake layer.
- Repeat the process with the remaining layers, alternating between layers of cake and filling until you’ve used everything up.
- Once assembled, place a heavy board or plate on top of the cake for at least five hours or overnight. This helps meld the flavors.
- To finish off the Romanian Lemon Cake, dust the top with powdered sugar just before serving. Cut into small cubes, trimming the edges for a polished look.
- Finally, enjoy the fruits of your labor and share this delightful cake with loved ones!
Things Worth Knowing
- Layering is Key: Ensure each layer is thin for the best texture and balance. A thicker layer may disrupt the overall harmony of flavors.
- Room Temperature Ingredients: Always start with room temperature ingredients, as they combine better and create a more even batter.
- Cooling Time: Allow the cake layers to cool completely before assembling to prevent the filling from melting.
- Proper Storage: Keep any leftovers covered in the fridge; the flavors deepen after a day!
Ways to Adapt This Recipe

If you’re looking to personalize the Romanian Lemon Cake, here are some tips to make it your own:
- Flavor Variations: Experiment with different citrus fruits like orange or lime for a unique twist.
- Fillings: Try adding various fillings, such as fruit preserves or chocolate ganache, between the layers.
- Gluten-Free: Substitute regular flour with a gluten-free blend to accommodate dietary preferences.
- Reduced Sugar: Use less sugar in the filling if you prefer a less sweet cake.
- Storage: If you have leftovers, store them in an airtight container in the refrigerator for up to a week.
- Freezing: You can freeze the assembled cake, just ensure it’s well-wrapped to prevent freezer burn.
- Pairing: Serve with whipped cream or fresh berries for an extra touch of elegance.
Serve This Romanian Lemon Cake With
There are countless ways to enjoy the Romanian Lemon Cake that will surely elevate any gathering. Here are some ideas:
- Tea or Coffee: This cake pairs beautifully with a warm cup of tea or coffee, making it an excellent choice for afternoon gatherings.
- Fresh Berries: Serve it with a side of fresh berries for a burst of color and flavor.
- Special Occasions: Ideal for birthdays, weddings, or any celebration, this cake adds a touch of elegance to your dessert table.
- Potluck Treat: Bring this cake to a potluck, and you’re sure to leave a lasting impression.
- Storage Tips: If any leftovers remain, store them in the fridge, where the flavors will continue to develop deliciously.
- Seasonal Pairings: In the summer, enjoy it with a refreshing fruit salad; during the winter, serve with warm spiced drinks.
FAQ
Conclusion
The Romanian Lemon Cake is a delightful combination of textures and flavors that makes it a standout dessert for any occasion. Its vibrant lemon filling and delicate layers bring happiness to any table. I encourage you to try this recipe and create your own memories with each slice. It’s not just a cake; it’s a celebration of love, tradition, and the joy of sharing delicious food with those you care about.
Romanian Lemon Cake
Ingredients
Equipment
Method
- Start by ensuring all your ingredients are at room temperature. This is crucial for achieving the right texture. In a large mixing bowl, whisk together the softened butter and sugar until they become light and fluffy. This process should take about 5 to 7 minutes.
- Add the eggs one at a time, ensuring they are fully incorporated after each addition. The mixture should look smooth and creamy.
- In a separate bowl, mix the baker’s ammonia with the cold milk and set it aside for a moment. This mixture is essential for the cake to rise properly.
- In another bowl, combine the flour and grated lemon zest. Gradually add this dry mixture to the butter and sugar blend, alternating with the milk mixture. You should see the dough becoming smoother as you mix.
- Once combined, the dough will have a slightly oily appearance. If it feels too sticky, don’t hesitate to add an extra tablespoon of flour.
- Cover the dough with plastic wrap and refrigerate it for about 30 minutes. This chilling time helps to firm up the dough, making it easier to handle.
- Preheat your oven to 360°F (180°C). Meanwhile, prepare your baking pan by generously greasing the bottom with butter and dusting it with flour. This will prevent sticking.
- Once chilled, take the dough out and divide it into six equal pieces. Roll each piece out on a floured surface until it's less than 1/8-inch thick. This might take some practice, so don’t rush it.
- Carefully transfer each rolled-out dough layer to the prepared baking pan, trimming the edges for a neat appearance. Bake each layer for about 10 to 15 minutes, watching them closely until the edges turn a light golden color.
- After baking, allow the layers to cool on a wire rack. It's essential to stack them carefully, with a heavy board on top to compress them and help them cool completely, ideally overnight.
- While the layers cool, start preparing the filling. In a saucepan, combine sugar and milk, heating on medium until it reaches a soft boil.
- In a separate bowl, mix the remaining milk with the cornstarch. Gradually pour this into the boiling mixture, stirring constantly until it thickens. Remember, it will thicken more as it cools.
- Remove the thickened mixture from heat and let it cool. While cooling, stir occasionally to prevent a skin from forming.
- Once cooled, add the freshly squeezed lemon juice to the mixture. Adjust the tartness by adding more lemon juice if desired. The filling must be completely cooled before adding the butter.
- In a large bowl, soften the remaining butter and beat it until creamy. Gradually add the cooled filling and mix until smooth.
- To assemble, take the first cake layer and spread about 5 spoonfuls of filling evenly over it. Ensure the filling is as thick as the cake layer.
- Repeat the process with the remaining layers, alternating between layers of cake and filling until you’ve used everything up.
- Once assembled, place a heavy board or plate on top of the cake for at least five hours or overnight. This helps meld the flavors.
- To finish off the Romanian Lemon Cake, dust the top with powdered sugar just before serving. Cut into small cubes, trimming the edges for a polished look.
- Finally, enjoy the fruits of your labor and share this delightful cake with loved ones!
Notes
- Tip 1: Allow leftovers to cool completely before storing them.
- Tip 2: This cake can easily be frozen for later enjoyment.
- Tip 3: Serve with fresh fruits for a colorful accompaniment.
- Tip 4: Dust with powdered sugar just before serving for a beautiful presentation.
- Tip 5: Experiment with different citrus flavors to vary the taste!