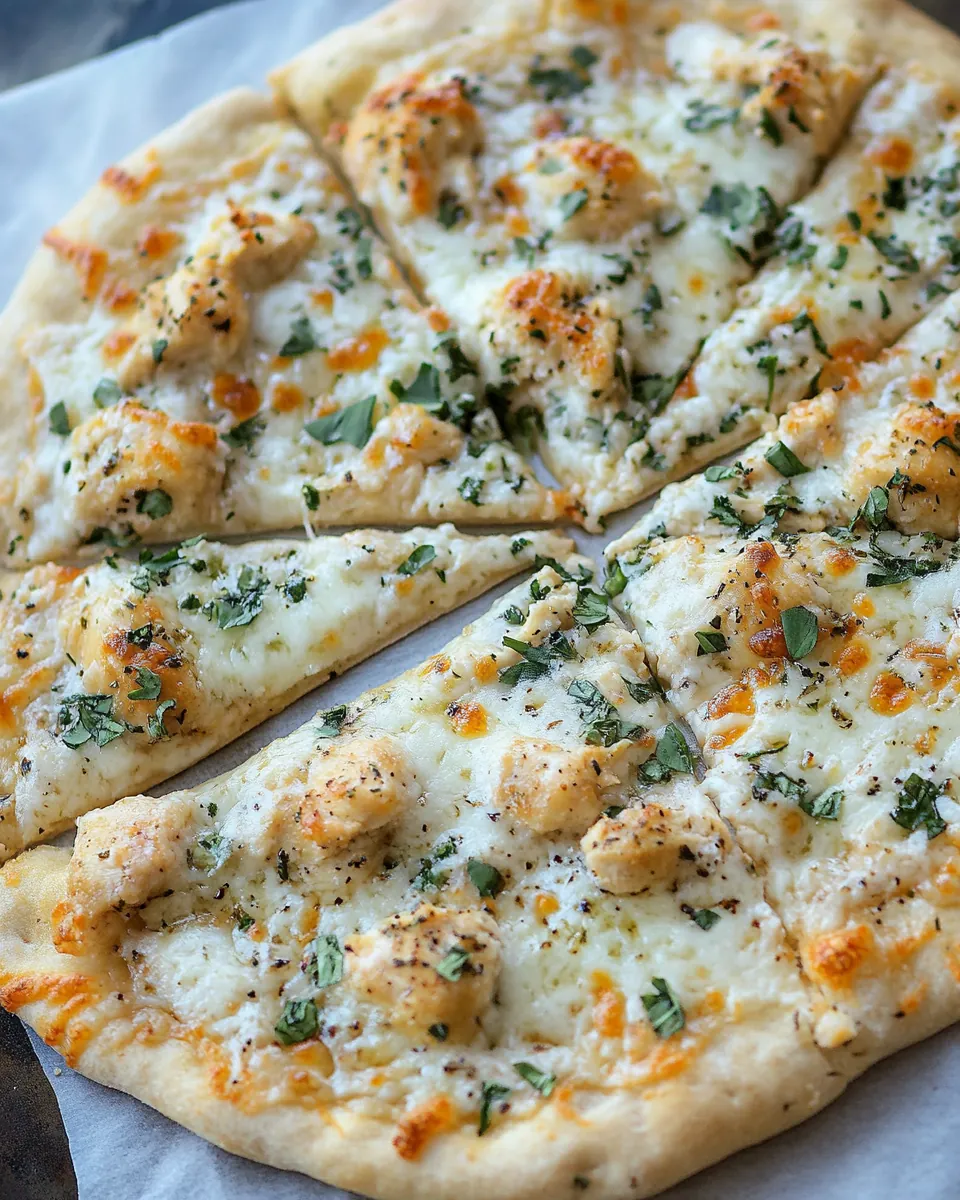
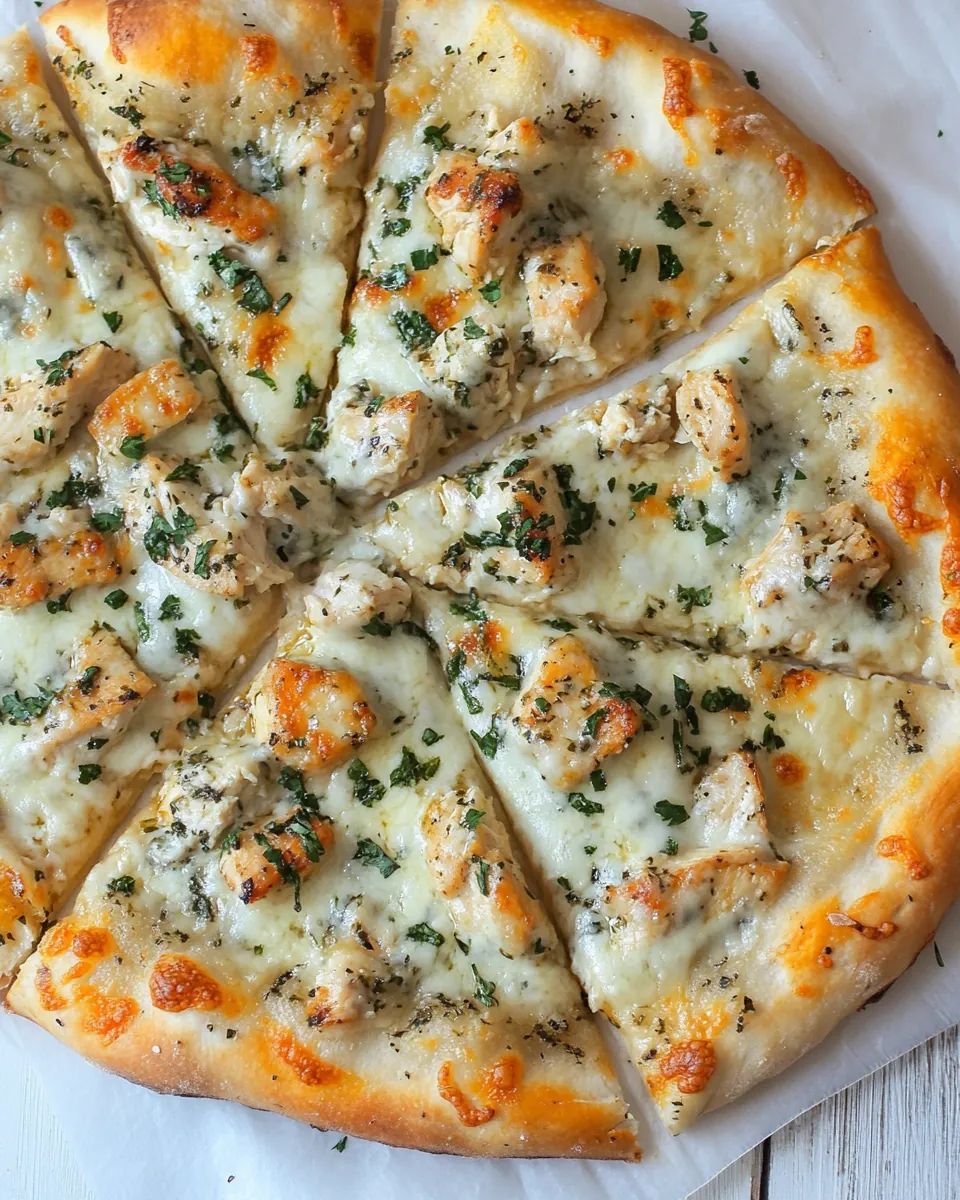
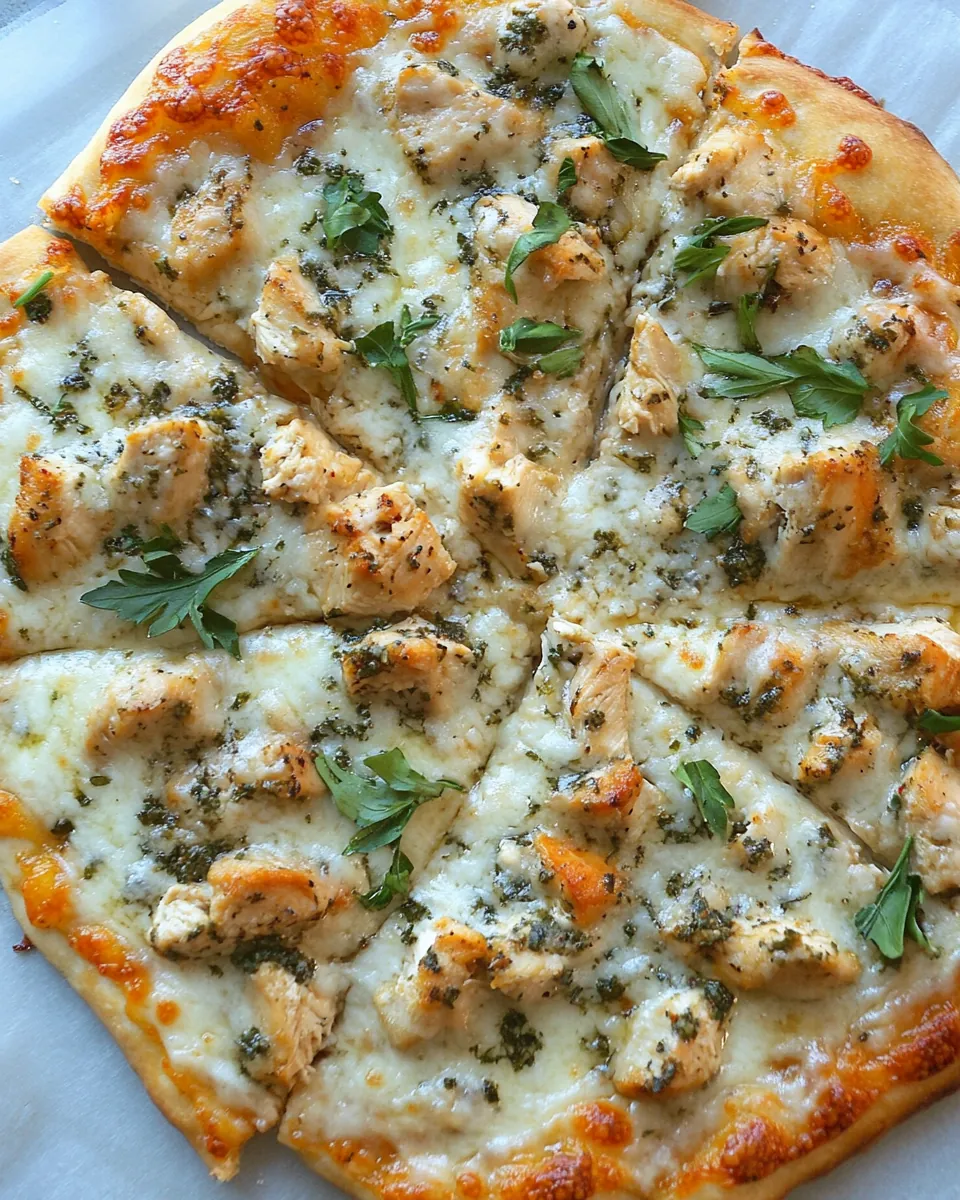
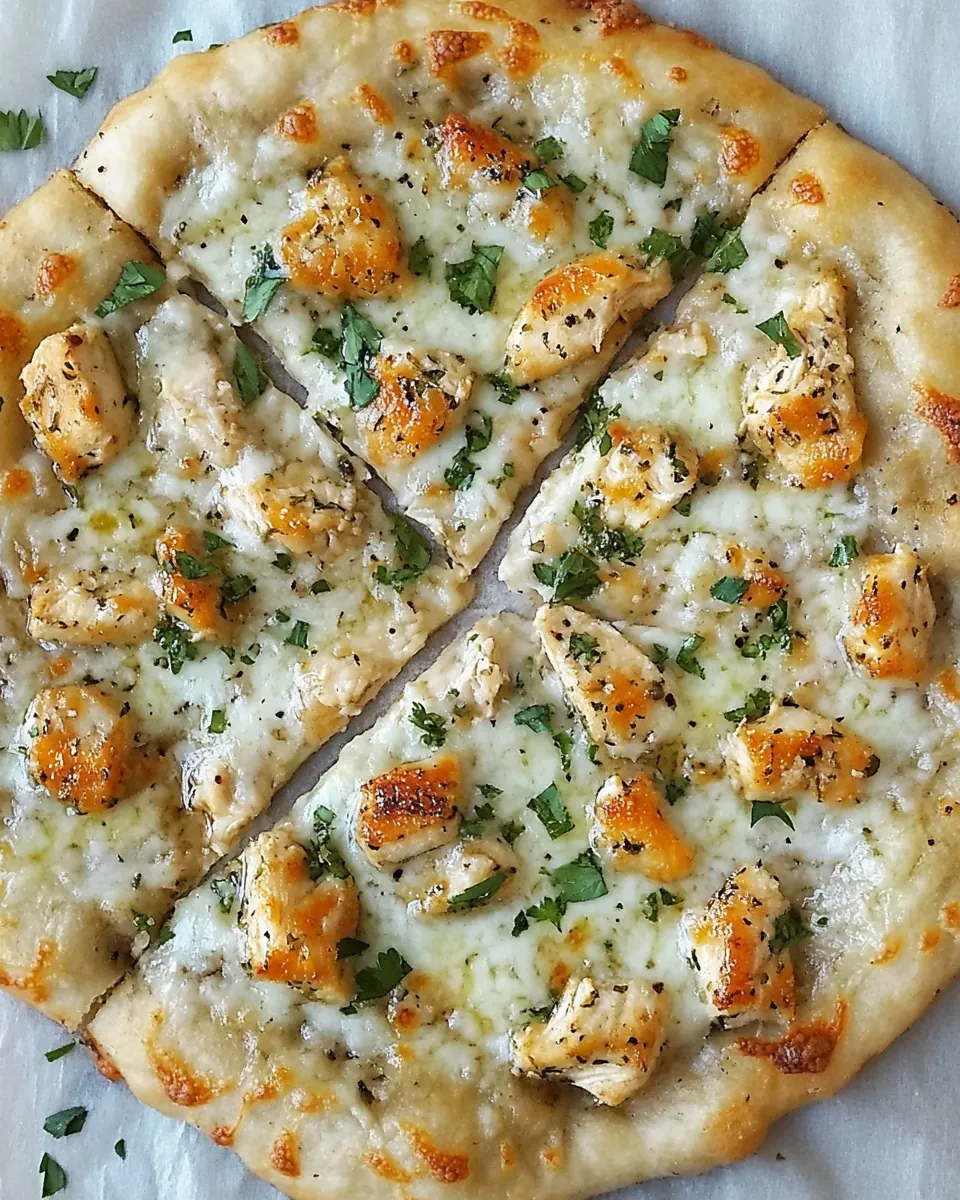
Roasted Garlic Chicken Pizza
There’s something truly magical about a homemade pizza, and when it comes to comfort food, Roasted Garlic Chicken Pizza takes the crown. I remember the first time I decided to whip up this delightful dish. It was a cozy Friday evening, and the aroma of roasted garlic filled my kitchen, wrapping me in a warm embrace. The combination of tender chicken, melted cheese, and that irresistible roasted garlic topping created an experience that I couldn’t wait to share with my family. As the pizza baked, I could hardly contain my excitement, knowing that dinner would be a hit. Whether you’re hosting a gathering or enjoying a quiet night in, this pizza is bound to become a staple in your home.
Recipe Snapshot
35 mins
15 mins
20 mins
Medium
280 kcal
22 g
Keto, Gluten-Free
12 g
Baking Sheet Pan, Silpat
Why You’ll Love This Roasted Garlic Chicken Pizza
It’s All About the Flavor
When it comes to a pizza that packs a punch, Roasted Garlic Chicken Pizza is unrivaled. The star of the show is undoubtedly the roasted garlic, which transforms into a sweet, caramelized delight during the cooking process. This unique flavor is what sets this dish apart from your typical chicken pizza.
Perfectly Balanced Ingredients
This recipe strikes a beautiful balance between savory and creamy. The combination of tender chicken breast and gooey mozzarella cheese makes each bite a delight. Plus, with fresh oregano sprinkled on top, the flavors simply sing. It’s a pizza that pleases everyone!
Customizable to Your Taste
Another reason I adore this pizza is its versatility. You can easily modify the toppings according to your preferences. Want to add some spinach or bell peppers? Go for it! These additions blend seamlessly with the existing flavors while adding a new dimension to the dish.
Great for Sharing
There’s nothing quite like gathering around a homemade pizza with friends and family. This Roasted Garlic Chicken Pizza is perfect for sharing. Slice it up, serve it hot, and watch everyone dig in. It’s a great conversation starter and a delightful way to connect with loved ones over delicious food.
Ideal for Any Occasion
Whether it’s a casual weeknight dinner or a special gathering, this pizza is always a hit. Easy to make and even easier to enjoy, it fits perfectly into my meal rotation. Plus, the leftovers (if there are any!) make for fantastic lunches the next day.
What to Buy for Roasted Garlic Chicken Pizza
When crafting the perfect pizza, the ingredients you choose play a crucial role in the final flavor. For this Roasted Garlic Chicken Pizza, we’ll focus on fresh and high-quality components that work harmoniously to create a mouthwatering experience. The key players in this recipe include pizza dough, chicken, mozzarella cheese, and of course, roasted garlic. Together, they form the foundation of this delicious dish.
- 1 pound pizza dough: The base of your pizza. Look for fresh dough at your local store or make your own for the best results.
- 1 boneless skinless chicken breast, diced: Adds protein and a hearty texture to the pizza.
- Kosher salt and pepper: Essential for seasoning the chicken and enhancing the overall flavor.
- 2 tablespoons olive oil: Used for cooking the chicken and spreading on the roasted garlic.
- 10 cloves roasted garlic: The star ingredient that provides a sweet, caramelized flavor.
- 1 and 1/2 cups shredded mozzarella cheese, divided: Melts beautifully for a gooey topping.
- 1 teaspoon garlic powder: Adds an extra layer of flavor.
- 1 tablespoon chopped fresh oregano, divided: Fresh herbs brighten the dish and enhance its aroma.
How to Make Roasted Garlic Chicken Pizza
Making your own pizza at home is not only satisfying but also fun! With Roasted Garlic Chicken Pizza, the process is straightforward. You’ll love the aroma that fills your kitchen as you cook. Let’s dive into the steps!
First things first, preheat your oven to 425 degrees F. This step is crucial as it ensures that your pizza cooks evenly. While the oven heats up, prepare your baking sheet by lining it with a Silpat liner. This helps prevent the dough from sticking and makes cleanup a breeze.
Next, spread out the pizza dough onto the Silpat. Use your hands to shape it into a circle or rectangle, depending on your preference. Make sure it’s evenly spread so that it cooks uniformly. Set aside the dough and take a deep breath—things are about to get delicious!
In a small skillet set over medium-high heat, add a drizzle of olive oil. Once the oil is hot, add the diced chicken. Season it with a pinch of kosher salt and pepper. Cook the chicken for about 3 to 4 minutes until it’s just starting to brown. Remember, it’s okay if the chicken is still a bit pink in the middle; it will finish cooking in the oven.
While the chicken cooks, turn your attention to the roasted garlic. In a small bowl, combine the remaining olive oil and the roasted garlic cloves. Mash them together until the mixture is smooth. This garlic spread is going to be the heart of your pizza!
Now it’s time to assemble! Carefully spread the roasted garlic mixture over the top of the pizza dough, leaving about a 1-inch border around the edge. This will be your crust, so don’t forget it!
Next, sprinkle on 1 cup of shredded mozzarella cheese. Then, add the cooked chicken pieces, followed by a sprinkle of garlic powder and half of the chopped oregano. The combination of flavors is already irresistible!
Top it all off with the remaining 1/2 cup of shredded mozzarella cheese. This creates that gooey, cheesy goodness we all love. Now, it’s ready to go into the oven!
Carefully place the baking sheet in the preheated oven and let it bake for about 15 minutes. Keep an eye on it; the cheese should be bubbly and golden brown, and the dough should be fully cooked. The aroma will be heavenly!
Once the timer goes off, remove the pizza from the oven. Sprinkle with the remaining oregano for a fresh finish. Allow it to cool for a few minutes before slicing. Serve the pizza hot and enjoy every bite!
Things Worth Knowing
- Preheating is Key: Always preheat your oven before baking. This ensures proper cooking and helps achieve that crispy crust.
- Don’t Overload Toppings: While it’s tempting to pile on toppings, too many can make the pizza soggy. Balance is essential!
- Use Fresh Ingredients: Opt for fresh garlic and herbs for the best flavor. Dried ingredients can’t compete with freshness!
- Check for Doneness: Keep an eye on the pizza as it bakes. Look for a golden crust and bubbly cheese as indicators of doneness.
Tips and Tricks about Roasted Garlic Chicken Pizza
Making the perfect pizza can seem daunting, but with a few tips, you’ll be a pro in no time! Here are some handy suggestions to elevate your pizza-making game.
- Storage: Store any leftovers in an airtight container in the refrigerator. They’ll be good for up to three days.
- Freezing: You can freeze leftovers for up to a month. Just wrap individual slices in plastic wrap and then foil for maximum freshness.
- Pairing: Serve with a fresh salad or garlic knots for a complete meal experience.
- Experiment with Toppings: Feel free to add vegetables like bell peppers or spinach for extra nutrients and flavor.
- Homemade Dough: If you have time, try making your own pizza dough for a truly authentic experience.
How to Enjoy Roasted Garlic Chicken Pizza
- Weeknight Family Dinner: This pizza is perfect for a cozy family dinner after a busy day. Everyone can help with toppings!
- Game Day Snack: Make this pizza for your next game day gathering. It’s a crowd-pleaser that everyone will love.
- Movie Night Treat: Pair it with a good movie and enjoy slices in the comfort of your living room.
- Outdoor Picnic: Slice it up and take it on an outdoor picnic. It’s easy to transport and tastes fantastic at room temperature.
- Complementary Sides: Serve with a crisp green salad or some roasted vegetables to round out the meal.
- Perfect Leftovers: Enjoy cold slices the next day for a quick lunch or snack.
FAQ
Conclusion
The Roasted Garlic Chicken Pizza is a delightful dish that brings comfort and joy to every meal. With its rich flavors, it’s a wonderful way to gather friends and family around the table. I encourage you to give this recipe a try and make it your own. You won’t be disappointed; it’s simply too good to pass up!
Roasted Garlic Chicken Pizza
Ingredients
Equipment
Method
- Preheat your oven to 425 degrees F and prepare a baking sheet with a Silpat liner.
- Spread out the dough onto the Silpat and set aside.
- In a small skillet set over medium-high heat, add a drizzle of olive oil.
- Once the oil is hot, add in the diced chicken and season with a bit of Kosher salt and pepper. Cook for about 3 to 4 minutes—it's okay if the chicken is still a bit pink in the middle, as you'll finish cooking it in the oven.
- In a small bowl, mix together the remaining olive oil and the roasted garlic cloves until smooth.
- Spread the garlic mixture over the top of the pizza dough, leaving a 1-inch border.
- Top with 1 cup of shredded mozzarella cheese, then add the cooked chicken, sprinkle with garlic powder, and half of the chopped oregano.
- Finish by topping with the remaining 1/2 cup of shredded mozzarella cheese.
- Bake in the preheated oven for about 15 minutes, or until the cheese is browned and the dough is fully cooked.
- Remove from the oven, sprinkle with the remaining oregano, and serve hot.
Notes
- Storage: Store leftovers in an airtight container in the fridge for up to three days.
- Freezing: Wrap individual slices in plastic wrap and then foil to freeze for up to a month.
- Pairing: Serve with a fresh salad or garlic knots for a complete meal.
- Experiment with toppings: Add vegetables like spinach or bell peppers for extra nutrients.
- Homemade dough: Consider making your own pizza dough for a truly authentic experience.