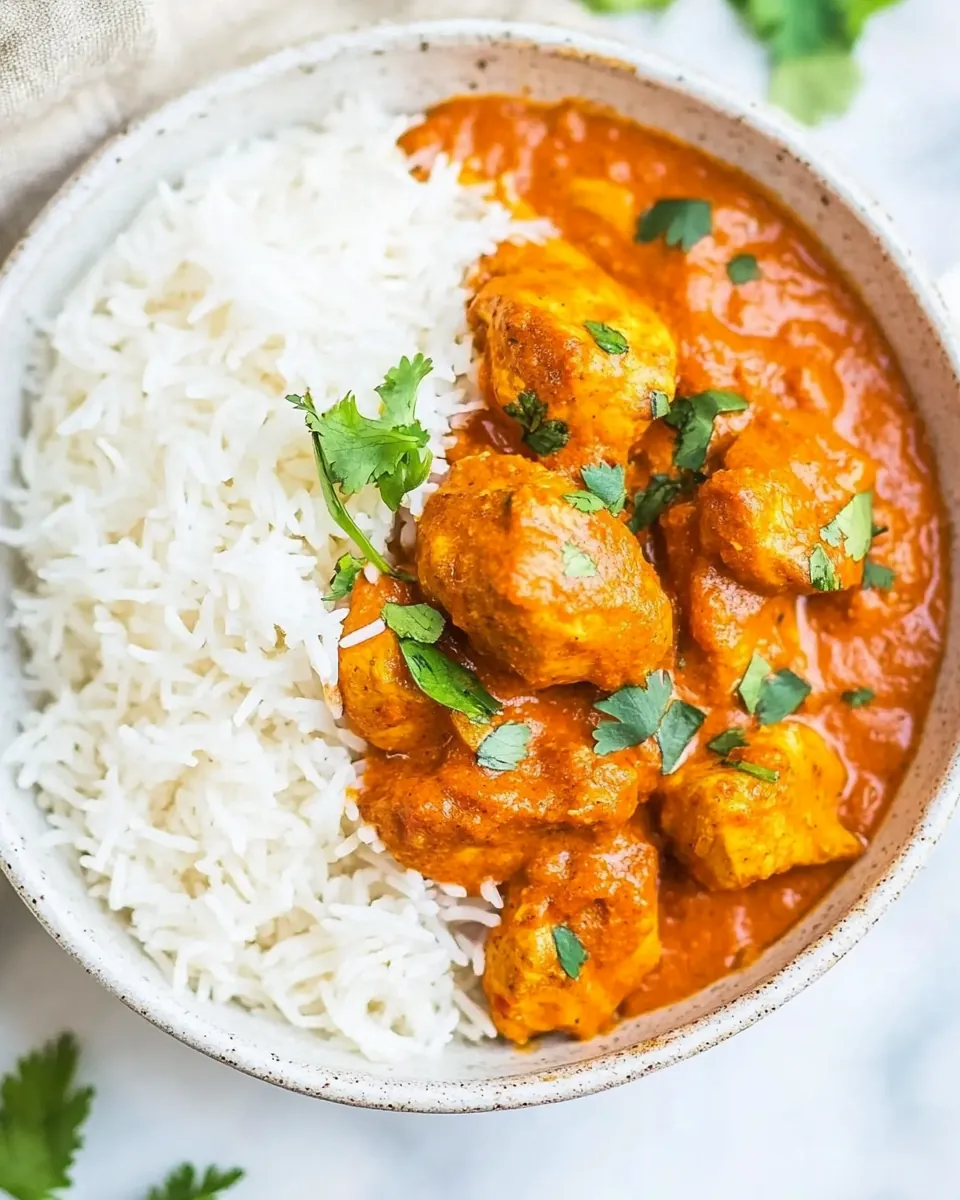
Pressure Cooker Chicken Tikka Masala
It was one of those chilly evenings when my cravings for something warm and spicy kicked in. That’s when I decided to make Pressure Cooker Chicken Tikka Masala. The aroma of simmering spices filled my kitchen, creating an inviting atmosphere. I remember the first time I tried this dish at a local restaurant, and it instantly became my favorite. The combination of tender chicken, creamy sauce, and aromatic spices is simply irresistible. Plus, using the pressure cooker makes this dish not only quick but also incredibly easy to prepare. I couldn’t wait to dig in!
Recipe Snapshot
40 mins
10 mins
30 mins
Medium
485 kcal
35 g
Gluten-Free
33 g
Multi-cooker, Instant Pot, Slow Cooker
Why We Love This Pressure Cooker Chicken Tikka Masala
1. Quick and Easy
With the hustle and bustle of daily life, we often find ourselves rushed. That’s why I love Pressure Cooker Chicken Tikka Masala. It can go from the fridge to the table in just about 30 minutes. The pressure cooker speeds up the cooking process, allowing the flavors to meld beautifully without hours of simmering.
2. Packed with Flavor
This dish is a celebration of spices. The blend of garam masala, cumin, and paprika creates a rich, robust flavor profile. The marinade with yogurt adds tenderness to the chicken and deepens the taste. Each bite is a delightful burst of flavor that keeps you reaching for more.
3. Versatile Pairings
What I love about this dish is its versatility. You can serve Pressure Cooker Chicken Tikka Masala with fluffy naan, fragrant basmati rice, or even a fresh salad for a lighter meal. It’s perfect for family dinners or casual gatherings with friends.
4. Make Ahead and Freeze
This recipe is excellent for meal prep! You can make a big batch and freeze portions for later. When a busy week hits, just pull a serving out, heat it up, and enjoy a homemade meal without any extra effort.
5. Kid-Friendly
If you have picky eaters at home, this dish is often a hit. The creamy sauce makes it appealing, and you can adjust the spice level to suit your family’s taste. Serve it with some naan or rice, and it’ll be a favorite in no time.
6. Healthier Option
Using lean chicken and opting for low-fat yogurt can make this dish a healthier choice compared to takeout options. You can enjoy all the flavors without the guilt!
Ingredients Overview for Pressure Cooker Chicken Tikka Masala
The ingredients for Pressure Cooker Chicken Tikka Masala come together to create a dish that’s both delicious and satisfying. Each component plays a specific role, enhancing the overall flavor and texture. The key players include the chicken, which provides protein, and the unique blend of spices that infuse the dish with warmth and depth.
- 1.25 to 1.50 pounds boneless skinless chicken breast: Cut into bite-sized pieces, this is the star of the dish, providing a hearty protein base.
- 6 ounces plain Greek yogurt: This ingredient not only tenderizes the chicken but also adds a creamy texture to the sauce.
- 2 to 3 cloves garlic: Minced or finely pressed, garlic adds a savory depth to the flavor profile.
- 2 tablespoons olive oil: Used for sautéing the onions and spices, it helps in flavor absorption.
- 2 tablespoons lemon juice: Adds brightness and balances the richness of the sauce.
- 2 teaspoons garam masala: A warming spice blend that’s essential for authentic flavor.
- 2 teaspoons ground cumin: This spice adds a nutty, earthy flavor that complements the dish.
- 1 teaspoon smoked paprika: Adds a slight smokiness and a beautiful color to the dish.
- 1 teaspoon kosher salt: Enhances the overall flavor of the dish.
- ½ teaspoon freshly ground black pepper: Adds a touch of heat.
- ½ teaspoon ground ginger: Introduces a warm spice note.
- ¼ cup unsalted butter: Contributes richness to the sauce.
- 15-ounce can tomato sauce: Forms the base of the sauce, giving it a rich, tangy flavor.
- 2 teaspoons ground coriander: Adds a citrusy, warming note that balances the spices.
- ½ cup cream or half-and-half: For a luscious finish; can be replaced with a dairy-free milk if desired.
- ¼ cup fresh cilantro: Used for garnishing, it adds freshness.
How to Cook Pressure Cooker Chicken Tikka Masala
Cooking Pressure Cooker Chicken Tikka Masala is a simple, straightforward process. Once you’ve gathered your ingredients, follow these steps for a delicious meal. Trust me, the rich flavors and creamy sauce will have everyone asking for seconds.
- Add all the ingredients to a gallon-sized zip-top bag. Seal it tightly and squish the contents around to distribute everything evenly. Allow the chicken to marinate in the fridge for at least 1 to 2 hours, or overnight if time allows. This step is key for flavor!
- Turn your Crock-Pot® Express Crock Multi Cooker to brown and sauté mode. Add the onion and cook until soft and translucent, about 5 minutes, stirring intermittently. The onion should become fragrant and slightly golden.
- Next, add the butter and garlic, cooking until the butter has melted and the garlic is fragrant, about 1 minute. Keep stirring to prevent the garlic from burning.
- Add the marinated chicken to the pot, discarding the bag with the marinade. Next, add the tomato sauce, garam masala, coriander, cumin, smoked paprika, ginger, salt, pepper, and optional cayenne. Stir everything well to combine.
- Cover and lock the lid, then set it to pressure cook mode by selecting the meat/poultry button on the top left corner. Ensure the steam valve is set to lock. It takes about 10 minutes to preheat, and once it’s ready, it will say ’15 minutes’ on the screen. You won’t need the full 15 minutes; just stop cooking after 10 minutes by pressing the stop button.
- Allow the pressure to naturally release for 10 minutes. After that, flick the steam valve with a utensil to release any remaining steam before carefully removing the lid.
- If preferred, you can use the slow cooker mode instead, cooking for about 4 hours on low or 2 hours on high, until the chicken is thoroughly cooked.
- Once the lid is open, switch back to brown and sauté mode. Add the cream and stir to combine. Cook for about 2 minutes or until the sauce is warmed through.
- Optionally, allow the sauce to simmer for 5 to 10 minutes to reduce and thicken. Taste to check the flavor balance and adjust seasoning as needed with more pepper, salt, or cayenne.
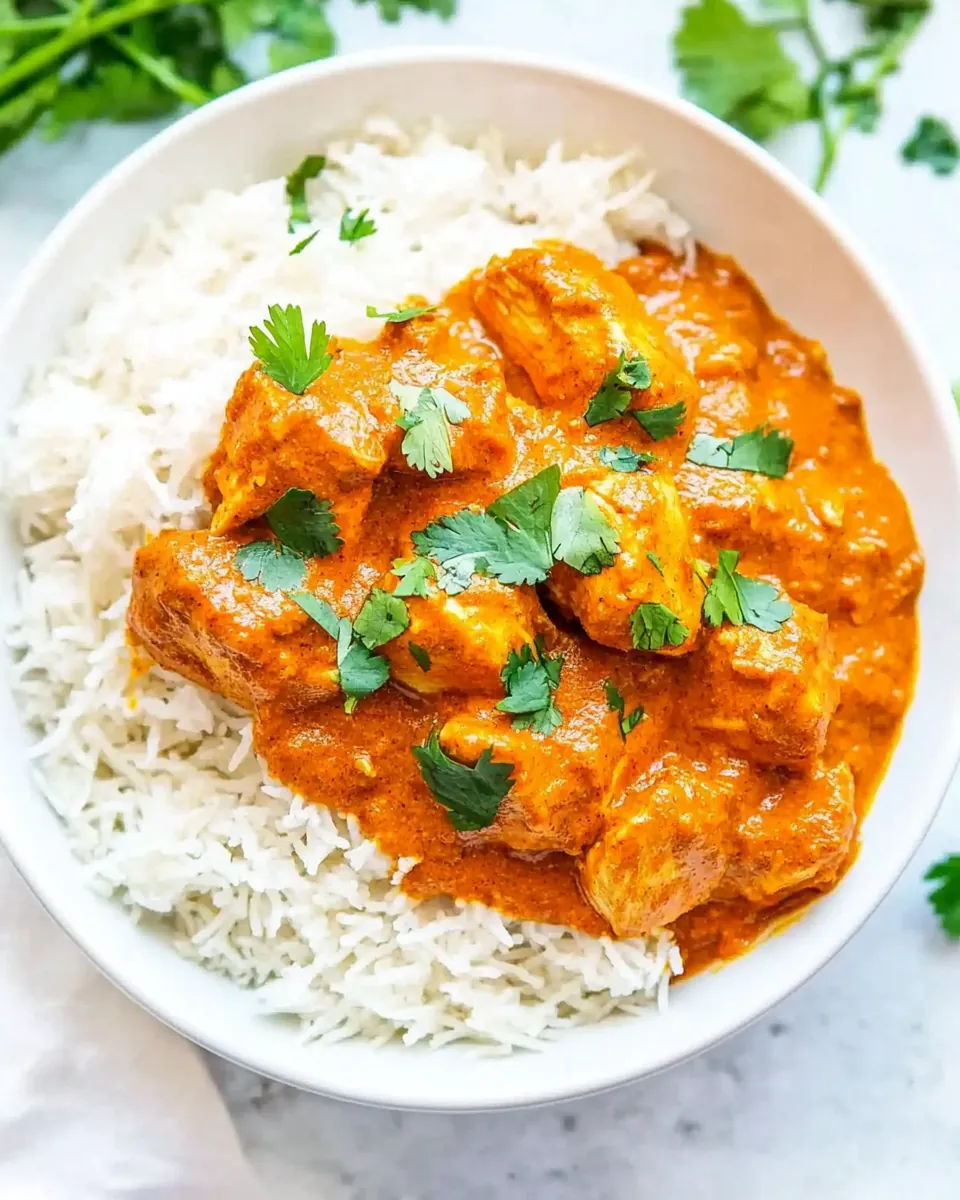
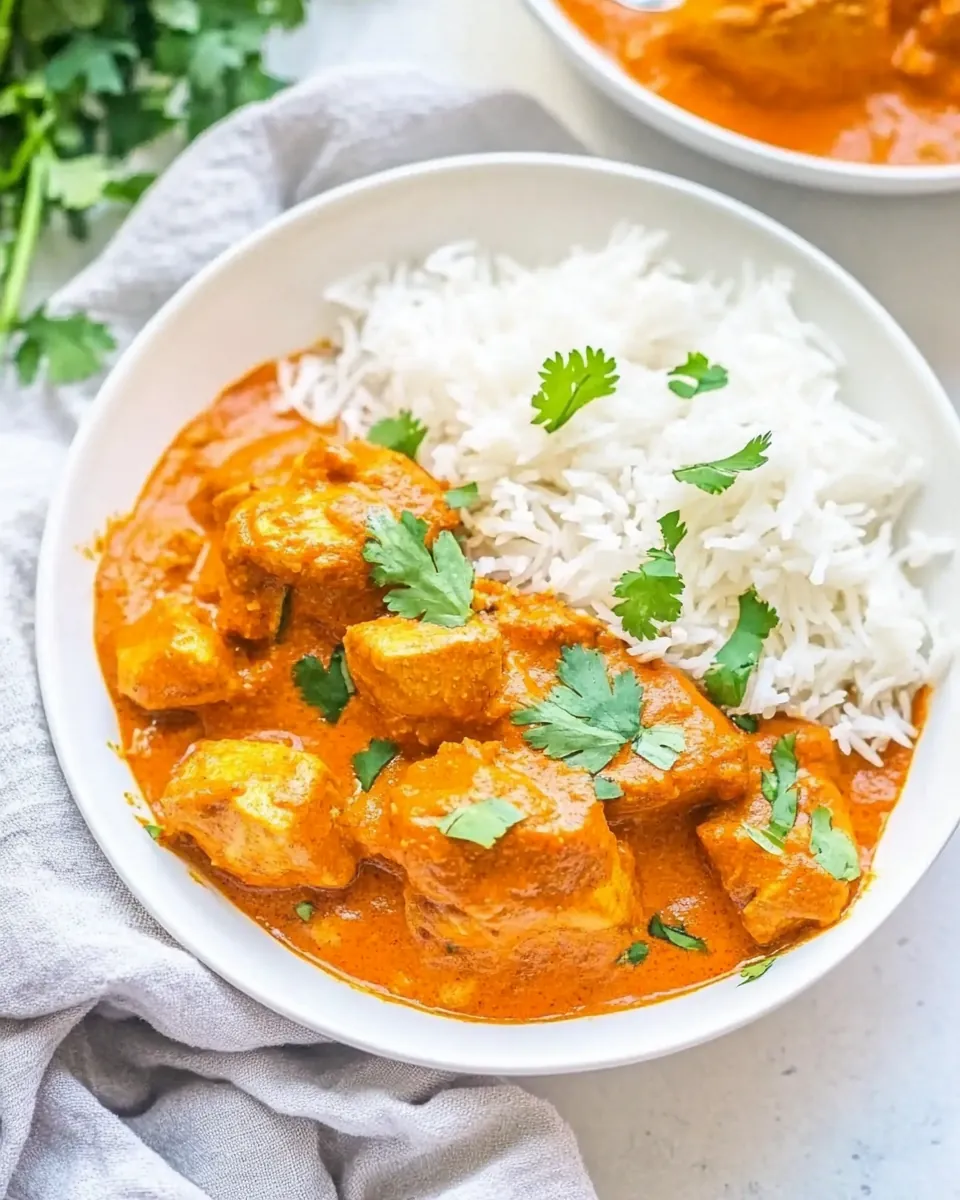
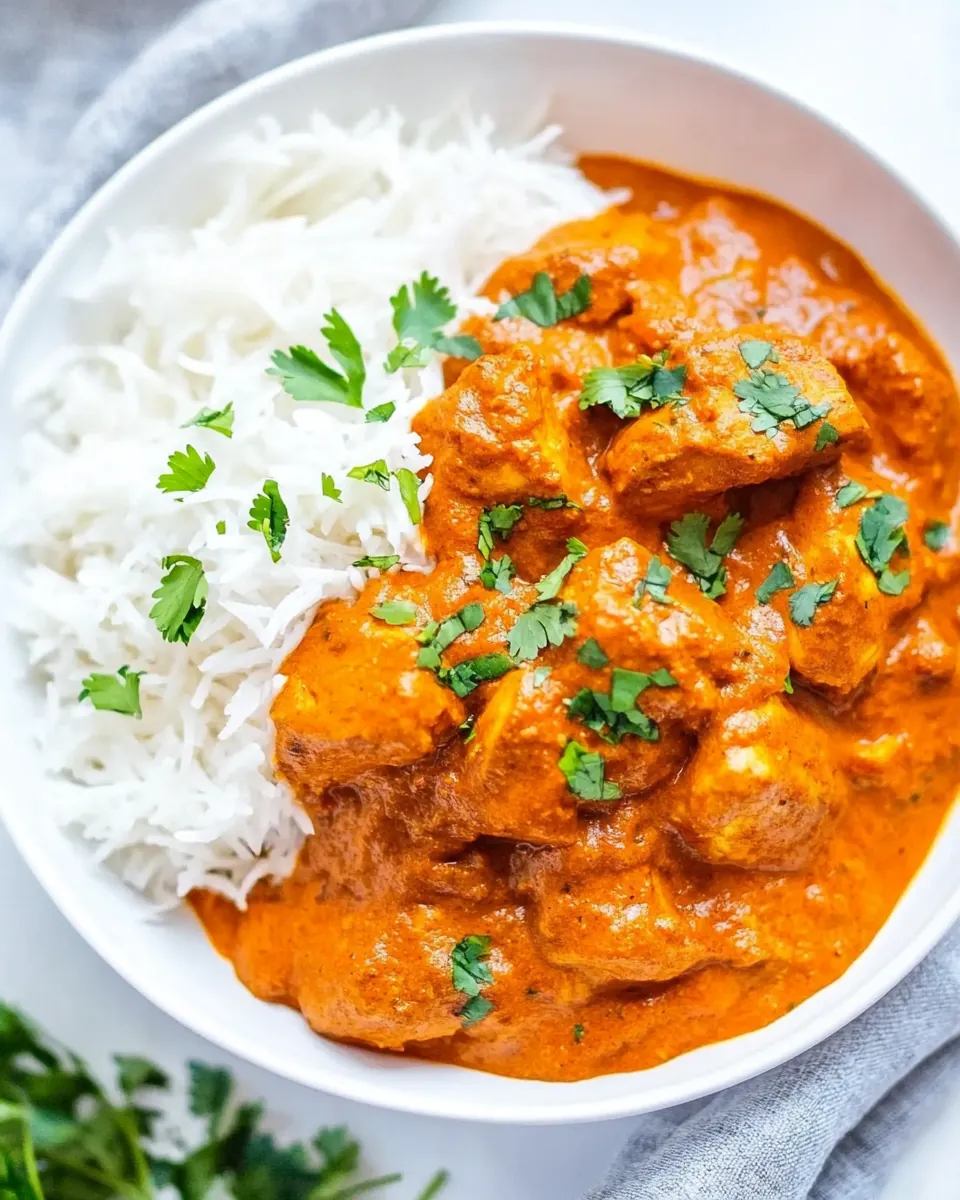
- Portion the chicken and sauce into bowls, using a slotted spoon if desired, as there’s a lot of sauce. Garnish with cilantro and serve with naan, basmati rice, or as desired.
Things Worth Knowing
- Marinating is Key: For best results, marinate the chicken overnight. It allows the flavors to penetrate deeply.
- Adjusting Spice Levels: Feel free to adjust the amount of cayenne pepper to suit your heat preferences.
- Natural Pressure Release: Allowing the pressure to release naturally helps keep the chicken tender and juicy.
- Garnishing: Fresh cilantro adds a burst of freshness at the end, making the dish visually appealing.
Variations to Try
There are incredible ways to tweak Pressure Cooker Chicken Tikka Masala to fit your taste preferences. Here are some variations that can elevate your cooking experience:
- Storage: Leftovers can be stored in an airtight container in the fridge for up to 3 days. Reheat gently on the stove or microwave.
- Freezing: This dish freezes well. Portion into containers and keep in the freezer for up to 3 months. Defrost in the fridge overnight before reheating.
- Serving Styles: Serve it over quinoa or zucchini noodles for a low-carb option.
- Adding Vegetables: Toss in some spinach or peas during the last few minutes of cooking to boost nutrition.
- Experiment with Proteins: Substitute chicken with tofu or paneer for a vegetarian option.
- Spice Variations: Try different spice blends like Indian curry powder or even a Thai curry paste for a unique twist.
How to Serve Pressure Cooker Chicken Tikka Masala
When it comes to serving Pressure Cooker Chicken Tikka Masala, the options are plentiful. Here’s how to enjoy this flavorful dish:
- With Naan: Soft, warm naan is a classic pairing. Use it to scoop up the creamy sauce.
- Over Basmati Rice: Serve over fluffy basmati rice to absorb the delicious sauce.
- As Part of a Feast: Include this dish in a larger spread for family gatherings or celebrations.
- Meal Prep: This dish is perfect for meal prep! Portion it into containers for easy lunches throughout the week.
- Garnishing: Don’t forget to sprinkle fresh cilantro before serving for an extra pop of flavor.
- Seasonal Pairings: Enjoy it in colder months when you crave comfort food.
FAQ
Conclusion
In summary, Pressure Cooker Chicken Tikka Masala is a delightful dish that combines rich flavors with convenience, making it perfect for both busy weeknights and special occasions. I encourage you to give this recipe a try; you’ll love how easy it is to prepare and how satisfying it is to eat. Enjoy the comforting warmth and delicious spices with every bite!
Pressure Cooker Chicken Tikka Masala
Ingredients
Equipment
Method
- 1. Add all the ingredients to a gallon-sized zip-top bag, seal it tightly and squish the contents around to distribute everything evenly. Allow the chicken to marinate in the fridge for at least 1 to 2 hours, or overnight if time allows. This step is key for flavor!
- 2. Turn your Crock-Pot® Express Crock Multi Cooker to brown and sauté mode. Add the onion and cook until soft and translucent, about 5 minutes, stirring intermittently. The onion should become fragrant and slightly golden.
- 3. Next, add the butter and garlic, cooking until the butter has melted and the garlic is fragrant, about 1 minute. Keep stirring to prevent the garlic from burning.
- 4. Add the marinated chicken to the pot, discarding the bag with the marinade. Next, add the tomato sauce, garam masala, coriander, cumin, smoked paprika, ginger, salt, pepper, and optional cayenne. Stir everything well to combine.
- 5. Cover and lock the lid, then set it to pressure cook mode by selecting the meat/poultry button on the top left corner. Ensure the steam valve is set to lock. It takes about 10 minutes to preheat, and once it’s ready, it will say '15 minutes' on the screen. You won’t need the full 15 minutes; just stop cooking after 10 minutes by pressing the stop button.
- 6. Allow the pressure to naturally release for 10 minutes. After that, flick the steam valve with a utensil to release any remaining steam before carefully removing the lid.
- 7. If preferred, you can use the slow cooker mode instead, cooking for about 4 hours on low or 2 hours on high, until the chicken is thoroughly cooked.
- 8. Once the lid is open, switch back to brown and sauté mode. Add the cream and stir to combine. Cook for about 2 minutes or until the sauce is warmed through.
- 9. Optionally, allow the sauce to simmer for 5 to 10 minutes to reduce and thicken. Taste to check the flavor balance and adjust seasoning as needed with more pepper, salt, or cayenne.
- 10. Portion the chicken and sauce into bowls, using a slotted spoon if desired, as there’s a lot of sauce. Garnish with cilantro and serve with naan, basmati rice, or as desired.
Notes
- Tip 1: For best results, marinate the chicken overnight for deep flavor.
- Tip 2: Adjust the amount of cayenne pepper to suit your heat preferences.
- Tip 3: Allowing the pressure to release naturally helps keep the chicken tender and juicy.
- Tip 4: Fresh cilantro adds a burst of freshness, making the dish visually appealing.