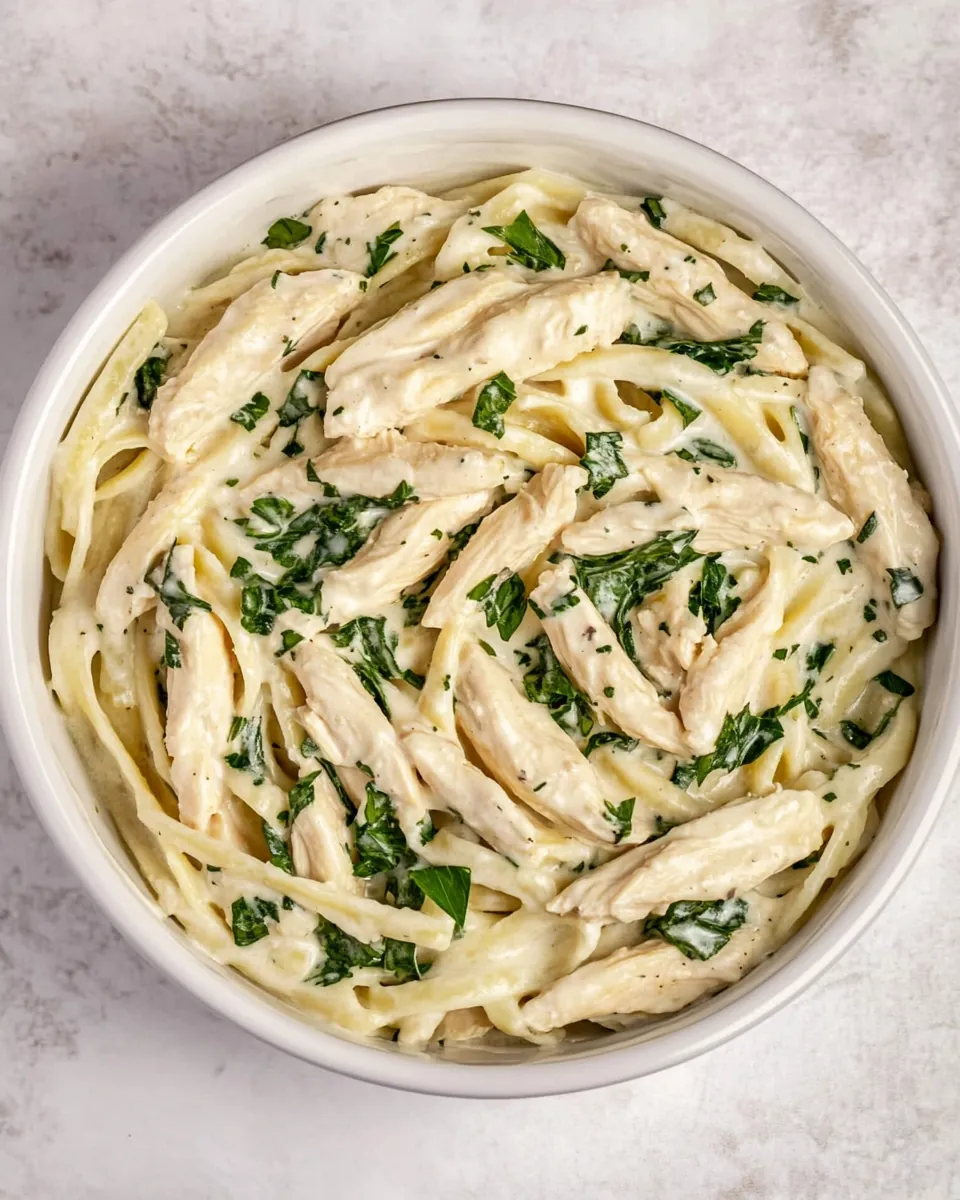
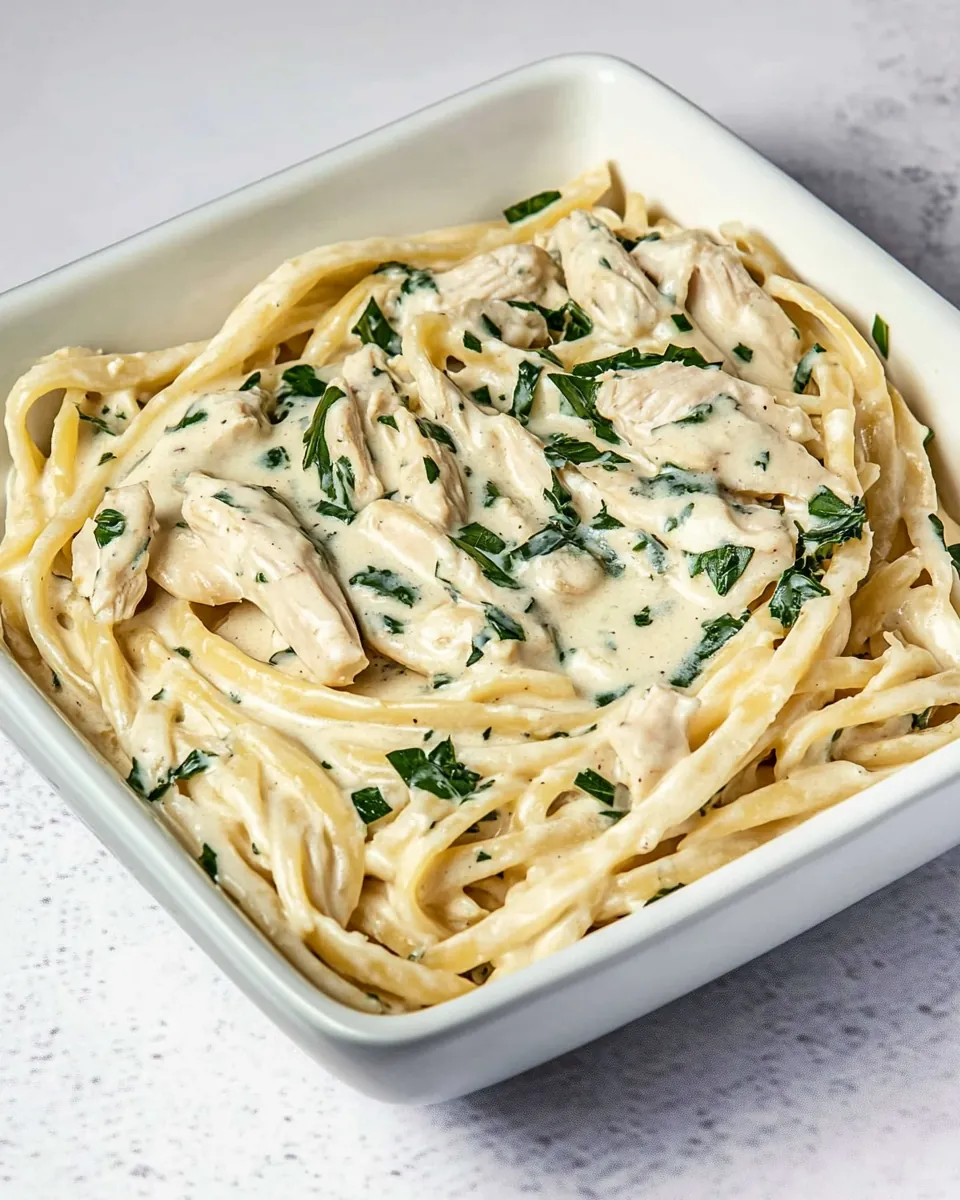
Pressure Cooker Chicken Alfredo
Every time I think of comfort food, Pressure Cooker Chicken Alfredo comes to mind. It’s one of those magical dishes that can warm your heart and satisfy your cravings within minutes. I remember the first time I made it; I was rushed, had friends coming over, and wanted something that felt indulgent yet didn’t take ages to prepare. As the aroma of the sautéed chicken filled my kitchen, I knew I was onto something special. The creamy Alfredo sauce, combined with tender pasta, created a dish that was both rich and comforting. It felt like a warm hug on a chilly evening. Everyone loved it, and I was left with plenty of time to join the fun instead of being stuck in the kitchen.
Recipe Snapshot
13 mins
7 mins
6 mins
Easy
680 kcal
42 g
Gluten-Free, Low FODMAP
25 g
Wooden Spoon, Grater, Mixing Bowl, Instant Pot
Why This Pressure Cooker Chicken Alfredo Is a Winner
Quick and Easy Preparation
One of the things I adore about this Pressure Cooker Chicken Alfredo is how quick it is to prepare. In less than twenty minutes, you can serve a meal that tastes like it’s been simmering for hours. The pressure cooker truly saves the day, making it a go-to recipe for busy weeknights.
Rich and Creamy Flavor
The combination of Alfredo sauce, cream cheese, and Parmesan cheese creates a luscious sauce that clings to the pasta perfectly. Every bite is a creamy delight, making it hard to resist going back for seconds. It’s that kind of meal you dream about.
Flexible Ingredients
This recipe allows for creativity. You can easily toss in vegetables like peas, carrots, or even broccoli to add a pop of color and nutrition. It’s a fantastic way to sneak in some greens, making it a little healthier without compromising on taste.
Perfect for Gatherings
Whenever I’m hosting a gathering, Pressure Cooker Chicken Alfredo always makes the menu. It’s impressive enough for guests yet simple enough for me to whip up without stress. Everyone loves a good pasta dish, and this one never fails to please!
Consistent Results
Lastly, using a pressure cooker ensures consistent results every time. No more dried-out chicken or mushy pasta. The pressure cooker locks in moisture, yielding perfectly cooked chicken and pasta infused with flavor. It’s a foolproof method that guarantees success.
What You’ll Need for Pressure Cooker Chicken Alfredo
Gathering the right ingredients is essential for creating a delicious Pressure Cooker Chicken Alfredo. Each component plays a crucial role in achieving that creamy, rich flavor profile we all love. The standout players in this dish include succulent chicken thighs, a flavorful Alfredo sauce, and the perfect pasta, all cooked to perfection in your pressure cooker.
- 2 lbs skinless boneless chicken thighs, cut into bite-sized pieces – This cut of chicken stays juicy and tender when cooked, providing a delicious base for the dish.
- 2 Tbs vegetable oil – Used to sauté the chicken and build flavor.
- 1 teaspoon kosher salt – Enhances all the flavors in the dish.
- 1 teaspoon ground pepper – Adds a touch of spice to balance the creaminess.
- 22 oz jarred Alfredo sauce – The star of the show, providing that rich and creamy texture.
- ¾ Cup broth – Keeps the pasta moist and flavorful; can substitute with water if needed.
- 1 Cup whole milk – Adds creaminess to the sauce; other milk types can be used, but flavors may vary.
- 2 Tbs butter – Infuses richness into the sauce.
- 4 oz cream cheese – Makes the sauce extra creamy; lower fat options can be substituted.
- ½ Cup Parmesan cheese – Adds a nutty flavor that complements the Alfredo sauce.
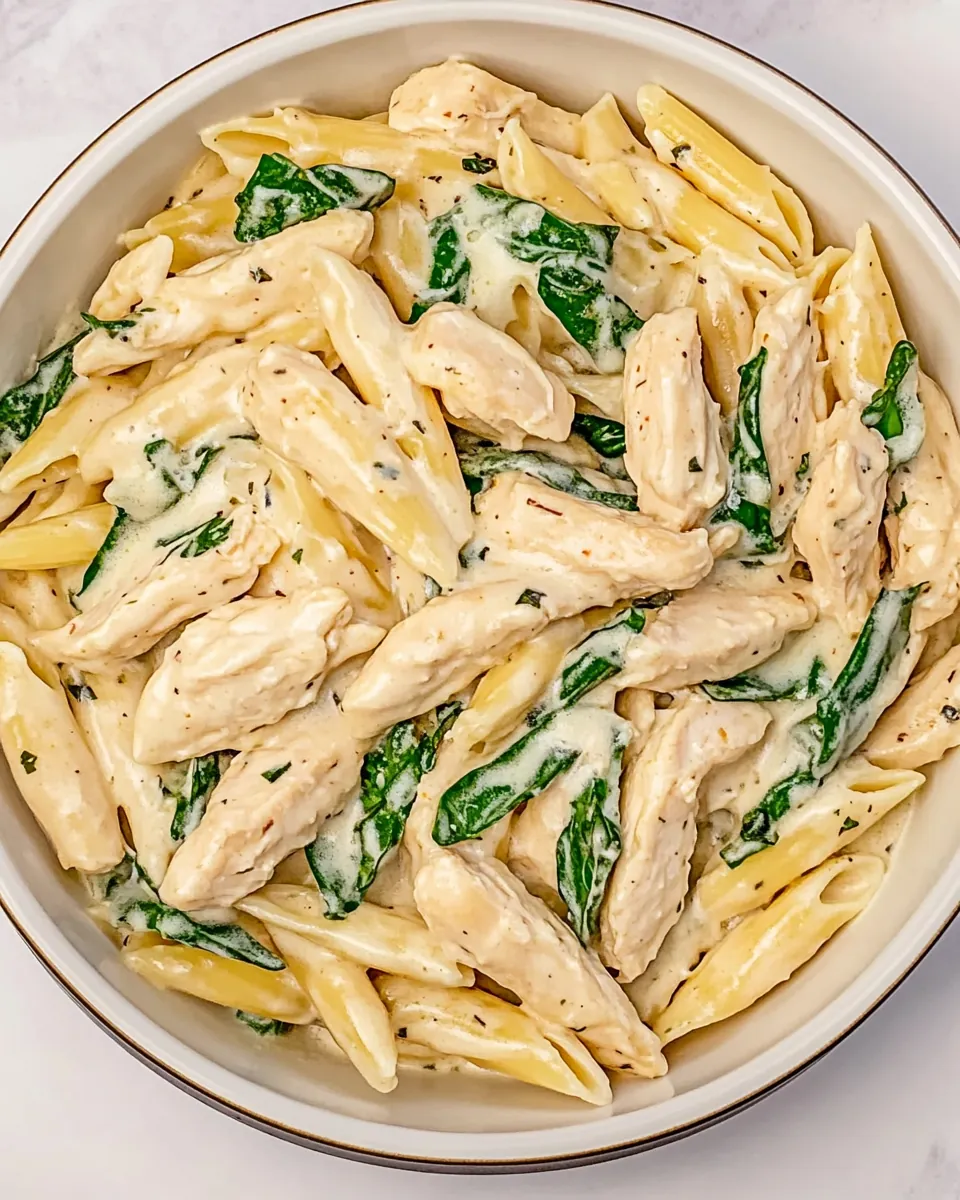
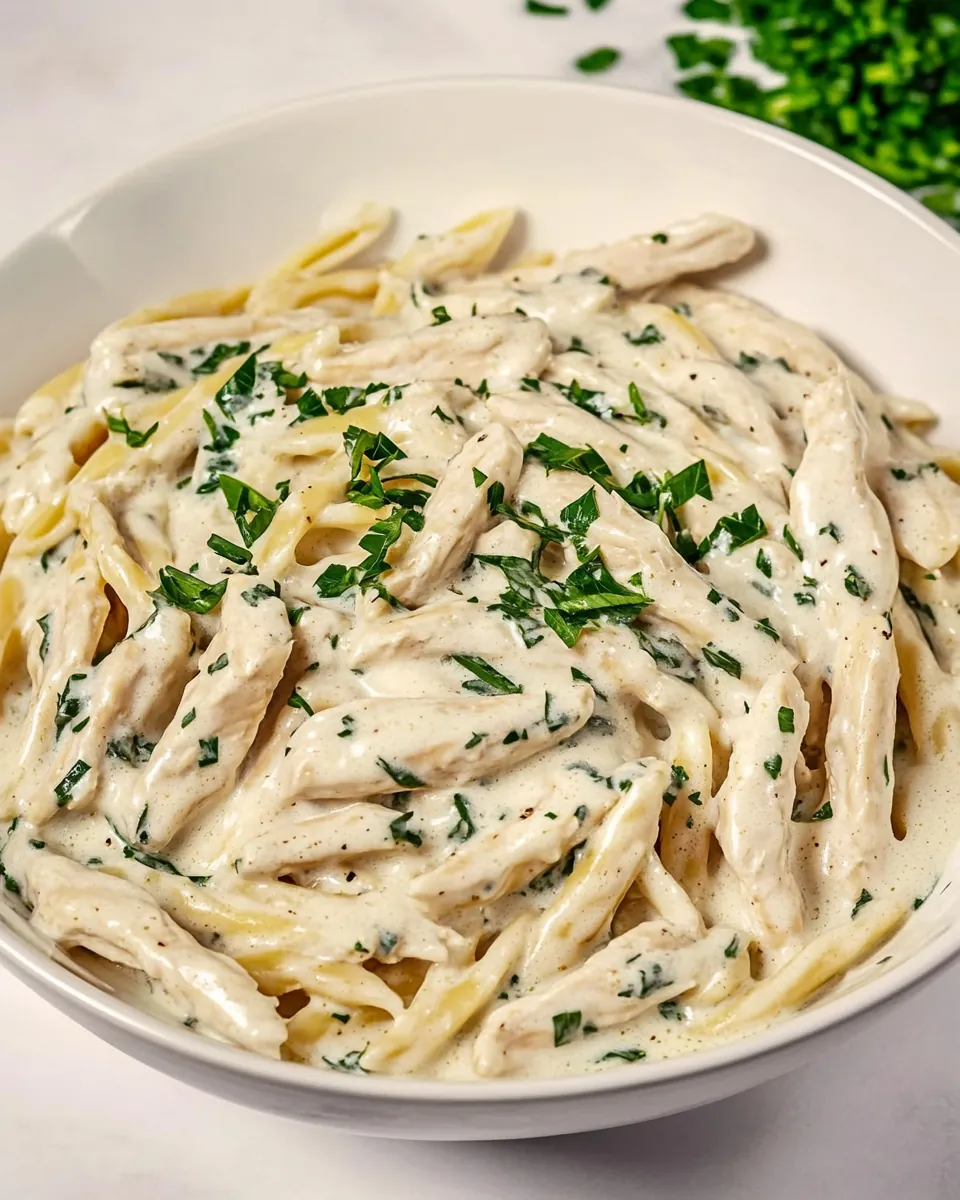
- 1 lb penne pasta – This shape holds the sauce well and provides great texture.
- 1 Cup frozen green peas (optional) – A lovely addition for color and sweetness; other vegetables work too.
- ½ Cup Parmesan (optional) – Freshly grated, for garnishing.
Making Pressure Cooker Chicken Alfredo
Now that you have all your ingredients ready, let’s dive into making this delicious Pressure Cooker Chicken Alfredo. The steps are straightforward, and before you know it, you’ll have a creamy pasta dish that’s perfect for any occasion.
- Start by cutting the chicken into bite-sized pieces. It’s essential to have even pieces for uniform cooking. This also helps the chicken absorb the flavors better.
- Next, heat vegetable oil in the bottom of your pressure cooker. If you’re using a stovetop model, get it nice and hot. This is where the magic begins!
- Once the pot is hot, add the chicken pieces. Cook them for about three minutes until they start to brown. You’re looking for a nice golden color to develop, which will enhance the flavor.
- Add in all the other ingredients, except for the peas and optional Parmesan. Make sure to stir everything well. It’s crucial that the pasta gets coated in the sauce, so if you have a large pot, consider adding more liquid to ensure coverage.
- Now it’s time to pressure cook! Set your cooker to high for six minutes. This is when the pasta absorbs all the flavors and becomes perfectly cooked.
- Once the cooking cycle is complete, allow it to naturally release the pressure for about five minutes. This step helps keep the chicken juicy and tender.
- After the five minutes, carefully release any remaining pressure manually. Remove the lid, and give everything a good mix. You’ll see how creamy and delicious it looks!
- If you’re adding veggies like peas, now is the time. Stir them in, allowing them to heat through for a couple of minutes. This is optional but adds a nice touch.
- Finally, garnish with freshly grated Parmesan cheese before serving. This adds a beautiful finishing touch and elevates the dish’s presentation.
Things Worth Knowing
- Cooking Tip: Ensure the pot is hot before adding the chicken. This helps to sear the meat and develop flavor.
- Pressure Cooking Rule: If your pressure cooker is larger than five quarts, you may need to add more liquid.
- Vegetarian Option: You can easily make this dish vegetarian by swapping chicken for mushrooms or another hearty vegetable.
- Pasta Choice: While I used penne, feel free to experiment with other shapes like fusilli or rigatoni.
Tips and Tricks about Pressure Cooker Chicken Alfredo
Here are some handy tips that will help you make the best Pressure Cooker Chicken Alfredo every time. These pointers are designed to ensure a delicious outcome and make your cooking experience enjoyable.
- Storage: Leftovers can be stored in an airtight container in the fridge for up to three days. Reheat on the stovetop with a splash of milk to restore creaminess.
- Freezing: This dish freezes well. Store in a sealed container for up to three months. Thaw overnight in the fridge before reheating.
- Pairing: Serve with a fresh garden salad or garlic bread for a complete meal. These sides complement the rich flavors beautifully.
- Make Ahead: You can prep the ingredients ahead of time. Just store the chicken and sauce separately until you’re ready to cook.
- Garnishing: Fresh herbs like parsley or basil can elevate the dish even further. A sprinkle on top adds a pop of color and flavor.
Best Served With
When it comes to serving Pressure Cooker Chicken Alfredo, there are many delightful options to consider:
- Garlic Bread: A classic pairing that adds crunch and flavor. It’s perfect for soaking up any leftover sauce.
- Garden Salad: Light and fresh, a simple salad with a vinaigrette can balance the richness of the pasta.
- Steamed Vegetables: Consider serving with steamed broccoli or carrots. They add color and nutrients to your meal.
- Wine Pairing: A light white wine, such as Pinot Grigio, complements the creamy sauce beautifully.
- Occasions: This dish is perfect for family dinners, casual get-togethers, or special occasions. It’s always a crowd-pleaser.
FAQ
Conclusion
The Pressure Cooker Chicken Alfredo is a quick yet indulgent dish, perfect for any night of the week. Its creamy texture and delightful flavors make it a favorite in my kitchen. I encourage you to give it a try; you’ll appreciate how easy it is to whip up a delicious meal that everyone will love.
Pressure Cooker Chicken Alfredo
Ingredients
Equipment
Method
- Cut the chicken into bite sized pieces. Heat the oil in the bottom of the pressure cooker (on the stove top if you use a stove top pressure cooker or via the brown option in your instant pot). Once the pot is hot, add the chicken pieces to the oil and cook for 3 minutes.
- Add all of the other ingredients except the peas and the optional garnishing Parmesan. Stir well. If you have a large instant pot, add more water or milk to make sure that all of the pasta is covered by the liquid. Give everything a big stir to ensure it's all coated.
- Pressure cook on high for 6 minutes. Allow to naturally release for 5 minutes and then release the pressure manually. Remove the lid and mix well.
- If you want to add veggies, do so now and stir well. Garnish with fresh grated Parmesan cheese and serve hot.
Notes
- This recipe works the best with boneless skinless chicken thighs but any cut of chicken will work as long as it is boneless and skinless and cut into bite size pieces.
- For this recipe, since you are making it in the pressure cooker, it will work best with a short pasta instead of the typical fettuccini noodles.
- If using a stove top pressure cooker, carefully manage the pressure stage and do not heat the eye of the stove so hot that you have a bunch of excessive steam from the escape valve.
- Pressure cookers larger than 5 quarts may need more liquid added before cooking. If the noodles aren't completely covered with liquid, add milk or water until they are.
- You can add veggies to this recipe at the end if you want an all in one dish. Add 1 Cup of frozen peas, small diced carrots or precooked broccoli for a yummy all in one dish.