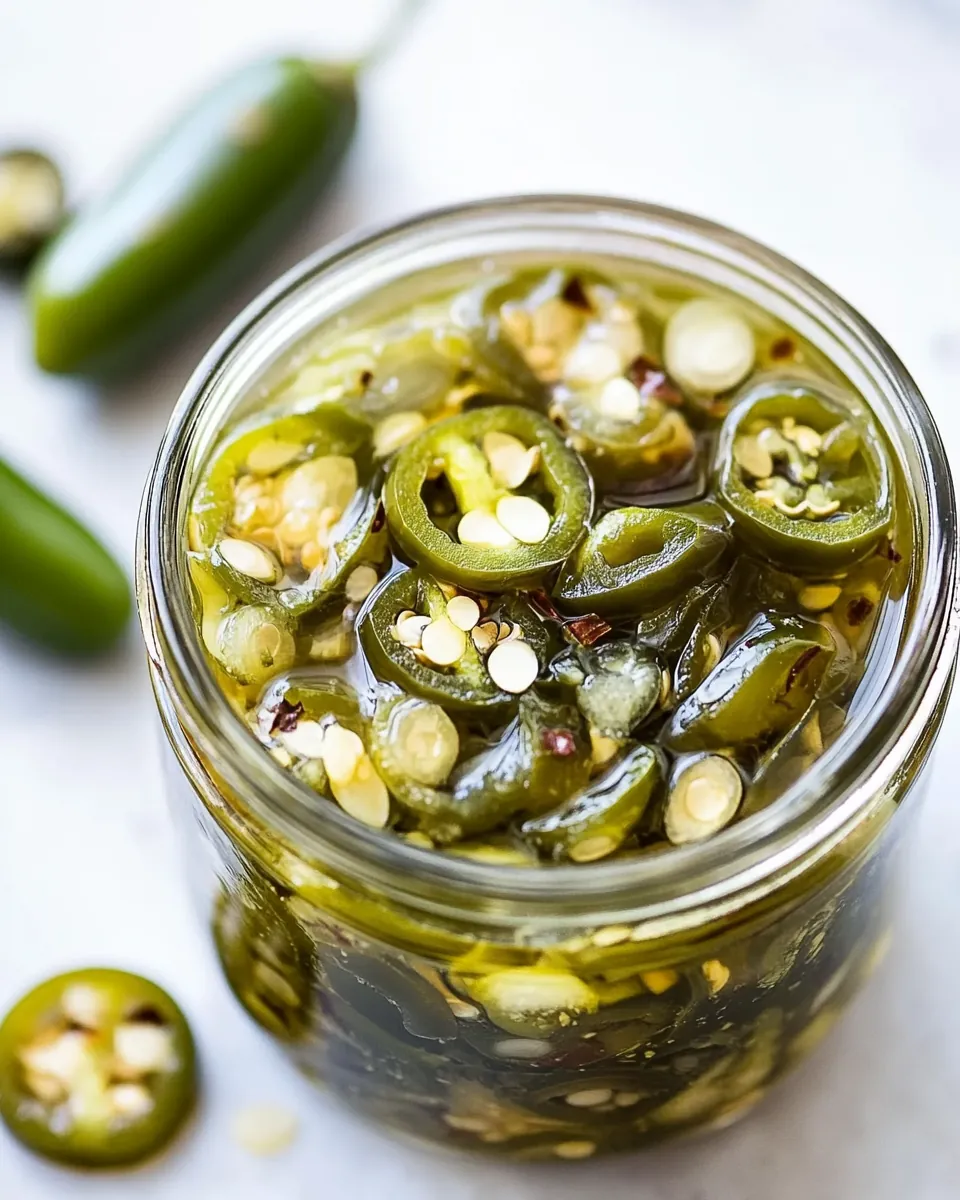
Pickled Jalapeños
There’s something truly special about homemade Pickled Jalapeños. Growing up, I remember my grandmother making these spicy delights every summer when our garden was bursting with fresh peppers. She would spend an afternoon slicing and packing jars, and the tangy aroma would fill the kitchen, making our mouths water in anticipation. Whenever we had tacos or sandwiches, those Pickled Jalapeños would add the perfect kick, transforming each bite into a flavor explosion. It became a family tradition to have these zesty pickles on hand for all our gatherings, and I can still hear the pop of the jar lids as we opened them. Now, I carry on that tradition, and every time I make a batch, I’m reminded of those sunny afternoons spent with my grandmother. Whether it’s for a backyard BBQ or a cozy night in, these Pickled Jalapeños are a must-have accompaniment, adding just the right amount of spice and zest to any dish!
Recipe Snapshot
15 mins
10 mins
5 mins
Easy
25 kcal
0 g
Whole30, Vegan, Gluten-Free
0 g
Frying Pan, Saucepan, Peeler, Chef’s Knife, Wooden Spoon
Why You Need This Pickled Jalapeños
They’re Incredibly Versatile
One of the reasons I adore my homemade Pickled Jalapeños is their versatility. You can use them in a variety of dishes! From topping off your favorite burgers to spicing up a salad, they make everything better. I often throw them into scrambled eggs for a morning kick or use them as a tangy addition to nachos.
Simple Ingredients
You’ll be amazed at how simple it is to make Pickled Jalapeños. The ingredients are straightforward: jalapeños, garlic, vinegar, and a few pantry staples. This means you can whip them up anytime, even on a busy weeknight. You don’t need any fancy skills in the kitchen—just a few minutes to slice and mix!
Healthier Alternative
Making your own Pickled Jalapeños is a healthier option than store-bought versions. You control the ingredients, and you can adjust the sugar and salt levels to suit your taste. Plus, they’re a great way to add flavor without extra calories, perfect for those watching their intake.
Perfect for Gifting
Homemade Pickled Jalapeños make for thoughtful gifts! I love sharing jars with friends and family during the holidays or special occasions. They’re a great way to share a piece of your culinary journey, and people appreciate the personal touch.
Bring Back Memories
Every time I open a jar, I’m transported back to my childhood. Food has a way of connecting us to memories and places, and my Pickled Jalapeños do just that! Whether it’s reminiscing about summer picnics or family dinners, each bite is filled with nostalgia.
Easy to Store
Finally, these pickles are a breeze to store! They can last up to two weeks in the fridge, meaning you’ll always have a tasty condiment within reach. Just grab a jar when you need a flavor boost!
Main Ingredients for Pickled Jalapeños
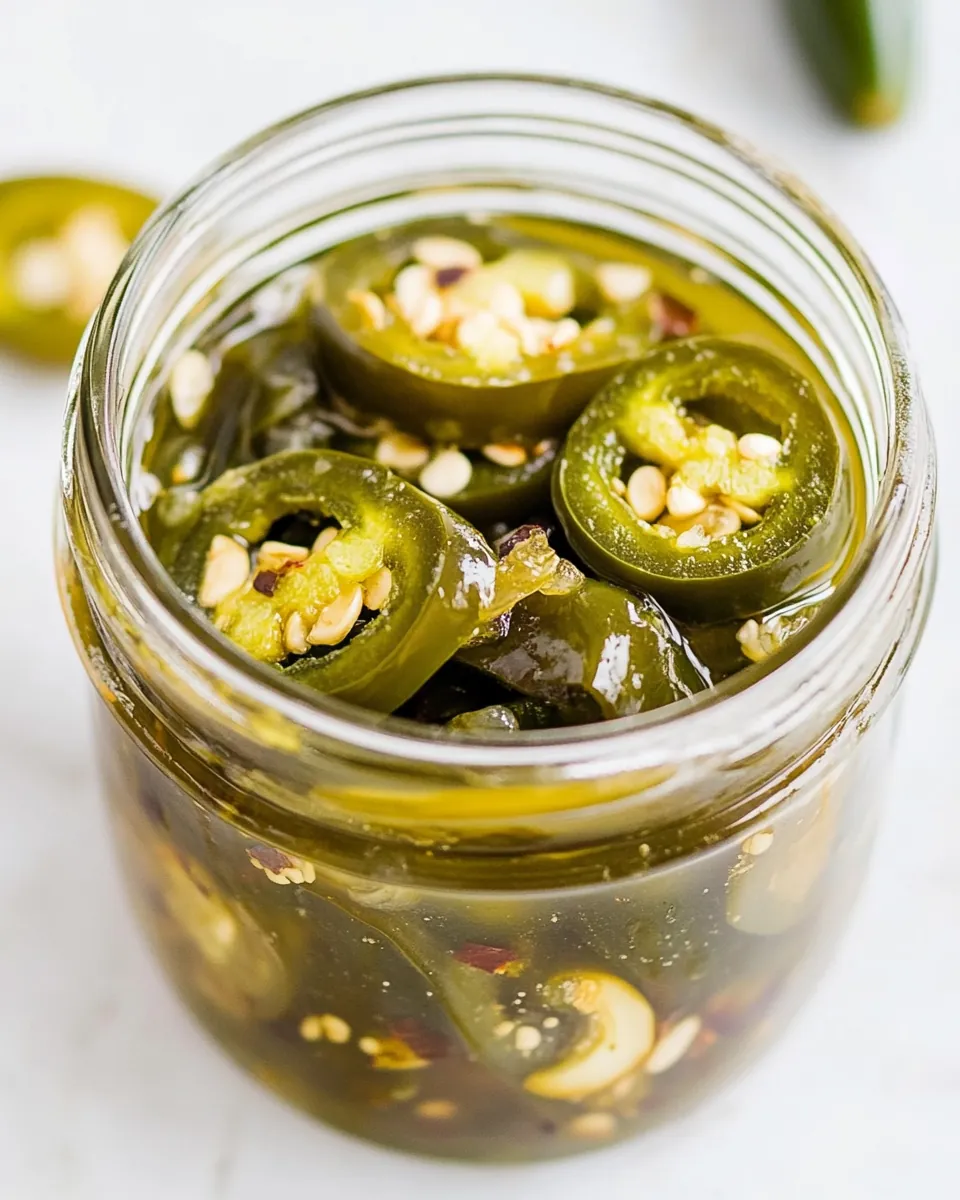
When it comes to crafting the perfect Pickled Jalapeños, the quality and freshness of your ingredients are essential. Each ingredient plays a vital role in creating that tangy and spicy flavor profile we all love. The key players here are the fresh jalapeños, which provide the heat, and the vinegar, which gives that delicious tang. Together, they create a harmony of flavors that make these pickles irresistible!
- 10 jalapeños thinly sliced (about 1 pound) – The star of the show! Fresh and vibrant, these jalapeños add the heat and crunch you’re looking for.
- 2 whole garlic cloves peeled – They introduce a lovely aroma and depth of flavor that complements the jalapeños.
- ½ cup white vinegar – This is crucial for the pickling process, providing acidity and tang.
- ½ cup rice vinegar or additional white vinegar – This adds a slightly sweeter note, balancing out the heat.
- 1 cup water – Used to dilute the vinegar mixture, creating the perfect brine consistency.
- ¼ cup granulated sugar – This enhances the flavors and helps to offset the heat from the jalapeños.
- 2 bay leaves – They contribute a subtle earthiness to the pickling solution.
- ½ teaspoon coriander seeds (optional) – These add a unique flavor twist that elevates the overall taste.
- 1 tablespoon kosher salt – Essential for flavor and preservation, ensuring the pickles remain crunchy and delicious.
How to Cook Pickled Jalapeños
Making Pickled Jalapeños is a straightforward process that anyone can master. You’ll love how quickly they come together! Follow these detailed steps to create your own batch of tangy goodness.
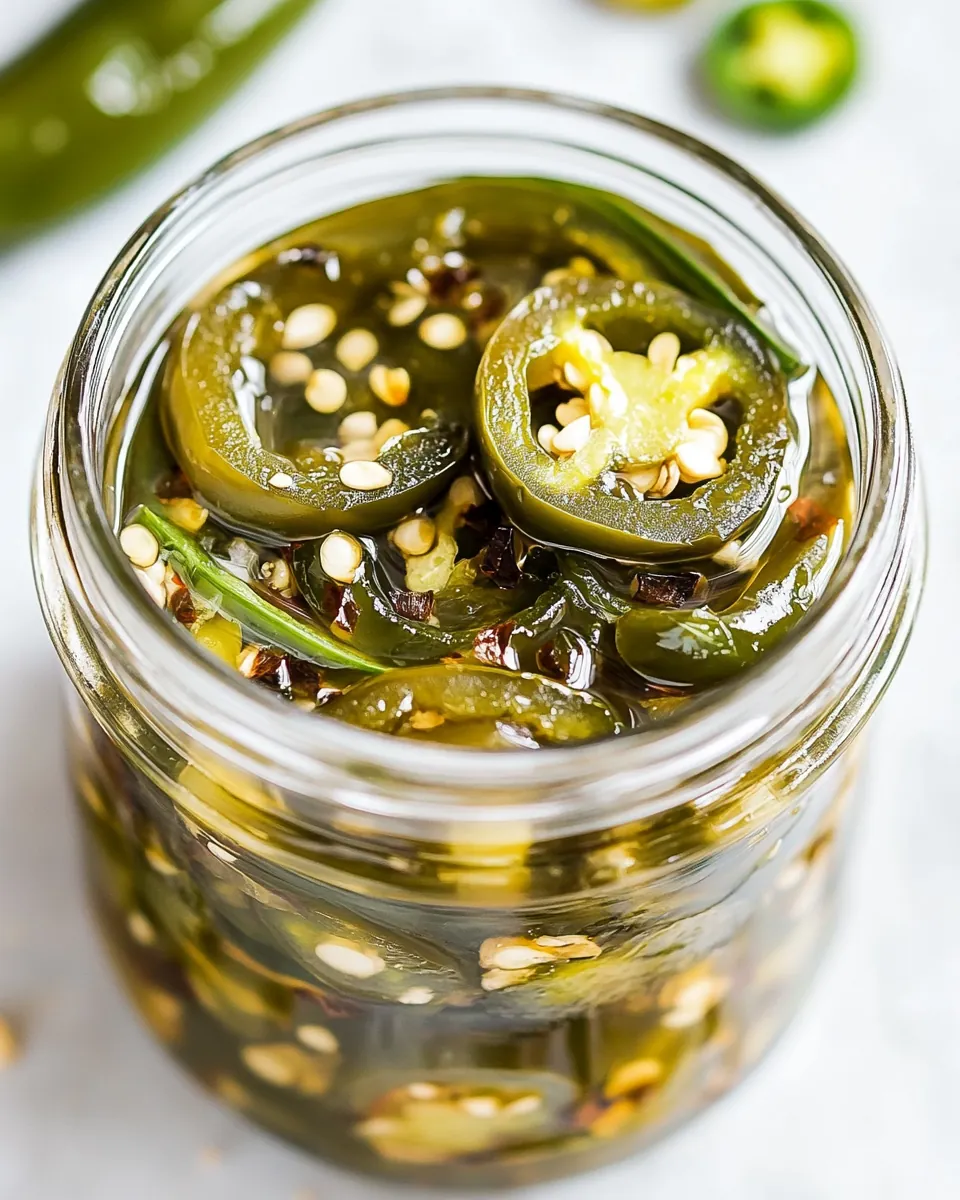
- Start by preparing your jars. Stuff the jalapeños and garlic into 1 (1-liter) jar or divide them between 2 (16-ounce) jars. Make sure to pack them tightly, but don’t squish them too much. You want the jalapeños to have a little room to breathe while they pickle.
- Next, grab a small saucepan and add the white vinegar, rice vinegar, water, sugar, bay leaves, coriander seeds, and kosher salt. Place the saucepan over medium heat. Stir the mixture gently as it heats up, ensuring the sugar and salt dissolve completely. This should take about five minutes. Keep an eye on it, as you don’t want it to boil over!
- Once your brine is ready, carefully pour it into the jar(s) with the packed jalapeños. I like to place the jars in the sink to catch any drips. If the jalapeños aren’t completely submerged in the liquid, don’t worry—just add a little more water to cover them fully. This is essential for the pickling process and will ensure all of the peppers are well-preserved.
- After pouring in the brine, let the liquid cool to room temperature. This is an important step, as pouring hot liquid into the jars can cause them to crack if they’re not heatproof. Once cooled, seal the jars tightly with their lids.
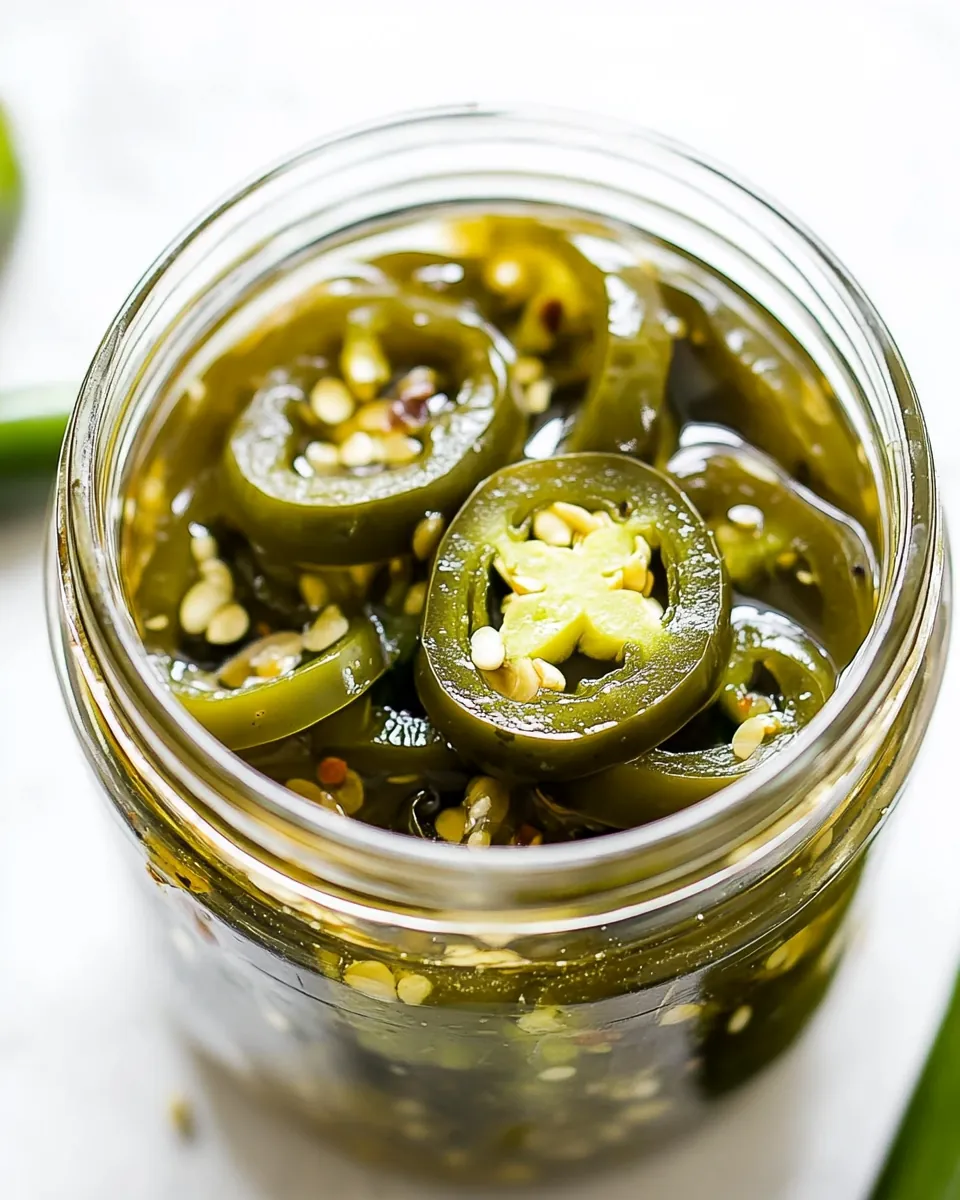
- Now, it’s time for the best part: placing the jars in the refrigerator. Allow them to chill for at least one hour before enjoying. However, if you can wait, the flavors deepen the longer they sit—up to two weeks! This waiting period allows the jalapeños to absorb the brine fully, making them even more delicious.
- Finally, once they are ready, use your homemade Pickled Jalapeños on everything! The longer they sit, the more mellow their heat becomes, so feel free to experiment. They’re perfect on tacos, sandwiches, or even as a zesty addition to salads.
Things Worth Knowing
- Choose Fresh Jalapeños: Make sure to pick firm, fresh jalapeños for the best results. They should have a shiny skin and no blemishes.
- Adjust the Spice Level: If you prefer less heat, consider removing the seeds and membranes from the jalapeños before pickling.
- Let Them Sit: Allowing your Pickled Jalapeños to sit for two weeks increases their flavor and mellows out the heat. Patience is key!
- Experiment with Flavors: Feel free to experiment by adding other spices like cumin or dill to the brine for a unique twist on the classic flavor.
Change It Up
If you’re looking to add a personal touch to your Pickled Jalapeños, here are some creative tips to enhance your pickling experience!
- Storage: Store your Pickled Jalapeños in the refrigerator for up to two weeks. Always use a clean utensil when removing them from the jar to maintain freshness.
- Freezing: It’s best not to freeze pickled jalapeños, as the texture may change once thawed. Enjoy them fresh from the jar!
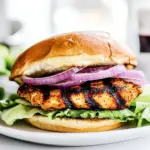
- Pairing: Use Pickled Jalapeños as a condiment for burgers, tacos, or sandwiches for an extra kick of flavor. They also make a delightful topping for nachos or pizzas.
- Flavor Variations: Experiment with different types of vinegar, such as apple cider vinegar, for a sweeter taste. You can also add spices like thyme or oregano for a twist.
- Make It a Gift: Consider giving jars of your homemade Pickled Jalapeños as a gift! They make a thoughtful present for food lovers.
What to Pair With Pickled Jalapeños
When you have a jar of delicious Pickled Jalapeños ready, the possibilities for pairing are endless! Here are some fantastic ideas to enjoy these zesty treats:
- Tacos: Whether it’s beef, chicken, or vegetarian tacos, adding a few slices of Pickled Jalapeños will elevate your meal.
- Sandwiches: They make an incredible topping for sandwiches, cutting through the richness of meats and cheeses.
- Salads: Toss them into your salads for an unexpected kick. They work wonderfully with both green salads and grain bowls.
- Nachos: Layer them on top of nacho platters for a burst of flavor that everyone will love!
- BBQs: Bring them to your next barbecue as a side condiment. They pair perfectly with grilled meats and veggies.
- Brunch: Add them to a breakfast burrito or top your eggs with a few slices for a spicy twist.
FAQ
Conclusion
This recipe for Pickled Jalapeños is a cherished favorite that brings back warm memories of family gatherings and delicious meals. With their zesty crunch and bold flavor, they’re an incredible addition to many dishes. I encourage you to try making your own batch; you’ll love how easy it is and enjoy the fantastic results. Plus, you’ll have a jar of spicy goodness ready to enhance your meals anytime!
Pickled Jalapeños
Ingredients
Equipment
Method
- Start by preparing your jars. Stuff the jalapeños and garlic into 1 (1-liter) jar or divide them between 2 (16-ounce) jars. Make sure to pack them tightly, but don’t squish them too much. You want the jalapeños to have a little room to breathe while they pickle.
- Next, grab a small saucepan and add the white vinegar, rice vinegar, water, sugar, bay leaves, coriander seeds, and kosher salt. Place the saucepan over medium heat. Stir the mixture gently as it heats up, ensuring the sugar and salt dissolve completely. This should take about five minutes. Keep an eye on it, as you don’t want it to boil over!
- Once your brine is ready, carefully pour it into the jar(s) with the packed jalapeños. I like to place the jars in the sink to catch any drips. If the jalapeños aren’t completely submerged in the liquid, don’t worry—just add a little more water to cover them fully. This is essential for the pickling process and will ensure all of the peppers are well-preserved.
- After pouring in the brine, let the liquid cool to room temperature. This is an important step, as pouring hot liquid into the jars can cause them to crack if they’re not heatproof. Once cooled, seal the jars tightly with their lids.
- Now, it’s time for the best part: placing the jars in the refrigerator. Allow them to chill for at least one hour before enjoying. However, if you can wait, the flavors deepen the longer they sit—up to two weeks! This waiting period allows the jalapeños to absorb the brine fully, making them even more delicious.
- Finally, once they are ready, use your homemade Pickled Jalapeños on everything! The longer they sit, the more mellow their heat becomes, so feel free to experiment. They’re perfect on tacos, sandwiches, or even as a zesty addition to salads.
Notes
- Storage: Store your Pickled Jalapeños in the refrigerator for up to two weeks. Always use a clean utensil when removing them from the jar to maintain freshness.
- Freezing: It’s best not to freeze pickled jalapeños, as the texture may change once thawed. Enjoy them fresh from the jar!