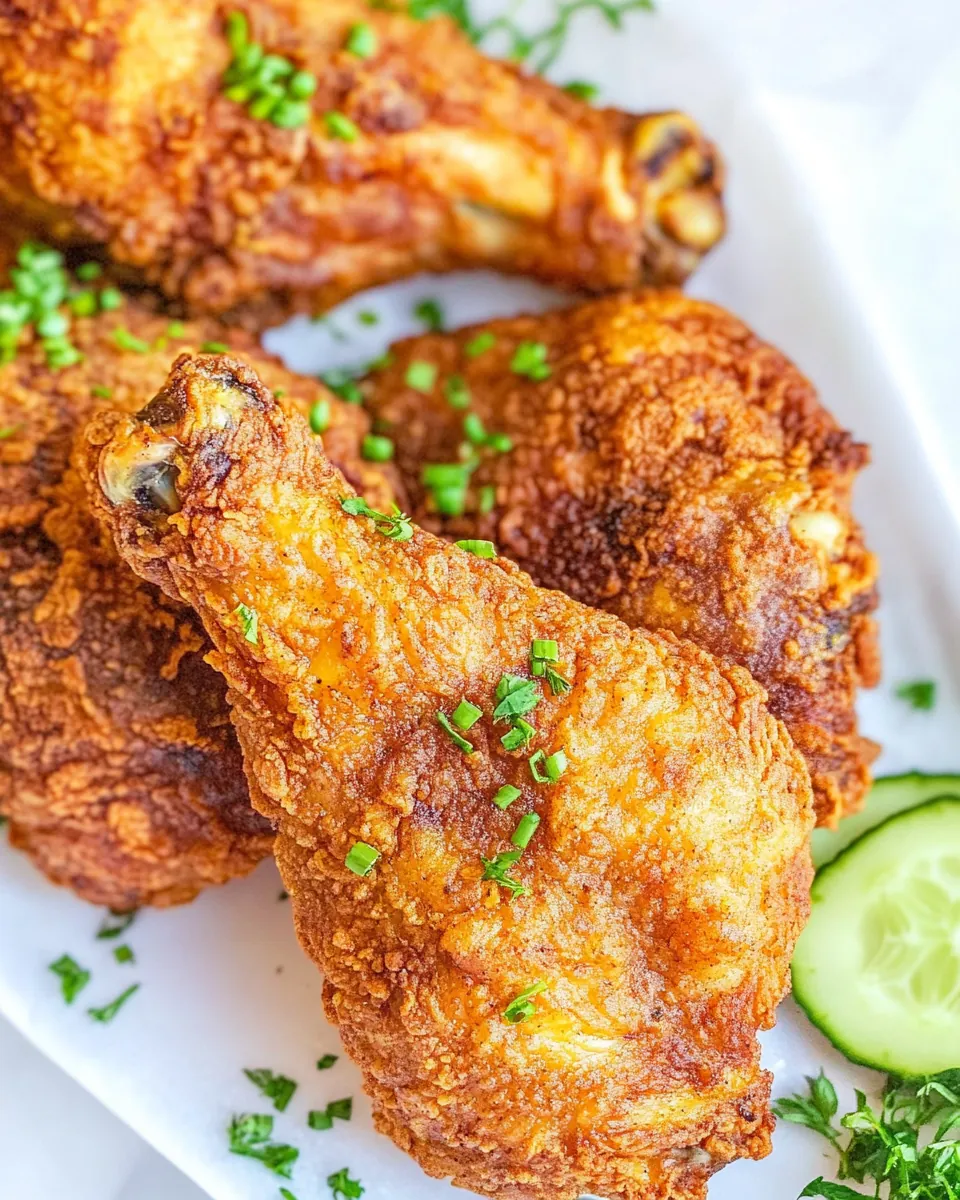
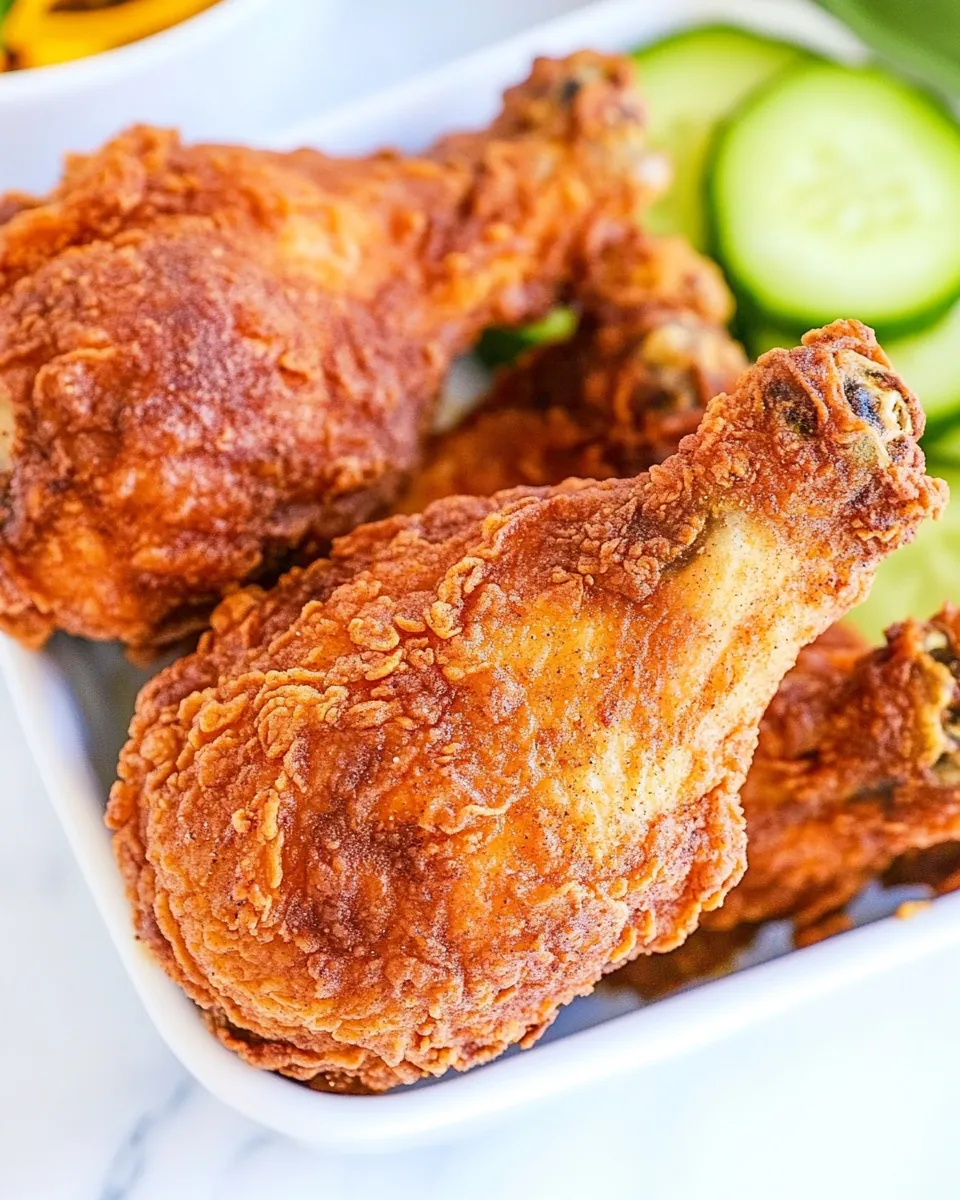
Pickle Brined Fried Chicken
There’s something utterly irresistible about the combination of flavors in Pickle Brined Fried Chicken. I remember the first time I had it; the crispy crust giving way to juicy, tender meat, infused with zesty pickle juice. It just felt right, and I knew I had to recreate that magic in my own kitchen. This dish isn’t just a meal; it’s an experience that brings friends and family together, filled with laughter and stories shared over a delicious feast. It’s the kind of comfort food that makes you feel at home no matter where you are. When I decided to make it for my family last weekend, I didn’t just want to satisfy their hunger; I wanted to evoke memories of summer barbecues and potluck gatherings. The brining process makes the chicken succulent, while the crispy coating creates the perfect crunch that everyone craves. Whether it’s a casual Sunday dinner or a festive gathering, Pickle Brined Fried Chicken is always a crowd-pleaser that leaves everyone asking for seconds.
Recipe Snapshot
1 hr 15 mins
60 mins
15 mins
Medium
720 kcal
63 g
Paleo, Whole30, Gluten-Free
33 g
Baking Sheet, Wire Cooling Rack, Deep Fryer or Dutch Oven, Deep Fry Oil Thermometer
The Magic of This Pickle Brined Fried Chicken
1. Unforgettable Flavor
What makes Pickle Brined Fried Chicken stand out is its unique flavor profile. The brining process with pickle juice infuses the chicken with a tangy zest that enhances its natural taste, making each bite an explosion of flavor that’s hard to resist.
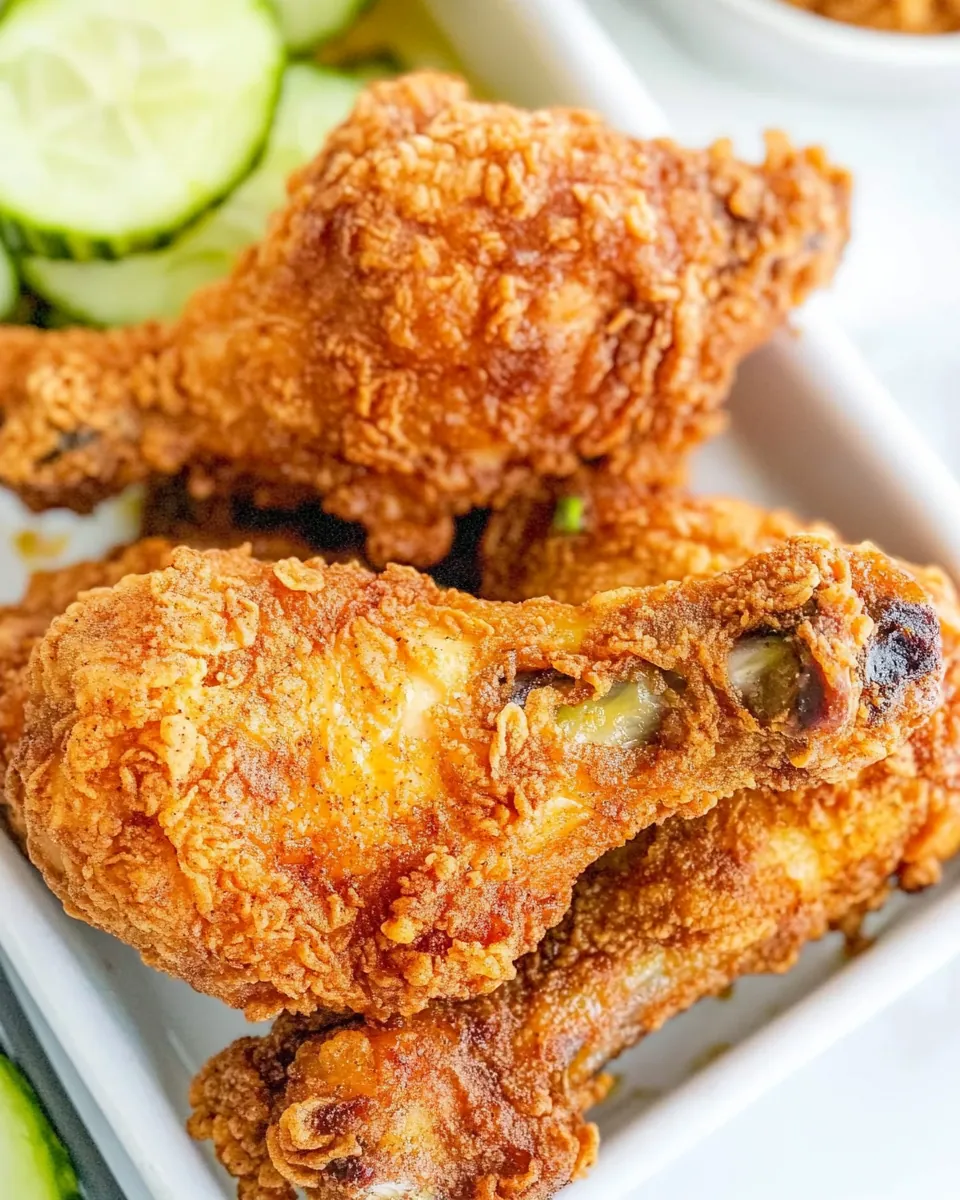
2. Perfectly Crispy Texture
The combination of a buttermilk bath and a flour coating creates an incredibly crispy crust. When fried, the chicken transforms into a golden masterpiece that not only looks great but also crunches beautifully with each bite.
3. Juicy and Tender Meat
Brining the chicken ensures that it remains juicy and tender throughout the cooking process. The result is a succulent piece of chicken that’s moist and flavorful, making it a true delight for the taste buds.
4. Versatile Dish
This dish is perfect for any occasion, whether it’s a casual family dinner or a festive gathering. Pair it with your favorite sides, and you have a meal that’s not only satisfying but also memorable.
5. Easy to Prepare
Despite its impressive taste, Pickle Brined Fried Chicken is surprisingly easy to make. With a little preparation and patience, you can whip up this delightful dish without much hassle.
6. A Taste of Nostalgia
This dish takes you back to simpler times, evoking memories of family gatherings and summer picnics. It’s not just about eating; it’s about the stories and laughter shared around the table.
Shopping List for Pickle Brined Fried Chicken
Understanding the ingredients in Pickle Brined Fried Chicken is key to achieving that perfect balance of flavors. Each ingredient plays a crucial role, from the tangy pickle juice that penetrates the meat to the flour that coats it for that delicious crunch. The harmony of these elements is what makes this dish a standout.
- 2 cups buttermilk – The base of the brine; it adds moisture and tang to the chicken.
- 1½ cups dill pickle juice – This is the star of the show, providing the essential flavor that defines the dish.
- 1½ tablespoons hot sauce (optional) – A little kick to enhance the savory flavors.
- 3 teaspoons kosher salt (divided) – Essential for brining and seasoning the chicken.
- 4 pounds bone-in chicken breasts, thighs, or drumsticks – The main protein; the cuts you choose can influence the overall texture.
- 2 cups all-purpose flour – This provides the crispy coating.
- 2 teaspoons garlic powder – Adds depth to the flavor profile.
- 2 teaspoons onion powder – Another layer of flavor that pairs well with garlic.
- 2 teaspoons ground paprika – For a hint of smokiness and color.
- 1 teaspoon ground black pepper – A necessary seasoning for that classic taste.
- cooking oil (for frying) – The medium for cooking that gives the chicken its golden finish.
The Process for Making Pickle Brined Fried Chicken
Cooking Pickle Brined Fried Chicken is a journey filled with anticipation and flavor. Each step leads you closer to that ultimate crunch and juicy bite that everyone loves. Let’s dive into the process together!
- In a large bowl, whisk together buttermilk, dill pickle juice, and hot sauce (if using). This mixture creates the brine that will tenderize and flavor the chicken. Make sure it’s well combined, and feel free to adjust the spice level to your liking with the hot sauce.
- Add 3 teaspoons of kosher salt to the brine. This salt will help to draw moisture into the chicken, enhancing its flavor and texture as it marinates. Stir until the salt is dissolved completely.
- Once your brine is ready, add the 4 pounds of bone-in chicken pieces. Mix well to ensure each piece is coated with the brine. Cover the bowl with plastic wrap and let the chicken marinate in the refrigerator. It’s best to let it sit for at least 8 to 12 hours, giving the flavors time to infuse.
- When you’re ready to cook, take the chicken out of the refrigerator. Set a wire rack over a baking sheet to catch any drips while the chicken comes to room temperature for about 20 to 30 minutes. This step is crucial as it helps ensure even cooking.
- Meanwhile, in a shallow bowl, combine 2 cups of all-purpose flour, the remaining 1 teaspoon of kosher salt, 2 teaspoons of garlic powder, 2 teaspoons of onion powder, 2 teaspoons of ground paprika, and 1 teaspoon of ground black pepper. This mixture will create a seasoned coating that adds depth to the fried chicken.
- Coat each piece of chicken in the flour mixture, ensuring a thorough coverage. The flour will stick nicely to the brined chicken, creating that perfect crust. Once coated, transfer the chicken back to the wire rack, allowing it to rest at room temperature for an additional 30 minutes. This resting period helps create an even crispier exterior.
- As the chicken rests, heat cooking oil in a deep fryer or Dutch oven to 350°F. It’s important to monitor the temperature closely; if it’s too low, the chicken will absorb oil and become greasy, but too high, and you risk burning the crust.
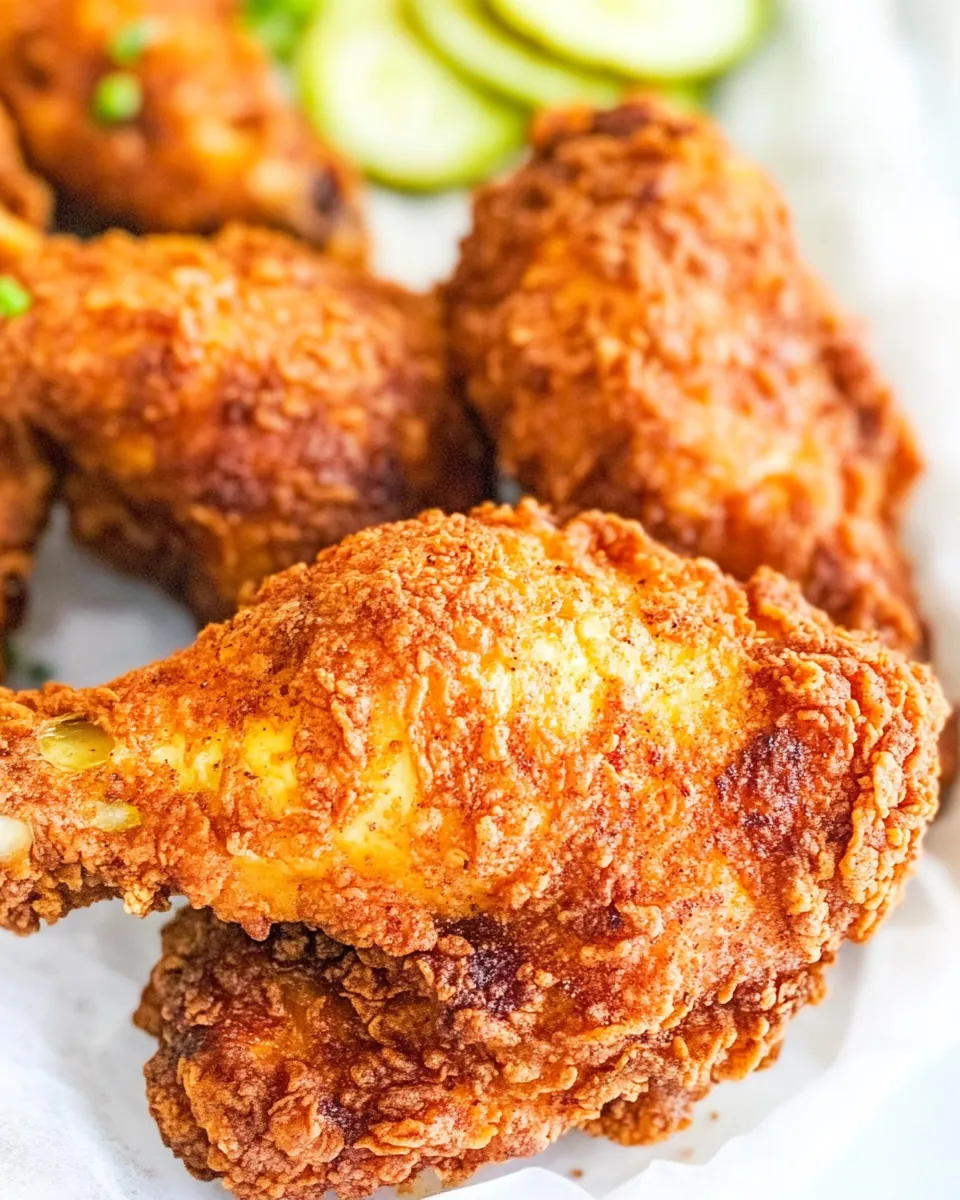
- Once the oil is hot, carefully add the breaded chicken pieces in batches. Fry until golden brown, about 12 to 15 minutes, turning once to ensure even cooking. The chicken is done when a thermometer inserted into the thickest part reads 165°F. Keep an eye on the color and ensure a lovely golden brown.
- When done, remove the cooked chicken pieces from the oil and place them on a paper towel-lined baking sheet. This step will help drain any excess oil, keeping your chicken crispy. Repeat the frying process with any remaining chicken pieces. Enjoy the irresistible aroma wafting through your kitchen!
Things Worth Knowing
- Don’t brine longer than 12 hours: Over-brining can lead to overly salty or mushy chicken, so stick to the time recommended for the best texture.
- For an extra crispy crust: Consider dipping the flour-coated chicken back into the brine and dredging it again in flour before frying.
- Maintain oil temperature: Keep the oil between 325°F and 350°F while frying. A thermometer is essential here to avoid greasy chicken or burnt crust.
- Cooking time varies: Fry thighs and drumsticks for about 12 minutes, while breasts may take up to 15 minutes. Always check for doneness with a thermometer.
- Transfer to paper towels: Before serving, place your fried chicken on a paper towel-lined plate to eliminate any excess oil, ensuring a crisp finish.
Ways to Customize
There are countless ways to make Pickle Brined Fried Chicken your own. Here are some ideas to get you started:
- Spice it up: Add more hot sauce to the brine for a spicier kick that will tantalize your taste buds.
- Different pickles: Experiment with different types of pickle juice, such as garlic or bread and butter pickle juice, to change the flavor profile.
- Herb-infused flour: Mix herbs like thyme or oregano into the flour for a herby twist that complements the chicken beautifully.
- Gluten-free option: Use gluten-free flour to make this dish accessible for those with gluten sensitivities.
- Oven-baked version: If you prefer a healthier approach, try baking the chicken instead of frying for a lighter meal while still keeping that flavor.
What Complements This Pickle Brined Fried Chicken
When serving Pickle Brined Fried Chicken, consider these fantastic pairings to elevate your meal:
- Classic coleslaw: A refreshing side that balances the rich flavors of the fried chicken.
- Mashed potatoes: Creamy mashed potatoes are a comforting side that pairs beautifully with crispy chicken.
- Cornbread: This sweet and savory bread complements the chicken perfectly, making it a popular choice at gatherings.
- Pickle potato salad: Keep the pickle theme alive with a tangy potato salad that adds a delightful crunch.
- Seasonal veggies: Serve with sautéed broccoli or green beans for a vibrant, healthy addition to the plate.
- Perfect for gatherings: This dish is ideal for family dinners, picnics, or as a main course during celebrations, making it a versatile choice for any occasion.
FAQ
Conclusion
Pickle Brined Fried Chicken is a delightful dish that combines the tangy flavor of pickles with the comforting crunch of fried chicken. It’s a recipe that not only satisfies cravings but also brings people together over a shared love of good food. If you haven’t tried making it yet, now is the perfect time to gather your ingredients and experience the magic of this dish. You’ll love every bite!
Pickle Brined Fried Chicken
Ingredients
Equipment
Method
- In a large bowl, whisk together buttermilk, dill pickle juice, and hot sauce (if using). This mixture creates the brine that will tenderize and flavor the chicken. Make sure it’s well combined, and feel free to adjust the spice level to your liking with the hot sauce.
- Add 3 teaspoons of kosher salt to the brine. This salt will help to draw moisture into the chicken, enhancing its flavor and texture as it marinates. Stir until the salt is dissolved completely.
- Once your brine is ready, add the 4 pounds of bone-in chicken pieces. Mix well to ensure each piece is coated with the brine. Cover the bowl with plastic wrap and let the chicken marinate in the refrigerator. It’s best to let it sit for at least 8 to 12 hours, giving the flavors time to infuse.
- When you’re ready to cook, take the chicken out of the refrigerator. Set a wire rack over a baking sheet to catch any drips while the chicken comes to room temperature for about 20 to 30 minutes. This step is crucial as it helps ensure even cooking.
- Meanwhile, in a shallow bowl, combine 2 cups of all-purpose flour, the remaining 1 teaspoon of kosher salt, 2 teaspoons of garlic powder, 2 teaspoons of onion powder, 2 teaspoons of ground paprika, and 1 teaspoon of ground black pepper. This mixture will create a seasoned coating that adds depth to the fried chicken.
- Coat each piece of chicken in the flour mixture, ensuring a thorough coverage. The flour will stick nicely to the brined chicken, creating that perfect crust. Once coated, transfer the chicken back to the wire rack, allowing it to rest at room temperature for an additional 30 minutes. This resting period helps create an even crispier exterior.
- As the chicken rests, heat cooking oil in a deep fryer or Dutch oven to 350°F. It’s important to monitor the temperature closely; if it’s too low, the chicken will absorb oil and become greasy, but too high, and you risk burning the crust.
- Once the oil is hot, carefully add the breaded chicken pieces in batches. Fry until golden brown, about 12 to 15 minutes, turning once to ensure even cooking. The chicken is done when a thermometer inserted into the thickest part reads 165°F. Keep an eye on the color and ensure a lovely golden brown.
- When done, remove the cooked chicken pieces from the oil and place them on a paper towel-lined baking sheet. This step will help drain any excess oil, keeping your chicken crispy. Repeat the frying process with any remaining chicken pieces. Enjoy the irresistible aroma wafting through your kitchen!
Notes
- Don’t brine longer than 12 hours: Over-brining can lead to overly salty or mushy chicken, so stick to the time recommended for the best texture.
- For an extra crispy crust: Consider dipping the flour-coated chicken back into the brine and dredging it again in flour before frying.
- Maintain oil temperature: Keep the oil between 325°F and 350°F while frying. A thermometer is essential here to avoid greasy chicken or burnt crust.
- Cooking time varies: Fry thighs and drumsticks for about 12 minutes, while breasts may take up to 15 minutes. Always check for doneness with a thermometer.
- Transfer to paper towels: Before serving, place your fried chicken on a paper towel-lined plate to eliminate any excess oil, ensuring a crisp finish.