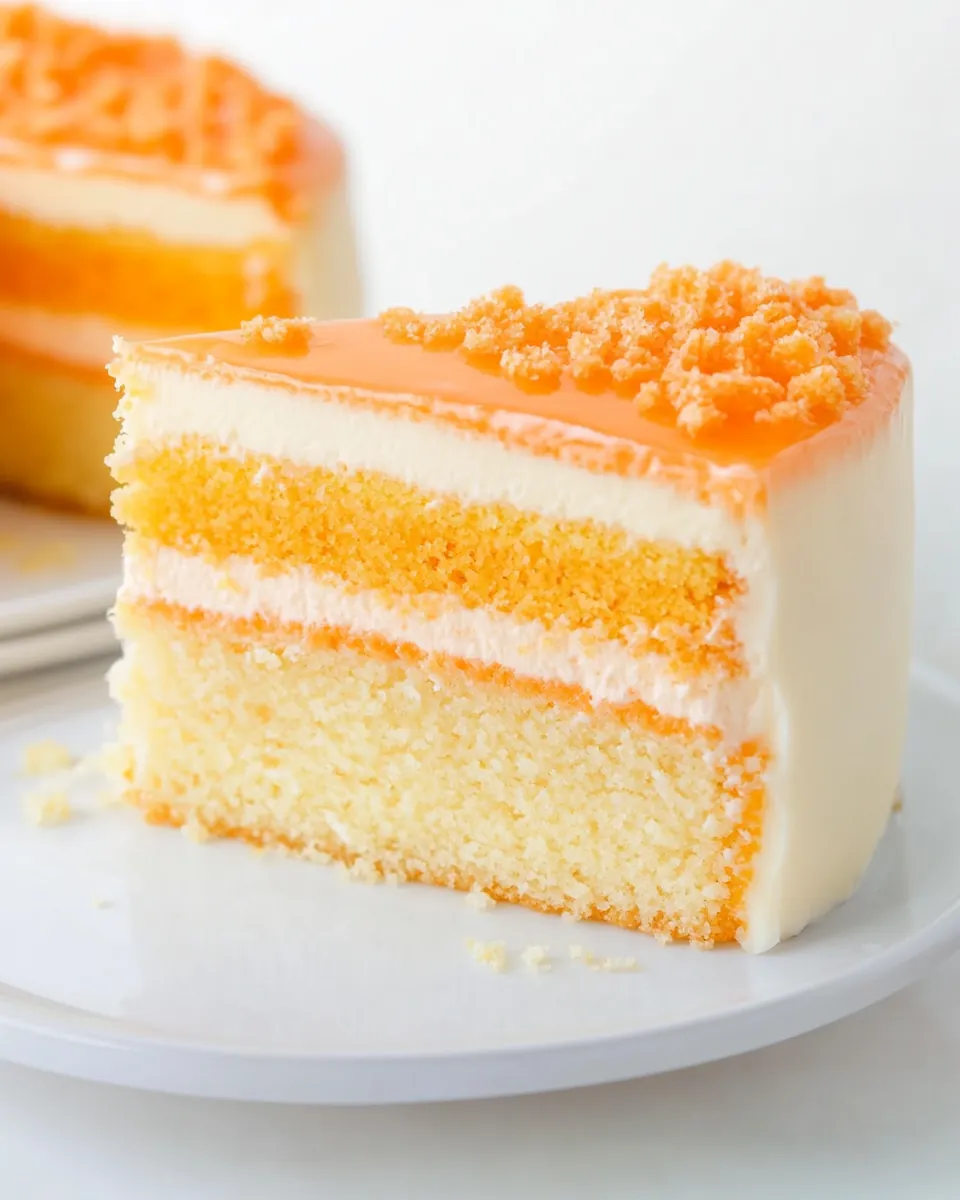
Orange Cream Cake
Whenever I think of the Orange Cream Cake, I can’t help but smile. This cake has been a staple at our family gatherings, filling the room with a delightful aroma that draws everyone in. I remember the first time I baked it; the excitement was palpable among my friends as they waited for the first slice. With its vibrant orange hue and creamy frosting, this cake doesn’t just taste great, it also looks incredible! The sweet, citrusy flavor combined with the rich frosting captivates the senses and makes every gathering feel special. Whenever I slice into this cake, I’m reminded of summers spent in the backyard, laughter in the air, and the joy that good food brings. Baking the Orange Cream Cake is not just about making a dessert; it’s about creating memories, sharing love, and indulging in something truly delightful.
Recipe Snapshot
60 mins
0 mins
0 mins
Hard
450 kcal
6 g
Gluten-Free, Low FODMAP
24 g
Oven, Baking Sheet, Frying Pan, Whisk, Mixing Bowl, Wooden Spoon
Why This Orange Cream Cake Works
It’s Bursting with Flavor
The Orange Cream Cake is a beautiful marriage of flavors. The vibrant orange zest incorporates a fresh, zesty kick that takes each bite to a new level. You’ll savor the soft, tender crumb, which is simply irresistible.
Perfect for Any Occasion
Whether it’s a birthday, a holiday, or just a weekend treat, this cake fits right in. It’s versatile enough to make any event feel a little more special. Who wouldn’t want a stunning cake like this at their table?
Visually Stunning
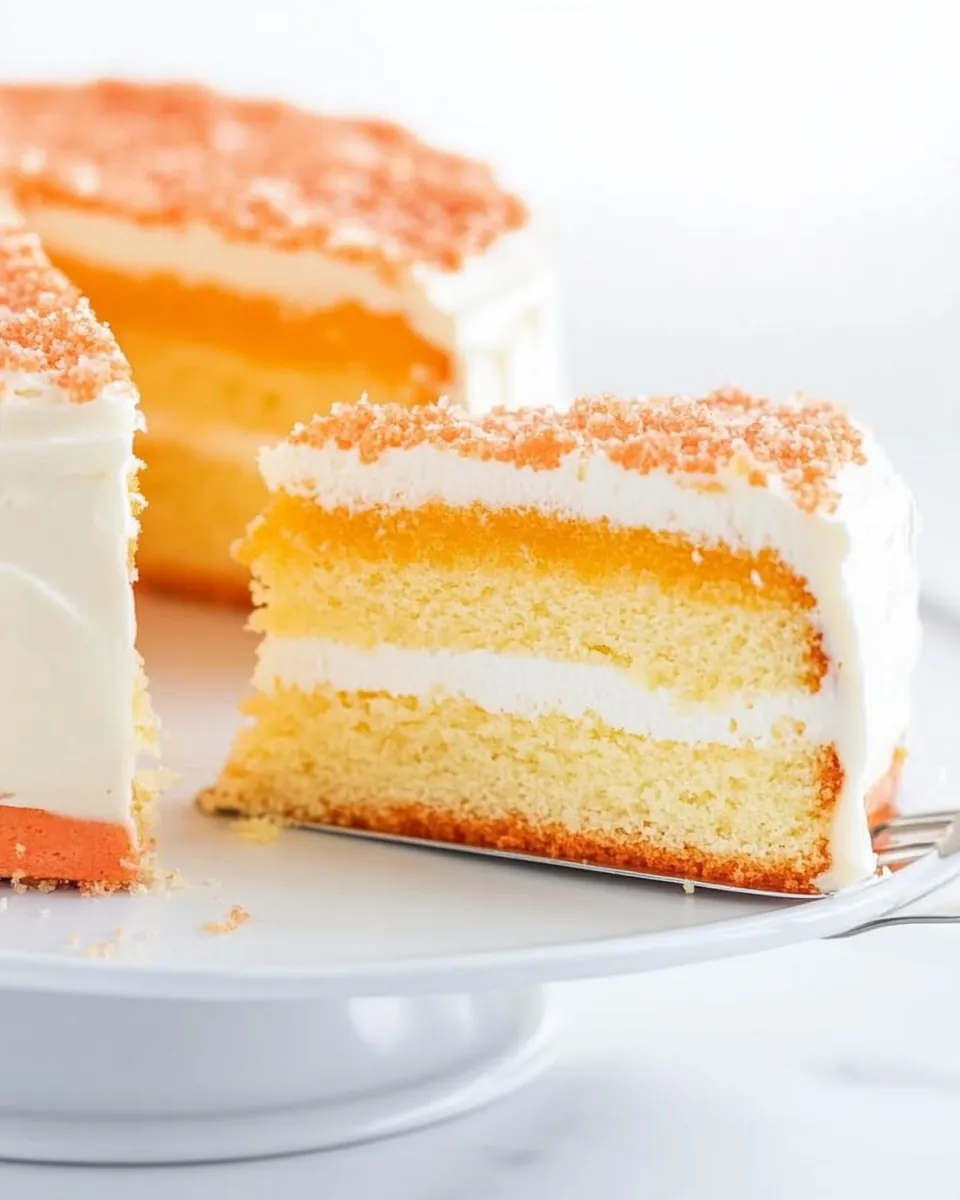
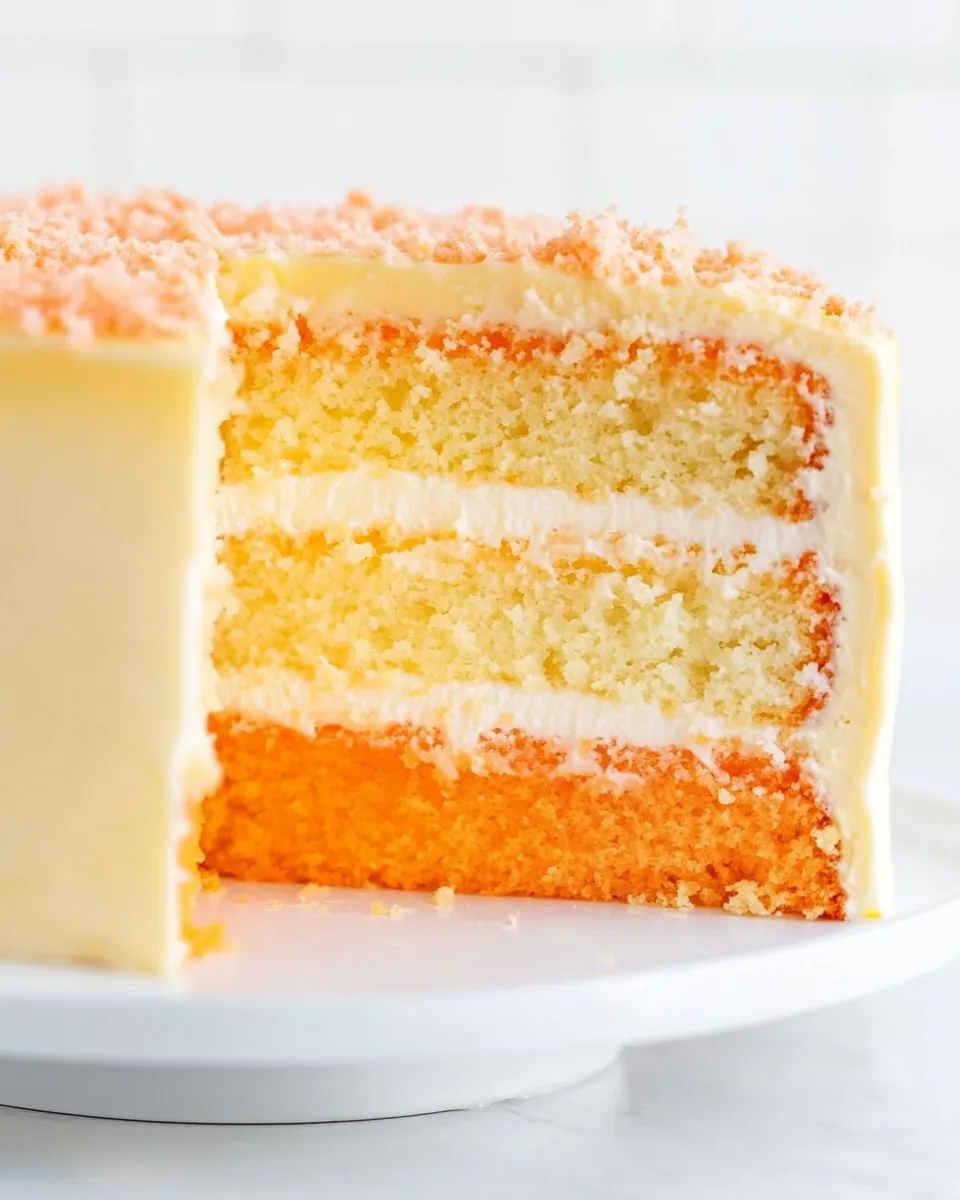
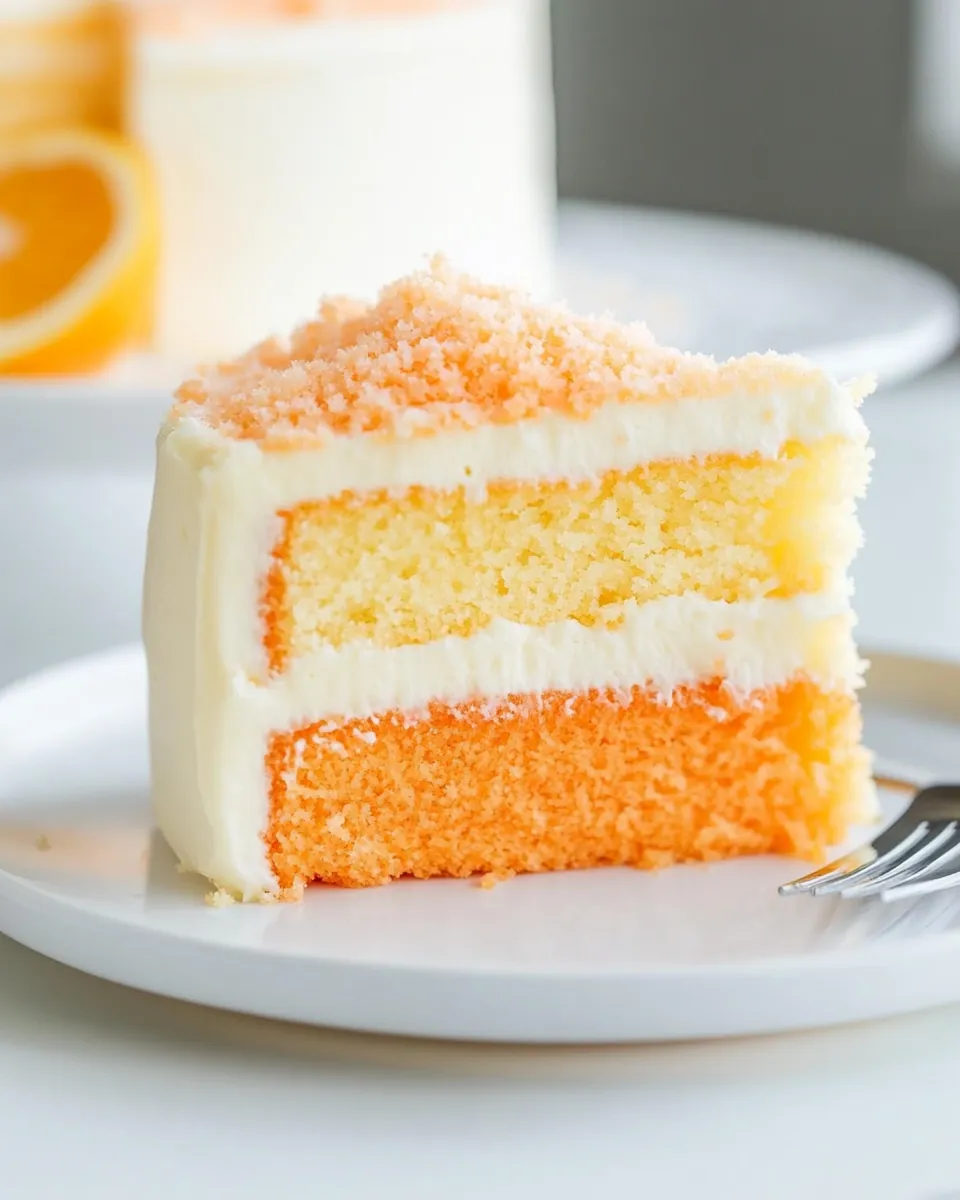
A cake that not only tastes amazing but looks impressive? Yes, please! The three different shades of orange frosting make it a real showstopper. It’s the kind of cake that you can be proud to present.
Family Tradition
This recipe has been passed down through generations in my family. Each time I bake it, I feel connected to my roots and the people I love. It’s more than just a recipe; it’s a cherished tradition.
Easy to Make
You don’t have to be a pro baker to whip up this cake! The Orange Cream Cake is surprisingly simple, making it accessible for anyone looking to impress their friends or family.
Ingredients You’ll Need for Orange Cream Cake
Choosing the right ingredients is the foundation of any great recipe, and for the Orange Cream Cake, each component plays a crucial role. The star of the show is the fresh orange zest, bringing a burst of citrus flavor that’s complemented perfectly by the creamy frosting. Each ingredient is selected for its quality and the unique flavors it contributes, making this cake a harmonious blend of sweet and tangy.
- 1¼ cups (284 grams) unsalted butter, softened: This is the base of our cake, giving it a rich, buttery flavor that enhances every bite.
- 2½ cups (500 grams) granulated sugar: The sweetness is essential for balancing the tartness of the orange zest.
- 2 tablespoons (18 grams) tightly packed orange zest: Freshly grated from about 3 large oranges, this will add a lovely citrus flavor.
- 5 large eggs (250 grams), room temperature: These help to bind the cake and create a fluffy texture.
- 3¾ cups (469 grams) unbleached cake flour: This type of flour gives a light, airy crumb that’s perfect for cakes.
- 1¾ teaspoons (8.75 grams) baking powder: This is our leavening agent, ensuring the cake rises nicely.
- 1 teaspoon (3 grams) kosher salt: A little salt enhances the overall flavors.
- ½ teaspoon (2.5 grams) baking soda: This helps to further lighten the cake.
- 1¼ cups (300 grams) whole buttermilk, room temperature: Adds moisture and a subtle tang to the cake.
- ¼ cup (60 grams) fresh orange juice, room temperature: This juice infuses the cake with even more orange flavor.
- ½ teaspoon (2 grams) vanilla extract: Vanilla rounds out the sweetness and adds depth.
- Simple Syrup (recipe follows): This will keep the cake moist and add an extra layer of sweetness.
- Creamy Buttermilk Frosting (recipe follows): A rich and creamy topping that’s the perfect complement to the cake.
- Orange Cream Filling (recipe follows): This filling adds a delightful surprise inside the cake.
- Orange gel food coloring: Used to achieve the vibrant colors in the frosting.
- Garnish: orange sprinkles: These add a festive touch to the finished cake.
Step by Step Instructions for Orange Cream Cake
Making the Orange Cream Cake is a delightful process that’s sure to bring joy to your kitchen. Follow these simple steps to create a cake that will impress everyone. Let’s take it step-by-step for a smooth baking experience!
- Preheat your oven to 350°F (180°C). It’s important to get the oven nice and hot before baking to ensure the cake rises properly. Spray 2 (9-inch) round cake pans with baking spray that contains flour to prevent sticking. For extra insurance, line the bottoms with parchment paper as well.
- In the bowl of a stand mixer fitted with the paddle attachment, beat unsalted butter, granulated sugar, and orange zest at medium-low speed until combined. You want the mixture to be well-mixed but not overly beaten at this stage. After about 2 minutes, increase the speed to medium and beat until it’s fluffy, around 3 to 4 minutes. Remember to stop and scrape the sides of the bowl to ensure everything gets mixed in evenly.
- Add the eggs one at a time, beating well after each addition. This will help incorporate air into the batter, making it light and fluffy.
- In a separate large bowl, whisk together the cake flour, baking powder, kosher salt, and baking soda. This dry mixture should be well combined to avoid any clumps.
- In a medium bowl, whisk together the buttermilk, orange juice, and vanilla extract. This mixture adds moisture and flavor to the cake.
- With the mixer on low speed, gradually add the flour mixture to the butter mixture, alternating with the buttermilk mixture. Begin and end with the flour mixture. This method helps keep the batter from becoming too dense. Beat until just combined, stopping to scrape the sides of the bowl as needed.
- Divide the batter evenly between the prepared pans. Using a small offset spatula, smooth the tops to create an even surface. To release as many air bubbles as possible, forcefully tap the pans on a kitchen towel-lined counter several times.
- Bake in the preheated oven until a wooden pick inserted in the center comes out clean, which should take about 30 to 38 minutes. Keep an eye on them to avoid overbaking.
- Once baked, let the cakes cool in the pans for about 10 minutes. Then, carefully remove them from the pans and let them cool completely, parchment side down, on wire racks.
- Once the cakes are completely cooled, level the cooled layers and discard the parchment. On a cake turntable or a serving plate, place one cake layer cut side up. Brush it generously with half of the prepared Simple Syrup.
- Spoon ½ cup (about 123 grams) of the Creamy Buttermilk Frosting into a pastry bag and cut a ½-inch opening in the tip. Pipe a ½-inch-tall border around the edge of the layer. This will help contain the Orange Cream Filling.
- Within the piped border, dollop and spread the Orange Cream Filling. Then, add the remaining cake layer, this time cut side down, and brush it with the remaining Simple Syrup.
- Spread a thin layer of frosting over the top and sides of the cake to create a crumb coat. Refrigerate the cake for about 30 minutes to set the frosting.
- While the cake is cooling, divide the remaining Creamy Buttermilk Frosting between 2 small bowls. Add food coloring to one bowl until you achieve a deep orange shade and to the second bowl for a light orange. Leave the rest of the frosting white.
- Using a small offset spatula, spread the deep orange frosting evenly over the bottom third of the cake sides. Then, spread the light orange frosting over the middle third, and finish with the white frosting on the top and top third of the cake sides. This creates a beautiful gradient effect!
- To smooth the frosting, hold a bench scraper or a large offset spatula against the cake sides and scrape off the excess frosting. Use the small offset spatula to create swirls on the top as desired. For a final touch, scrape the sides one more time to achieve a smooth finish. Garnish with orange sprinkles if desired.
Things Worth Knowing
- Use room temperature ingredients: Ingredients like butter and eggs should be at room temperature for better emulsification and a fluffier texture.
- Don’t overmix: Once you add the flour mixture, mix just until combined to avoid a dense cake.
- Cooling is crucial: Allow the cakes to cool completely before frosting to prevent the frosting from melting.
- Experiment with flavors: Feel free to add a hint of lemon or lime zest for a citrus twist.
- Check for doneness: Use a toothpick or cake tester; if it comes out clean, the cake is ready!
Tips for Success
To achieve the best results with your Orange Cream Cake, here are some helpful tips. These will guide you through the baking process and ensure your cake turns out perfectly every time.
- Storage: Store the cake in an airtight container in the refrigerator for up to five days. This keeps it fresh and moist.
- Freezing: You can freeze the cake layers before frosting. Wrap them tightly in plastic wrap and then in aluminum foil for up to three months.
- Pairing: This cake pairs wonderfully with a scoop of vanilla ice cream or a dollop of whipped cream.
- Presentation: Decorating with edible flowers or citrus slices can elevate the cake’s presentation for special occasions.
- Ingredient Quality: Use high-quality butter and fresh oranges for the best flavor.
Serving Options for Orange Cream Cake
When it comes to serving the Orange Cream Cake, you have plenty of delicious options to make the meal even more memorable. Here are some ideas:
- With Tea or Coffee: Serve slices alongside your favorite hot beverage for a delightful afternoon treat.
- As a Birthday Cake: This cake is perfect for birthdays, with its vibrant colors and rich flavors appealing to all ages.
- Picnic or Potluck: Bring this cake to gatherings, and watch it quickly become a favorite among guests.
- Seasonal Events: Ideal for spring and summer celebrations, its refreshing orange flavor is a hit during warmer months.
- Storage Tips: Leftovers can be stored in the fridge, but be sure to cover them to maintain freshness.
- Pairing with Fruit: Accompany with fresh berries or citrus slices for a refreshing contrast.
FAQ
Conclusion
The Orange Cream Cake is truly a delightful dessert that combines fresh flavors and beautiful presentation. With each slice, you’re not just enjoying a cake, but also creating memories with loved ones. I encourage you to bring this cake into your kitchen and experience the joy it brings. It’s a recipe that will surely become a favorite in your home as it has in mine.
Orange Cream Cake
Ingredients
Equipment
Method
- Preheat your oven to 350°F (180°C). It’s important to get the oven nice and hot before baking to ensure the cake rises properly. Spray 2 (9-inch) round cake pans with baking spray that contains flour to prevent sticking. For extra insurance, line the bottoms with parchment paper as well.
- In the bowl of a stand mixer fitted with the paddle attachment, beat unsalted butter, granulated sugar, and orange zest at medium-low speed until combined. You want the mixture to be well-mixed but not overly beaten at this stage. After about 2 minutes, increase the speed to medium and beat until it's fluffy, around 3 to 4 minutes. Remember to stop and scrape the sides of the bowl to ensure everything gets mixed in evenly.
- Add the eggs one at a time, beating well after each addition. This will help incorporate air into the batter, making it light and fluffy.
- In a separate large bowl, whisk together the cake flour, baking powder, kosher salt, and baking soda. This dry mixture should be well combined to avoid any clumps.
- In a medium bowl, whisk together the buttermilk, orange juice, and vanilla extract. This mixture adds moisture and flavor to the cake.
- With the mixer on low speed, gradually add the flour mixture to the butter mixture, alternating with the buttermilk mixture. Begin and end with the flour mixture. This method helps keep the batter from becoming too dense. Beat until just combined, stopping to scrape the sides of the bowl as needed.
- Divide the batter evenly between the prepared pans. Using a small offset spatula, smooth the tops to create an even surface. To release as many air bubbles as possible, forcefully tap the pans on a kitchen towel-lined counter several times.
- Bake in the preheated oven until a wooden pick inserted in the center comes out clean, which should take about 30 to 38 minutes. Keep an eye on them to avoid overbaking.
- Once baked, let the cakes cool in the pans for about 10 minutes. Then, carefully remove them from the pans and let them cool completely, parchment side down, on wire racks.
- Once the cakes are completely cooled, level the cooled layers and discard the parchment. On a cake turntable or a serving plate, place one cake layer cut side up. Brush it generously with half of the prepared Simple Syrup.
- Spoon ½ cup (about 123 grams) of the Creamy Buttermilk Frosting into a pastry bag and cut a ½-inch opening in the tip. Pipe a ½-inch-tall border around the edge of the layer. This will help contain the Orange Cream Filling.
- Within the piped border, dollop and spread the Orange Cream Filling. Then, add the remaining cake layer, this time cut side down, and brush it with the remaining Simple Syrup.
- Spread a thin layer of frosting over the top and sides of the cake to create a crumb coat. Refrigerate the cake for about 30 minutes to set the frosting.
- While the cake is cooling, divide the remaining Creamy Buttermilk Frosting between 2 small bowls. Add food coloring to one bowl until you achieve a deep orange shade and to the second bowl for a light orange. Leave the rest of the frosting white.
- Using a small offset spatula, spread the deep orange frosting evenly over the bottom third of the cake sides. Then, spread the light orange frosting over the middle third, and finish with the white frosting on the top and top third of the cake sides. This creates a beautiful gradient effect!
- To smooth the frosting, hold a bench scraper or a large offset spatula against the cake sides and scrape off the excess frosting. Use the small offset spatula to create swirls on the top as desired. For a final touch, scrape the sides one more time to achieve a smooth finish. Garnish with orange sprinkles if desired.
Notes
- Tip 1: Store the cake in an airtight container in the refrigerator for up to five days. This keeps it fresh and moist.
- Tip 2: You can freeze the cake layers before frosting. Wrap them tightly in plastic wrap and then in aluminum foil for up to three months.
- Tip 3: This cake pairs wonderfully with a scoop of vanilla ice cream or a dollop of whipped cream.
- Tip 4: Decorating with edible flowers or citrus slices can elevate the cake's presentation for special occasions.
- Tip 5: Use high-quality butter and fresh oranges for the best flavor.