Lemon Raspberry Bars
Every time I think of summer, I envision a plate of freshly baked Lemon Raspberry Bars cooling on the countertop, their bright colors reflecting the sunshine streaming through the window. These bars have a special place in my heart, reminding me of lazy afternoons spent with friends, laughter filling the air as we savored each delicious bite. The tangy sweetness of raspberries perfectly complements the zesty lemon flavor, creating a treat that’s not only delightful but also refreshing. I remember the first time I made them; I was experimenting with my favorite fruits, and the result was an instant hit! Now, I love sharing the joy of these Lemon Raspberry Bars with family and friends.
Recipe Snapshot
45 mins
10 mins
35 mins
Medium
180 kcal
2 g
Keto, Paleo, Whole30
9 g
Kitchen Scale, 8×8-inch Baking Pan, Food Processor, High Powered Blender
The Appeal of This Lemon Raspberry Bars
Bright and Flavorful
One of the reasons I adore Lemon Raspberry Bars is their vibrant flavor. The tartness of the fresh raspberries combined with the zesty lemon juice creates a burst of freshness that’s irresistible. Each bite is like a pop of summer sunshine in your mouth!
Easy to Make
You don’t need to be a baking expert to whip up these bars. The steps are straightforward, making them perfect for both novice and experienced bakers. Just gather your ingredients, and you’ll have a delicious treat ready in no time.
Perfect for Any Occasion
Whether it’s a summer picnic, a birthday party, or a cozy evening at home, Lemon Raspberry Bars fit seamlessly into any occasion. They’re a crowd-pleaser guaranteed to brighten up any gathering.
Beautiful Presentation
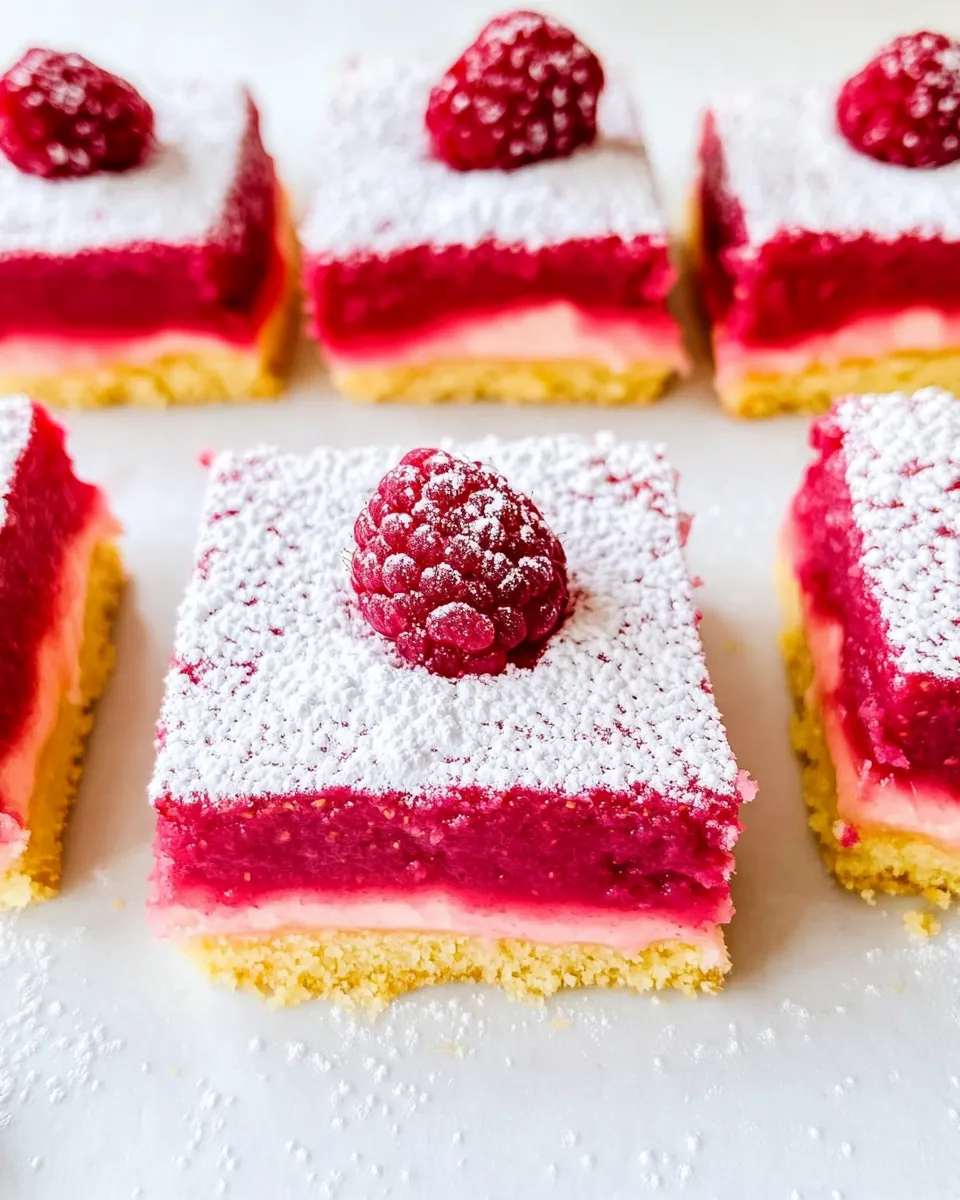
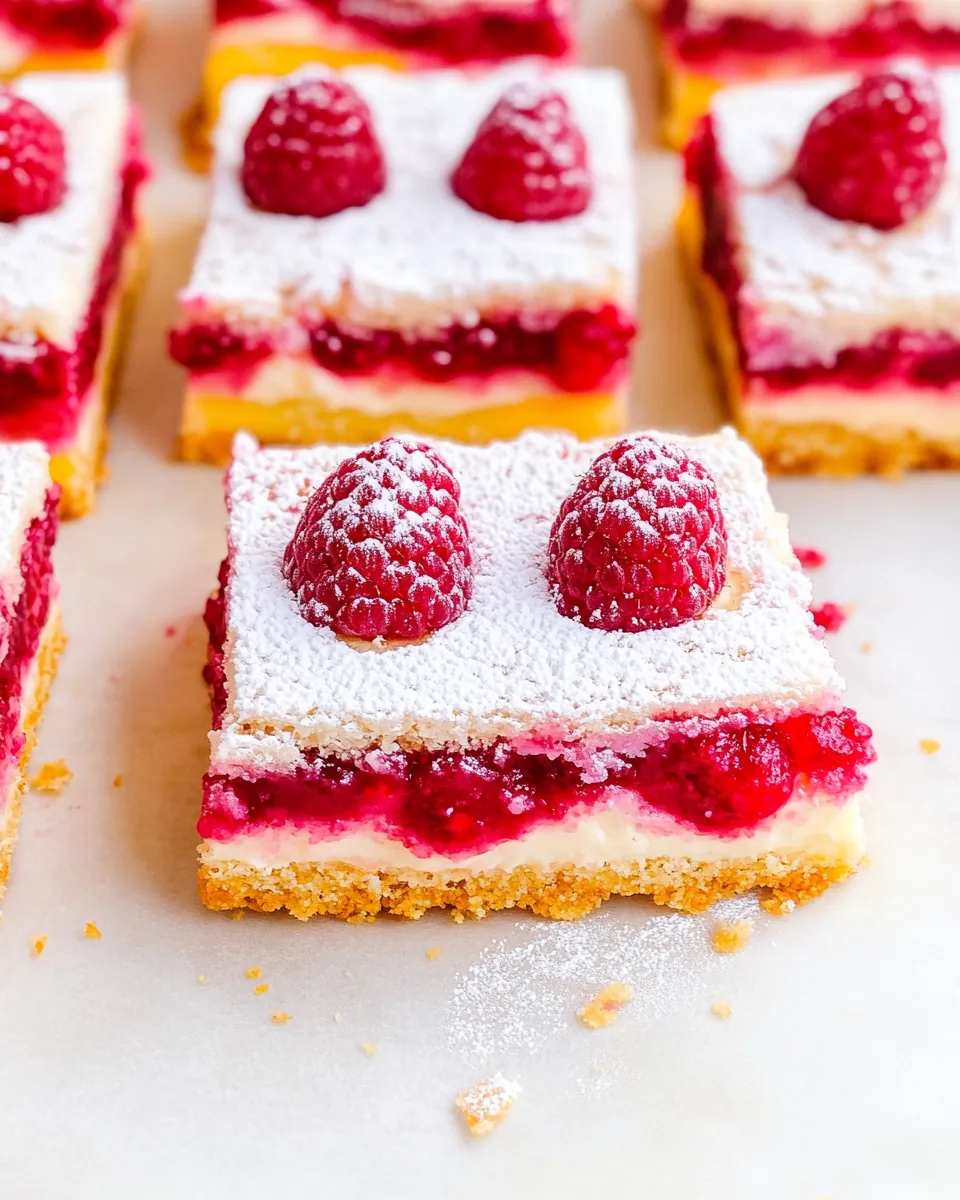
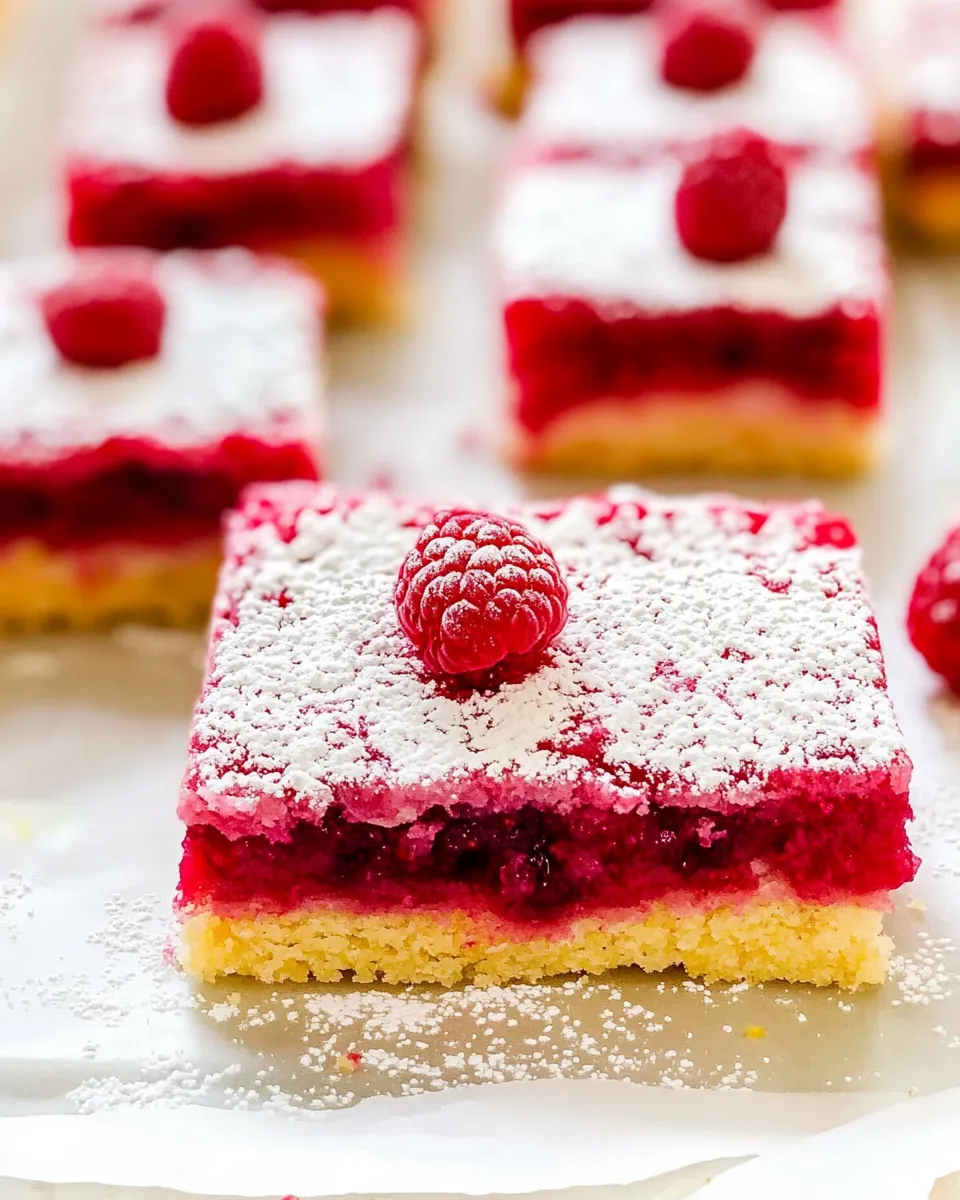
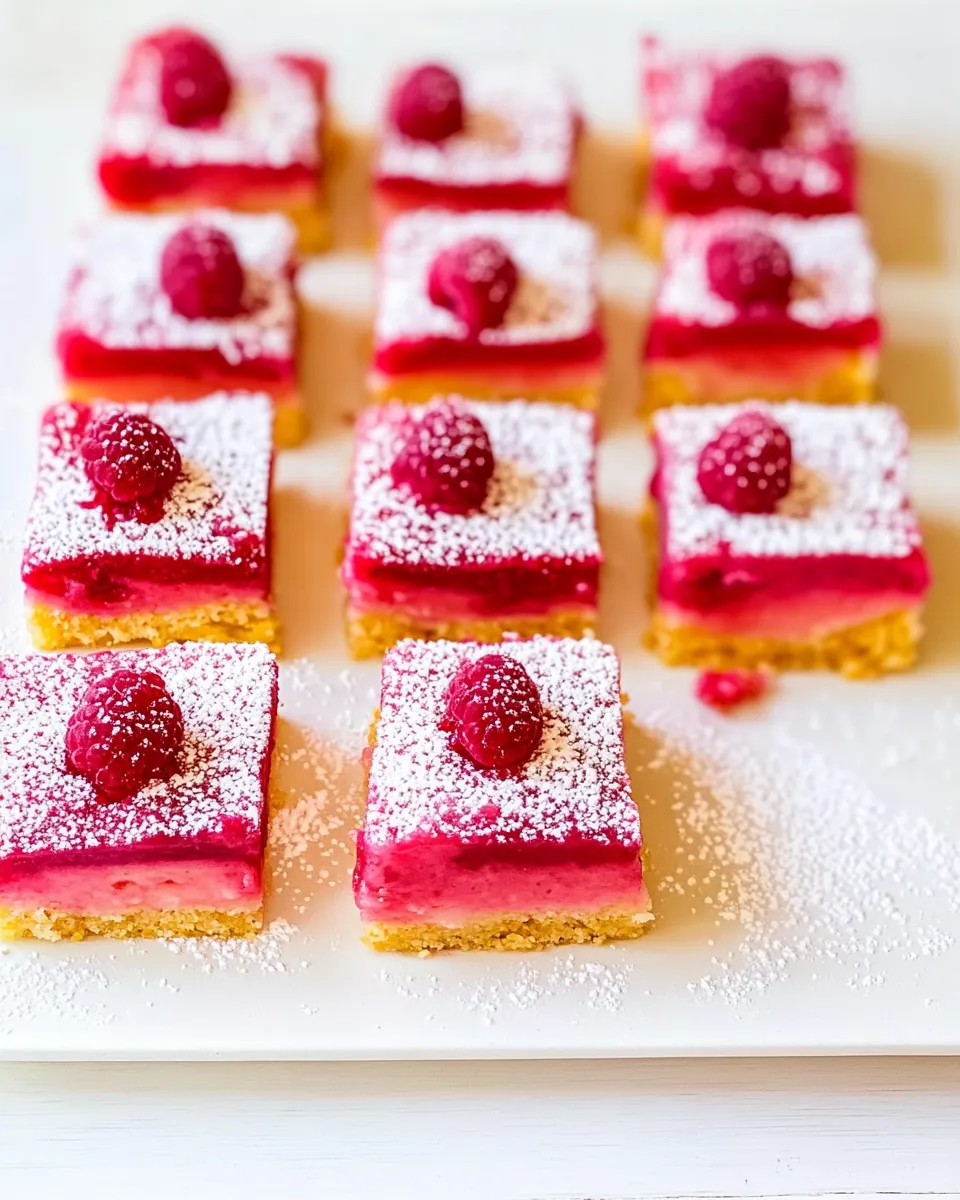
There’s something about the visual appeal of these bars that makes them stand out. The vibrant red raspberries against the sunny yellow filling create an eye-catching treat that looks as good as it tastes. Dusting them with powdered sugar or topping them with a dollop of whipped cream takes the presentation to another level!
Versatile Treat
You can enjoy these bars in various ways. They can be served chilled, at room temperature, or even warmed slightly. Pair them with a cup of tea or coffee, and you have a delightful afternoon treat.
Fun for the Family
Making Lemon Raspberry Bars can be a fun family activity. Kids love helping in the kitchen, and they’ll have a blast mixing the ingredients and sampling the delicious filling. Plus, it’s a great way to teach them about baking!
What to Gather for Lemon Raspberry Bars
The ingredients for Lemon Raspberry Bars are simple yet full of flavor. Each component plays a crucial role in creating that perfect balance of sweet and tangy. The bright, fresh raspberries are the stars, while the lemon juice and zest provide that unmistakable zing. Together, they combine to create a delightful dessert that’s sure to impress.
- 1 cup all-purpose flour – The base for our crust, providing structure and a slight chewiness.
- ½ cup unsalted butter – Adds richness and helps achieve that melt-in-your-mouth texture.
- ¼ cup powdered sugar – Sweetens the crust while giving it a lovely texture.
- ½ teaspoon kosher salt – Enhances the flavors and balances the sweetness.
- 1 cup fresh raspberries – Brings a burst of tartness and color to the filling.
- ½ cup freshly squeezed lemon juice – The key to that refreshing lemon flavor.
- 2 teaspoons grated lemon zest – Adds an extra punch of lemony aroma and flavor.
- 2 large eggs – Binds the filling together for a smooth texture.
- 1 large egg white – Helps achieve a light and airy filling.
- ¾ cup granulated sugar – Sweetens the filling and balances the tartness of the raspberries.
- ⅔ cup all-purpose flour – Helps thicken the filling for the right consistency.
- ¼ teaspoon kosher salt – Again, brings balance to the flavors.
- Powdered sugar – For dusting on top before serving.
- Stabilized Whipped Cream – Optional topping for an indulgent touch.
- Fresh raspberries – A garnish to enhance presentation.
- Mint leaves – Adds a pop of color and a refreshing scent.
Instructions for Lemon Raspberry Bars
Creating Lemon Raspberry Bars is a delightful experience that fills your kitchen with enticing aromas. Follow these detailed instructions, and soon you’ll have a batch of bars ready to impress your family and friends!
- Start by preheating your oven to 350°F (175°C). While the oven warms up, prepare an 8×8-inch baking pan by lining it with aluminum foil or parchment paper slings. This makes removing the bars easier later. Don’t forget to spray the foil with nonstick spray to ensure nothing sticks!
- In a food processor fitted with the metal blade, combine 1 cup of all-purpose flour, ½ cup of unsalted butter, ¼ cup of powdered sugar, and ½ teaspoon of kosher salt. Pulse until everything is evenly blended and the mixture resembles crumbs. This is your crust mixture, and it should have a sandy texture.
- Next, take your crust mixture and press it evenly into the bottom of the prepared pan. Aim for a thickness of about ½ inch, creating a slight rim around the edges. It doesn’t have to be perfect, but a little rim helps hold the filling in place.
- Now, place the pan in the oven and bake the crust for 15 to 20 minutes. You want it to be lightly golden around the edges, so keep an eye on it!
- While the crust is baking, it’s time to prepare the filling. In a blender or food processor, combine 1 cup of fresh raspberries and ½ cup of freshly squeezed lemon juice. Puree them until smooth, then pour the mixture over a fine mesh sieve set over a medium-sized bowl. This process helps separate the juice and pulp from the seeds.
- Using a rubber spatula, press the raspberry mixture through the sieve until only the seeds remain. Discard the seeds and pour the extracted juice and pulp back into the food processor.
- Add the remaining filling ingredients to the food processor: 2 teaspoons of grated lemon zest, 2 large eggs, 1 large egg white, ¾ cup of granulated sugar, ⅔ cup of all-purpose flour, and ¼ teaspoon of kosher salt. Process everything for about 30 seconds until the mixture is well combined and smooth.
- Once your crust is done baking, pour the raspberry filling over it, spreading it evenly. Bake at 350°F (175°C) for 30 to 35 minutes. You’ll know it’s ready when the filling is set and doesn’t jiggle in the middle when gently shaken. Be cautious not to overbake, as the filling may crack if cooked too long!
- After baking, transfer the Lemon Raspberry Bars to a cooling rack. Allow them to cool completely in the pan. This cooling step is crucial for the texture!
- Finally, once cooled, lift the bars out of the pan using the parchment paper or foil. Cut them into 16 squares and dust with powdered sugar. For an extra touch, you can add a dollop of whipped cream, fresh raspberries, and a mint leaf on top.
Things Worth Knowing
- Check for doneness: Always ensure the filling is set before removing it from the oven. The edges should be firm while the center is slightly jiggly.
- Using fresh fruit: Fresh raspberries are best, as they provide the signature flavor. Frozen can be used, but the texture may differ.
- Let it cool: Patience is key! Allowing the bars to cool completely ensures easier cutting and better texture.
- Storage tips: Store any leftovers in an airtight container in the fridge for up to a week.
Variations to Try
If you’re feeling adventurous or want to add a personal twist to your Lemon Raspberry Bars, here are some fun variations to consider:
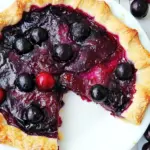
- Change up the fruit: Substitute raspberries with other berries such as *blueberries*, *blackberries*, or even a mix for a delightful twist.
- Make it gluten-free: Use a gluten-free flour blend in place of regular all-purpose flour to cater to gluten-sensitive friends.
- Enhanced flavors: Add a splash of almond extract or a pinch of cinnamon to the crust for an interesting flavor profile.
- Top it off: Drizzle some melted white chocolate or add crushed nuts on top for an extra crunchy texture.
- Serve with ice cream: Pair your Lemon Raspberry Bars with a scoop of vanilla ice cream for a delightful dessert experience.
- Freeze for later: These bars freeze beautifully! Just wrap them well and store them in the freezer for up to two months.
- Layer it up: Create a layered dessert by adding a cream cheese layer underneath the filling for added richness.
Perfect Matches for Lemon Raspberry Bars
Serving Lemon Raspberry Bars is all about delighting your taste buds while ensuring they fit the occasion. Here are some ideas:
- Afternoon tea: Serve these bars with your favorite tea for a lovely afternoon treat.
- Summer picnics: They’re perfect for packing in a picnic basket, adding a sweet touch to your outdoor dining.
- Birthday celebrations: They make a refreshing dessert option for birthday parties, especially in warmer months.
- Potlucks: Bring these to potlucks and watch them disappear quickly—they’re always a hit!
- Seasonal gatherings: The bright colors make them an excellent choice for spring and summer gatherings.
- Storage: Keep any leftovers in an airtight container for up to a week, but I doubt they’ll last that long!
FAQ
Conclusion
The Lemon Raspberry Bars are the perfect balance of sweet and tangy flavors, making them a must-try for any baking enthusiast. With their vibrant colors and delightful taste, they’re sure to become a favorite in your household. I encourage you to give this recipe a go, and I’m sure you’ll love every delicious bite!
Lemon Raspberry Bars
Ingredients
Equipment
Method
- Start by preheating your oven to 350°F (175°C). While the oven warms up, prepare an 8×8-inch baking pan by lining it with aluminum foil or parchment paper slings. This makes removing the bars easier later. Don’t forget to spray the foil with nonstick spray to ensure nothing sticks!
- In a food processor fitted with the metal blade, combine 1 cup of all-purpose flour, ½ cup of unsalted butter, ¼ cup of powdered sugar, and ½ teaspoon of kosher salt. Pulse until everything is evenly blended and the mixture resembles crumbs. This is your crust mixture, and it should have a sandy texture.
- Next, take your crust mixture and press it evenly into the bottom of the prepared pan. Aim for a thickness of about ½ inch, creating a slight rim around the edges. It doesn’t have to be perfect, but a little rim helps hold the filling in place.
- Now, place the pan in the oven and bake the crust for 15 to 20 minutes. You want it to be lightly golden around the edges, so keep an eye on it!
- While the crust is baking, it’s time to prepare the filling. In a blender or food processor, combine 1 cup of fresh raspberries and ½ cup of freshly squeezed lemon juice. Puree them until smooth, then pour the mixture over a fine mesh sieve set over a medium-sized bowl. This process helps separate the juice and pulp from the seeds.
- Using a rubber spatula, press the raspberry mixture through the sieve until only the seeds remain. Discard the seeds and pour the extracted juice and pulp back into the food processor.
- Add the remaining filling ingredients to the food processor: 2 teaspoons of grated lemon zest, 2 large eggs, 1 large egg white, ¾ cup of granulated sugar, ⅔ cup of all-purpose flour, and ¼ teaspoon of kosher salt. Process everything for about 30 seconds until the mixture is well combined and smooth.
- Once your crust is done baking, pour the raspberry filling over it, spreading it evenly. Bake at 350°F (175°C) for 30 to 35 minutes. You’ll know it’s ready when the filling is set and doesn’t jiggle in the middle when gently shaken. Be cautious not to overbake, as the filling may crack if cooked too long!
- After baking, transfer the Lemon Raspberry Bars to a cooling rack. Allow them to cool completely in the pan. This cooling step is crucial for the texture!
- Finally, once cooled, lift the bars out of the pan using the parchment paper or foil. Cut them into 16 squares and dust with powdered sugar. For an extra touch, you can add a dollop of whipped cream, fresh raspberries, and a mint leaf on top.
Notes
- Check for doneness: Always ensure the filling is set before removing it from the oven. The edges should be firm while the center is slightly jiggly.
- Using fresh fruit: Fresh raspberries are best, as they provide the signature flavor. Frozen can be used, but the texture may differ.
- Let it cool: Patience is key! Allowing the bars to cool completely ensures easier cutting and better texture.
- Storage tips: Store any leftovers in an airtight container in the fridge for up to a week.