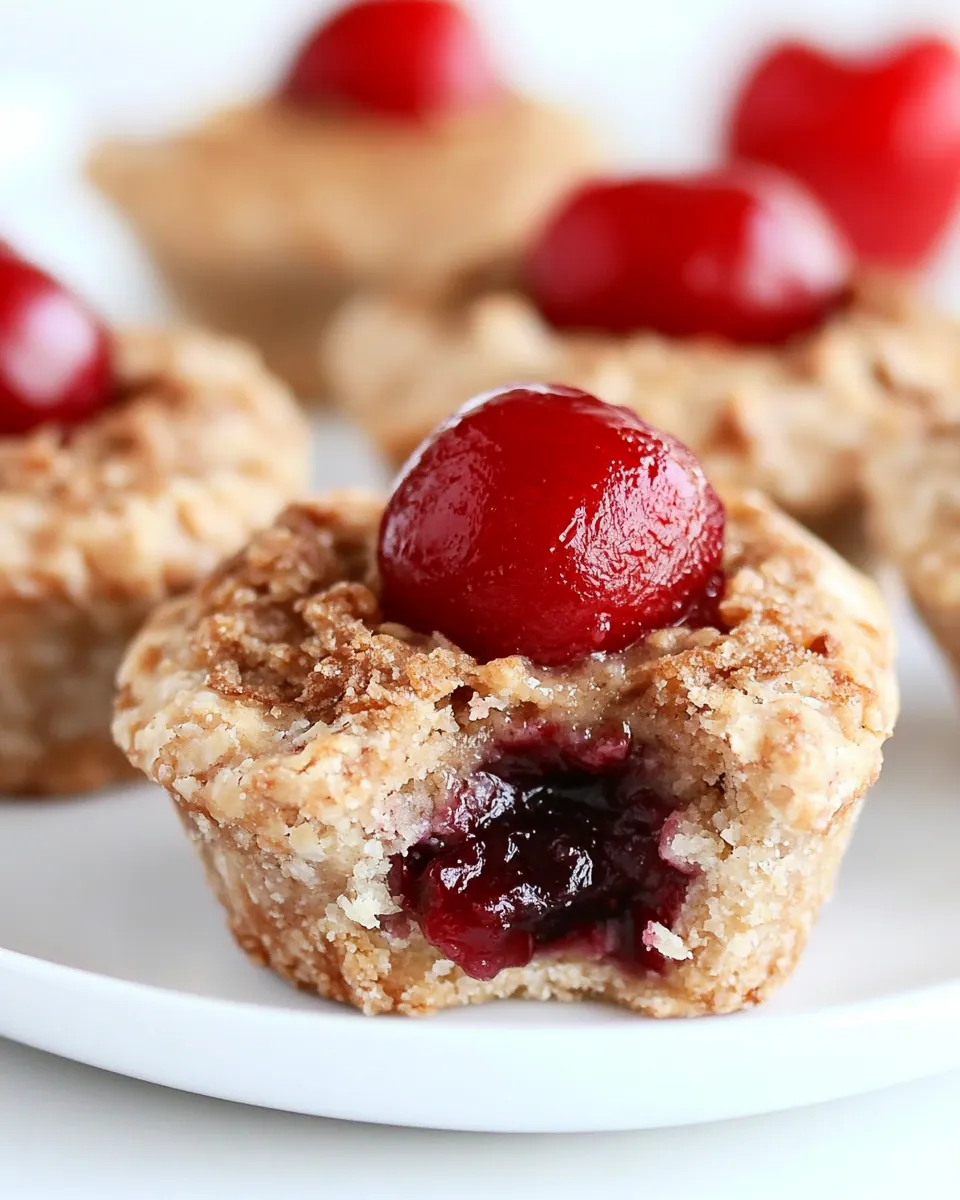
Gluten Free Mini Cherry Pies
There’s something magical about biting into a Gluten Free Mini Cherry Pies. The crispness of the crust against the luscious, sweet-tart filling is simply delightful. I remember the first time I made these little gems; it was a warm summer afternoon, and the sun was shining bright. I had just returned from the farmer’s market, where I found the most beautiful, plump cherries. I couldn’t resist the urge to whip up a fresh dessert that would bring a smile to everyone’s face. As I mixed the ingredients, the aroma of the sweet cherries and cinnamon filled my kitchen, creating a cozy atmosphere that felt like home. My family eagerly gathered around the table, their eyes lighting up as I pulled the mini pies from the oven, golden brown and fragrant. They didn’t last long, and every bite was met with pure joy!
Recipe Snapshot
45 mins
15 mins
30 mins
Medium
210 kcal
2 g
Vegan, Gluten-Free, Low FODMAP
10 g
Oven, Baking Sheet, Frying Pan, Mixing Bowl, Wooden Spoon
Why We Love This Gluten Free Mini Cherry Pies
Perfectly Portable Treats
One of the best things about Gluten Free Mini Cherry Pies is how convenient they are. Whether you’re heading to a picnic, a family gathering, or simply enjoying a snack at home, these mini pies are easy to transport and serve. Their individual portions make them ideal for sharing, and you can even freeze them for later, allowing you to have a homemade treat on hand whenever you crave something sweet.
Versatile Filling Options
While the cherry filling is a classic, the beauty of these pies is their versatility. You can swap out cherries for other fruits like blueberries, peaches, or even apples, depending on what’s in season. This flexibility means that you can enjoy a different mini pie every time you make them, keeping your dessert game fresh and exciting!
Healthy Indulgence
These mini pies are not only delicious but also a healthier option than many store-bought desserts. Made with gluten-free oat flour and rolled oats, they offer a wholesome base that’s rich in fiber. The use of natural ingredients such as coconut oil and fresh cherries means you can indulge your sweet tooth without the guilt. It’s a dessert that feels good to eat and share.
Kid-Friendly Fun
Making Gluten Free Mini Cherry Pies can be a delightful family activity. Kids love getting involved in the kitchen, and these pies are the perfect project to spark their creativity. They can help stir the filling, pat the crust into the muffin liners, and, of course, enjoy sampling the sweet rewards. It’s a memorable way to spend time together and teach them the joys of cooking.
Impress Your Guests
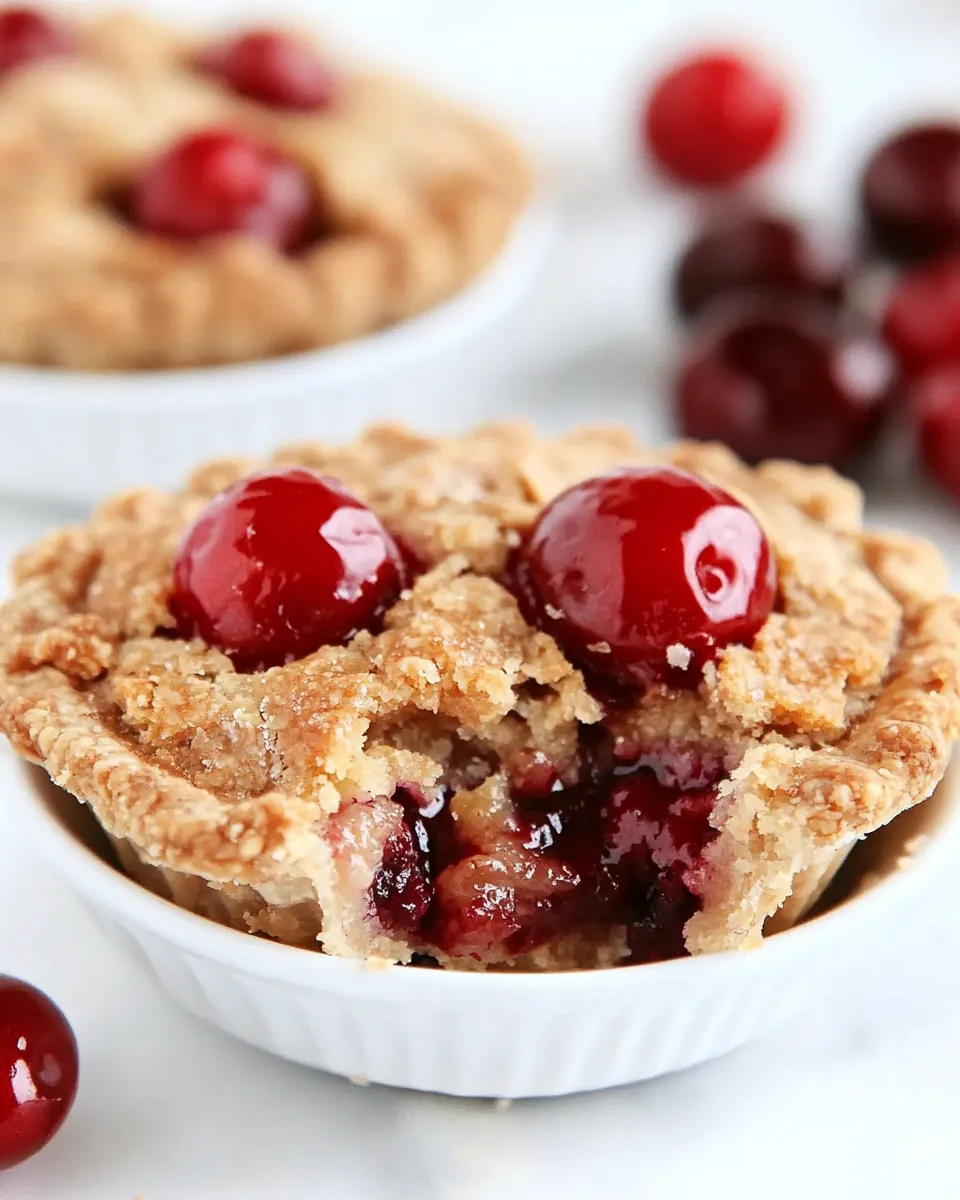
These mini pies are sure to be a crowd-pleaser. Their charming size and vibrant color make them visually appealing, and the delightful flavors will impress even the most discerning dessert lovers. Serve them at your next gathering, and watch as friends and family rave about your baking skills. They’ll never guess how simple they are to make!
Year-Round Treat
Finally, Gluten Free Mini Cherry Pies are perfect for any season. The use of seasonal fruits allows you to adapt the recipe throughout the year. Whether you’re celebrating summer with fresh cherries or cozying up in winter with spiced apple filling, these mini pies can be enjoyed all year long.
Ingredients for Gluten Free Mini Cherry Pies
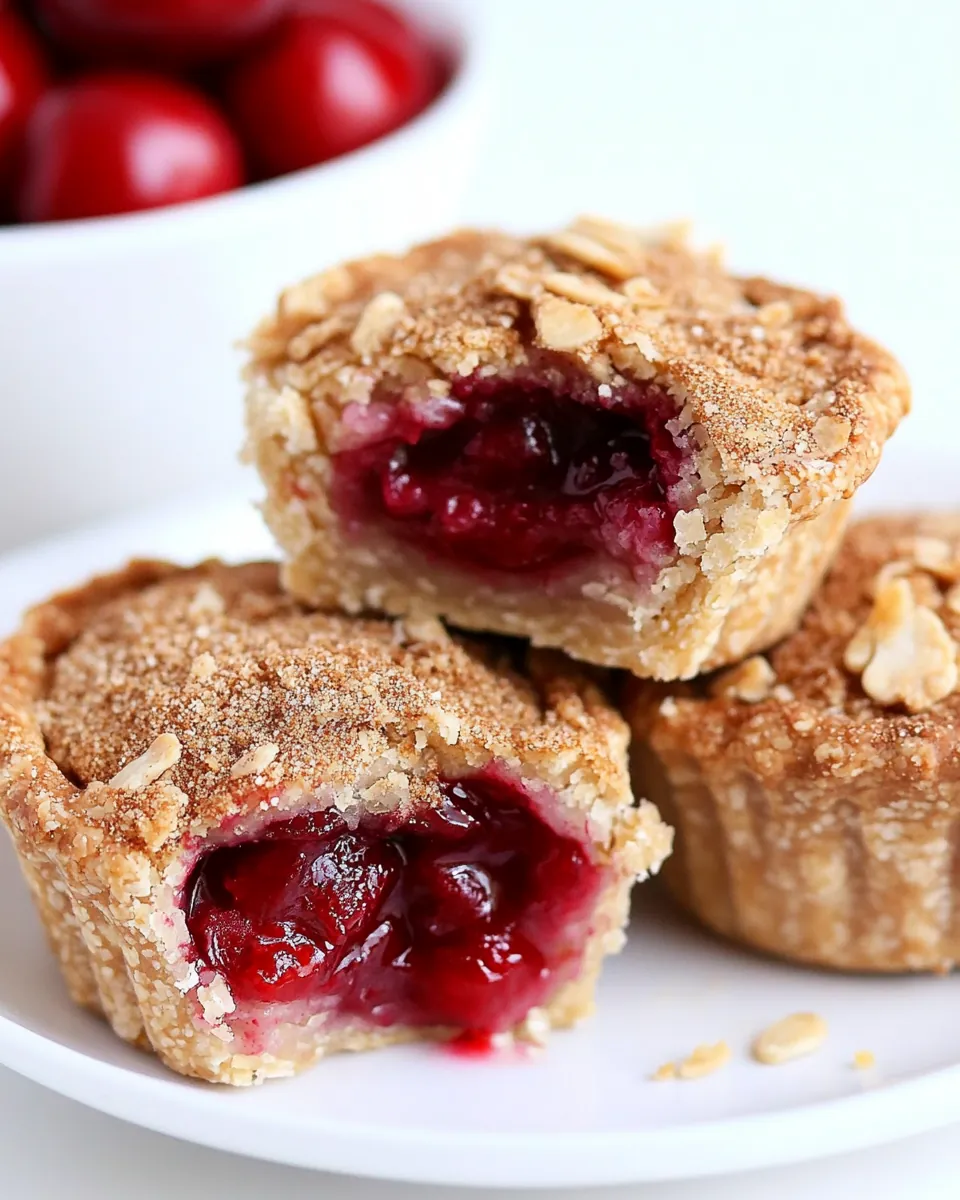
When it comes to baking, the right ingredients can make all the difference. The combination of gluten-free oat flour and rolled oats not only creates a delightful crust but also ensures that everyone can enjoy this treat, regardless of dietary restrictions. The cherries provide a juicy, sweet filling, while the spices elevate the flavor profile. Each ingredient plays a vital role in creating the perfect balance of taste and texture.
- 1 1/4 cups gluten-free oat flour: This flour gives the crust a nice texture while keeping it gluten-free.
- 2 cups gluten-free rolled oats: These oats add heartiness to the crust and topping, making it satisfying.
- 1 1/2 teaspoons ground cinnamon: A warm spice that complements the sweetness of the cherries beautifully.
- 2/3 cup brown sugar: Adds a rich, caramel-like sweetness to the crust.
- 1/4 teaspoon salt: Enhances all the flavors and balances the sweetness.
- 3/4 cup refined coconut oil, melted: Provides moisture and a subtle flavor, creating a tender crust.
- 2 cups pitted sweet cherries, quartered: The star of this recipe, these cherries give the pies their delicious filling.
- 2 tablespoons granulated sugar: Helps to sweeten the cherry filling.
- 1 tablespoon cornstarch: This thickens the filling and gives it a nice consistency.
- 2 teaspoons lemon juice: Adds brightness and enhances the flavors of the cherries.
- 1 teaspoon almond extract: Provides a lovely depth of flavor that pairs perfectly with cherries.
- Pinch of salt: Just a touch enhances the sweetness of the filling.
Directions for Gluten Free Mini Cherry Pies
Let’s dive into the delightful steps to create these scrumptious Gluten Free Mini Cherry Pies. Baking is all about enjoying the process as much as the end result. You’ll love how simple these steps are, and trust me, the smell of these pies baking will have everyone in your house running to the kitchen!
- Preheat your oven to 375 degrees F. Line a muffin pan with 12 muffin liners. I recommend using foil or regular paper liners to prevent sticking. Trust me, you don’t want these lovely pies to get stuck to the bottom!
- In a medium mixing bowl, stir together the oat flour, oats, cinnamon, brown sugar, and salt. This combination creates a deliciously sweet and spiced crust. Once evenly mixed, stir in the melted coconut oil until everything is well combined, resembling a crumbly dough.
- Pat about 3 tablespoons (40 grams) of the crust mixture into the sides and bottom of each muffin liner. Make sure it’s not too thick or too thin; you want a sturdy base that will hold up to the filling.
- Bake the crust for 8 to 10 minutes, or just until they start to turn golden brown. Keep an eye on them; you want a nice color without burning!
- Once they’re golden, remove the crusts from the oven and let them cool for about 10 minutes while you prepare the filling. This waiting time is crucial to ensure the crusts remain firm.
- In another medium mixing bowl, stir together all the filling ingredients: cherries, granulated sugar, cornstarch, lemon juice, almond extract, and a pinch of salt. This mixture should look juicy and vibrant.
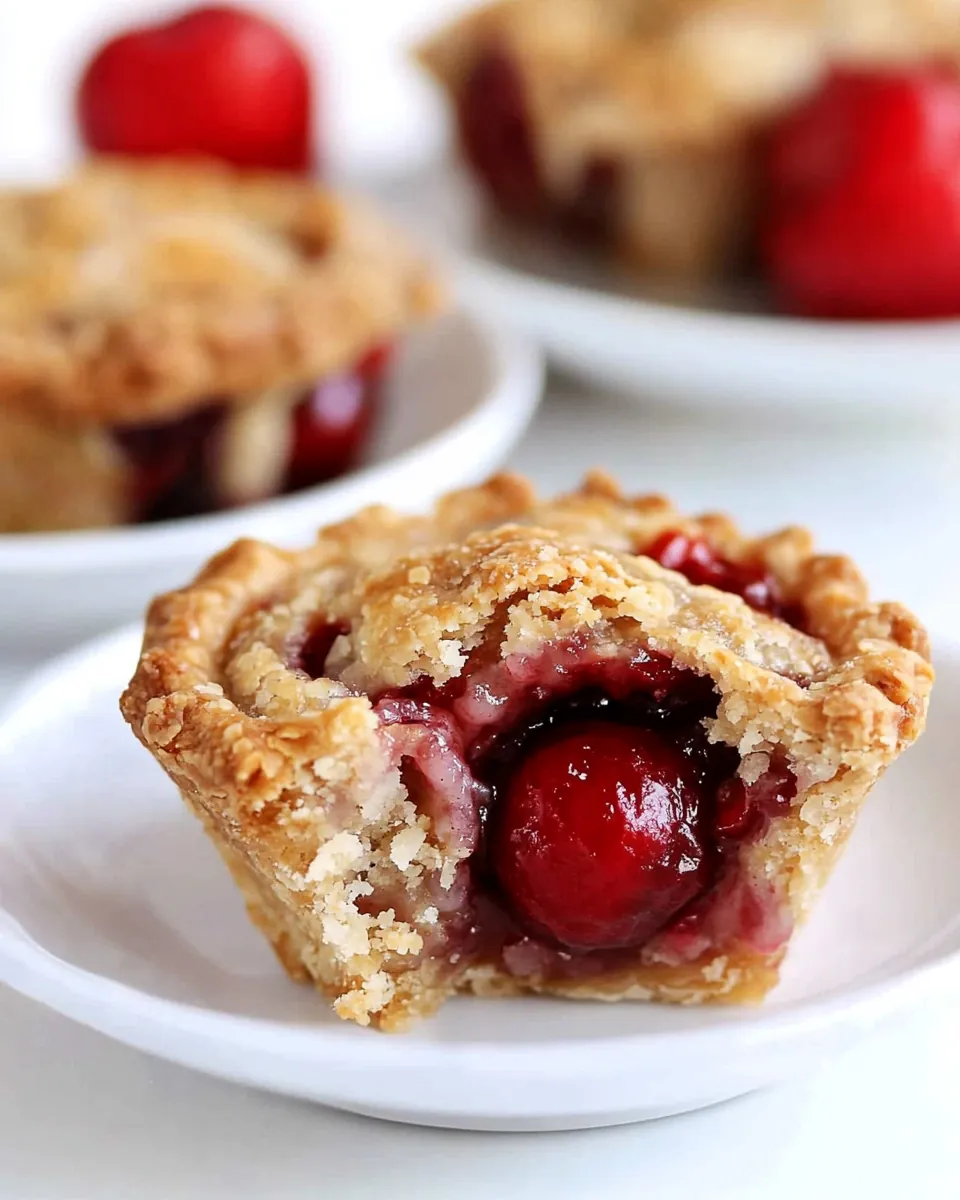
- Spoon a little over 2 tablespoons of the cherry mixture over each pre-baked crust. Ensure each pie has a generous amount—every bite should be filled with that juicy goodness! Then, top each pie with about 1 tablespoon of the remaining crust mixture.
- Bake for another 14 to 16 minutes, or until the topping has lightly browned. The aroma wafting from the oven will be irresistible!
- Once they’re done baking, remove the mini pies from the oven and let them cool for about 10 to 15 minutes or until cool enough to handle. Use a knife to carefully remove the pies from the molds and then gently peel away the paper wrappers. If you have trouble taking them out because they’re too soft, cool them slightly in the fridge for about 10 to 20 minutes.
- Serve the Gluten Free Mini Cherry Pies warm, at room temperature, or cold. Store at room temperature for up to 1 day or refrigerate for up to 4 days. For transport or warmer settings, it’s best to chill the pies in advance to help them hold their shape.
Things Worth Knowing
- Cooling Time: Allow the crust to cool slightly before adding the filling. This prevents the filling from making the crust soggy.
- Filling Variations: Experiment with different fruits for the filling. Berries, peaches, or even spiced apples work wonderfully!
- Crust Texture: If you find the crust is too crumbly, try adding a bit more melted coconut oil for better cohesion.
- Storage Tips: These mini pies store well in the fridge, but for longer-lasting freshness, consider freezing them.
Making Adjustments
When it comes to baking, adjustments can make all the difference in achieving your perfect Gluten Free Mini Cherry Pies. Here are some thoughtful tips to consider:
- Storage: Store the pies in an airtight container at room temperature for up to 1 day. If you want to keep them longer, refrigerate them for up to 4 days.
- Freezing: Yes, you can freeze these mini pies! Just place them in a single layer in a freezer-safe container, and they should last up to 2 months.
- Pairing: Serve these delightful pies alongside a scoop of vanilla ice cream or a dollop of whipped cream for an extra special treat.
- Serving Size: Since they’re mini, you might want to prepare a few more than you think you need; they tend to disappear quickly!
- Gluten-Free Certification: Ensure all your ingredients are certified gluten-free for the best results, especially if you are serving guests with gluten sensitivities.
What Complements This Gluten Free Mini Cherry Pies
- Ice Cream: A scoop of vanilla or almond ice cream pairs perfectly with the warm pies.
- Whipped Cream: A dollop of freshly whipped cream adds a lovely touch of decadence.
- Fresh Fruits: Serve with a side of fresh berries for added color and a burst of flavor.
- Picnics: These mini pies are an excellent addition to summer picnics, easy to transport and serve.
- Special Occasions: Ideal for birthday parties, family gatherings, or holiday celebrations where you want to impress.
- Cool Drinks: Pair with lemonade or iced tea for a refreshing summer treat.
FAQ
Conclusion
The Gluten Free Mini Cherry Pies are truly a delightful treat that brings the flavors of summer right to your kitchen. They’re not only delicious but also versatile, making them perfect for any occasion. I encourage you to try these mini pies yourself; you won’t be disappointed! Bake a batch and enjoy the sweet rewards with your family and friends.
Gluten Free Mini Cherry Pies
Ingredients
Equipment
Method
- Preheat your oven to 375 degrees F. Line a muffin pan with 12 muffin liners. I recommend using foil or regular paper liners to prevent sticking. Trust me, you don’t want these lovely pies to get stuck to the bottom!
- In a medium mixing bowl, stir together the oat flour, oats, cinnamon, brown sugar, and salt. This combination creates a deliciously sweet and spiced crust. Once evenly mixed, stir in the melted coconut oil until everything is well combined, resembling a crumbly dough.
- Pat about 3 tablespoons (40 grams) of the crust mixture into the sides and bottom of each muffin liner. Make sure it’s not too thick or too thin; you want a sturdy base that will hold up to the filling.
- Bake the crust for 8 to 10 minutes, or just until they start to turn golden brown. Keep an eye on them; you want a nice color without burning!
- Once they’re golden, remove the crusts from the oven and let them cool for about 10 minutes while you prepare the filling. This waiting time is crucial to ensure the crusts remain firm.
- In another medium mixing bowl, stir together all the filling ingredients: cherries, granulated sugar, cornstarch, lemon juice, almond extract, and a pinch of salt. This mixture should look juicy and vibrant.
- Spoon a little over 2 tablespoons of the cherry mixture over each pre-baked crust. Ensure each pie has a generous amount—every bite should be filled with that juicy goodness! Then, top each pie with about 1 tablespoon of the remaining crust mixture.
- Bake for another 14 to 16 minutes, or until the topping has lightly browned. The aroma wafting from the oven will be irresistible!
- Once they’re done baking, remove the mini pies from the oven and let them cool for about 10 to 15 minutes or until cool enough to handle. Use a knife to carefully remove the pies from the molds and then gently peel away the paper wrappers. If you have trouble taking them out because they're too soft, cool them slightly in the fridge for about 10 to 20 minutes.
- Serve the Gluten Free Mini Cherry Pies warm, at room temperature, or cold. Store at room temperature for up to 1 day or refrigerate for up to 4 days. For transport or warmer settings, it’s best to chill the pies in advance to help them hold their shape.