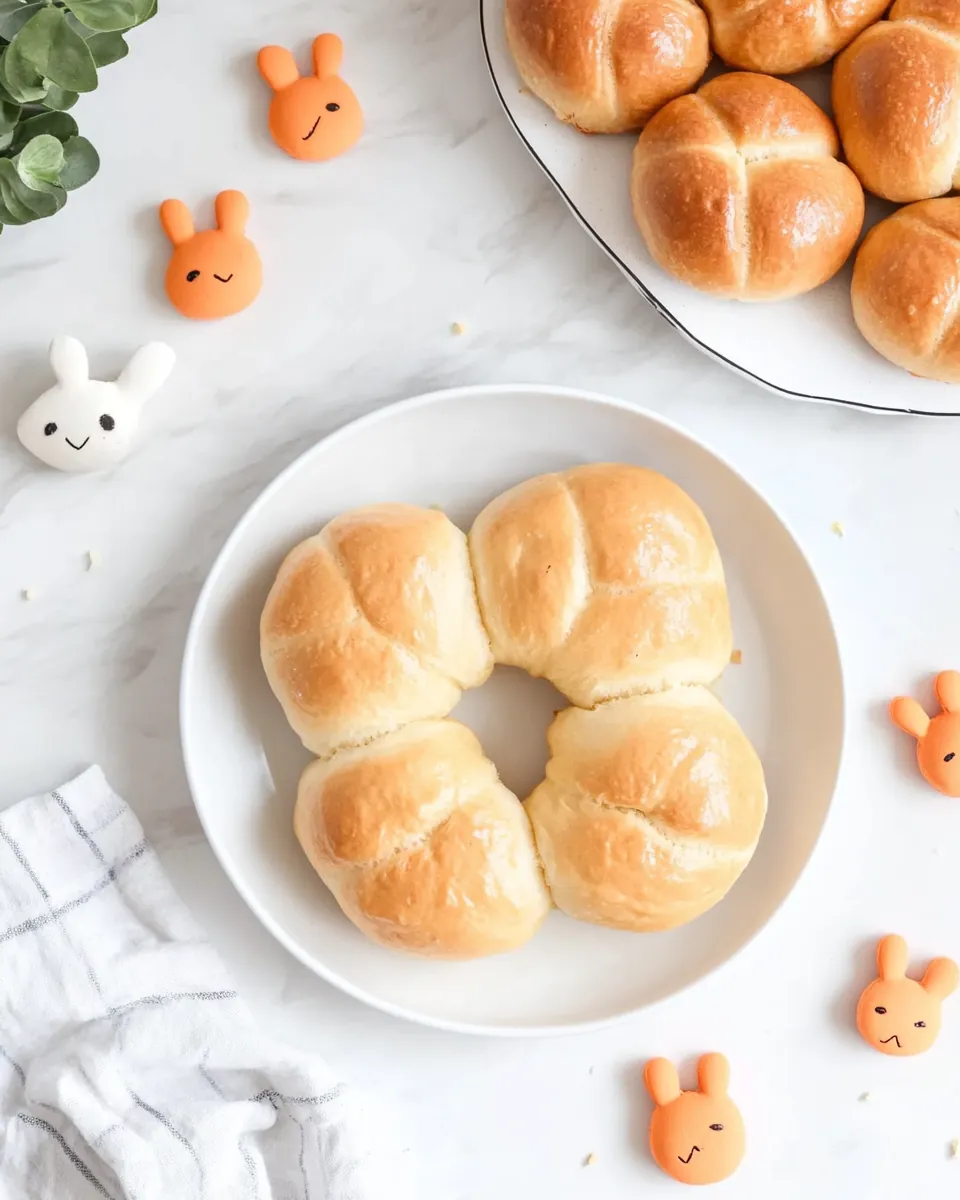
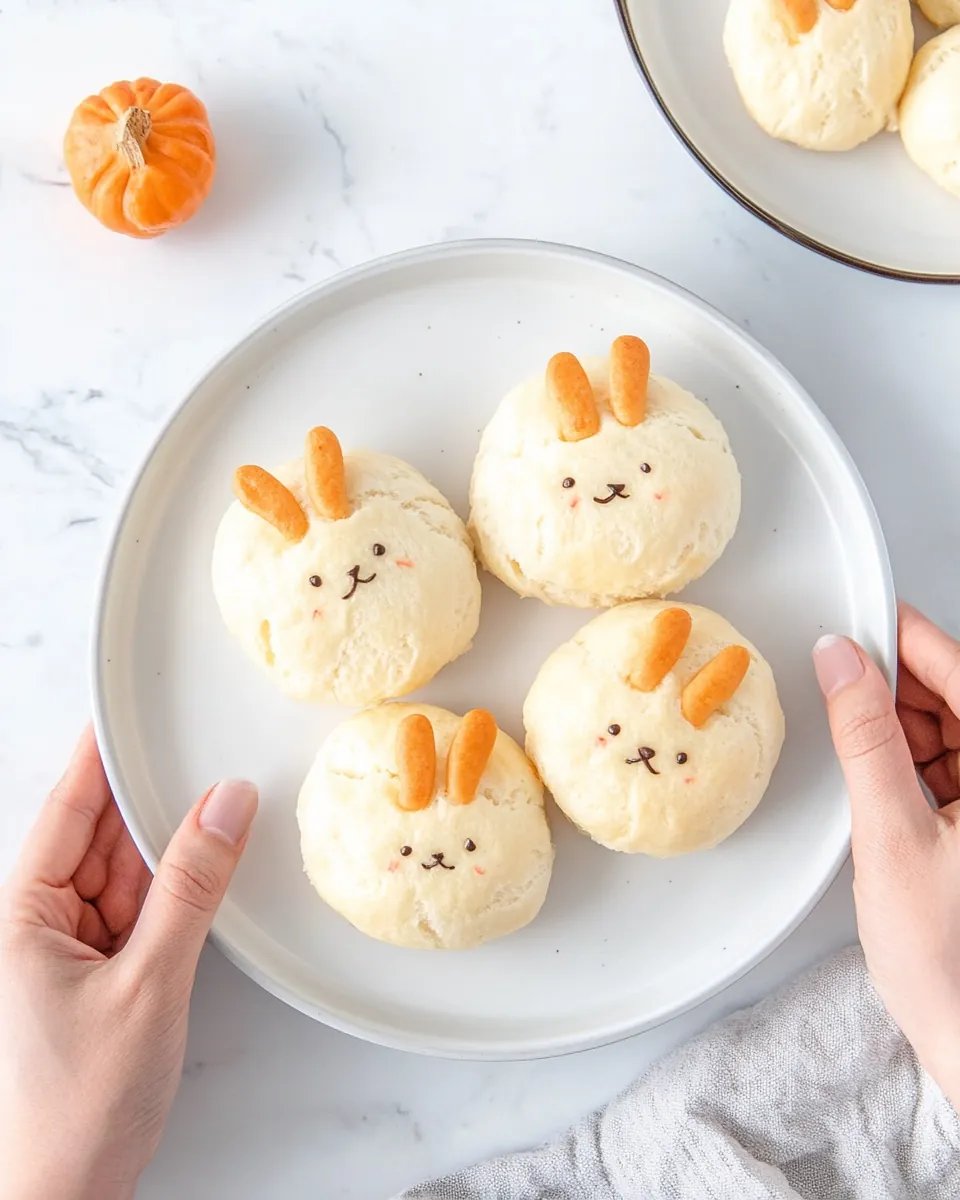
Gluten Free Bunny Buns
The Gluten Free Bunny Buns bring back fond memories of childhood celebrations, especially during Easter. I remember the excitement in the air, as my family gathered around the table, waiting to see these adorable bunny-shaped treats coming out of the oven. The aroma wafting through the kitchen was irresistible, making it hard to resist snagging one before they had a chance to cool. These delightful little buns are not just a festive treat; they hold a special place in my heart and are perfect for any spring gathering.
Recipe Snapshot
60 mins
0 mins
0 mins
Medium
150 kcal
4 g
Keto, Gluten-Free, Low FODMAP
5 g
Baking Sheet, Whisk, Oven
What’s Great About This Gluten Free Bunny Buns
Perfect for Special Occasions
There’s something magical about making Gluten Free Bunny Buns for Easter or springtime gatherings. These treats add a festive touch to any table, instantly brightening the mood of your gathering.
Kid-Friendly Fun
Kids love getting involved in the kitchen, and this recipe is a perfect opportunity for them to shape their bunnies. Rolling dough into different sizes is fun, and the joy on their faces as they create their little bunnies is priceless.
A Delicious Twist on Tradition
This recipe gives a gluten-free twist to traditional buns, ensuring that everyone can enjoy them, regardless of dietary restrictions. They are soft, fluffy, and taste just as good as their gluten-containing counterparts.
Warm and Comforting
There’s nothing quite like the taste of freshly baked bread. The warm, comforting flavor of these bunny buns makes them perfect for brunch or as a delightful snack. Serve them warm with butter, and you’ve got a treat that everyone will love!
Creative Presentation
Once baked, these buns can be customized! Use edible markers to draw faces, or sprinkle with powdered sugar for an extra touch. Your creativity will shine, and your guests will be impressed.
Ingredients for Gluten Free Bunny Buns
The ingredients for the Gluten Free Bunny Buns are essential to creating the perfect texture and flavor. Each ingredient plays a specific role in this recipe, from adding moisture to forming the structure of the buns. They work together beautifully to create a delightful treat that is both enjoyable and gluten-free.
- 1 cup plain yogurt – This acts as a moistening agent, helping to create soft buns.
- 1 egg – The egg provides structure and richness to the buns.
- 1 cup self-raising flour – This is the main ingredient that helps the buns rise and gives them lightness.
- ½ cup ground almond – Adds a nutty flavor and extra moisture to the dough.
- ½ teaspoon salt – Enhances the overall flavors of the buns.
- Butter for greasing – Used to grease the baking dish to prevent sticking.
Instructions for Gluten Free Bunny Buns
Making Gluten Free Bunny Buns is a delightful process. You’ll find that each step is simple and enjoyable, perfect for cooking with family. Let’s dive into the steps that will lead you to these adorable and tasty treats!
- Preheat your oven to 180 degrees Celsius (360 degrees Fahrenheit). This is an important step to ensure that the buns bake evenly and achieve a lovely golden color.
- In a medium bowl, place the yogurt and egg. Whisk them together until smooth. The combination of these two ingredients will create the base for your dough, ensuring that it’s moist and flavorful.
- In another bowl, add the self-raising flour, ground almonds, and salt. Mix them well to combine. This ensures that the leavening agent is evenly distributed throughout the flour mixture, which is crucial for a good rise.
- Gradually combine the dry ingredients with the yogurt and egg mixture. Use a wooden spoon to combine until the dough comes together. It should be soft and slightly sticky. If the dough feels too wet, you can add a little extra self-raising flour to adjust the consistency.
- Next, grease a large ovenproof dish generously with butter. This prevents the buns from sticking and helps them develop a nice crust.
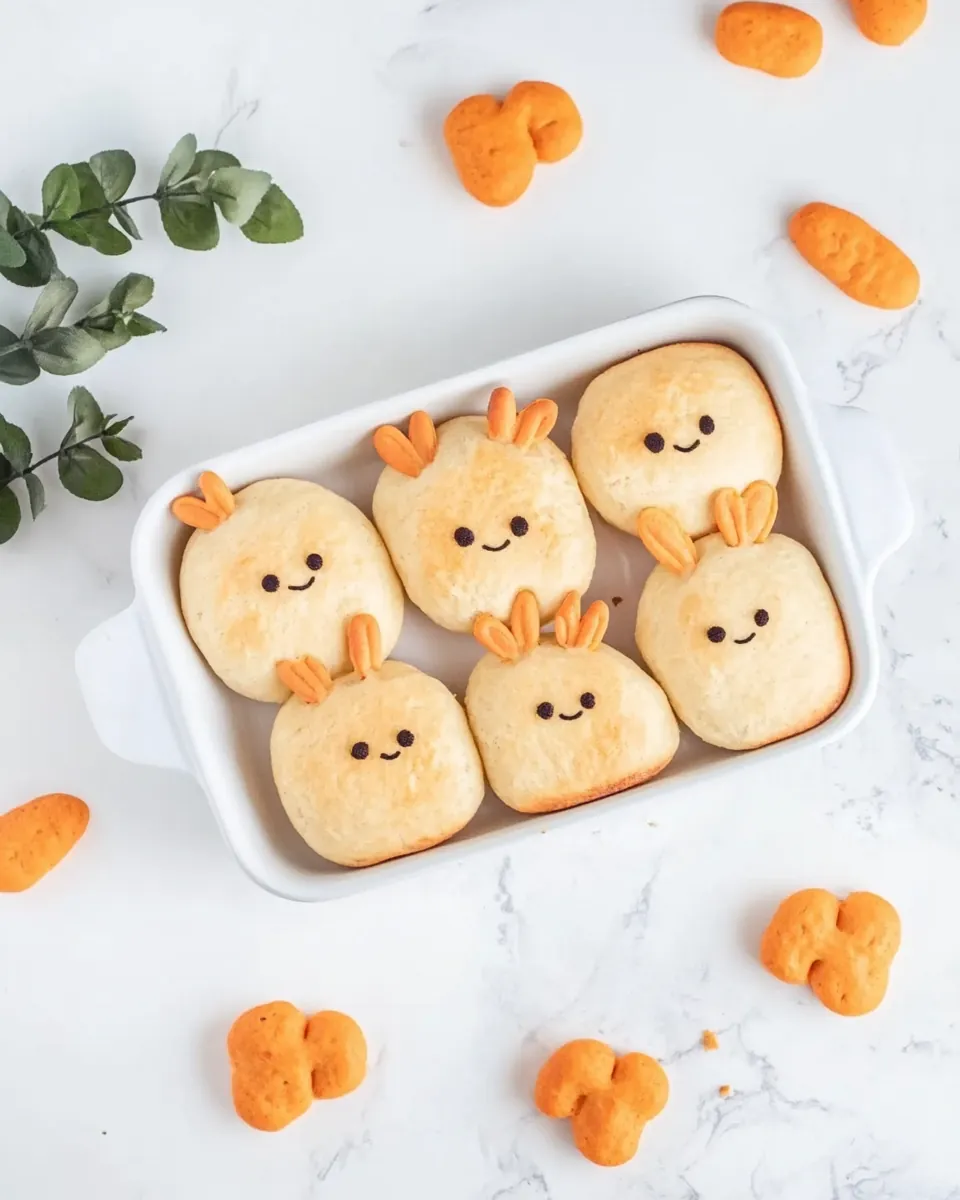
- On a dry, floured surface, divide the dough into five golf ball-sized pieces and ten teaspoon-sized pieces. The larger pieces will form the bodies of the bunnies, and the smaller ones will be used for the ears.
- Place the five larger balls evenly spaced in the greased oven dish. These will be the bunny faces.
- Shape the smaller pieces into short, stubby sausages. Position them in pairs next to the larger balls so they touch. This will create the bunny ears.
- Brush the assembled bunny buns with a little melted butter to give them a beautiful golden finish when baked.
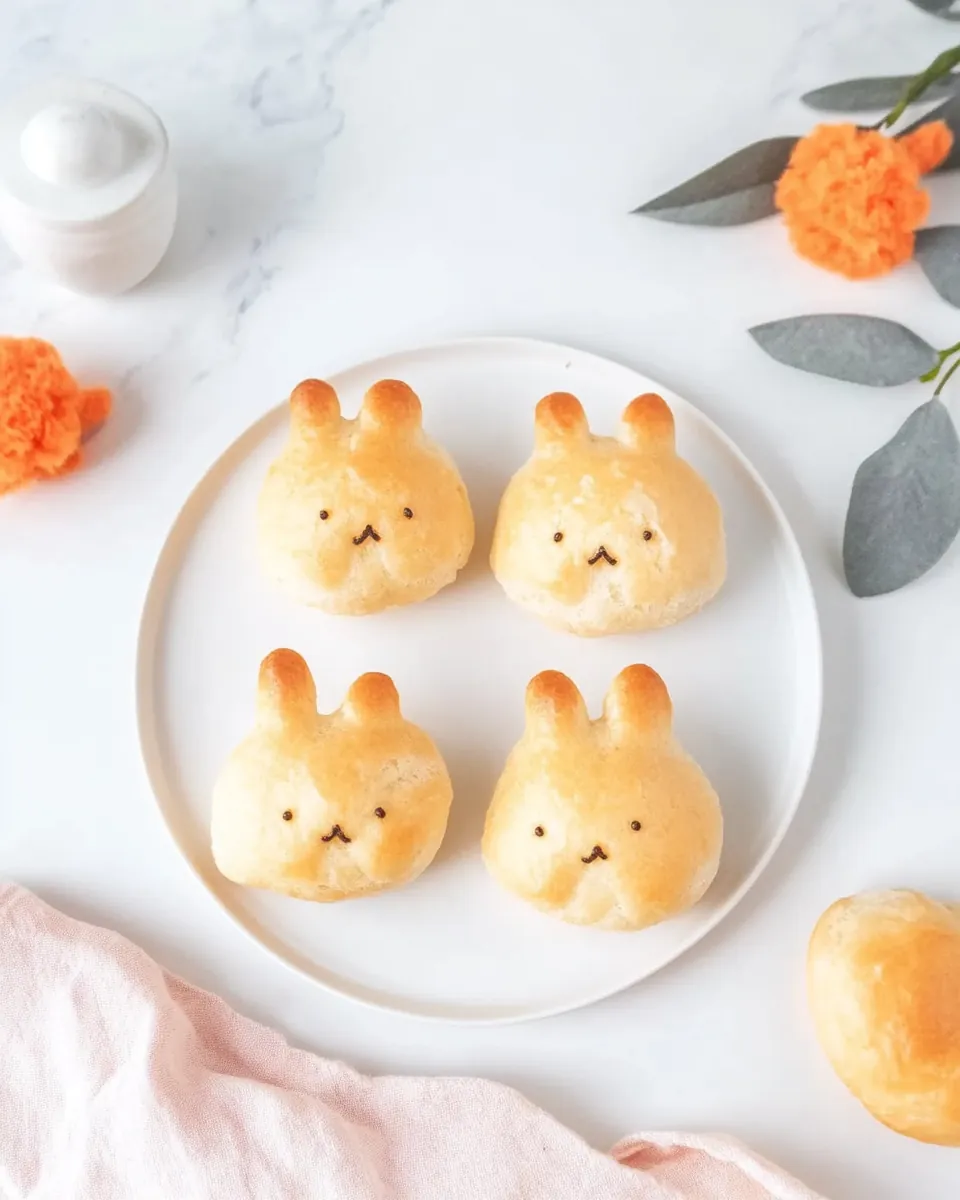
- Bake the bunny buns in the preheated oven for 20 minutes or until they are golden and cooked through. You’ll know they’re done when they’re lightly browned and smell divine!
- Once baked, enjoy your bunny buns warm! For a fun twist, you can use an edible marker to add eyes and a mouth to your bunny buns, making them even more festive.
Things Worth Knowing
- Ensure the dough isn’t too wet: If your dough is sticky, it may be challenging to shape the bunnies. Adjust with a bit more flour as needed.
- Check your oven temperature: Ovens can vary. Keep an eye on the buns in the last few minutes to prevent over-baking.
- Experiment with shapes: If you want to create different bunny shapes or even other animals, feel free to get creative!
- Use gluten-free flour mixes: Make sure to choose a blend that contains xanthan gum for optimal results, as this helps mimic the texture of regular flour.
Recipe Notes about Gluten Free Bunny Buns
Here are some helpful tips to ensure your Gluten Free Bunny Buns turn out perfectly every time.
- Storage: Store any leftovers in an airtight container at room temperature for up to two days. They are best enjoyed fresh!
- Freezing: You can freeze these buns for later. Just make sure they are completely cooled before placing them in a freezer-safe bag. They can last up to three months in the freezer.
- Reheating: When ready to enjoy, simply zap them in the microwave for about 10 seconds or warm them in the oven at a low temperature.
- Pairing: These buns are delicious served with butter, jam, or even as a fun addition to a brunch spread alongside fresh fruit.
- Variations: Feel free to add spices like cinnamon or nutmeg for a different flavor profile!
Accompaniments for Gluten Free Bunny Buns
Serving your Gluten Free Bunny Buns can be as creative as making them! Here are some suggestions:
- Spring Brunch: These adorable buns are perfect for an Easter brunch. Pair them with fresh fruit, yogurt, and a light salad to round out the meal.
- Children’s Parties: Their fun shape makes them a hit at kids’ parties. Serve them with fun toppings like colored icing or sprinkles.
- Picnics: Pack them in a picnic basket with various dips and spreads for a delightful outdoor meal.
- Seasonal Celebrations: They can easily transition from Easter celebrations to spring gatherings, making them versatile for any occasion.
- Warm & Fresh: Always serve them warm for the best experience. The warm smell and soft texture make each bite comforting.
FAQ
Conclusion
The Gluten Free Bunny Buns are not only a fun and festive treat but also an opportunity to create lasting memories with family and friends. Their adorable shapes and delicious flavors make them a perfect addition to any spring celebration. I encourage you to try this recipe and bring a smile to the faces of your loved ones!
Gluten Free Bunny Buns
Ingredients
Equipment
Method
- Preheat your oven to 180 degrees Celsius (360 degrees Fahrenheit). This is an important step to ensure that the buns bake evenly and achieve a lovely golden color.
- In a medium bowl, place the yogurt and egg. Whisk them together until smooth. The combination of these two ingredients will create the base for your dough, ensuring that it's moist and flavorful.
- In another bowl, add the self-raising flour, ground almonds, and salt. Mix them well to combine. This ensures that the leavening agent is evenly distributed throughout the flour mixture, which is crucial for a good rise.
- Gradually combine the dry ingredients with the yogurt and egg mixture. Use a wooden spoon to combine until the dough comes together. It should be soft and slightly sticky. If the dough feels too wet, you can add a little extra self-raising flour to adjust the consistency.
- Next, grease a large ovenproof dish generously with butter. This prevents the buns from sticking and helps them develop a nice crust.
- On a dry, floured surface, divide the dough into five golf ball-sized pieces and ten teaspoon-sized pieces. The larger pieces will form the bodies of the bunnies, and the smaller ones will be used for the ears.
- Place the five larger balls evenly spaced in the greased oven dish. These will be the bunny faces.
- Shape the smaller pieces into short, stubby sausages. Position them in pairs next to the larger balls so they touch. This will create the bunny ears.
- Brush the assembled bunny buns with a little melted butter to give them a beautiful golden finish when baked.
- Bake the bunny buns in the preheated oven for 20 minutes or until they are golden and cooked through. You’ll know they’re done when they’re lightly browned and smell divine!
- Once baked, enjoy your bunny buns warm! For a fun twist, you can use an edible marker to add eyes and a mouth to your bunny buns, making them even more festive.
Notes
- Storage: Store any leftovers in an airtight container at room temperature for up to two days. They are best enjoyed fresh!
- Freezing: You can freeze these buns for later. Just make sure they are completely cooled before placing them in a freezer-safe bag. They can last up to three months in the freezer.
- Reheating: When ready to enjoy, simply zap them in the microwave for about 10 seconds or warm them in the oven at a low temperature.
- Pairing: These buns are delicious served with butter, jam, or even as a fun addition to a brunch spread alongside fresh fruit.
- Variations: Feel free to add spices like cinnamon or nutmeg for a different flavor profile!