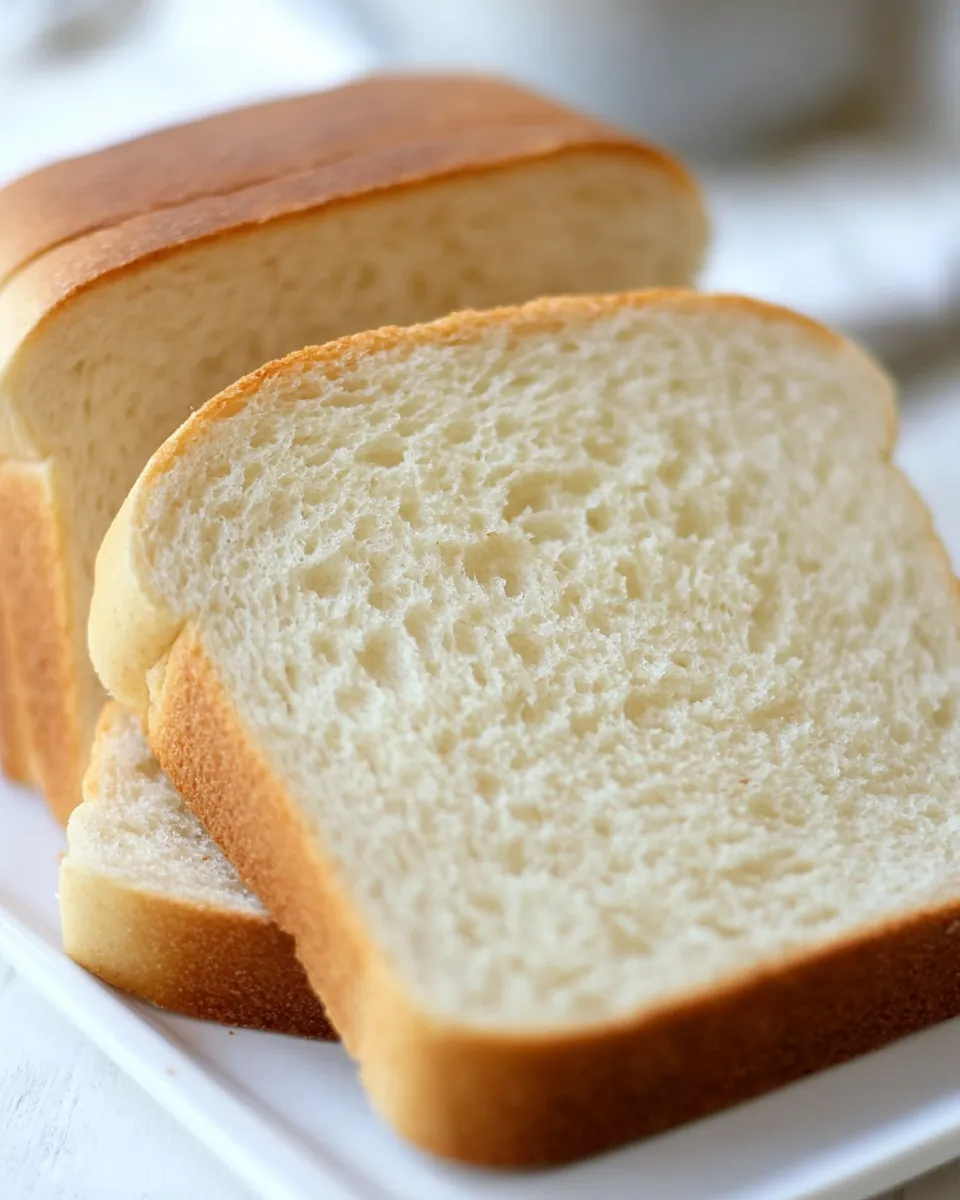
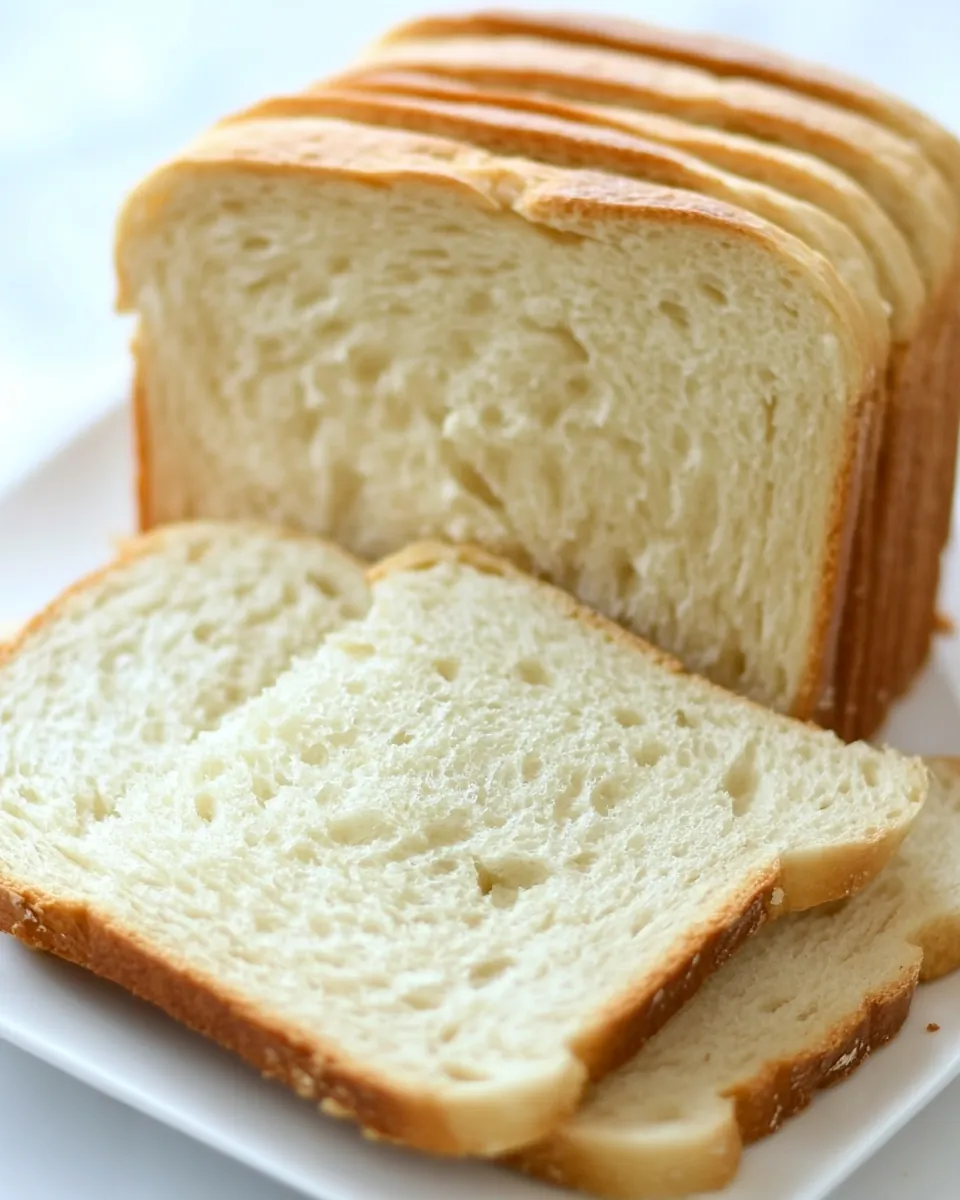
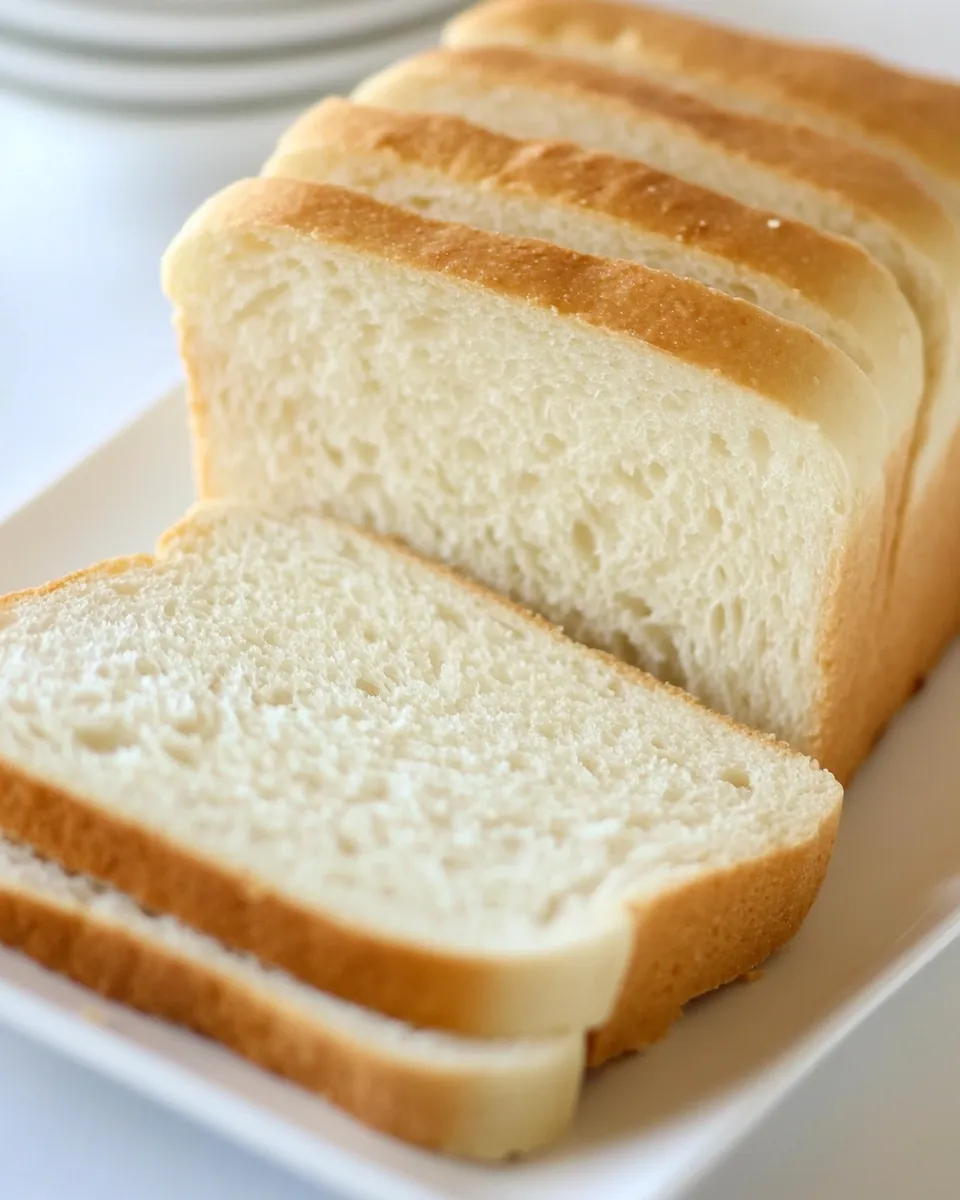
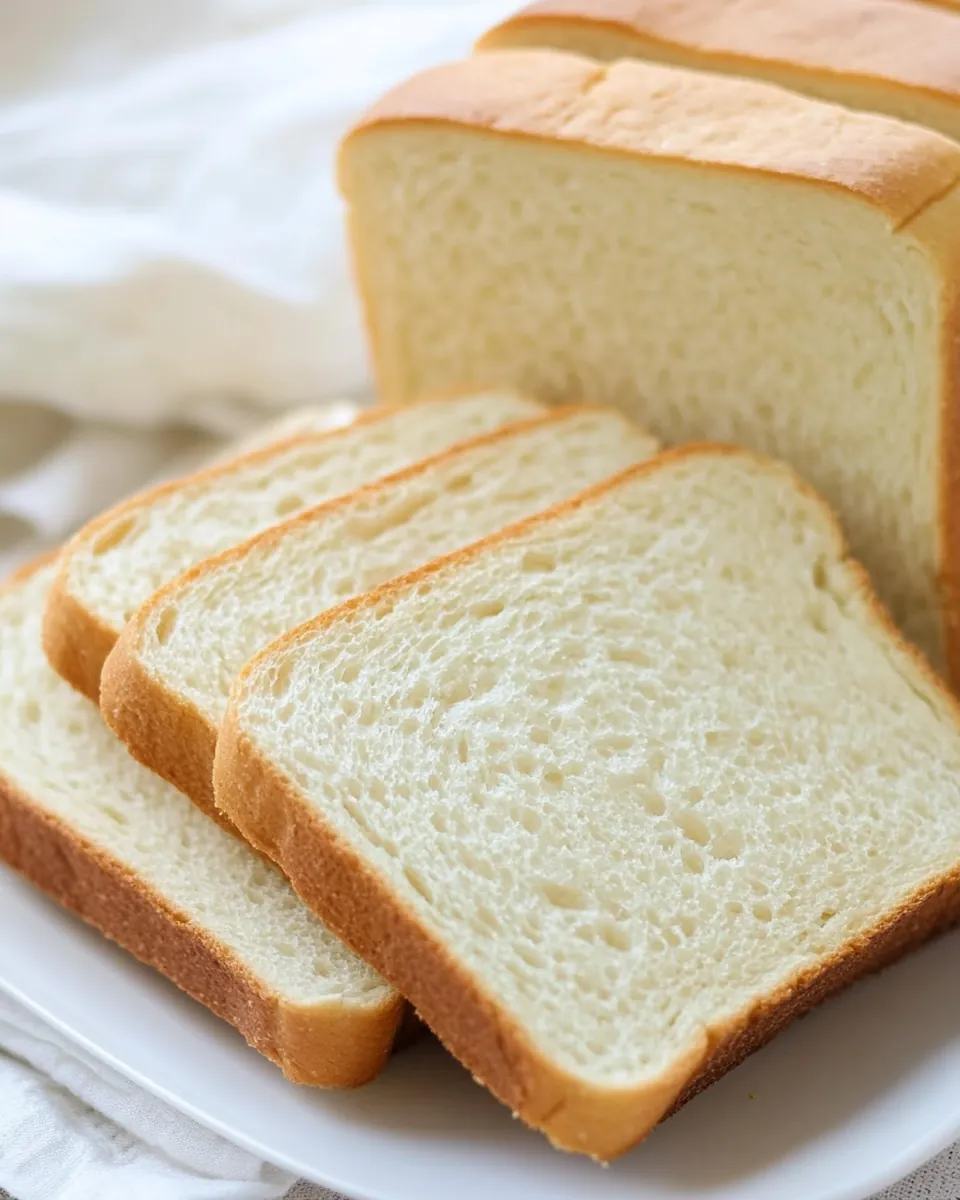
Easy Sandwich Bread Recipe
There’s something incredibly wholesome about the smell of freshly baked bread wafting through your home, and that’s precisely what you’ll experience with this Easy Sandwich Bread Recipe. I remember the first time I decided to make bread from scratch; it felt like a culinary rite of passage. As the dough began to rise, I could hardly contain my excitement, eagerly anticipating that first slice warm from the oven. Whether you’re whipping up sandwiches for a school lunch or planning a cozy family dinner, there’s nothing quite like a loaf of homemade bread to elevate the occasion.
Recipe Snapshot
3 hr 10 mins
150 mins
40 mins
Hard
120 kcal
3 g
Vegan, Gluten-Free, AIP
2 g
Food Processor, Oven, Baking Sheet, Frying Pan, Mixing Bowl, Chef’s Knife, Wooden Spoon
Why Try This Easy Sandwich Bread Recipe
Homemade is Best
There’s a palpable difference between homemade bread and store-bought. The taste, the texture, and the satisfaction of knowing you made it yourself is truly unmatched. With this Easy Sandwich Bread Recipe, you’re in for a treat that’s both delicious and rewarding.
Perfect for Any Occasion
This bread is incredibly versatile. Whether you want to create a classic deli sandwich, a breakfast toast topped with your favorite spread, or simply enjoy a slice with butter, this bread has you covered. It’s a great base for any meal!
Simple Ingredients, Remarkable Flavor
This recipe uses straightforward ingredients you likely already have in your pantry. The combination of warm water, yeast, and flour creates a delightful fermentation process that lends itself to a soft, airy texture. The honey adds a touch of sweetness that complements your sandwiches beautifully.
Celebrate The Art of Baking
Baking bread is an art form, and with this Easy Sandwich Bread Recipe, you get to express yourself in the kitchen. You can experiment with different flours or add seeds for a nutty twist. The possibilities are endless!
Family Bonding
Making bread isn’t just about the end result; it’s about the journey. Involve your family in the preparation process. Children love to knead the dough, and it’s a perfect way to spend quality time together.
Healthier Alternative
By making your own bread, you can control the ingredients. No preservatives, no artificial flavors—just pure, wholesome goodness. This Easy Sandwich Bread Recipe gives you that peace of mind knowing exactly what you’re eating.
Ingredient List for Easy Sandwich Bread Recipe
The ingredients in this recipe are not just functional; they work in harmony to create something truly special. The base of this bread is formed by all-purpose flour, which offers great structure and texture. The active dry yeast is essential for that lovely rise, while honey adds a hint of sweetness. Each ingredient is crucial in achieving the perfect loaf.
- 2 cups warm water (aim for 107-110° F): The warm water activates the yeast, ensuring it rises properly.
- 0.5 oz active dry yeast (2 packets): This is the leavening agent that makes the bread rise.
- 1/4 cup honey: A natural sweetener that enhances the flavor.
- 6 to 7 1/2 cups all-purpose flour (unbleached): Provides the bread structure.
- 1/4 cup granulated sugar: Adds sweetness and helps with browning.
- 2 teaspoons salt: Enhances flavor and controls yeast activity.
- 1/4 cup melted butter (slightly cooled): Adds richness to the bread.
- 2 tablespoons butter (for brushing on top after baking, optional): Enhances flavor and gives a nice sheen.
Putting Together Easy Sandwich Bread Recipe
Making your own bread may seem intimidating, but I assure you, it’s quite straightforward! The steps are easy to follow, and the results are worth every minute spent. Now, let’s dive into the delicious process of making the Easy Sandwich Bread Recipe.
- In a liquid measuring cup, combine warm water, yeast, and honey. Stir gently and let it sit for about 5 minutes until it becomes frothy. This is important as it proves that the yeast is alive and ready to work its magic.
- In a large mixing bowl, combine 4 cups of all-purpose flour, granulated sugar, and salt. Mix these dry ingredients together until well combined.
- Make a well in the center of the dry ingredients and pour in the yeast mixture. With a large spoon, start mixing until a dough begins to form. It should be somewhat sticky.
- Once the dough comes together, switch to using your hands to knead. Gradually sprinkle in the remaining flour, kneading until the dough feels smooth and slightly sticky (not overly so). This should take about 6 minutes.
- Transfer the kneaded dough into a well-greased bowl. Turn it around to coat it in oil, then cover the bowl with plastic wrap or a clean kitchen towel. Set it aside to rise in a warm place for 1 to 2 hours, or until it has doubled in size.
- While the dough is rising, prepare your loaf pans by greasing them well with butter or nonstick spray.
- After the dough has risen, punch it down gently to release any air bubbles. Divide the dough into two equal portions and shape each into a rectangle that fits the width of your loaf pans. Roll them up tightly to form logs.
- Place each log into the prepared loaf pans. Cover them again with a kitchen towel and let them rise for about 1 hour until they double in size once more.
- Preheat your oven to 350° F about 45 minutes into the second rise.
- Bake the loaves for 30 to 40 minutes, or until they are golden brown and sound hollow when tapped on the bottom. Avoid overbaking!
- When you take the bread out of the oven, brush the tops with melted butter while still hot to add extra flavor.
- Allow the loaves to cool in the pans for 20 minutes before transferring them to a cooling rack. Let them cool completely before slicing.
Things Worth Knowing
- Make sure your water is at the right temperature; too hot can kill the yeast.
- Use unbleached flour for a more natural flavor profile.
- Kneading is crucial; don’t skip this step to achieve a good texture.
- Keep an eye on the bread while baking to prevent over-browning.
Recipe Notes about Easy Sandwich Bread Recipe
Here are some helpful tips to ensure your bread turns out perfectly every time. These notes will guide you through the process and help you troubleshoot common issues.
- Storage: After the bread cools completely, store it in airtight containers in the refrigerator for up to 4 days to maintain freshness.
- Freezing: You can freeze the bread once it’s completely cooled. Wrap it tightly in plastic wrap and then in aluminum foil. It can last for up to 3 months.
- Variations: Feel free to add herbs, seeds, or nuts to the dough for added flavor and texture.
- Texture: If the dough feels too sticky while kneading, sprinkle in more flour gradually until it reaches the desired consistency.
- Crust Preference: If you prefer a softer crust, cover the loaves with a towel immediately after baking.
Great Combinations for Easy Sandwich Bread Recipe
Now that you have your freshly baked Easy Sandwich Bread Recipe, let’s explore how to serve it! There are countless ways to enjoy this versatile bread:
- Classic Sandwiches: Perfect for filling with deli meats, cheeses, and your favorite toppings for a lunch that satisfies.
- Breakfast Toast: Top with butter and jam, or avocado and poached eggs for a hearty breakfast.
- Grilled Cheese: Use this bread for the ultimate grilled cheese experience, with its soft interior and crispy crust.
- Soup Companion: Serve slices alongside your favorite soup for a comforting meal.
- Storage Tips: Keep your loaves wrapped in a cloth for short-term storage or in a plastic bag for long-term freshness.
- Seasonal Pairings: Enjoy with fresh garden salads in the summer, or toasted with butter during cozy winter evenings.
FAQ
Conclusion
The Easy Sandwich Bread Recipe is a delightful treat that brings a sense of home and comfort to your kitchen. There’s nothing quite like the joy of pulling a loaf from the oven, the aroma filling the air. I encourage you to try this recipe; it’s simple yet rewarding, and your family will appreciate the effort you put into creating something delicious and wholesome.
Easy Sandwich Bread Recipe
Ingredients
Equipment
Method
- In a liquid measuring cup, combine warm water, yeast, and honey. Stir gently and let it sit for about 5 minutes until it becomes frothy. This is important as it proves that the yeast is alive and ready to work its magic.
- In a large mixing bowl, combine 4 cups of all-purpose flour, granulated sugar, and salt. Mix these dry ingredients together until well combined.
- Make a well in the center of the dry ingredients and pour in the yeast mixture. With a large spoon, start mixing until a dough begins to form. It should be somewhat sticky.
- Once the dough comes together, switch to using your hands to knead. Gradually sprinkle in the remaining flour, kneading until the dough feels smooth and slightly sticky (not overly so). This should take about 6 minutes.
- Transfer the kneaded dough into a well-greased bowl. Turn it around to coat it in oil, then cover the bowl with plastic wrap or a clean kitchen towel. Set it aside to rise in a warm place for 1 to 2 hours, or until it has doubled in size.
- While the dough is rising, prepare your loaf pans by greasing them well with butter or nonstick spray.
- After the dough has risen, punch it down gently to release any air bubbles. Divide the dough into two equal portions and shape each into a rectangle that fits the width of your loaf pans. Roll them up tightly to form logs.
- Place each log into the prepared loaf pans. Cover them again with a kitchen towel and let them rise for about 1 hour until they double in size once more.
- Preheat your oven to 350° F about 45 minutes into the second rise.
- Bake the loaves for 30 to 40 minutes, or until they are golden brown and sound hollow when tapped on the bottom. Avoid overbaking!
- When you take the bread out of the oven, brush the tops with melted butter while still hot to add extra flavor.
- Allow the loaves to cool in the pans for 20 minutes before transferring them to a cooling rack. Let them cool completely before slicing.
Notes
- Storage: After the bread cools completely, store it in airtight containers in the refrigerator for up to 4 days to maintain freshness.
- Freezing: You can freeze the bread once it's completely cooled. Wrap it tightly in plastic wrap and then in aluminum foil. It can last for up to 3 months.
- Variations: Feel free to add herbs, seeds, or nuts to the dough for added flavor and texture.
- Texture: If the dough feels too sticky while kneading, sprinkle in more flour gradually until it reaches the desired consistency.
- Crust Preference: If you prefer a softer crust, cover the loaves with a towel immediately after baking.