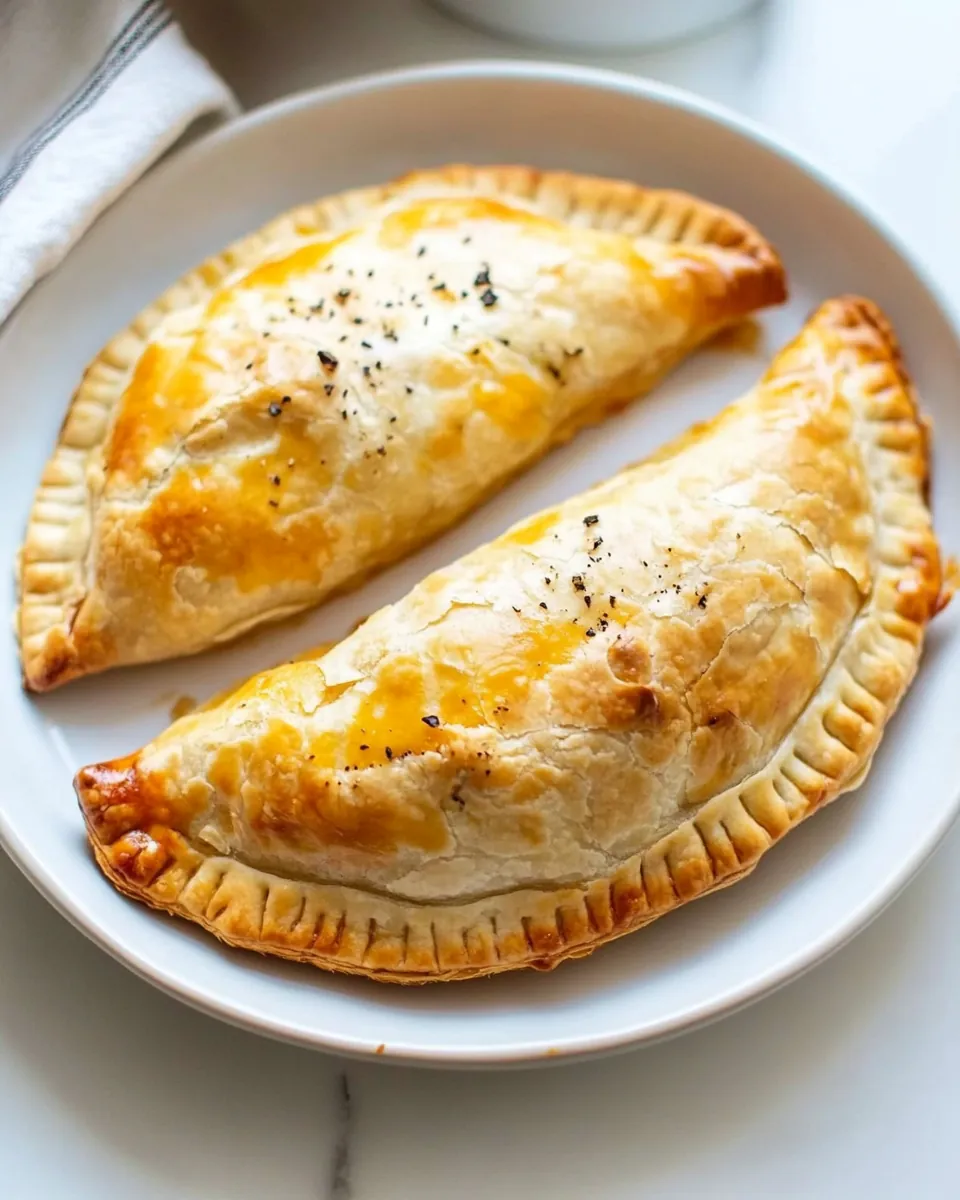
Easy Cornish Pasties
The first time I tasted Easy Cornish Pasties, I was transported to a cozy kitchen in England, where the aroma of baked goods wafted through the air. This delightful dish has a special place in my heart; it brings back memories of family gatherings and Sunday lunches, where the warmth of the oven is matched only by the warmth of good company. Each bite of these savory pastries is a reminder of home and comfort, wrapped in a flaky crust that is both satisfying and nourishing.
Recipe Snapshot
1 hr 10 mins
25 mins
45 mins
Medium
350 kcal
20 g
Paleo, Gluten-Free
15 g
Oven, Baking Sheet, Whisk, Mixing Bowl, Peeler, Cutting Board
Why This Easy Cornish Pasties Is a Winner
Perfectly Portable
One of the things I absolutely love about Easy Cornish Pasties is their portability. Whether you’re heading out for a picnic or just need a quick lunch option, these pasties are easy to take with you. They’re handheld, making them perfect for enjoying on the go, without the mess of traditional meals.
Versatile Fillings
The beauty of Easy Cornish Pasties lies in their versatility. You can fill them with just about anything! From vegetables to various proteins, the options are endless. I often find myself experimenting with different ingredients, which keeps the recipe exciting and fresh.
Impressive Yet Simple
Don’t let the beautiful presentation fool you; Easy Cornish Pasties are surprisingly simple to make. It’s all about assembling the filling and folding the dough. You can impress your friends and family with a homemade dish that looks like it came from a gourmet restaurant.
Comfort Food Classic
There’s nothing quite like sinking your teeth into a warm pasty after a long day. Easy Cornish Pasties are the epitome of comfort food, offering that warm, hearty feeling with every bite. It’s a dish that can soothe the soul and bring joy to your mealtime.
Great for Meal Prep
If you’re someone who enjoys meal prepping, these pasties are a fantastic choice. You can make a batch ahead of time, freeze them, and then bake them fresh whenever you need a quick dinner. It’s a lifesaver on busy days!
Tradition at Its Finest
Lastly, making Easy Cornish Pasties connects you to a rich culinary tradition. With roots in Cornwall, England, these pasties were originally made for miners, providing a hearty meal that could be eaten on the go. By making them, you’re honoring that tradition and keeping it alive in your kitchen.
What’s In This Easy Cornish Pasties
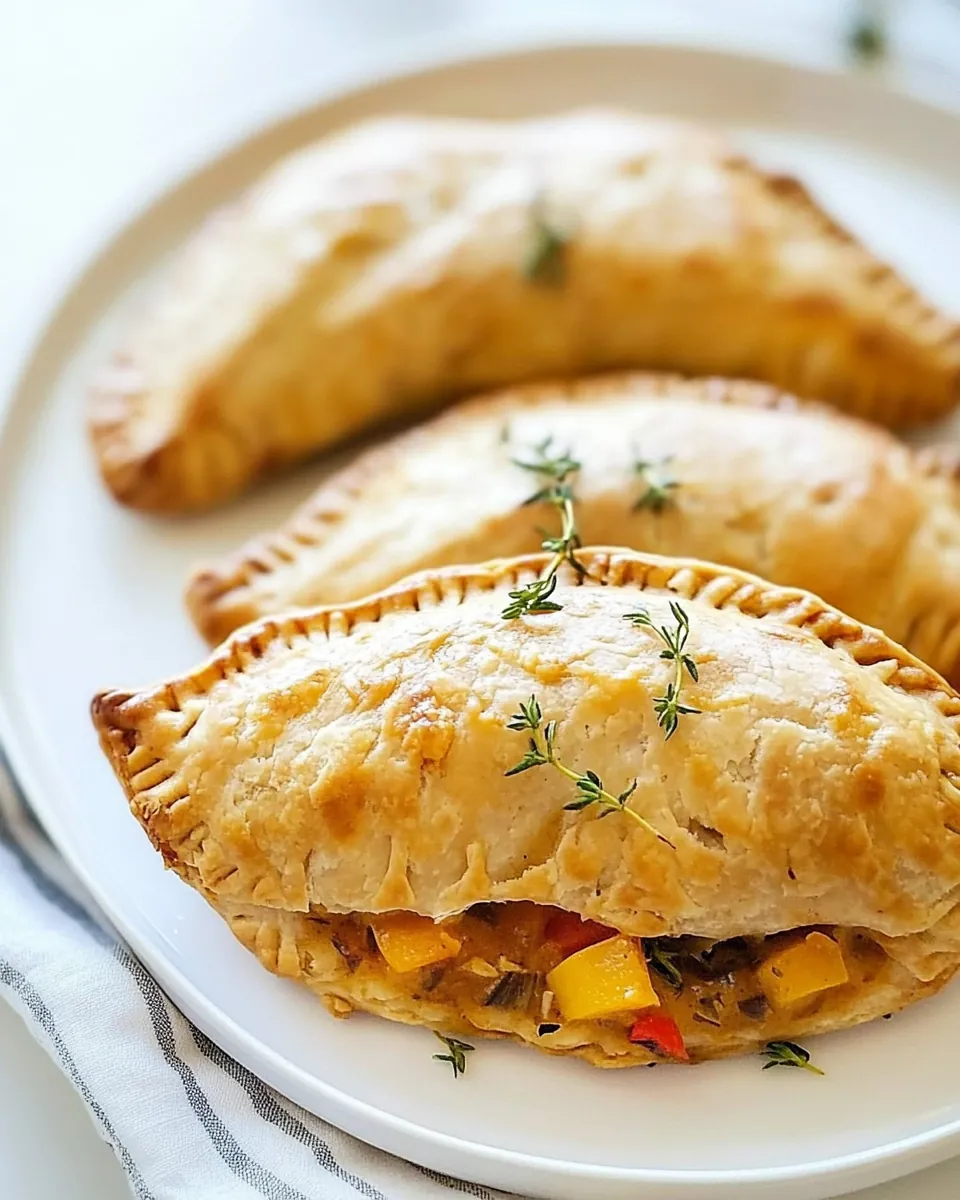
When it comes to Easy Cornish Pasties, the ingredients are simple yet profoundly satisfying. Each component plays a crucial role in crafting the perfect pasty, from the flaky crust to the savory filling. The combination of diced vegetables and tender meat creates a hearty dish that’s both nourishing and delicious.
- ½ pound beef skirt, flank or sirloin steak: The star of the filling, this beef provides rich flavor and a satisfying texture.
- ¾ cup peeled and cubed Yukon gold potatoes: These creamy potatoes add bulk and a lovely creaminess to each bite.
- ¼ cup peeled and cubed carrots: Sweet and colorful, they enhance the flavor profile and add a hint of sweetness.
- ¼ cup diced yellow onion: Onions bring depth to the filling, providing a robust flavor base.
- ¼ teaspoon salt: Essential for enhancing the natural flavors of the ingredients.
- ¼ teaspoon pepper: Adds a bit of heat and balance to the savory filling.
- ¼ teaspoon dried thyme: This herb complements the beef beautifully, adding a hint of earthiness.
- 1 chilled pie crust: The base that holds it all together; a flaky, buttery crust is ideal.
- 4 tablespoons butter: Adds richness and moisture to the filling.
- 1 egg: Used for the egg wash, it gives the pasties a beautiful golden brown color.
- 1 tablespoon water: Mixed with the egg to create the egg wash.
How to Assemble Easy Cornish Pasties
Assembling Easy Cornish Pasties is a delightful process that allows you to get hands-on in the kitchen. The combination of making the filling and preparing the dough is both therapeutic and rewarding. Follow these detailed steps for a successful outcome!
Start by preheating your oven to 350 degrees Fahrenheit. This will ensure that your oven is hot enough to create a perfectly flaky crust. While the oven warms up, prepare a baking sheet lined with parchment paper. This is crucial as it prevents the pasties from sticking and makes cleanup easier.
Next, take your ½ pound beef skirt, flank or sirloin steak and cut it into bite-sized cubes. You want the pieces to be small enough to fit comfortably inside the pasty but large enough to provide a meaty bite. Set these aside in a bowl.
Now, it’s time to prepare the vegetables. Combine the cubed meat with ¾ cup peeled and cubed Yukon gold potatoes, ¼ cup peeled and cubed carrots, and ¼ cup diced yellow onion in the bowl. As you mix, season the mixture with ¼ teaspoon salt, ¼ teaspoon pepper, and ¼ teaspoon dried thyme. Toss everything together until well combined, ensuring each piece is coated with the seasoning.
Roll out your 1 chilled pie crust on a lightly floured surface. You want it to be about 1/8 inch thick. Using a round cutter or a large bowl, cut out 4 rounds of the dough, each about 8 inches in diameter. This is where the magic happens!
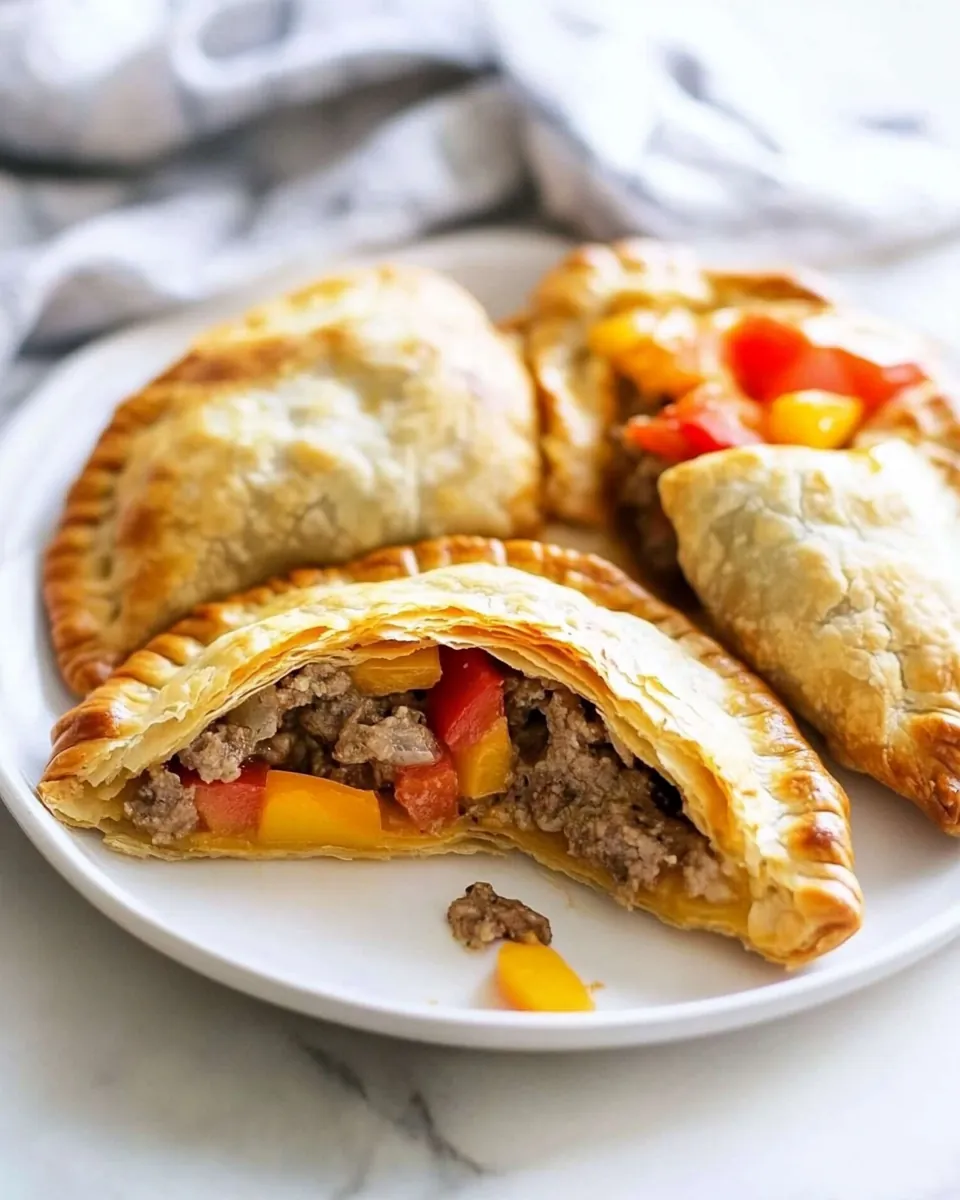
Now, take each dough round and fill the top half with a generous amount of the meat and vegetable mixture. Don’t overfill; you want to be able to fold the dough over without spilling the contents.
Distribute 4 tablespoons butter evenly across the filling. This will melt as the pasties bake, adding flavor and moisture.
Carefully fold the dough over to create a half-moon shape, encasing the filling inside. Press the edges together to seal the pasty. You can crimp the edges with a fork for a decorative touch and to ensure a tight seal.
In a small bowl, whisk together 1 egg and 1 tablespoon water. This is your egg wash. Brush the tops of each pasty with this mixture, giving them a glossy finish as they bake. Don’t forget to poke a few holes in the tops with a fork to allow steam to escape.
Place the prepared pasties on the lined baking sheet and bake them in the preheated oven for 35 to 45 minutes. You’re looking for a beautiful, golden brown crust and cooked through filling. The aroma will fill your kitchen, making it hard to resist!
Things Worth Knowing
- Crust Handling: Keep your dough chilled until you’re ready to work with it. Warm dough can be difficult to handle and won’t hold its shape well.
- Filling Variations: Feel free to get creative with the filling! Other vegetables or even different types of meat can add a unique twist.
- Sealing Tips: Make sure to seal the edges tightly to prevent any filling from leaking out during baking.
- Baking Sheet Prep: Using parchment paper not only prevents sticking but also makes for easier cleanup afterwards.
Ways to Adapt This Recipe
Flexibility is key when it comes to cooking, and Easy Cornish Pasties are no exception. Here are some tips to help you adapt this recipe to suit your taste or dietary needs:
- Storage: To store leftovers, place them in an airtight container in the refrigerator for up to 3 days. Reheat in the oven to keep the crust crispy.
- Freezing: Yes, you can freeze unbaked pasties! Prepare them and place them in a single layer on a baking sheet until frozen. Once solid, transfer them to a freezer bag and bake from frozen, adding a few extra minutes to the cooking time.
- Pairing: These pasties pair wonderfully with a fresh salad or some pickled vegetables for a bright contrast.
- Vegetarian Option: To make a vegetarian version, substitute the beef with lentils or mushrooms for a hearty filling.
- Spice It Up: Add some diced jalapeños or a sprinkle of cayenne for a spicy kick!
- Herb Variations: Experiment with different herbs such as rosemary or oregano for a unique flavor.
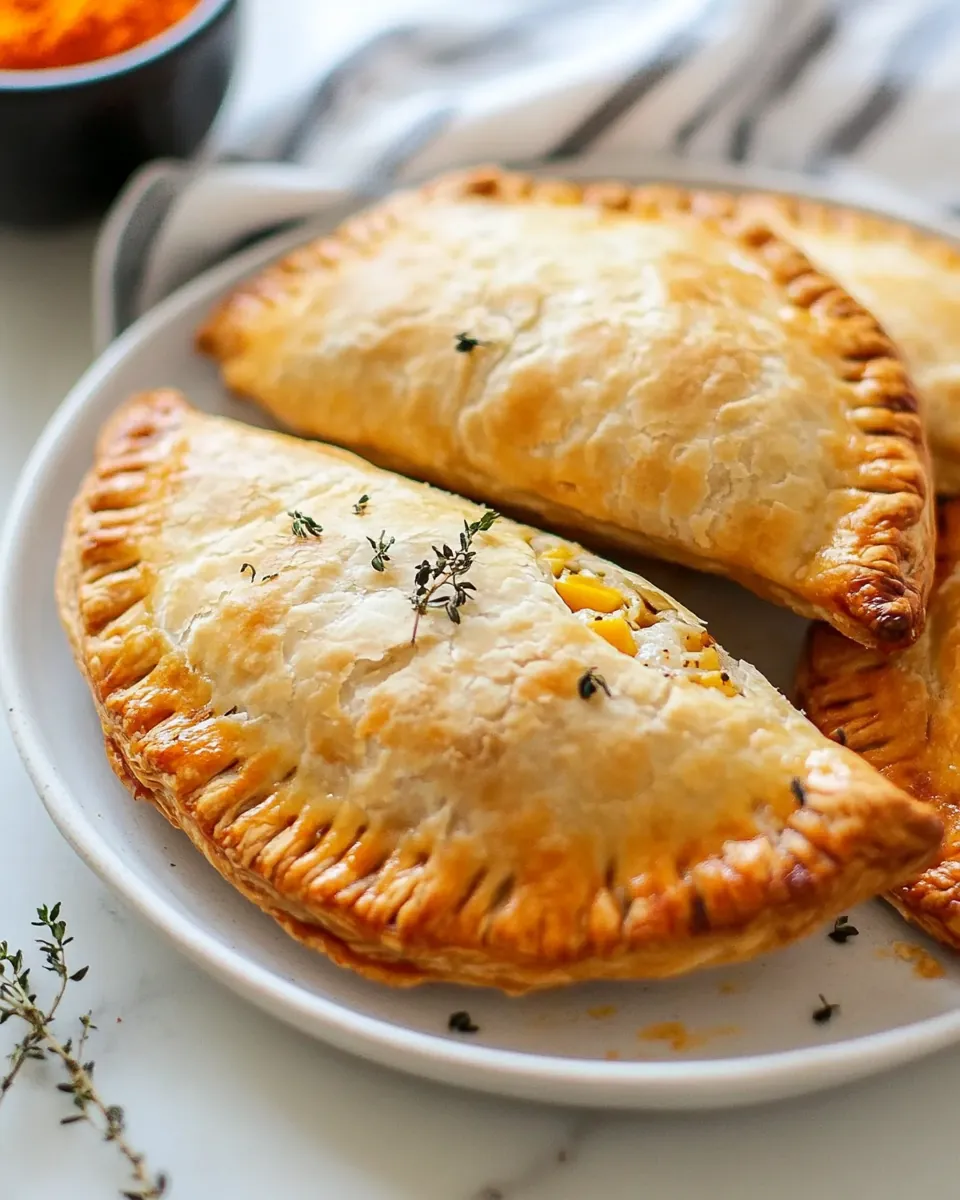
How to Enjoy Easy Cornish Pasties
When it comes to serving Easy Cornish Pasties, the possibilities are endless! Here are some ideas to elevate your dining experience:
- Serve Hot: Always serve these pasties hot out of the oven for the best texture and flavor.
- Accompaniments: Try pairing them with a simple green salad dressed with vinaigrette for a refreshing contrast.
- Ideal for Lunch: These pasties make for a perfect lunch option, especially when you need something filling and delicious.
- Great for Gatherings: Serve them at parties or gatherings as an impressive appetizer that everyone will love.
- Seasonal Flavors: Consider adding seasonal spices or vegetables to match the occasion or time of year.
- Storing Leftovers: If you have any leftovers, store them in the fridge for up to three days, and reheat to enjoy later.
FAQ
Conclusion
In summary, Easy Cornish Pasties are the perfect blend of comfort and convenience, making them an ideal dish for any occasion. Whether you’re looking for a hearty meal or a nostalgic treat, these pasties deliver on flavor and satisfaction. I encourage you to try making them at home; you won’t be disappointed. Enjoy the process, and savor every delicious bite!
Easy Cornish Pasties
Ingredients
Equipment
Method
- Preheat oven to 350 degrees Fahrenheit. Line a baking sheet with parchment paper and set it aside.
- Cut the ½ pound beef skirt, flank or sirloin steak into bite-sized cubes. Combine the cubed meat, ¾ cup peeled and cubed Yukon gold potatoes, ¼ cup peeled and cubed carrots, ¼ cup diced yellow onion, ¼ teaspoon salt, ¼ teaspoon pepper, and ¼ teaspoon dried thyme in a bowl and toss them together. Season with salt, pepper, and dried thyme. Set aside.
- Roll the 1 chilled pie crust out and cut 4 8-inch rounds from the dough. Fill the top half of each dough round with the meat mixture.
- Evenly distribute the 4 tablespoons butter between each pasty. Fold the dough over to form a half circle and seal by crimping the edges.
- Whisk the 1 egg and 1 tablespoon water together to make the egg wash. Brush each of the pasties with the egg wash. Prick the tops with a fork to help release steam while they bake.
- Bake for 35 to 45 minutes or until the crust is golden brown, and the meat is cooked through.
Notes
- Tip 1: Rutabaga is traditionally used in Cornish pasties. Feel free to add 1/4 cup peeled and diced if you desire!
- Tip 2: If using a refrigerated store-bought pie crust, you will need to use both pie crusts in the box. Let the crusts sit at room temperature for about 10 minutes. Cut each crust in half so you have 4 total. Roll the halves into a ball before rolling them out into a circle.