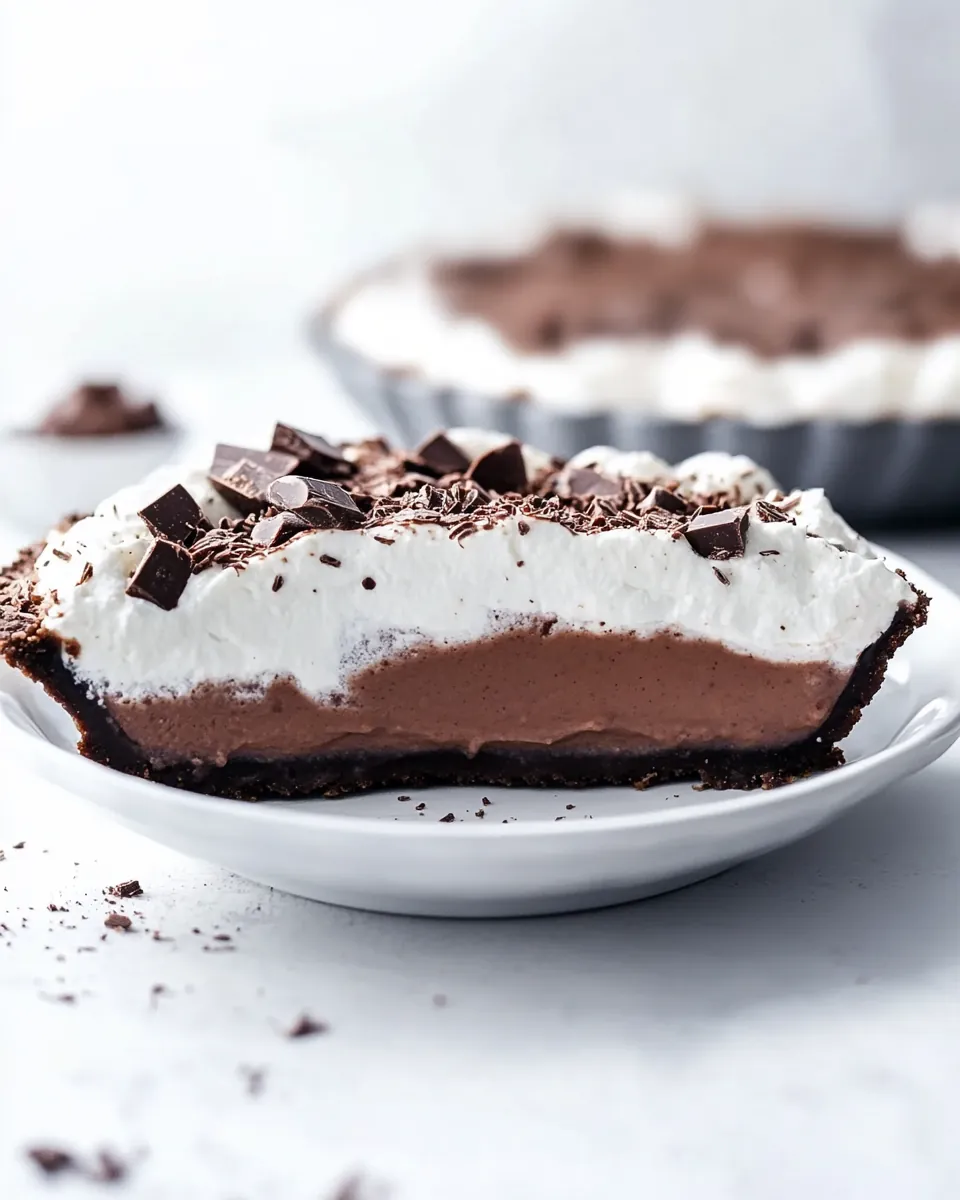
Chocolate Pudding Pie
The first time I laid eyes on a Chocolate Pudding Pie, I remember the excitement bubbling inside me. It was at a family gathering, and I could see the pie gleaming like a chocolate oasis, beckoning everyone with its rich, inviting aroma. As I took a slice, the silky texture and intense chocolate flavor danced on my palate, and I was immediately transported to a state of bliss. Since then, this dessert has become a staple in my kitchen, cherished for its combination of simplicity and indulgence. Nothing beats serving a homemade Chocolate Pudding Pie at gatherings. It’s a dessert that not only satisfies a sweet tooth but also brings people together, sparking laughter and shared memories.
Recipe Snapshot
25 mins
25 mins
0 mins
Medium
350 kcal
4 g
Keto, Paleo, Whole30
17 g
Pie pan
What’s Great About This Chocolate Pudding Pie
There are so many reasons to fall in love with this Chocolate Pudding Pie. Let me share a few that really stand out!
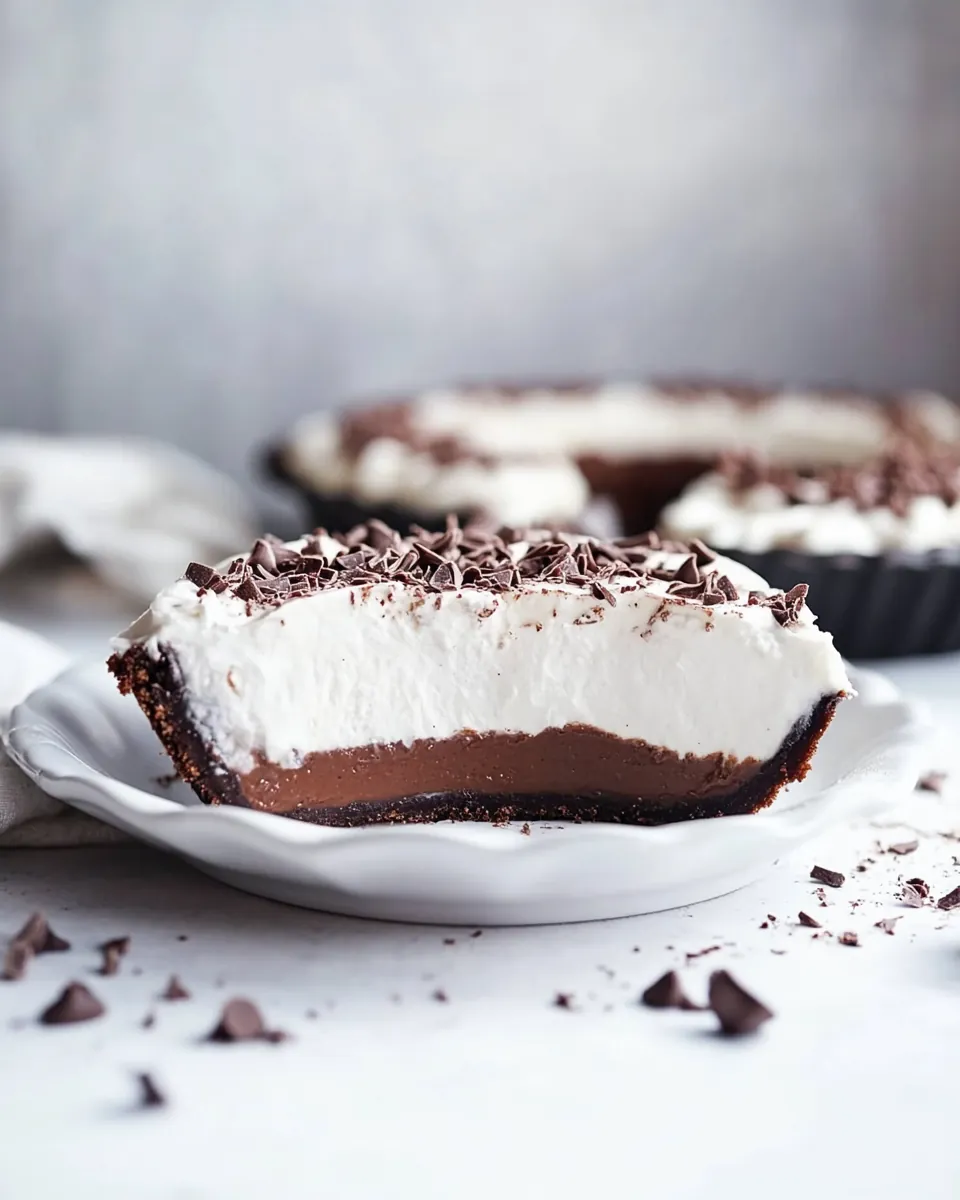
1. Unmatched Creaminess
The first bite reveals an incredibly creamy texture that melts in your mouth. The combination of the chocolate pudding and whipped topping creates a luscious layer that’s hard to resist. You’ll find yourself going back for more!
2. Easy to Make
Don’t you just love desserts that are simple yet impressive? This pie requires minimal effort and uses everyday ingredients, making it perfect for both novice and experienced bakers. You’ll wow your guests without spending hours in the kitchen.
3. Customizable
While the classic Chocolate Pudding Pie is a showstopper on its own, you can easily add your twist. Consider incorporating various toppings like crushed cookies, chocolate shavings, or even a drizzle of caramel sauce to elevate the experience.
4. Perfect for Any Occasion
Whether it’s a birthday celebration, holiday gathering, or just a casual weekend treat, this pie fits right in. It’s a dessert that can be enjoyed year-round, making it a versatile choice that never goes out of style.
5. A Nostalgic Favorite
For many, this pie brings back fond memories of childhood. It’s the kind of dessert that feels like a warm hug and reminds us of simpler times, making it even more special.
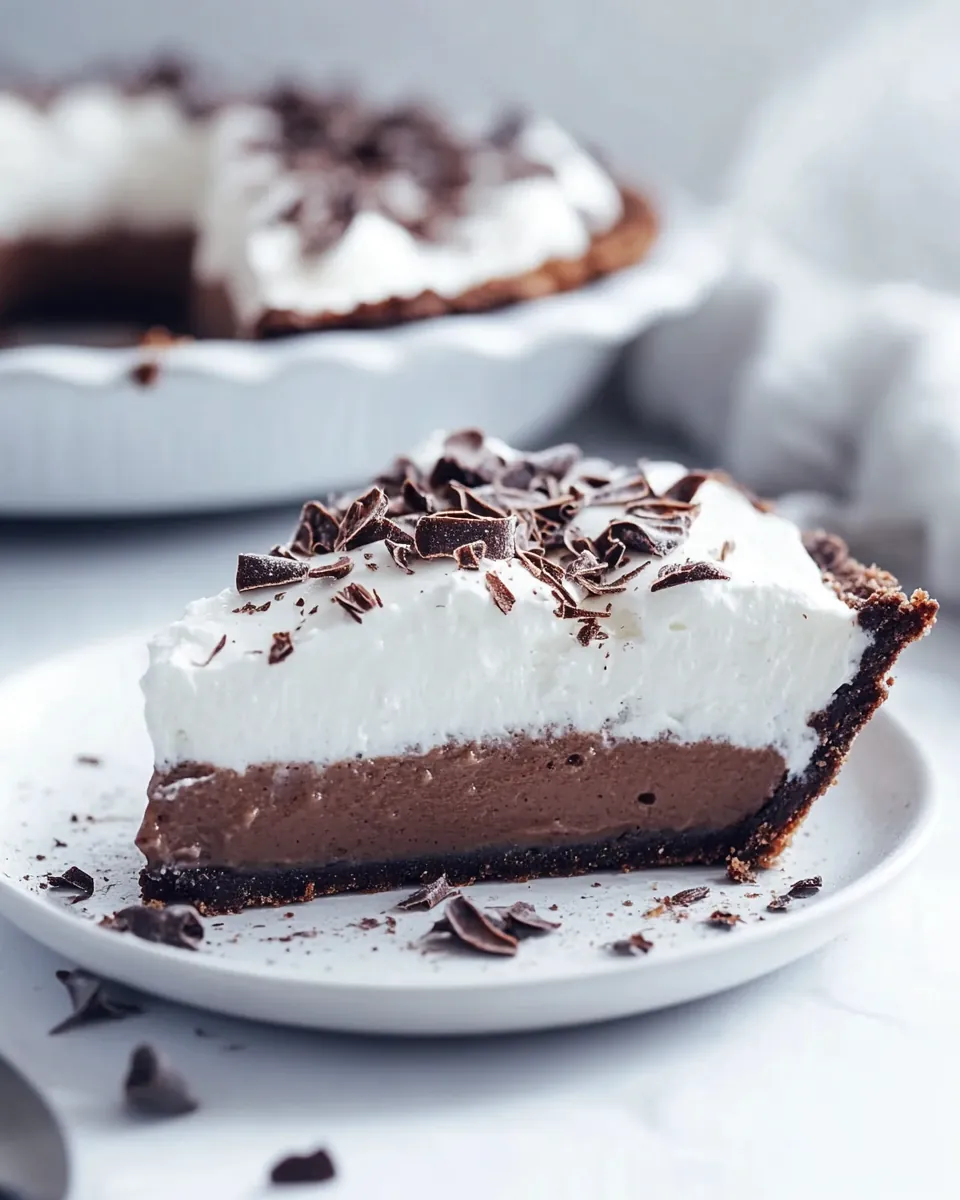
6. A Chocolate Lover’s Dream
If you love chocolate, you’re in for a treat! The intense chocolate flavor comes from both the pudding and the Oreo crust, ensuring that every bite is a delightful explosion of chocolaty goodness.
What to Gather for Chocolate Pudding Pie

Creating a delicious Chocolate Pudding Pie starts with quality ingredients. Each component plays a vital role in crafting this delightful dessert. The rich chocolate flavor of the pudding blends perfectly with the crunch of the Oreo crust and the lightness of the whipped topping. It’s essential to gather everything to make this pie a true masterpiece!
- Cooking spray: Ensures your pie doesn’t stick, making it easier to serve.
- 24 Oreos: These provide a rich, chocolatey crust that serves as the perfect base.
- 4 tablespoons unsalted butter, melted: Adds moisture and richness to the crust.
- 1/16 teaspoon salt (optional): Balances the sweetness of the pie.
- 2 (3.9-ounce) packages chocolate instant pudding and pie filling: This is the star of the show, providing that creamy, rich chocolate flavor.
- 2 cups whole milk: Essential for creating the pudding’s creamy texture.
- 1 (8-ounce) container frozen whipped topping, thawed: Adds a light and fluffy layer to the pie.
- Mini chocolate chips (optional): Perfect for garnishing and adding extra texture.
The Process for Making Chocolate Pudding Pie
Making a Chocolate Pudding Pie is not only enjoyable but also incredibly rewarding. You’ll love watching each layer come together, culminating in a dessert that will impress everyone. Let’s dive into the steps!
- Start by deciding whether you want to purchase a pre-made Oreo cookie crust or make your own. If you opt for homemade, preheat your oven to 350°F. Grab your 9-inch pie pan and spray it with cooking spray to ensure nothing sticks.
- Using a powerful blender or food processor, blend the Oreos into fine crumbs. Measure to make sure you have about 1 and 3/4 cups of crumbs. Transfer them into a bowl.
- Next, add the melted unsalted butter and the optional salt to the crumbs. Stir everything until a thick dough forms. This will be your crust.
- Now, pour the mixture into your greased pie pan. Use the bottom of a 1/4-cup measuring cup to firmly press the crust into the pan, spreading it evenly across the bottom and up the sides.
- Bake the crust in the preheated oven for 10 minutes. Once done, remove it from the oven and let it cool completely.
- While the crust cools, take two packages of chocolate instant pudding and add them to a large mixing bowl. Pour in the whole milk and whisk briskly for about 2 minutes, ensuring the mixture becomes nice and thick.
- Once thickened, take away 1 and 1/2 cups of the pudding mix and spread it evenly into the bottom of the cooled Oreo crust. This forms the first layer.
- Combine the remaining pudding with half of the thawed whipped topping. Spread this mixture evenly over the first layer you just created.
- Finally, use a clean spatula to spread the rest of the whipped topping on top of everything. Chill the pie in your refrigerator for 2 to 4 hours to allow it to set properly.
- When it’s time to serve, warm a very sharp knife under hot water and dry it off. This will help you make clean slices. Be sure to rinse and dry the knife between each cut for the best results. If desired, sprinkle with mini chocolate chips before serving. Enjoy this delicious treat!
Things Worth Knowing
- Be patient with chilling: Allowing the pie to chill properly is crucial for the layers to set correctly.
- Whipped topping temperature: Ensure the whipped topping is fully thawed before mixing to achieve the best texture.
- Crust texture: When making the crust, a firm press is vital to prevent it from crumbling when you slice the pie.
- Chocolate flavor: For an extra chocolatey experience, consider adding cocoa powder to the pudding mixture.
Tips and Variations
Here are some handy tips to elevate your Chocolate Pudding Pie experience!
- Storage: Store leftovers in an airtight container in the fridge for up to 2 to 3 days to keep it fresh.
- Freezing: This pie does not freeze well due to its creamy consistency, so it’s best enjoyed fresh.
- Pairing: Serve with fresh berries or drizzled chocolate sauce for an extra indulgent touch.
- Flavor Variations: Experiment with different flavored puddings like vanilla or butterscotch for a unique twist.
- Garnishing: Top with additional mini chocolate chips or crushed Oreos for added texture and flavor.
Serve This Chocolate Pudding Pie With
When it comes to serving a Chocolate Pudding Pie, the options are endless. Here are some ideas to enhance your dessert experience:
- Fresh Fruit: Pair with strawberries, raspberries, or bananas to introduce a refreshing contrast to the rich chocolate.
- Coffee or Tea: Serve alongside a warm cup of coffee or herbal tea for a delightful afternoon treat.
- Celebrations: This pie is perfect for birthdays, holiday gatherings, or family reunions, making it a crowd-pleaser.
- Ice Cream: A scoop of vanilla ice cream on the side creates a delicious combination of textures and flavors.
- Picnic Desserts: The pie can be a great addition to a picnic spread, providing a sweet ending to an outdoor meal.
FAQ
Conclusion
This Chocolate Pudding Pie is a delightful blend of rich chocolate flavor and creamy texture, making it a dessert that never disappoints. I encourage you to give it a try; it’s sure to become a staple in your dessert repertoire. Whether it’s for a special occasion or just a sweet treat on a weeknight, it’s a recipe you won’t want to miss!
Chocolate Pudding Pie
Ingredients
Equipment
Method
- Start by deciding whether you want to purchase a pre-made Oreo cookie crust or make your own. If you opt for homemade, preheat your oven to 350°F. Grab your 9-inch pie pan and spray it with cooking spray to ensure nothing sticks.
- Using a powerful blender or food processor, blend the Oreos into fine crumbs. Measure to make sure you have about 1 and 3/4 cups of crumbs. Transfer them into a bowl.
- Next, add the melted unsalted butter and the optional salt to the crumbs. Stir everything until a thick dough forms. This will be your crust.
- Now, pour the mixture into your greased pie pan. Use the bottom of a 1/4-cup measuring cup to firmly press the crust into the pan, spreading it evenly across the bottom and up the sides.
- Bake the crust in the preheated oven for 10 minutes. Once done, remove it from the oven and let it cool completely.
- While the crust cools, take two packages of chocolate instant pudding and add them to a large mixing bowl. Pour in the whole milk and whisk briskly for about 2 minutes, ensuring the mixture becomes nice and thick.
- Once thickened, take away 1 and 1/2 cups of the pudding mix and spread it evenly into the bottom of the cooled Oreo crust. This forms the first layer.
- Combine the remaining pudding with half of the thawed whipped topping. Spread this mixture evenly over the first layer you just created.
- Finally, use a clean spatula to spread the rest of the whipped topping on top of everything. Chill the pie in your refrigerator for 2 to 4 hours to allow it to set properly.
- When it’s time to serve, warm a very sharp knife under hot water and dry it off. This will help you make clean slices. Be sure to rinse and dry the knife between each cut for the best results. If desired, sprinkle with mini chocolate chips before serving. Enjoy this delicious treat!