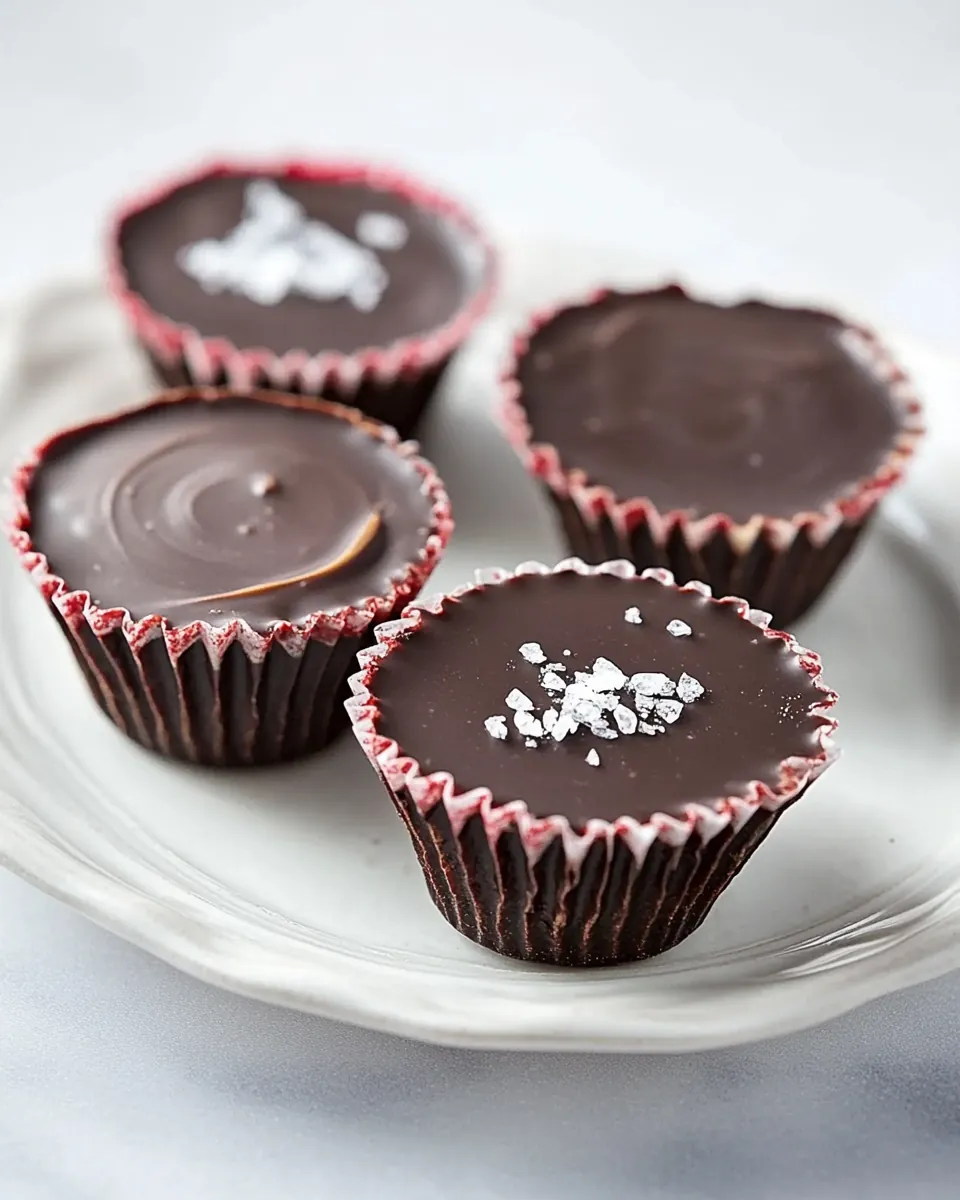
Chocolate Peanut Butter Cups
Whenever I indulge in a sweet treat, I instantly think of Chocolate Peanut Butter Cups. There’s just something magical about the combination of creamy, rich peanut butter and smooth, luscious chocolate. Growing up, these were a special treat, often made during family gatherings or cozy evenings at home. Each bite transports me back to those cherished moments, sharing laughter and stories while enjoying something so delicious. Making your own Chocolate Peanut Butter Cups is not only incredibly satisfying, but it allows for a personal touch that store-bought versions simply can’t replicate. Plus, a sprinkle of sea salt takes this classic combination to the next level! So, let’s dive into the joy of creating these delightful little cups that are sure to impress everyone!
Recipe Snapshot
20 mins
20 mins
0 mins
Medium
120 kcal
3 g
Gluten-Free, Low FODMAP
10 g
Wooden Spoon, Peeler, Mixing Bowl
The Appeal of This Chocolate Peanut Butter Cups
Decadent Flavor Combination
There’s no denying that the blend of chocolate and peanut butter is one of the greatest culinary matches ever created. The rich, sweet chocolate pairs perfectly with the creamy, slightly salty peanut butter, creating a taste sensation that makes your taste buds sing. Each bite is a delightful explosion of flavor that keeps you coming back for more!
Customizable to Your Taste
When you make your own Chocolate Peanut Butter Cups, the possibilities are endless! You can experiment with different types of chocolate—milk, dark, or even a blend of both. Want to add a twist? Throw in some chopped nuts, or use flavored peanut butter like cinnamon or chocolate. Making them at home means you can cater to your preferences and dietary needs.
Simple to Prepare
One of the best things about these Chocolate Peanut Butter Cups is how easy they are to prepare. With just a handful of ingredients and a few simple steps, you can whip up a batch in no time. You don’t need to be a master chef to create these delights; even beginners will find the process straightforward and rewarding.
Perfect for Any Occasion
These treats are perfect for any occasion! Whether it’s a birthday party, a holiday gathering, or simply a cozy night in, Chocolate Peanut Butter Cups are sure to please everyone. They also make fantastic gifts when wrapped in pretty packaging, showing that you put some love into your creation.
Healthy Indulgence
Believe it or not, making your own Chocolate Peanut Butter Cups can be a healthier option than many store-bought varieties. You can control the quality of ingredients, opting for organic peanut butter and chocolate with minimal additives. This way, you can satisfy your sweet tooth without guilt!
Perfect for Sharing
Last but not least, these Chocolate Peanut Butter Cups are perfect for sharing with friends and family. There’s something special about making treats to enjoy together. They spark joy and can create lasting memories, all over a sweet little cup!
What’s In This Chocolate Peanut Butter Cups
When it comes to making Chocolate Peanut Butter Cups, the ingredients work in harmony to create a delightful treat. The star players here are smooth peanut butter, chocolate, and a touch of sea salt. Each component is essential to achieving the perfect balance of flavors and textures, making every bite an experience to savor.
- 1/2 cup smooth peanut butter – This creamy base brings richness and depth, essential for that classic peanut butter flavor.
- 3 tablespoons powdered sugar – A touch of sweetness that helps balance the richness of the peanut butter.
- 1 tablespoon Maldon sea salt – Adds a savory burst that enhances the flavors and gives that delightful contrast.
- 12 ounces chocolate chips (milk, dark, or bittersweet) – The outer shell that coats the cups, providing a luscious, sweet finish.
Step by Step Guide for Chocolate Peanut Butter Cups
Creating your own Chocolate Peanut Butter Cups is simple and fun! Follow these easy steps to make your own batch of these delicious treats that will have everyone coming back for more. Let’s get started!
- Begin by placing the chocolate chips in a microwave-safe bowl. Melt them in the microwave for 90 seconds, stirring halfway through until completely smooth. This method ensures that the chocolate melts evenly and doesn’t burn.
- Prepare your mini muffin tin by placing small paper liners into each compartment. Once the chocolate is melted, take 1 heaping teaspoon of the melted chocolate and pour it into the lined muffin cups. Use the back of a spoon to spread the chocolate evenly across the bottom. Transfer the tin to the refrigerator for at least 10 minutes to set.
- While the first layer of chocolate is cooling, take a medium bowl and combine the peanut butter and powdered sugar. Stir them together until well mixed. This creates a creamy mixture that will form the filling for your cups.
- Once the chocolate layer has set, it’s time to form the filling. Roll 1 teaspoon of the peanut butter mixture into a ball, and then flatten it into a disk. This shape will fit perfectly on top of the chocolate base. Repeat the process with the remaining peanut butter mixture.
- After you’ve formed all the disks, take the muffin tin out of the refrigerator. Place one peanut butter disk in each cup on top of the chilled chocolate. Make sure the disks are centered and touching the edges of the chocolate.
- Pour the remaining melted chocolate over the top of each peanut butter disk, ensuring that it is completely covered. This will create a beautiful shell that encases the tasty filling.
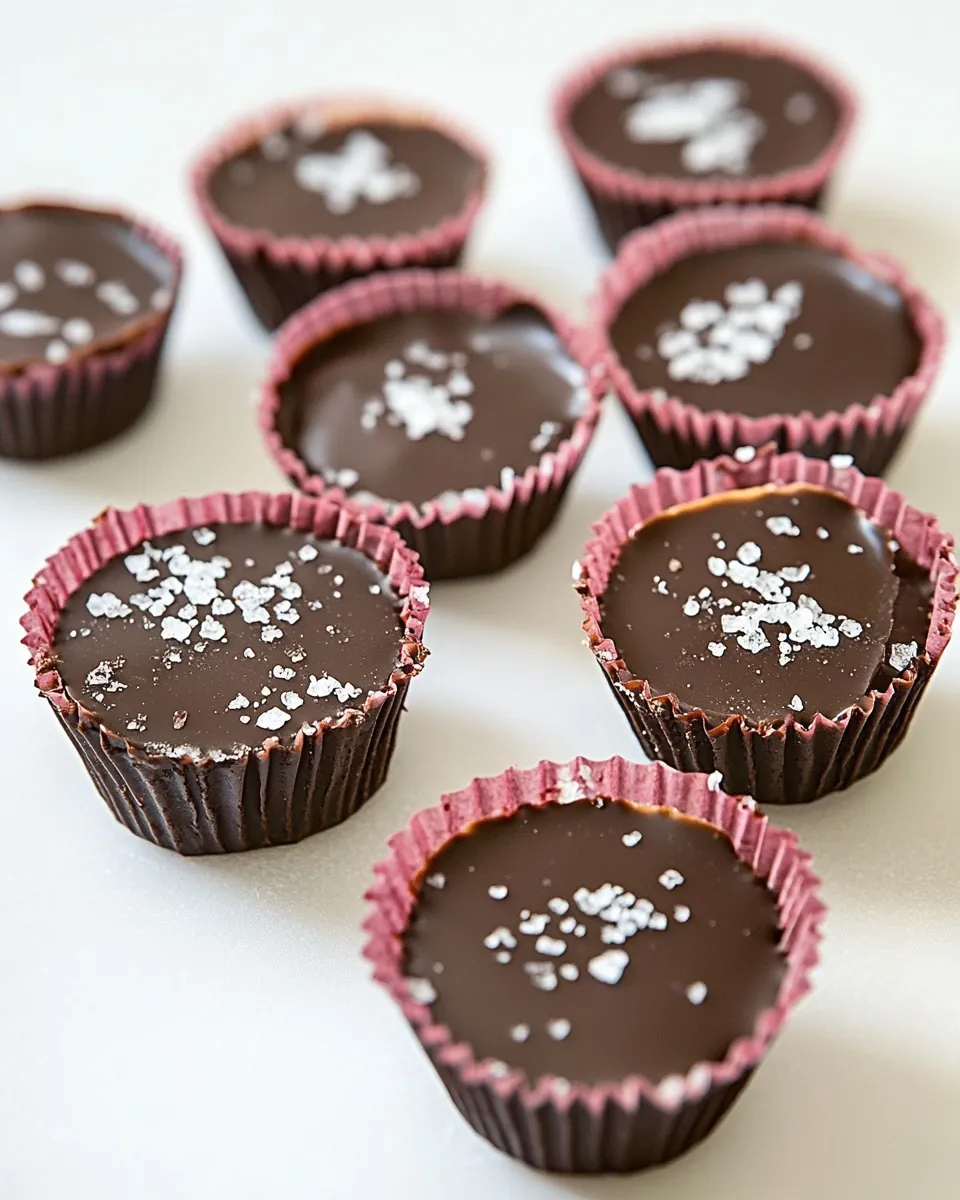
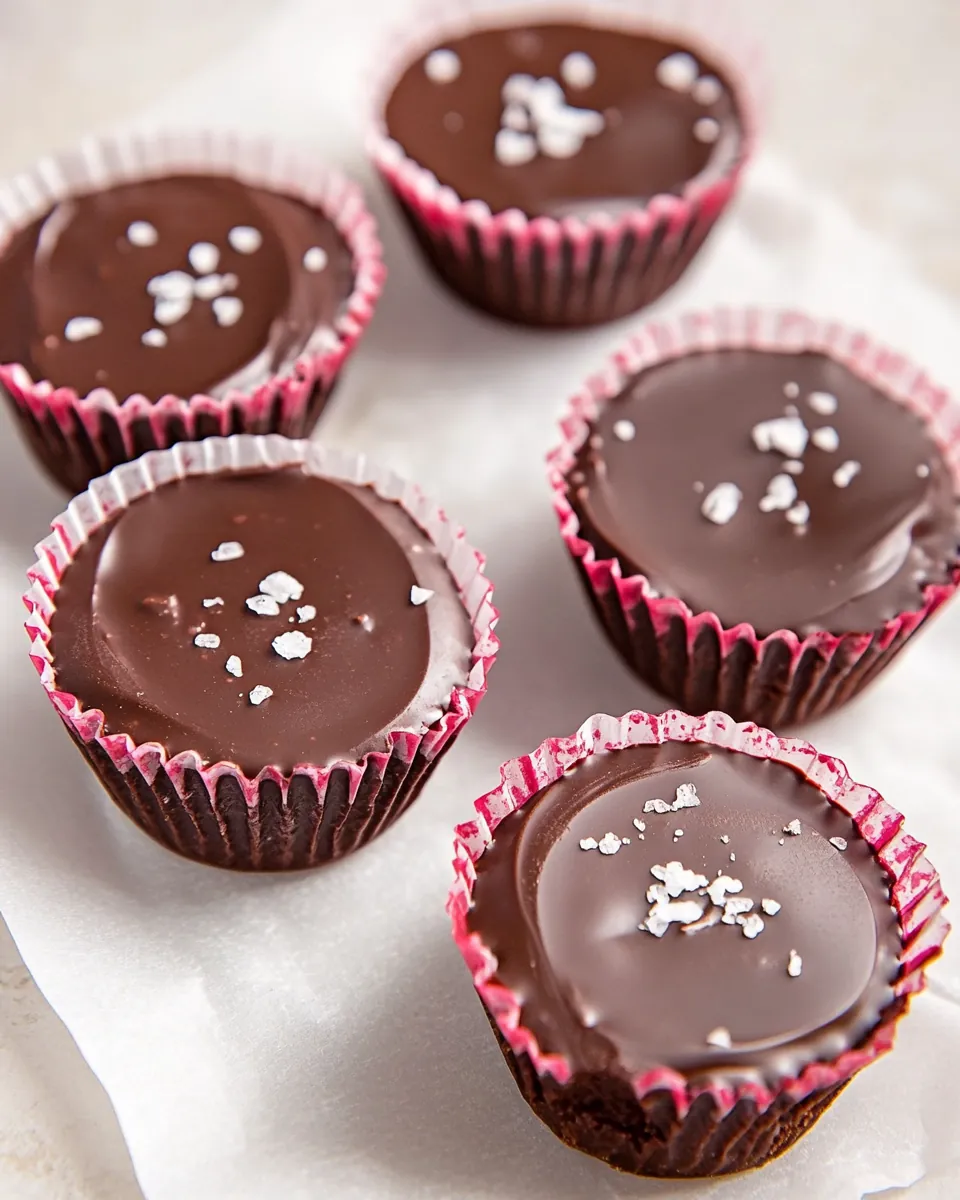
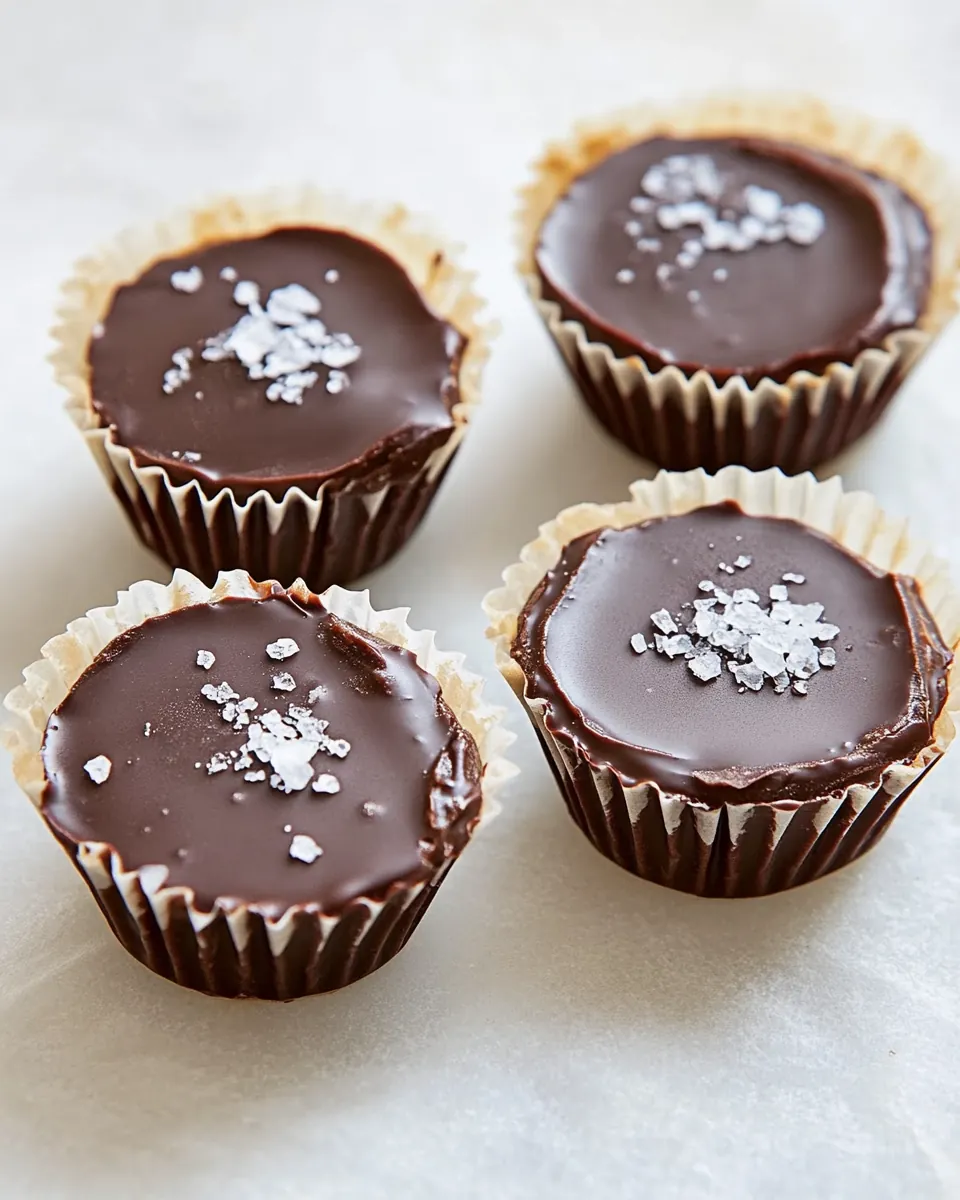
- Finish by sprinkling a few flakes of Maldon sea salt over the top of each cup. This step adds a gourmet touch and enhances the overall flavor experience.
- Return the muffin tin to the refrigerator until the chocolate has completely set. This usually takes about 30 minutes. You’ll know they’re ready when the chocolate feels firm to the touch.
- Once set, carefully peel the cups from the paper liners. Take your time to ensure that the chocolate doesn’t break apart. Each cup should come out easily.
- Enjoy your homemade Chocolate Peanut Butter Cups right away, or store them in an airtight container in the refrigerator for later. They make for a delightful snack at any time!
Things Worth Knowing
- Use quality ingredients: The flavor of your Chocolate Peanut Butter Cups largely depends on the quality of the chocolate and peanut butter you choose. Opt for high-quality brands for the best taste.
- Experiment with flavors: Don’t hesitate to mix in flavors! You can use different types of chocolate or even add spices for a unique twist.
- Chill your chocolate: Make sure to chill your chocolate properly to avoid melting the peanut butter layer. This step is crucial for achieving the perfect texture.
- Storage tips: Keep your Chocolate Peanut Butter Cups in an airtight container in the fridge to maintain freshness. They can also be stored at room temperature but may soften.
Helpful Hints
Here are some helpful tips to ensure your Chocolate Peanut Butter Cups turn out perfectly!
- Storage: Keep your Chocolate Peanut Butter Cups in an airtight container in the refrigerator. They can last up to two weeks!
- Freezing: Yes, you can freeze them! Layer them between parchment paper in a freezer-safe container for longer storage.
- Pairing: These treats pair beautifully with a hot cup of coffee or tea, making them a delightful afternoon snack.
- Serving: Serve them at parties or family gatherings. They’re sure to be a hit!
- Variations: Feel free to mix in chopped nuts or dried fruit for a fun twist on the classic recipe.
Serving This Chocolate Peanut Butter Cups
Serving Chocolate Peanut Butter Cups is all about showcasing these delightful treats in a way that enhances their appeal. Here are some great ideas:
- Perfect for Parties: These cups are perfect for any gathering. Set them out on a decorative platter, and watch them disappear!
- Snack Time: They make for a great after-school snack or a sweet treat to enjoy during movie night.
- Gift Ideas: Package them in a beautiful box tied with a ribbon for a thoughtful homemade gift.
- Seasonal Occasions: Consider making them for special occasions like birthdays or holidays. They can be customized with seasonal chocolate decorations.
- With Coffee or Tea: These delicious cups pair wonderfully with coffee or tea, making them a perfect afternoon indulgence.
- Storage Tips: If you have leftovers, store them in an airtight container. This keeps them fresh and ready to enjoy again!
FAQ
Conclusion
In summary, Chocolate Peanut Butter Cups are a delightful treat that combines the creamy richness of peanut butter with the sweetness of chocolate, topped with a sprinkle of sea salt for the perfect finish. Making them at home not only allows you to customize the flavors but also creates a fun experience in the kitchen. I encourage you to try making these for yourself, sharing with friends and family, or even gifting them to someone special. Enjoy the process and the sweet rewards!
Chocolate Peanut Butter Cups
Ingredients
Equipment
Method
- Begin by placing the chocolate chips in a microwave-safe bowl. Melt them in the microwave for 90 seconds, stirring halfway through until completely smooth. This method ensures that the chocolate melts evenly and doesn’t burn.
- Prepare your mini muffin tin by placing small paper liners into each compartment. Once the chocolate is melted, take 1 heaping teaspoon of the melted chocolate and pour it into the lined muffin cups. Use the back of a spoon to spread the chocolate evenly across the bottom. Transfer the tin to the refrigerator for at least 10 minutes to set.
- While the first layer of chocolate is cooling, take a medium bowl and combine the peanut butter and powdered sugar. Stir them together until well mixed. This creates a creamy mixture that will form the filling for your cups.
- Once the chocolate layer has set, it's time to form the filling. Roll 1 teaspoon of the peanut butter mixture into a ball, and then flatten it into a disk. This shape will fit perfectly on top of the chocolate base. Repeat the process with the remaining peanut butter mixture.
- After you’ve formed all the disks, take the muffin tin out of the refrigerator. Place one peanut butter disk in each cup on top of the chilled chocolate. Make sure the disks are centered and touching the edges of the chocolate.
- Pour the remaining melted chocolate over the top of each peanut butter disk, ensuring that it is completely covered. This will create a beautiful shell that encases the tasty filling.
- Finish by sprinkling a few flakes of Maldon sea salt over the top of each cup. This step adds a gourmet touch and enhances the overall flavor experience.
- Return the muffin tin to the refrigerator until the chocolate has completely set. This usually takes about 30 minutes. You’ll know they’re ready when the chocolate feels firm to the touch.
- Once set, carefully peel the cups from the paper liners. Take your time to ensure that the chocolate doesn’t break apart. Each cup should come out easily.
- Enjoy your homemade Chocolate Peanut Butter Cups right away, or store them in an airtight container in the refrigerator for later. They make for a delightful snack at any time!
Notes
- Storage: Keep your Chocolate Peanut Butter Cups in an airtight container in the refrigerator. They can last up to two weeks!
- Freezing: Yes, you can freeze them! Layer them between parchment paper in a freezer-safe container for longer storage.
- Pairing: These treats pair beautifully with a hot cup of coffee or tea, making them a delightful afternoon snack.
- Serving: Serve them at parties or family gatherings. They’re sure to be a hit!
- Variations: Feel free to mix in chopped nuts or dried fruit for a fun twist on the classic recipe.