Chocolate Lava Cake
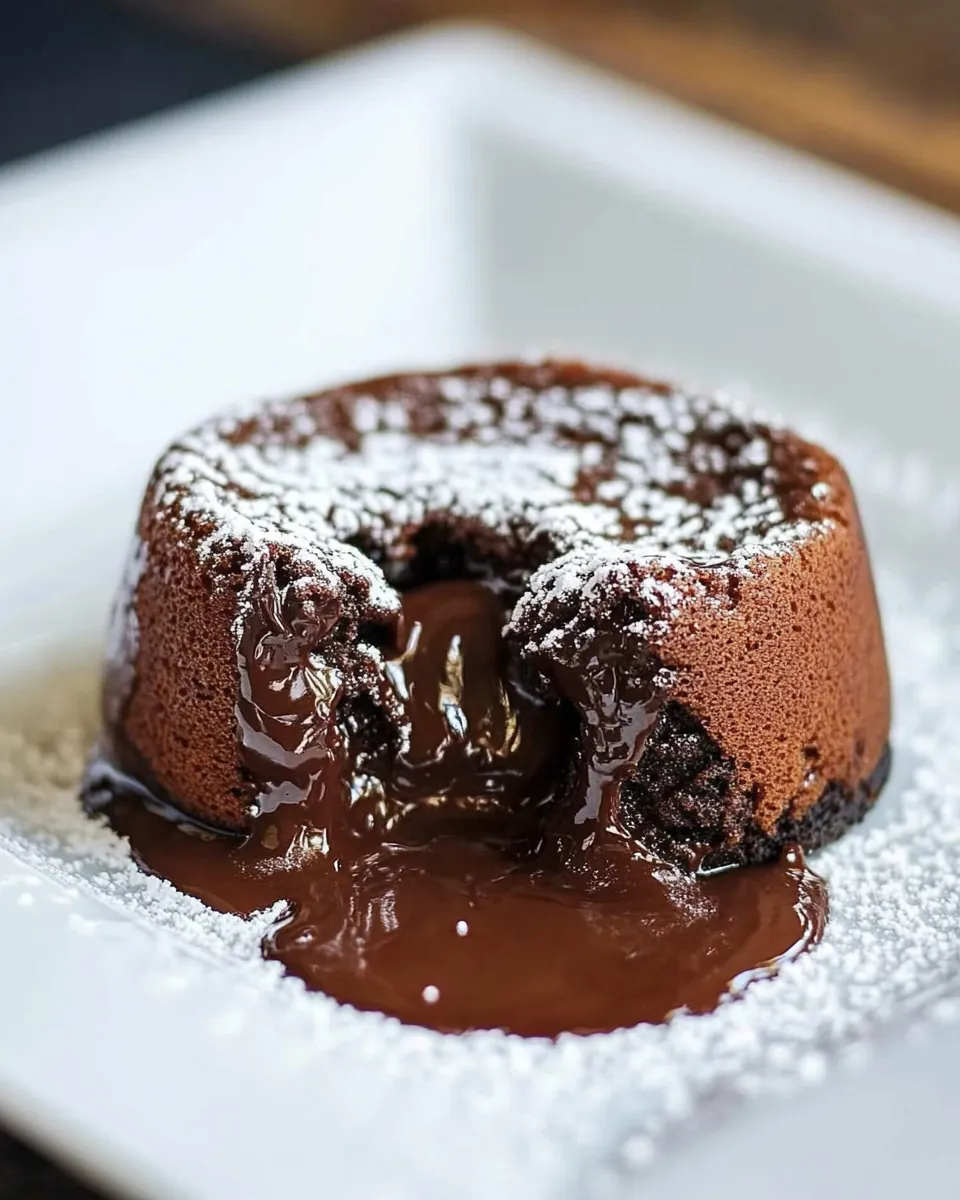
There’s something utterly magical about the first spoonful of a Chocolate Lava Cake. As you dig in, the warm, molten center flows out, creating a luscious chocolate river that’s simply irresistible. I remember the first time I tasted this decadent dessert; it was at a cozy little bistro in Paris. The moment I took that first bite, I was transported to a world of blissful chocolate delight. This is not just a dessert; it’s an experience, one that invites you to indulge in its rich flavors and velvety texture. Whether it’s a special occasion or just a treat for yourself, preparing a Chocolate Lava Cake at home is a true labor of love, and today, I’m thrilled to share my version with you.
Recipe Snapshot
33 mins
20 mins
13 mins
Medium
350 kcal
6g g
Keto, Paleo, Whole30
19g g
measuring scale, ramekins, double boiler
The Appeal of This Chocolate Lava Cake
1. It’s an Experience Like No Other
When you prepare a Chocolate Lava Cake, you’re not just baking; you’re creating a culinary masterpiece that impresses both the eye and the palate. The anticipation builds as you take your first bite and reveal the oozing chocolate center. It’s a showstopper that never fails to elicit gasps of delight.
2. Perfect for Any Occasion
Whether you’re celebrating a birthday, hosting a dinner party, or just craving something special, this dessert fits the bill. It’s an elegant choice that elevates any meal and makes your guests feel pampered. Plus, it’s surprisingly easy to make!
3. Customizable Toppings
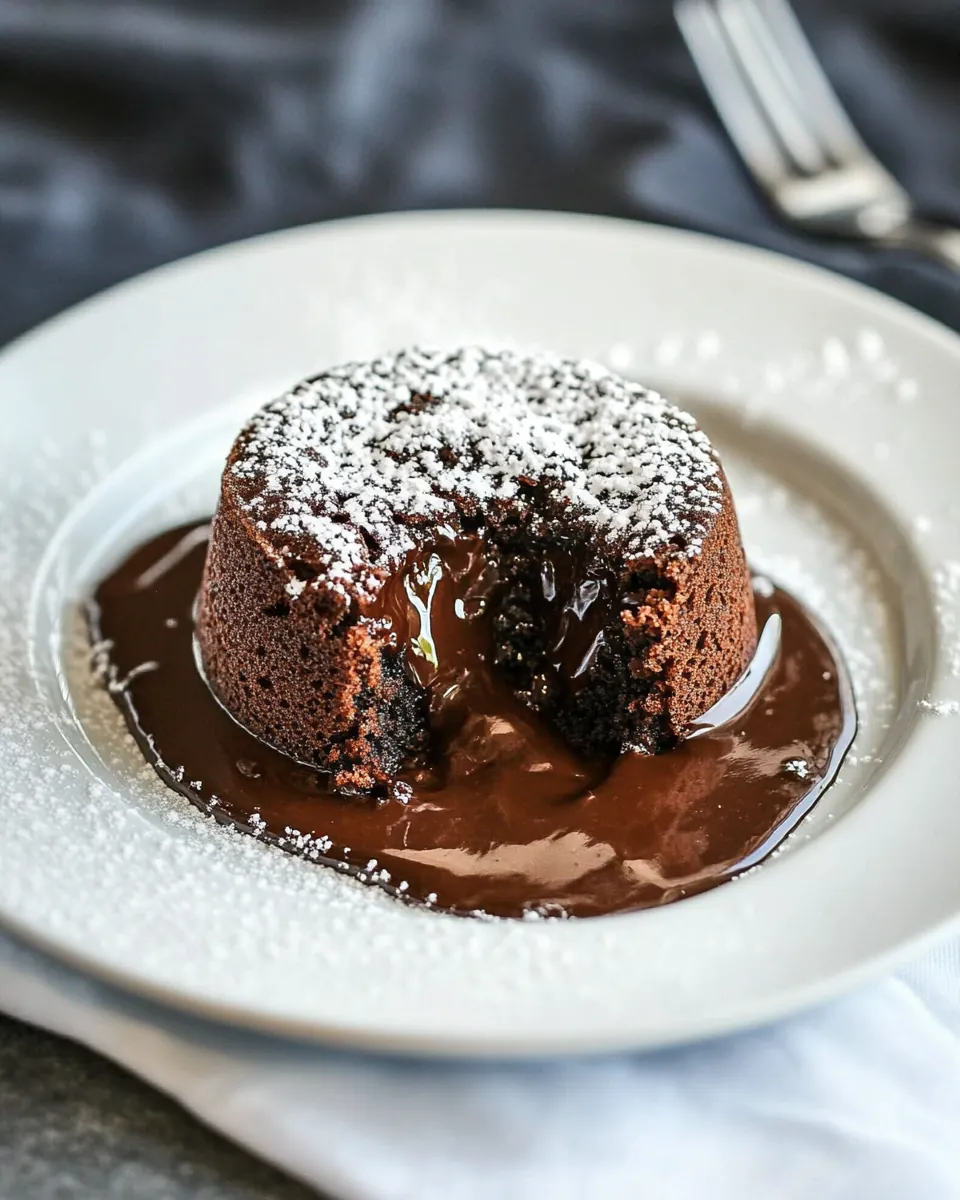
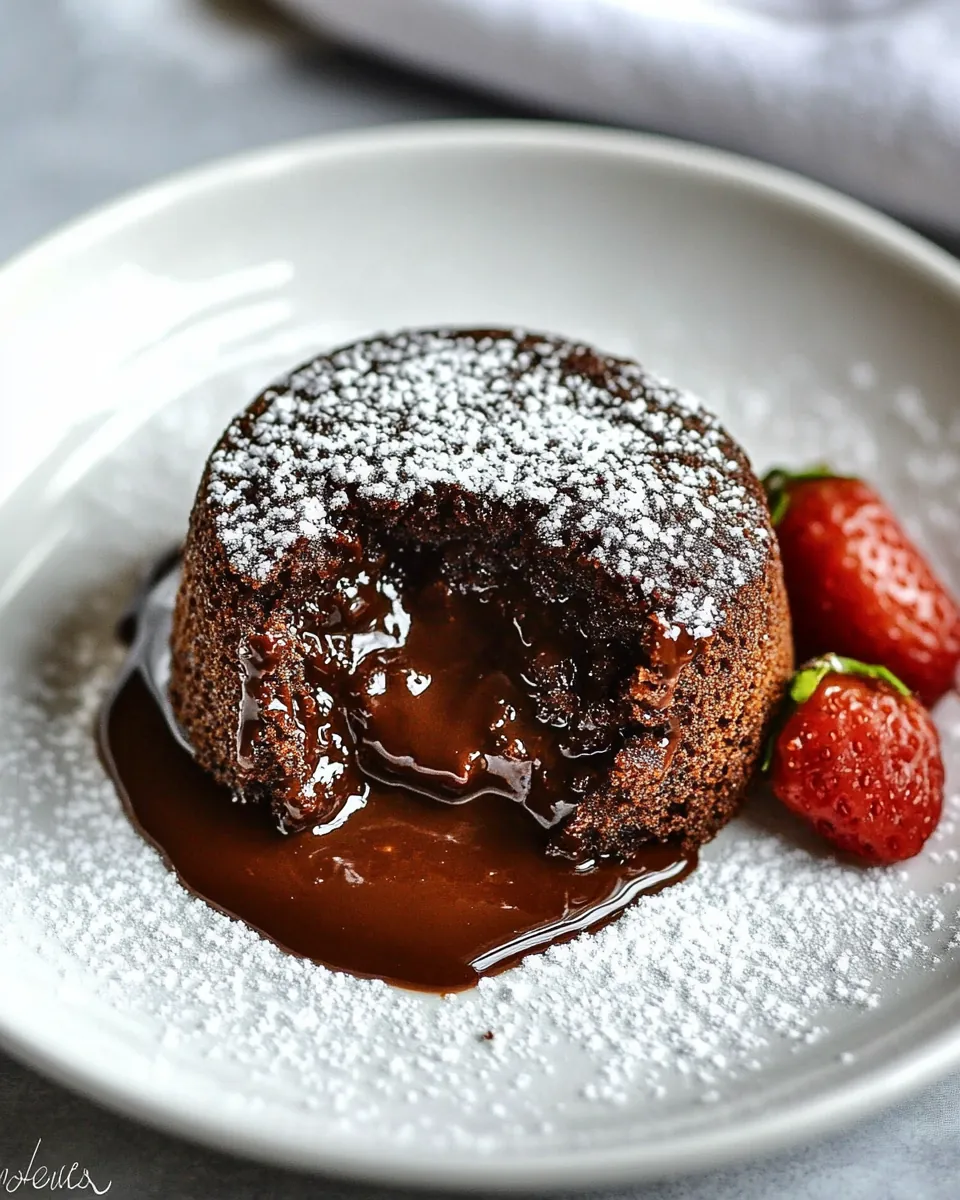
One of the best parts about the Chocolate Lava Cake is how versatile it is. You can top it with a sprinkle of powdered sugar, a dollop of whipped cream, or even fresh berries for a pop of color and flavor. Each combination enhances the experience, allowing you to personalize it to your taste.
4. Simple Ingredients, Big Impact
This recipe requires just a handful of ingredients, yet the result is nothing short of extraordinary. The combination of rich dark chocolate, creamy butter, and eggs creates a rich flavor profile that’s hard to resist. It’s a reminder that sometimes, less is more in the kitchen.
5. Fun for All Ages
Baking a Chocolate Lava Cake can be a fun family activity or a romantic date night. Kids love helping out, especially when it comes to mixing and pouring the chocolate. It’s an excellent way to share a love for cooking and create sweet memories.
6. A Chocolate Lover’s Dream
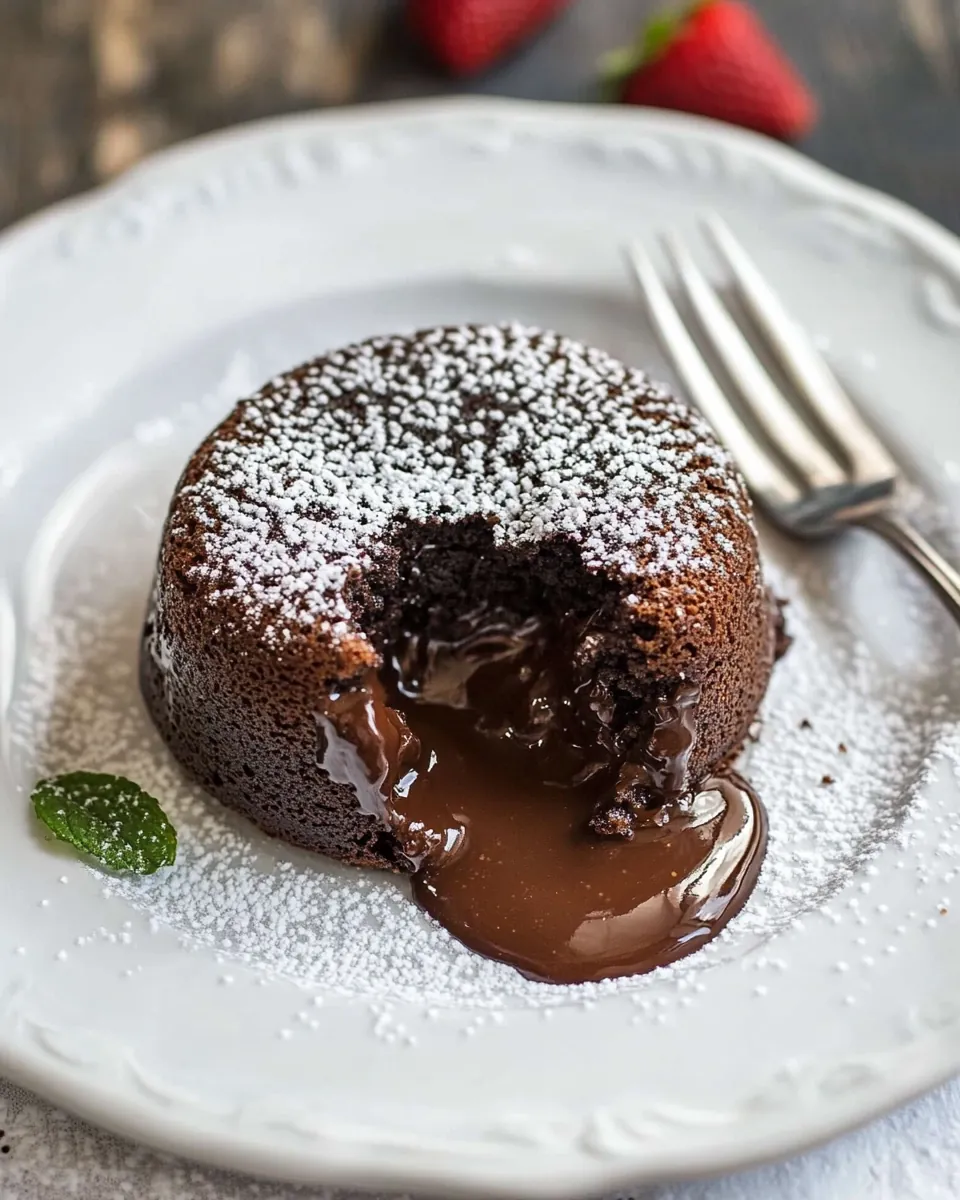
For anyone who adores chocolate, this dessert is a dream come true. The rich chocolate flavor is intensified by the molten center, making every bite a delight. It’s the ultimate indulgence for chocolate enthusiasts, offering a satisfying end to any meal.
What to Gather for Chocolate Lava Cake
Gathering the right ingredients is essential for the perfect Chocolate Lava Cake. Each component plays a crucial role in achieving that ideal balance of flavor and texture. The key players here are the rich dark chocolate, which provides depth, and the butter, which adds richness and moisture. Together, they create a cake that’s both decadent and delightful.
- 3 tablespoons unsalted butter – Melted butter ensures a moist cake and helps achieve that luscious lava center.
- Cocoa powder – This is for dusting, preventing the cake from sticking to the ramekins and adding an extra touch of chocolate flavor.
- 6 oz dark chocolate – Opt for 60% bittersweet baking chocolate for the perfect balance between sweet and rich.
- 13 tablespoons unsalted butter – Chilled and cubed, this contributes to a creamy texture and intense flavor.
- 4 large eggs – Eggs provide structure and richness, essential for a cake that’s both tender and rich.
- 4 large egg yolks – Extra yolks help create a more luscious and custardy texture.
- 6.7 oz sugar – A little less than 1 cup, sugar balances the bitterness of chocolate while adding sweetness.
- 6.6 oz all-purpose flour – This gives the cake structure while still allowing for a gooey center.
- Confectioners’ sugar – For dusting before serving, adding a touch of elegance to your presentation.
- 1 cup fresh cranberries – Optional for garnish, they add a pop of color and a tart contrast to the sweet chocolate.
Cooking Instructions for Chocolate Lava Cake
Now, let’s dive into making this indulgent Chocolate Lava Cake. Each step is simple, yet it leads you to a beautifully baked cake that will impress anyone lucky enough to taste it. Don’t worry; I’ll guide you through every detail!
- Start by brushing the inside of your ramekins with melted butter. This is crucial for ensuring the cakes release easily after baking. After buttering, place them in the freezer for 10 to 15 minutes. This little trick creates a barrier that helps the cakes maintain their shape.
- Once the ramekins are chilled, brush them again with more melted butter and dust with cocoa powder. Shake out the excess cocoa powder, making sure the insides are nicely coated.
- Next, set up a double boiler by filling a saucepan with water and bringing it to a simmer. Place a heatproof bowl on top, ensuring it doesn’t touch the water. Add the dark chocolate and butter to the bowl, stirring gently until melted and smooth. Remove from heat and let it cool for about 10 minutes.
- In a large mixing bowl, beat together the eggs, egg yolks, and sugar using an electric hand mixer. Whip them until the mixture thickens and leaves a trail when you draw a spoon across the surface. This indicates you’ve achieved the perfect consistency.
- Carefully sift the flour into the egg mixture, folding it gently until just combined. It’s important not to overmix here, as we want a light and airy texture.
- Now it’s time to introduce your melted chocolate mixture. Gradually pour it into the batter, mixing well after each addition until everything is fully combined.
- Evenly divide the batter among your prepared ramekins. Don’t fill them to the brim; leave some space for the cakes to rise. Chill the filled ramekins in the fridge for about 20 minutes.
- While the cakes chill, preheat your oven to 400°F (200°C). This will ensure they bake perfectly as soon as they hit the heat.
- Place the chilled ramekins on a baking sheet and bake in the preheated oven for about 13 minutes. You’ll know they’re done when the tops are solid and just starting to pull away from the sides.
- After baking, let the cakes rest in the ramekins for 3 to 5 minutes. Carefully run a thin knife around the edges to loosen them. Invert the cakes onto serving plates, tapping gently to release them.
- Finish with a dusting of confectioners’ sugar and a garnish of fresh cranberries if desired. Serve immediately while they’re warm and gooey!
Things Worth Knowing
- Quality chocolate is key: Choose high-quality dark chocolate for the richest flavor and a smooth texture.
- Chill time matters: Don’t skip chilling the ramekins; it’s crucial for a perfect bake.
- Testing for doneness: Each oven is different; keep an eye on the cakes to prevent over-baking.
- Serving tip: Enjoy the cakes warm for the best molten center. Reheating in the microwave for a few seconds can revive leftovers nicely.
Recipe Variations about Chocolate Lava Cake
Variations can take your Chocolate Lava Cake to new heights. Here are some creative ways to enjoy this classic dessert, giving you room to explore different flavors and presentations.
- Try different chocolates: Experiment with different types of dark chocolate, or even milk chocolate for a sweeter profile.
- Nutty addition: Incorporate chopped nuts, like hazelnuts or pecans, into the batter for added texture and flavor.
- Citrus twist: Add a bit of orange or lemon zest to the batter for a refreshing citrus contrast to the chocolate.
- Fruit fillings: Consider adding a dollop of raspberry or cherry jam in the center before baking for a fruity surprise.
- Individual desserts: Instead of ramekins, use muffin tins for mini lava cakes, perfect for parties and easier portioning.
- Flavored sauces: Serve with caramel or a fruit coulis for a luscious sauce that enhances the cake.
- Storage: Leftovers can be stored in an airtight container in the fridge for up to three days.
- Freezing: You can freeze unbaked filled ramekins. Just add a few extra minutes to the baking time.
- Pairing: This dessert pairs beautifully with fresh whipped cream or vanilla ice cream to balance the richness.
What Complements This Chocolate Lava Cake
Pairing your Chocolate Lava Cake with the right accompaniments can elevate your dessert experience. Here are some delightful options to consider:
- Fresh berries: Serve with a mix of strawberries, blueberries, and raspberries for a refreshing tartness.
- Ice cream: A scoop of vanilla or coffee ice cream creates a beautiful contrast in temperature and flavor.
- Chocolate sauce: Drizzle warm chocolate sauce on top for an indulgent touch.
- Whipped cream: Light and airy, it balances the rich chocolate nicely and adds a creamy texture.
- Espresso: Pairing with a shot of espresso enhances the chocolate notes and adds a nice finish to the meal.
- Seasonal fruits: In the summer, consider garnishing with peaches or cherries for a seasonal twist.
- Nut brittle: Crushed caramelized nuts can add a lovely crunch and contrast to the smooth cake.
- Occasions: This dessert is perfect for romantic dinners, holiday celebrations, or any gathering where you want to impress.
FAQ
Conclusion
The Chocolate Lava Cake is truly a magical dessert that promises to impress with its rich flavors and delightful molten center. It’s perfect for any occasion, whether it’s a special celebration or simply a treat for yourself. I hope you give this recipe a try and experience the joy it brings. You’ll find that every bite is a testament to the beauty of chocolate, and it just might become a new favorite in your dessert repertoire!
Chocolate Lava Cake
Ingredients
Equipment
Method
- Brush melted butter on the inside of the ramekins. Place in the freezer for 10 to 15 minutes. Brush with more melted butter and then sprinkle the cocoa powder inside the ramekins. Shake to completely coat the ramekins, and then tap out excess.
- Use a double boiler (with water in the bottom pot) or a heatproof bowl over a bowl of simmering water to gently melt the chocolate and butter. Remove from heat and let cool for 10 minutes.
- In a large bowl, use an electric hand mixer to beat together the eggs, egg yolks, and sugar until so thick that a spoon dragged across the top of the mixture leaves a trail.
- Sift the flour into the egg mixture and then beat until incorporated. Pour the melted chocolate mixture into the egg mixture one-third at a time, beating well between additions until completely combined.
- Evenly divide the mixture across the prepared ramekins. Chill them for 20 minutes.
- Preheat oven to 400°F while the cakes are chilling.
- Place ramekins on a baking sheet and cook for 13 minutes, or until the tops are solid and just starting to pull away from the sides. Remove from the oven and let rest in the ramekins for 3 to 5 minutes.
- Use a thin sharp knife to loosen the sides of the cake from the sides of the ramekins. Invert the cakes onto serving plates and gently remove them from the ramekins.
- Sprinkle with confectioner's sugar and garnish with fresh fruit, if desired. Serve at once.
Notes
- Weighing the dry ingredients: ensures the exact volume for each; however, if you measure them out following the notes in the "ingredients" section, you'll be fine.
- Test cake: After removing from the oven, invert a test cake. If the cake is not fully set around the edges, place the ramekins back in the oven for another couple of minutes.
- Leftovers: can be reheated in the microwave on HIGH for about 1 minute.