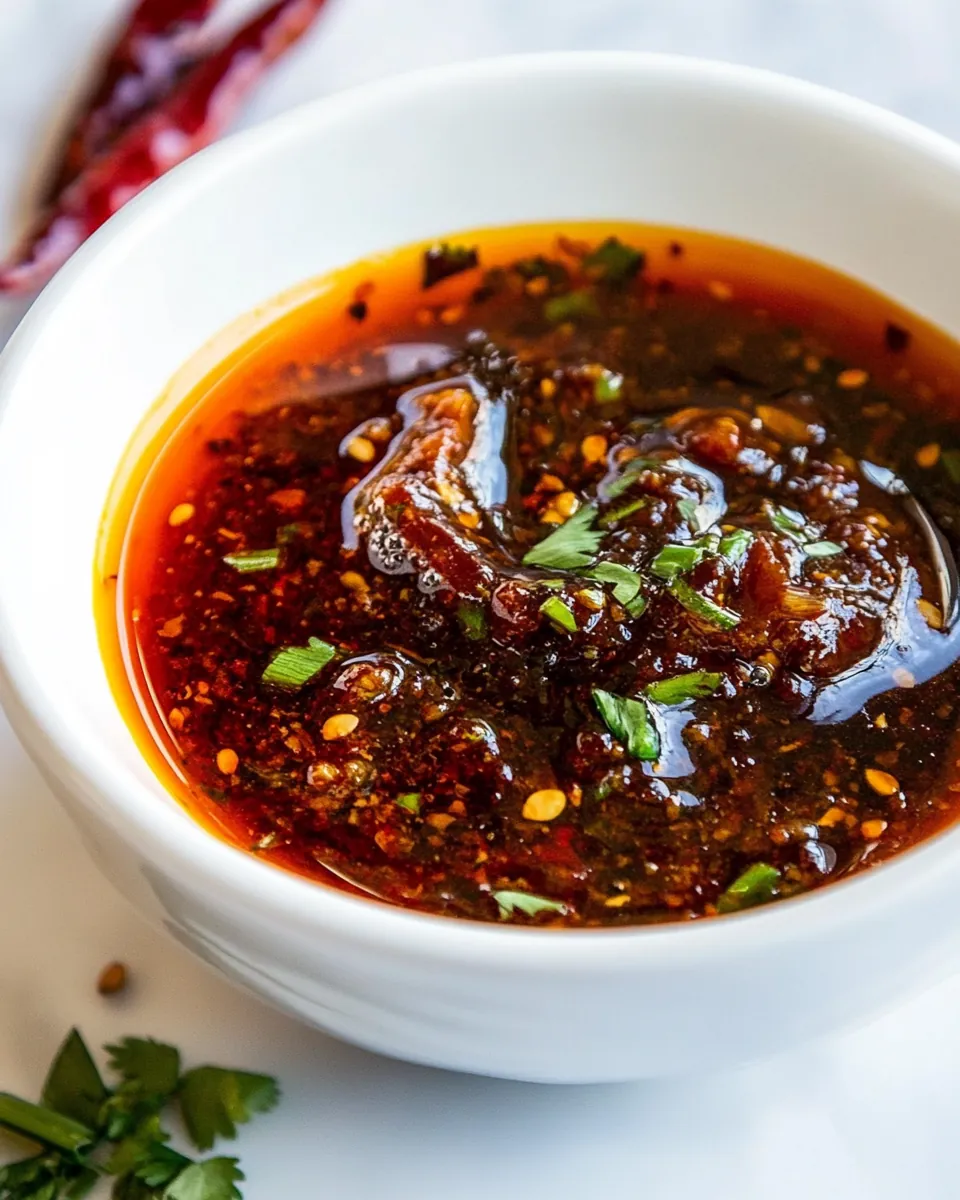
Chili Crisp
I’ve always had a soft spot for flavors that pack a punch, and that’s exactly what Chili Crisp offers. The first time I tasted it, I was blown away by the harmonious explosion of heat and crunch. It’s not just a condiment; it’s a culinary experience that transforms any dish from ordinary to extraordinary. I remember preparing a simple dinner with friends when I decided to drizzle some homemade Chili Crisp over our meal. The way it elevated the flavors was magical!
As we sat around the table, everyone couldn’t help but reach for more, laughing and sharing stories, all while enjoying this delightful addition. The beauty of Chili Crisp is that it’s incredibly versatile. Whether you’re spicing up your morning eggs or adding a kick to your evening stir-fry, it fits right in. I’ve crafted this recipe to be simple yet bursting with flavor. Join me in creating a jar of this deliciousness that you can keep on hand for all your culinary adventures!
Recipe Snapshot
35 mins
15 mins
20 mins
Medium
150 kcal
1 g
Keto, Paleo, Whole30
15 g
Skillet, Frying Pan, Chef’s Knife, Mixing Bowl, Wooden Spoon
Why This Chili Crisp Is So Good
Versatility at Its Best
One of the things I absolutely adore about Chili Crisp is its incredible versatility. You can use it as a dip, a topping, or even a cooking ingredient. It pairs well with nearly everything, including dumplings, rice, and grilled veggies. It’s like a flavor chameleon, adapting to your meal perfectly.
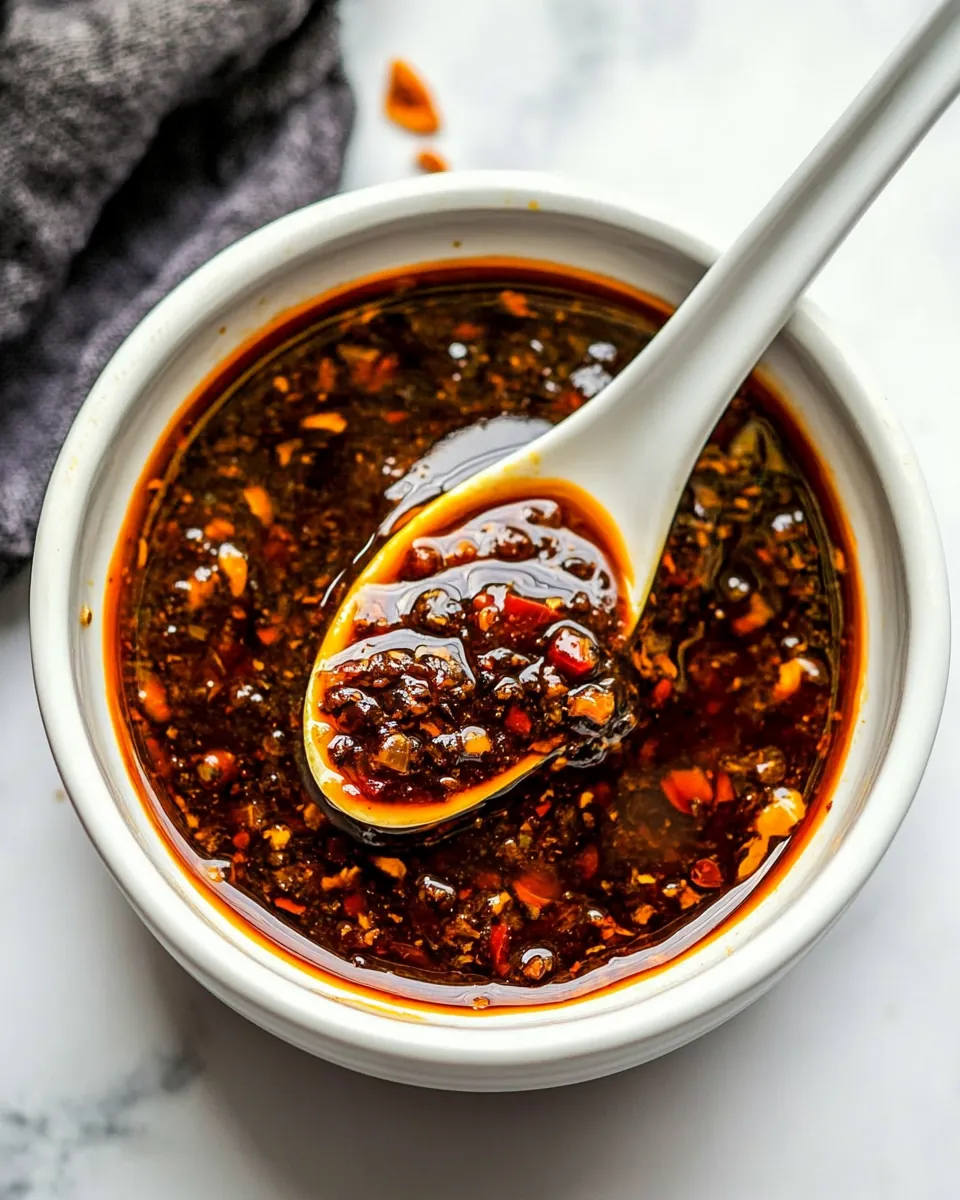
Crunchy and Flavorful
The texture is equally captivating. The crispy bits of fried garlic and shallots combined with the heat of the spices create a delightful crunch with every bite. This contrast not only enhances your dishes but also makes your taste buds dance with joy.
Make It Your Own
What I love most is how customizable Chili Crisp can be. You can adjust the level of heat to suit your personal preferences. Want it milder? Cut back on the chili flakes. Craving something spicier? Add more! This recipe gives you the freedom to experiment and create your own version.
Perfect for Gifting
Homemade Chili Crisp makes a fantastic gift for friends and family. Imagine presenting a jar of your very own blend, beautifully packaged. It’s a thoughtful gift that showcases your culinary skills and can introduce your loved ones to new flavors.
Long Shelf Life
Another reason to love this recipe is its longevity. Once prepared, Chili Crisp can be stored in the fridge for up to two months, allowing you to whip up delicious meals with a touch of flavor anytime you want. The flavors even deepen over time, making it an ideal make-ahead condiment.
Main Ingredients for Chili Crisp
The ingredients in Chili Crisp are not only simple but also play crucial roles in creating that desired flavor profile. Each ingredient brings something unique to the party, and together they create a robust, spicy experience. Let’s dive into these key players that make this dish unforgettable.
- 2 cups of vegetable oil (or any neutral oil): This is the base that helps develop the flavors and gives the crispiness to the shallots and garlic.
- 2 shallots, thinly sliced: These add a sweet and aromatic flavor once fried to a crispy texture.
- 6 cloves of garlic, thinly sliced: Garlic brings depth and a savory essence to the Chili Crisp.
- 1 cinnamon stick: A surprising yet delightful addition that rounds out the flavor with its warmth.
- 3 whole star anise: This adds a subtle licorice flavor that enhances the overall complexity.
- 1/4 cup chili flakes: The main source of heat, bringing that essential spice to the recipe.
- 1/4 cup gochugaru (Korean chili flakes): This adds a unique flavor profile, making the Chili Crisp distinct and exciting.
- 1 tablespoon ground sichuan peppercorn: It delivers a unique numbing spice that balances the heat.
- 1 tablespoon ginger, minced: Ginger adds brightness and warmth, complementing the other ingredients.
- 2 tablespoons toasted sesame seeds: These provide a lovely crunch and nutty flavor.
- 2 teaspoons salt: Essential for enhancing all the flavors.
- 1 tablespoon sugar: A touch of sweetness to balance the heat.
- 1 teaspoon MSG (optional): This can boost the umami flavor if desired.
Cooking Method for Chili Crisp
Making Chili Crisp is not just a task; it’s a journey of flavors. The process is straightforward and rewarding, allowing you to immerse yourself in the aroma and colors of the ingredients. Let’s get started on this enticing adventure.
- Begin by heating the 2 cups of vegetable oil in a medium saucepan over medium-low heat. You’ll want to watch closely as the oil heats up; it should shimmer but not smoke. This step is crucial as it prepares the perfect environment for frying the shallots and garlic.
- Once the oil is shimmering, carefully add in the thinly sliced 2 shallots and 6 cloves of garlic. The moment they hit the hot oil, your kitchen will be filled with an irresistible aroma. Stir gently to ensure they don’t stick together. Cook until they turn a crispy golden brown, about 10 minutes. Keep an eye on them to avoid burning!
- After achieving that gorgeous golden color, it’s time to strain out the crispy shallots and garlic. Using a slotted spoon, remove them from the oil and set them aside on a paper towel to absorb any excess oil. Discard the cinnamon stick and star anise as well, as their job is done.
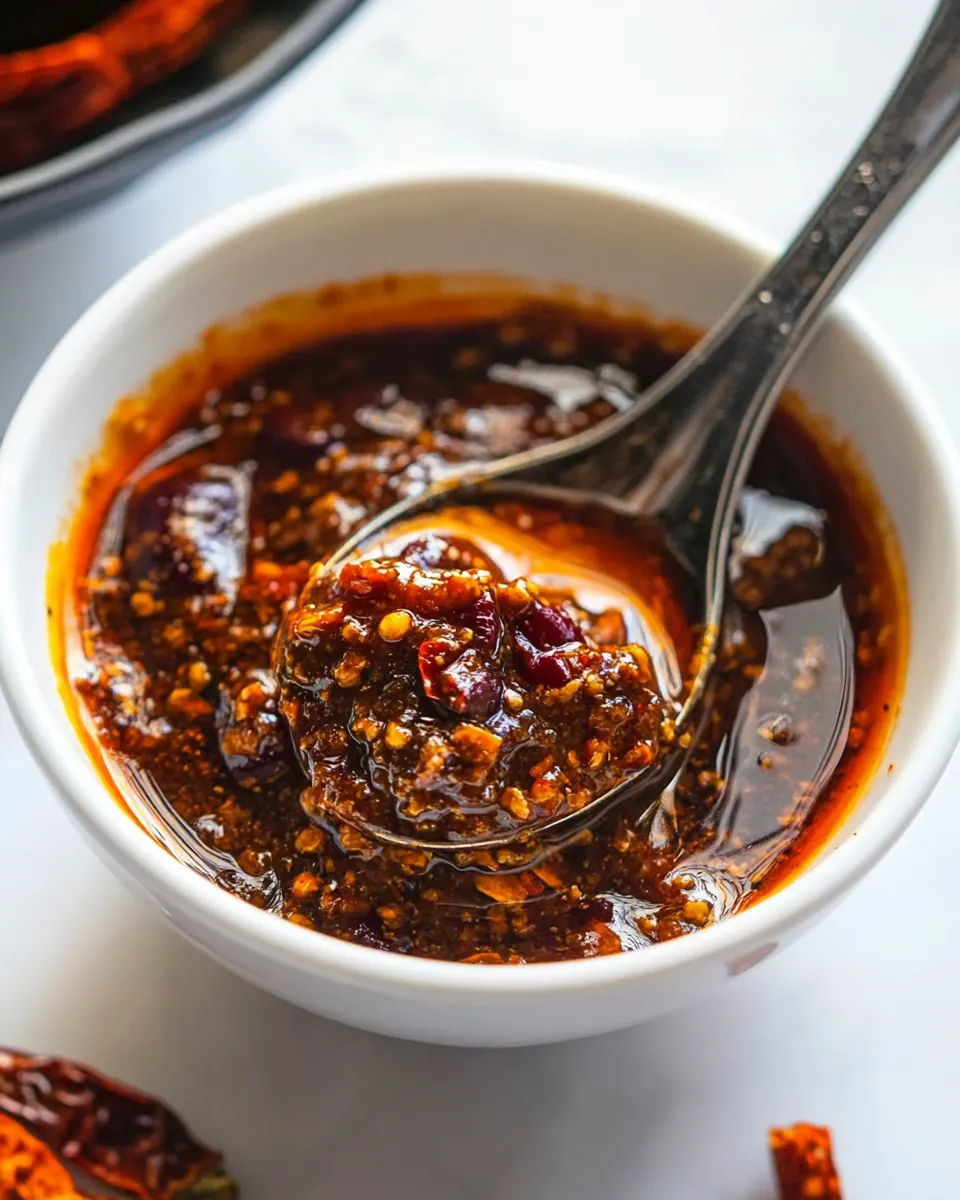
- In a large heat-proof bowl, combine 1/4 cup chili flakes, 1/4 cup gochugaru, 1 tablespoon ground sichuan peppercorn, 1 tablespoon minced ginger, 2 tablespoons toasted sesame seeds, 2 teaspoons salt, 1 tablespoon sugar, and 1 teaspoon MSG if using. This mixture will create a flavorful base for your Chili Crisp.
- Now comes the exciting part! Carefully pour the hot oil over the spice mixture you just prepared. Be cautious as the oil may bubble up. The heat will release the flavors of the spices, creating a fragrant aroma that will make your mouth water!
- Add the crispy shallots and garlic back into the bowl, and stir everything together to thoroughly combine. You’ll see the vibrant colors of the spices blend beautifully with the golden crispy bits.
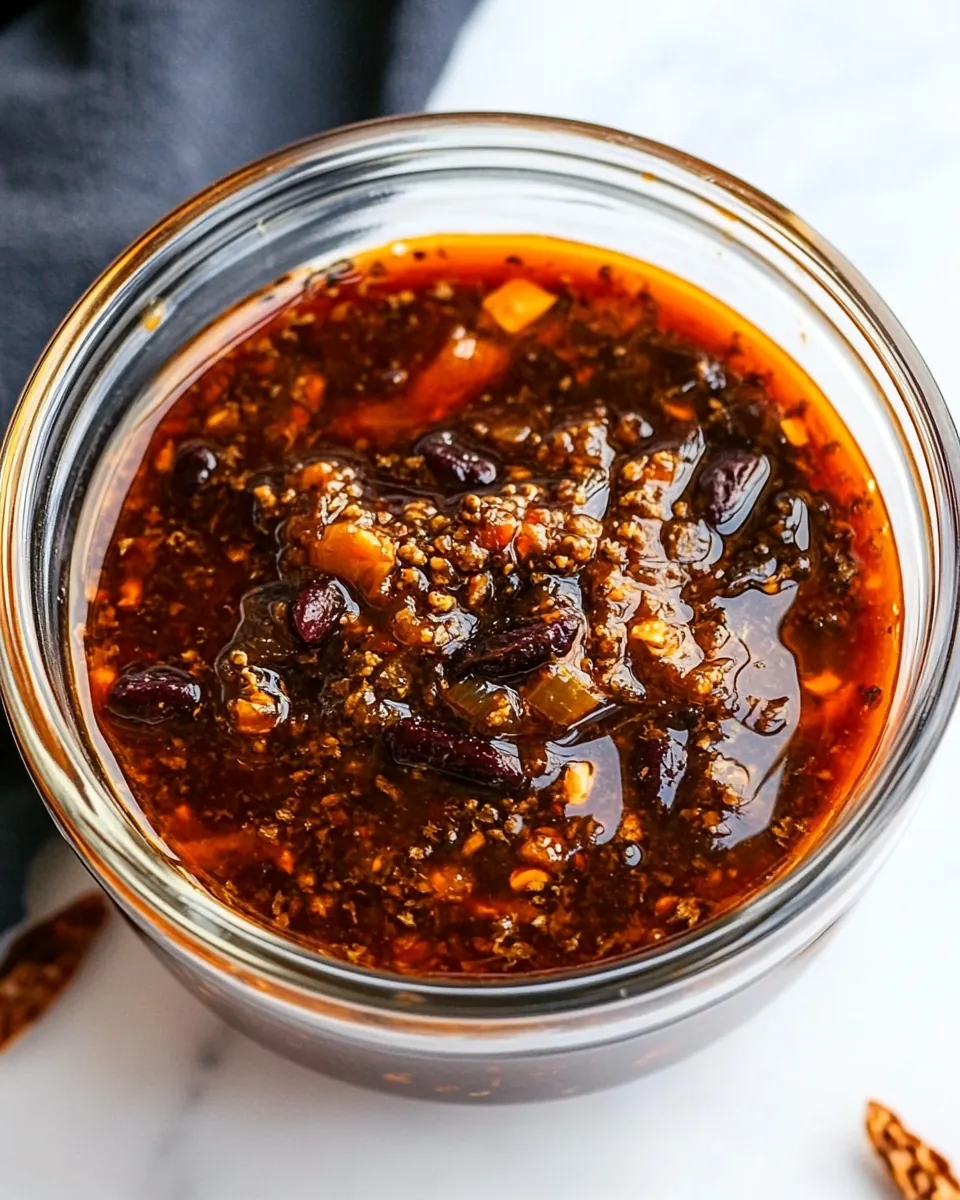
- Allow the Chili Crisp to cool to room temperature; this is an important step as it lets the flavors meld together. Meanwhile, prepare a jar or storage container for your delicious creation.
- Once cooled, transfer the Chili Crisp into your chosen container. Make sure it’s airtight to keep it fresh.
- Store your homemade Chili Crisp in the fridge. It’ll last up to two months, but I doubt it will stick around that long!
Things Worth Knowing
- Adjusting Spice Levels: You can tweak the heat by altering the amount of chili flakes and gochugaru. Start with less if you’re sensitive to spice and gradually add more to suit your taste.
- Storage Tips: Store the Chili Crisp in an airtight container in the fridge. This helps maintain its freshness and crispiness for longer.
- Using Fresh Ingredients: Fresh garlic and shallots yield the best flavor. Ensure you slice them thinly to achieve that perfect crunchy texture.
- Experiment with Oils: While vegetable oil is a great choice, you can also try sesame oil for an extra layer of flavor. Just be cautious with the heat level since sesame oil has a lower smoke point.
Substitutions and Tips
Creating the perfect Chili Crisp is all about experimenting and making it your own. Here are some helpful tips to ensure your recipe turns out amazing.
- Storage: Make sure to store your Chili Crisp in an airtight container. This will help retain its flavor and crispiness, allowing you to enjoy it longer.
- Freezing: You can freeze Chili Crisp to extend its shelf life. Just make sure to use a freezer-safe container.
- Pairing: It goes wonderfully with a variety of dishes, including noodles, rice, and grilled vegetables, making it an excellent condiment for any meal.
- Adjusting the Recipe: Feel free to add or reduce spices according to your preference. Love garlic? Add more! Prefer it mild? Tone down the chili flakes.
- Flavor Development: The flavors of Chili Crisp improve over time, so try to make it a day ahead of when you plan to use it for the best taste.
- Presentation: When serving, drizzle the Chili Crisp over dishes to showcase its beautiful colors and textures.
Serving Ideas for Chili Crisp
When it comes to serving your homemade Chili Crisp, the options are endless! Here are some ideas to get your creativity flowing:
- With Dumplings: Drizzle over freshly steamed dumplings for an irresistible combination of flavors.
- As a Topping: Add it to rice bowls, grain bowls, or salads for a spicy kick that complements the freshness of the veggies.
- Use as a Dip: Serve it alongside your favorite snacks, like spring rolls or crispy wontons, as a zesty dip that everyone will love.
- At Breakfast: Use it on eggs—scrambled or fried—for a delightful morning boost.
- For Grilled Meats: Drizzle over grilled chicken or fish to enhance the flavor of your main dish.
- Seasonal Dishes: Pair it with seasonal vegetables. In summer, use it with grilled zucchini; in fall, try it with roasted squash.
- Special Occasions: Include it as part of your appetizer spread during gatherings and parties. It adds a unique touch that will impress your guests.
FAQ
Conclusion
In summary, Chili Crisp is a special condiment that brings a burst of flavor and excitement to any dish. Its crunchy texture and rich spices elevate simple meals into culinary delights. I encourage you to try making it yourself and discover how this easy recipe can transform your cooking. Enjoy the journey of flavors as you explore this delicious addition to your kitchen!
Chili Crisp
Ingredients
Equipment
Method
- Heat the 2 cups vegetable oil in a medium saucepan over medium-low heat.
- Add in the thinly sliced 2 shallots and 6 cloves garlic.
- Fry until the garlic and shallots have become a crispy golden brown, about 10 minutes.
- Strain out the shallots, garlic, star anise, and cinnamon.
- In a large heat-proof bowl, mix together 1/4 cup chili flakes, 1/4 cup gochugaru, 1 tablespoon ground sichuan peppercorn, 1 tablespoon ginger, 2 tablespoons toasted sesame seeds, 2 teaspoons salt, 1 tablespoon sugar, and 1 teaspoon MSG if using.
- Pour the hot oil over the spices, and add the crispy shallots and garlic.
- Allow the chili crisp to cool to room temperature before pouring it into a jar or storage container of your choice.
- Store the chili crisp in an airtight container in the fridge for up to 2 months.
Notes
- Tip 1: You can replace gochugaru with regular chili flakes, making it a total of 1/2 cup regular chili flakes you use in the recipe.
- Tip 2: Replace ground sichuan peppercorn with regular black pepper.