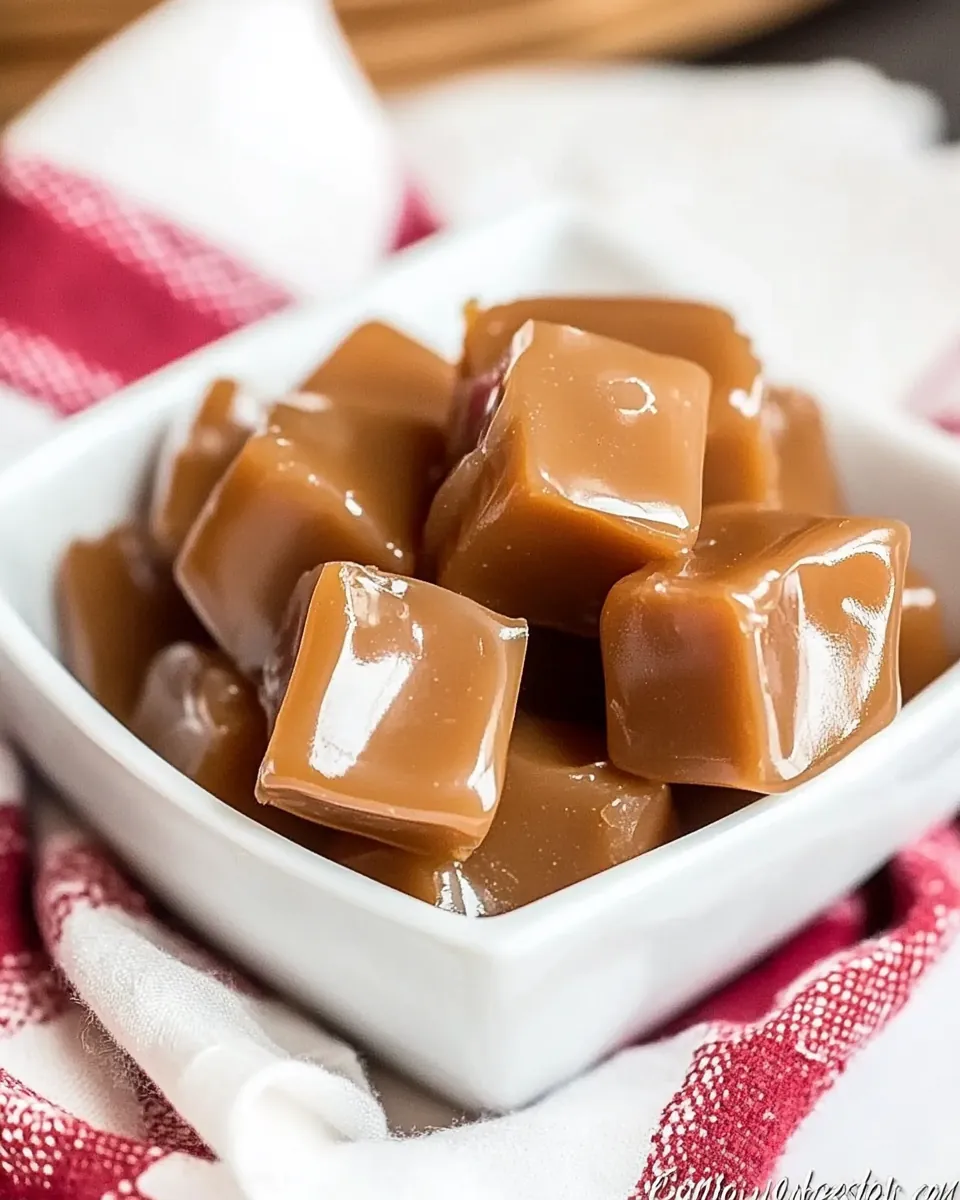
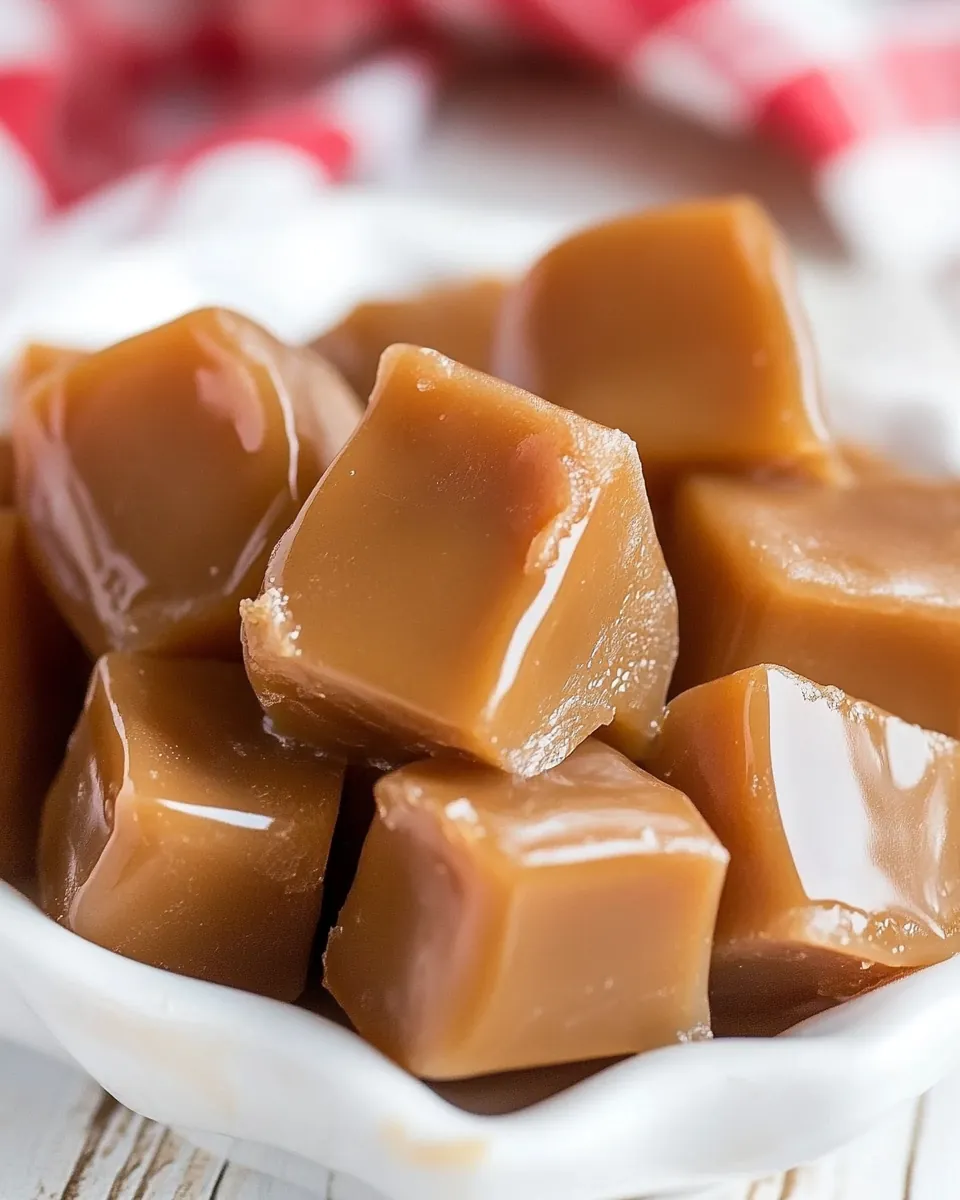
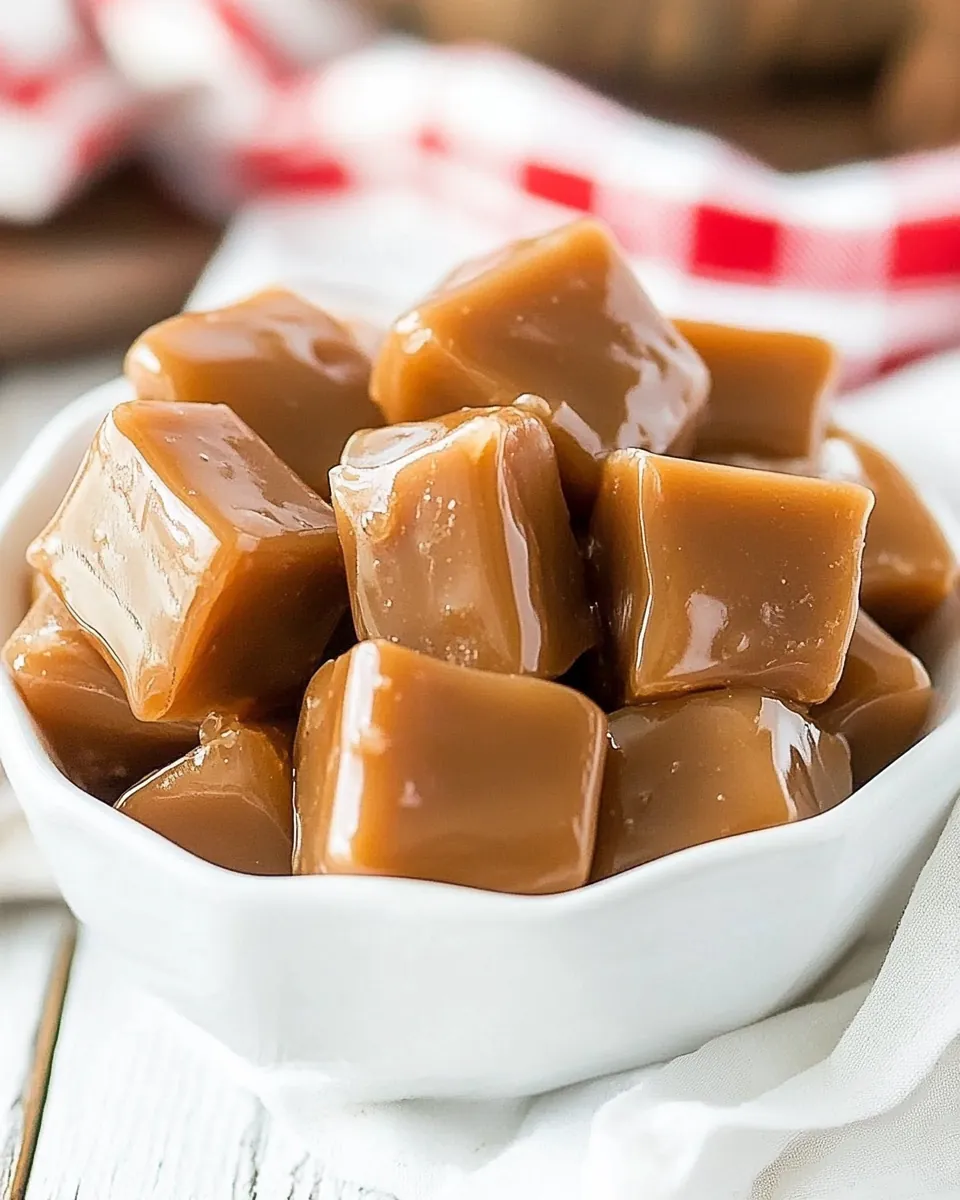
Brown Sugar Caramels
There’s something truly magical about making Brown Sugar Caramels, a treat that transports me back to my childhood. I can still remember the sweet aroma wafting through the kitchen as my grandmother stirred her bubbling pot of sugar and cream. It was a family tradition to gather around the kitchen, eagerly awaiting those rich, golden squares of heaven. As the caramels cooled, we would sneak a taste, savoring the buttery notes combined with the deep flavor of brown sugar. Each bite was a testament to love and patience, reminding me that the best things in life take time. Now, I love recreating this simple yet indulgent recipe, sharing it with friends and family, and watching their faces light up with joy. Making Brown Sugar Caramels is not just about the final product; it’s about the memories we create along the way.
Recipe Snapshot
60 mins
0 mins
0 mins
Easy
120 kcal
0g g
Gluten-Free, Low FODMAP
5g g
Frying Pan, Wooden Spoon
The Charm of This Brown Sugar Caramels
Rich Flavor
The beauty of Brown Sugar Caramels lies in their deep, rich flavor profile. Using brown sugar instead of white sugar infuses the caramels with a molasses-like sweetness that is simply irresistible. Each bite brings warmth, making these caramels the perfect sweet treat for chilly days.
Versatile Treat
These caramels are incredibly versatile. You can enjoy them as they are, or use them to top desserts like ice cream or brownies. They add a wonderful touch to a cheese platter or can be wrapped as gifts for friends and family. The possibilities are endless!
Simple Ingredients
With just a few simple ingredients, making Brown Sugar Caramels doesn’t require any fancy techniques or tools. The combination of sugar, butter, half and half, and Corn syrup creates a creamy base that thickens beautifully, ensuring a smooth texture.
Perfect for Gifting
Homemade caramels make a delightful gift for any occasion. Wrap them in pretty wax paper or place them in a decorative jar, and you have a thoughtful, homemade present that anyone would love. They’re perfect for holidays, birthdays, or just because.
Memory-Making Experience
Making Brown Sugar Caramels is not just about the end result; it’s about the process. The gentle stirring, the sweet scent filling your kitchen, and the excitement when you finally cut the caramels into squares is something you can share with loved ones. It’s a bonding experience that creates lasting memories.
Such a Crowd Pleaser
These caramels are a sure hit at parties. Everyone loves a sweet treat, and they’re sure to impress your guests. Serve them at your next gathering and watch them disappear!
Recipe Ingredients for Brown Sugar Caramels
The ingredients for Brown Sugar Caramels are simple yet come together to create a rich, creamy treat. Each component plays a crucial role in achieving that perfect caramel texture and flavor. The key players are the brown sugar and whipping cream, which give the caramels their velvety richness. Together, these ingredients not only yield a delightful candy but also evoke the warmth of homemade sweets shared with family.
- 2 cups sugar – The base for your caramels, providing the necessary sweetness.
- 1 cup brown sugar – Adds depth and a hint of molasses flavor to the caramels.
- 1 cup light corn syrup – Helps prevent the sugar from crystallizing, ensuring a smooth texture.
- 1 cup half and half – Contributes creaminess and richness to the caramels.
- 2 cups whipping cream – Adds to the luxurious mouthfeel and flavor.
- 1 cup butter – Essential for that rich, buttery taste that makes caramels irresistible.
- 1 ½ teaspoons vanilla – Enhances the overall flavor profile, bringing warmth and sweetness.
Instructions for Brown Sugar Caramels
Making Brown Sugar Caramels is a fun and rewarding process. Follow these steps to create your own batch of delectable caramels. Pay close attention to the cooking times and temperatures to achieve the perfect consistency.
- Line an 8 x 8-inch pan with non-stick foil and set it aside. This will make it easier to remove the caramels once they cool.
- In a large, heavy saucepan, combine the sugar, brown sugar, corn syrup, half and half, whipping cream, and butter. Stir well to combine all the ingredients, ensuring everything is evenly mixed.
- Place the saucepan over medium-low heat and cook the mixture, stirring constantly. As the sugar dissolves, you’ll notice the mixture bubbling gently. This stage is important to prevent burning, so be patient and keep stirring.
- Continue to heat the mixture until it reaches 250ºF on a candy thermometer. This process may take up to an hour, but it’s essential to monitor the temperature closely to avoid overcooking.
- Once the mixture reaches 250ºF, remove the pan from heat and add the vanilla. Stir well to incorporate the vanilla into the caramel mixture.
- Pour the hot caramel into the prepared pan. Be cautious, as the mixture will be extremely hot. Spread it evenly in the pan using a spatula.
- Let the caramels cool completely at room temperature. This may take a few hours, but patience is key for achieving the right texture.
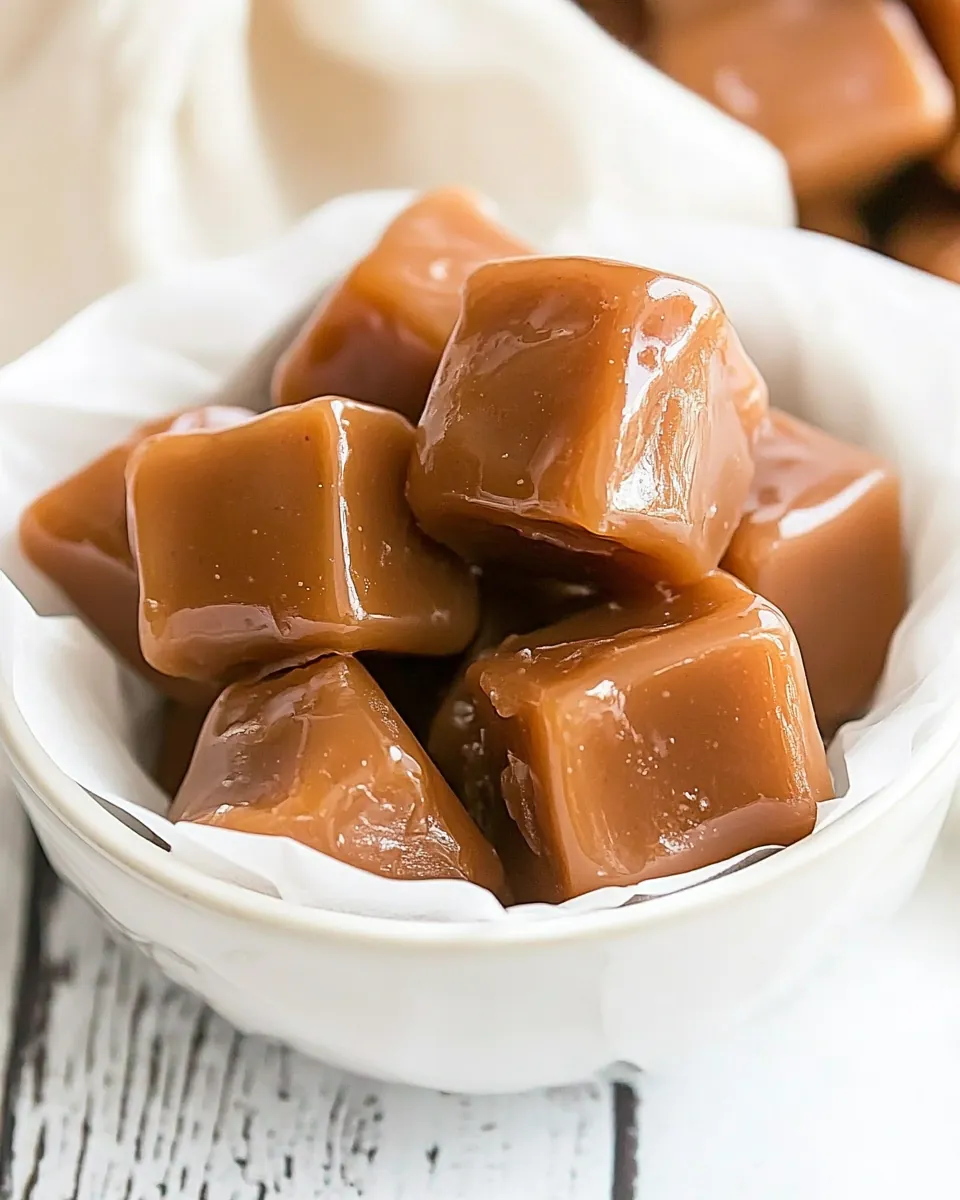
- Once cooled, cut the caramels into small squares. You can use a sharp knife or a pizza cutter for clean edges.
- Wrap each caramel in waxed paper to keep them fresh and prevent sticking. This also makes them perfect for sharing or gifting!
- Enjoy your homemade Brown Sugar Caramels! They’ll keep for a few weeks if stored in an airtight container at room temperature.
Things Worth Knowing
- Watch the Temperature: Using a candy thermometer is crucial for achieving the right caramel texture. Once it reaches 250ºF, remove it from the heat to prevent burning.
- Stir Constantly: Constant stirring while cooking helps to dissolve the sugars evenly and prevents them from crystallizing.
- Stay Patient: Making caramels takes time. Don’t rush the cooking process, as it can lead to undesirable results.
- Use Quality Ingredients: The better the ingredients, the better the final product. Opt for high-quality butter and cream for the richest flavor.
Tips and Variations
When preparing Brown Sugar Caramels, there are a few tips and variations that can enhance your experience and the flavor. Here are some helpful suggestions to consider:
- Storage: Keep your caramels stored in an airtight container at room temperature. They can last up to two weeks, but they’re unlikely to last that long!
- Freezing: You can freeze cut caramels for up to three months. Just ensure they are well-wrapped to prevent freezer burn.
- Flavor Variations: Consider adding a pinch of sea salt to the top of the caramels before they cool for a salted caramel twist.
- Serving Suggestions: Pair these caramels with a warm beverage like coffee or hot chocolate for a cozy treat.
- Gift Ideas: Wrap your caramels in festive packaging to make them a great treat for holidays and special occasions.
- Experiment: Try adding mix-ins like chopped nuts or toasted coconut for added texture and flavor.
Perfect Matches for Brown Sugar Caramels
- Pair with Coffee: These sweet caramels are perfect alongside a cup of hot coffee, balancing the bitterness with their sweetness.
- Serve at Parties: Set out a bowl of caramels during gatherings for guests to enjoy as a sweet treat.
- Delight at Holidays: Brown Sugar Caramels make an excellent addition to holiday dessert tables.
- Gift for Friends: Place a few wrapped caramels in a gift bag or box for a thoughtful homemade gift.
- Enjoy with Ice Cream: Top your ice cream sundaes with these caramels for an indulgent dessert experience.
FAQ
Conclusion
The magic of Brown Sugar Caramels lies in their rich, buttery flavor and melt-in-your-mouth texture. They’re not just a delightful treat but also a way to create cherished memories in the kitchen. I encourage you to give this recipe a try; you won’t be disappointed! Homemade caramels are always a hit, and I promise they’ll bring a smile to everyone who enjoys them.
Brown Sugar Caramels
Ingredients
Equipment
Method
- Line an 8 x 8-inch pan with non-stick foil and set aside.
- In a large, heavy saucepan, combine the sugar, brown sugar, corn syrup, half and half, whipping cream, and butter. Stir well to combine all the ingredients.
- Place the saucepan over medium-low heat and cook, stirring constantly, until the mixture reaches 250ºF on a candy thermometer.
- Once it reaches 250ºF, remove the pan from heat and add the vanilla.
- Pour the hot caramel into the prepared pan and let cool completely at room temperature.
- Cut the cooled caramels into small squares and wrap in waxed paper.
Notes
- Storage: Keep your caramels stored in an airtight container at room temperature. They can last up to two weeks.
- Freezing: You can freeze cut caramels for up to three months. Ensure they are well-wrapped.
- Flavor Variations: Consider adding a pinch of sea salt for a salted caramel twist.
- Serving Suggestions: Pair these caramels with a warm beverage for a cozy treat.
- Gift Ideas: Wrap your caramels in festive packaging for a thoughtful homemade gift.