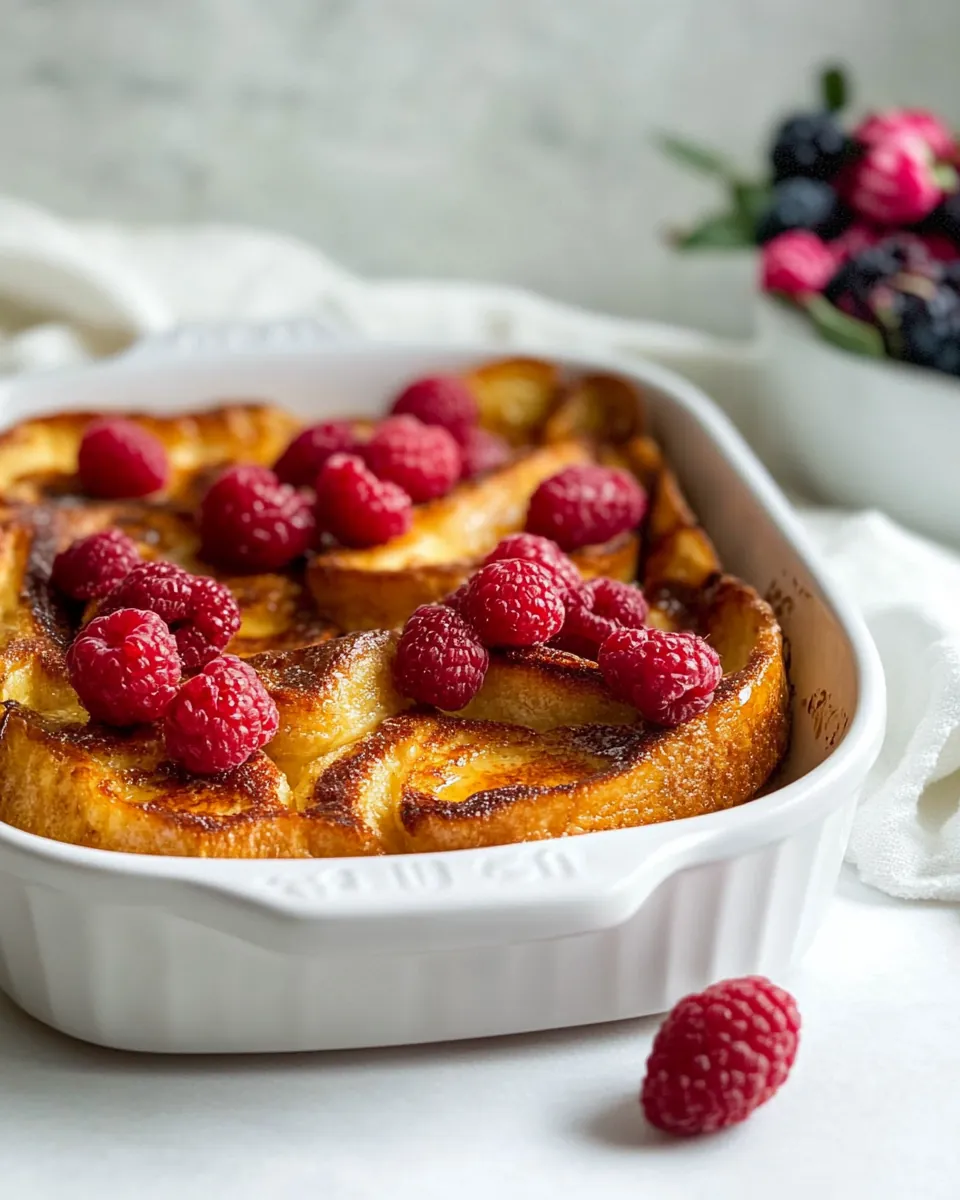
Baked French Toast
There’s nothing quite like waking up to the warm, inviting aroma of Baked French Toast wafting through the house. On chilly fall mornings, this dish becomes a comforting staple that brings everyone to the breakfast table with smiles. I remember the first time I made it for my family—doughy, golden slices soaking in a rich custard mixture, and the anticipation of the first bite was almost unbearable. This recipe has become a cherished tradition in our home, often accompanied by fresh berries and a drizzle of maple syrup. It’s perfect for lazy Sundays or holiday mornings when you want to treat your loved ones to something special without spending hours in the kitchen.
Recipe Snapshot
60 mins
10 mins
50 mins
Medium
350 kcal
11 g
Gluten-Free, Low FODMAP
16 g
Oven, Baking Sheet, Whisk, Mixing Bowl, Chef’s Knife
The Appeal of This Baked French Toast
Why do I absolutely love making Baked French Toast? Let me share a few reasons that make it stand out in my kitchen.
It’s a Crowd-Pleaser
One of the best things about Baked French Toast is how much everyone enjoys it. Whether it’s a small family gathering or a brunch with friends, this dish never fails to impress. The combination of crispy edges and soft, custardy middle appeals to both kids and adults alike.
Versatile and Customizable
Another reason I adore this recipe is its versatility. You can easily switch up the ingredients according to your preferences or what you have on hand. Feel free to add different spices, or use various types of bread like brioche or challah. You can even mix in seasonal fruits or nuts to create your own signature version!
Make-Ahead Convenience
Life can get busy, and that’s why I love that Baked French Toast can be made ahead of time. You can prepare the custard mixture the night before and let the bread soak overnight. This way, all you have to do in the morning is pop it in the oven and enjoy your coffee while it bakes.
Perfect for Special Occasions
Whether it’s a holiday celebration or a birthday brunch, Baked French Toast is an ideal dish to serve. It adds a touch of elegance and warmth to any gathering, and it makes the occasion feel a little more special.
Comfort Food at Its Finest
Lastly, let’s face it; there’s something undeniably comforting about a warm slice of Baked French Toast. It’s cozy, satisfying, and reminds me of family. It’s like a warm hug on a plate!
Baked French Toast Shopping List
When it comes to making Baked French Toast, the ingredients are simple yet incredibly effective. Each component plays a crucial role in creating that perfect balance of flavors and textures. The star of the dish is undoubtedly the French bread, which soaks up the custard beautifully. Pairing it with eggs, milk, and heavy cream creates a rich, creamy base, while brown sugar and cinnamon add warmth and sweetness. Together, they make for a deliciously indulgent breakfast that everyone will love.
- 1 loaf French bread, sliced – A sturdy bread ensures a good soak in the custard without falling apart.
- 8 large eggs – These provide the necessary richness and act as the binding agent.
- 1 cup whole milk – Adds creaminess and a mild flavor.
- 1 cup heavy cream – This ingredient makes the custard extra luscious and rich.
- 2/3 cup brown sugar – Sweetens the dish and offers a hint of caramel flavor.
- 1 1/2 tablespoons vanilla extract – Enhances the overall flavor profile.
- 1/2 teaspoon ground cinnamon – Adds warmth and complexity.
- Maple syrup for serving – The perfect finishing touch.
- Fresh berries for serving – Brightens up the dish and adds freshness.
Preparation Steps for Baked French Toast
Making Baked French Toast is a straightforward process, and I love how hands-on it is! As you follow along, you’ll see how easy it is to create something that looks and tastes gourmet. Let’s dive into the steps!
- Start by greasing a 9-inch x 13-inch baking dish with butter or cooking spray. This will prevent your Baked French Toast from sticking and ensure easy serving.
- Next, arrange the sliced French bread in an even layer in the greased baking dish. It’s best to fit the slices snugly together, so they soak up the custard evenly.
- In a large bowl, whisk together the eggs, milk, heavy cream, brown sugar, vanilla extract, and cinnamon until smooth. Look for a frothy mixture that combines all the ingredients seamlessly.
- Pour the custard mixture evenly over the bread slices in the baking dish. Make sure each slice is well coated. It’s okay if some of the custard pools at the bottom.
- Allow the bread to soak for at least 30 minutes. If you prefer, cover it and let it soak overnight in the refrigerator. This allows the flavors to meld beautifully.
- Preheat your oven to 350°F (175°C). This step is essential for achieving that golden-brown top.
- Once preheated, place your baking dish in the oven and bake the soaked bread for 50 minutes. Keep an eye on it; the top should be golden brown and the custard should be set.
- After baking, take the dish out and let it cool slightly. This will help with slicing and serving.
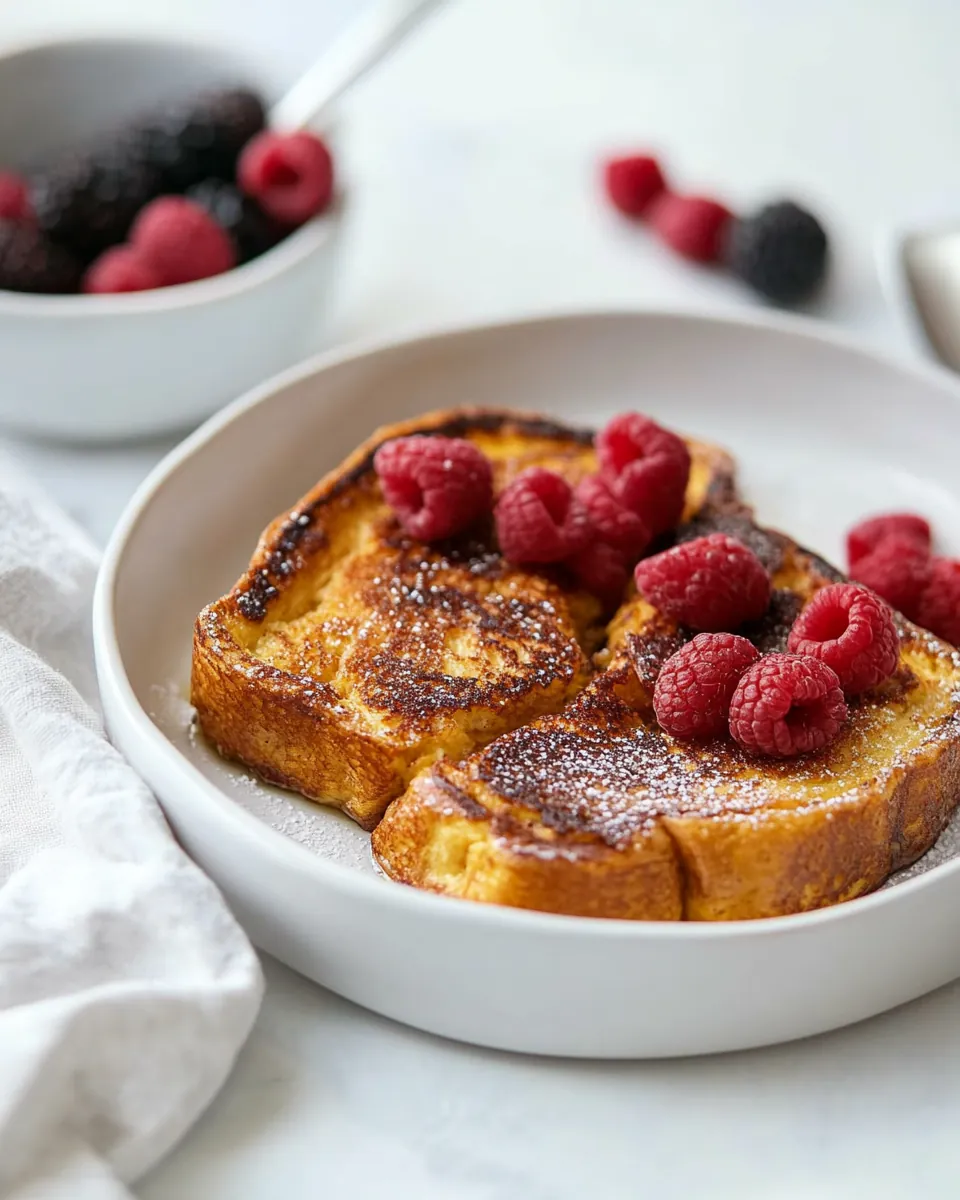
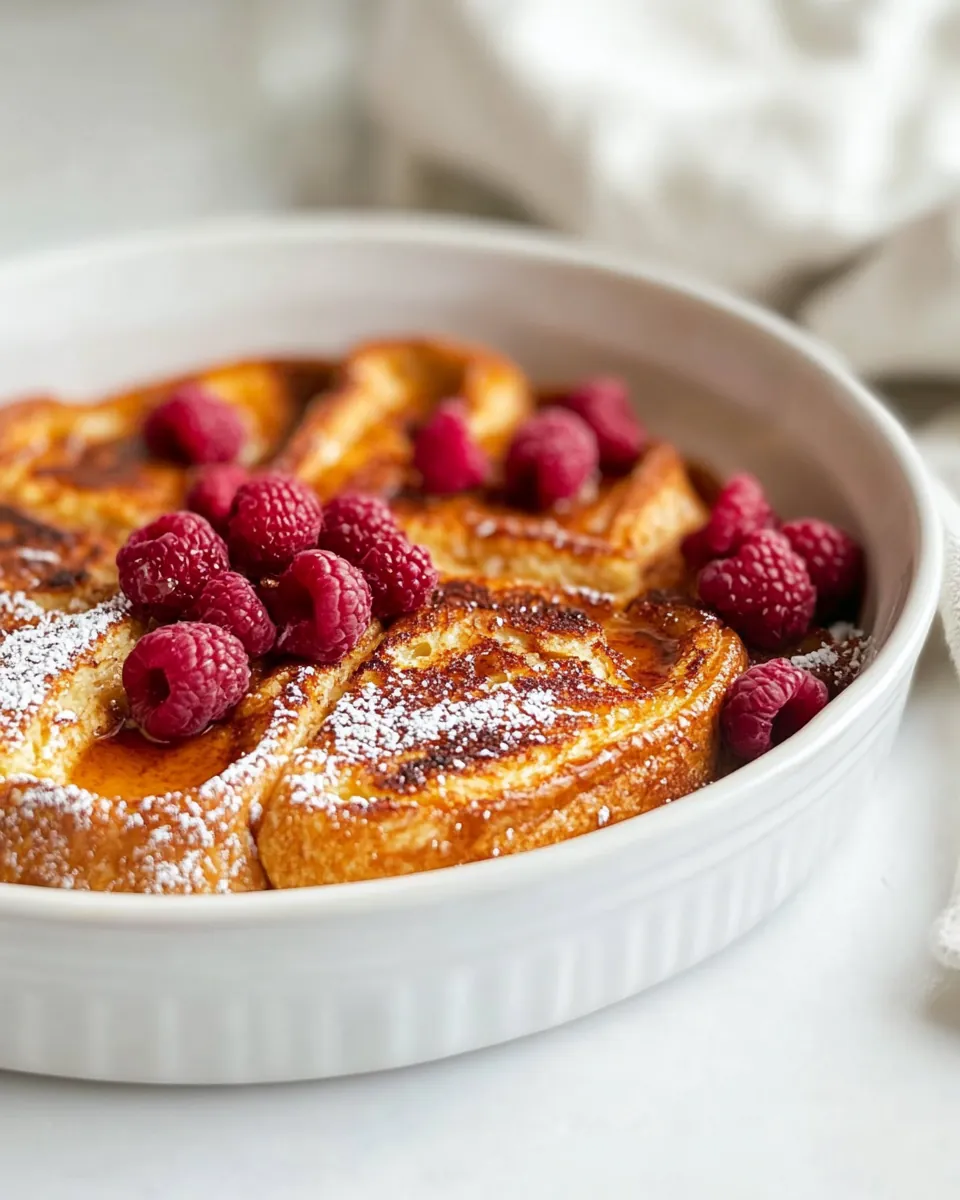
- Serve your Baked French Toast warm, topped with fresh berries and a generous drizzle of maple syrup. Enjoy the deliciousness!
Things Worth Knowing
- Use day-old bread: It’s best to use slightly stale bread, as it holds up better when soaking in the custard and prevents a mushy texture.
- Soaking time matters: Allowing the bread to soak overnight intensifies the flavors and helps the bread absorb more of the custard.
- Temperature control: Make sure your oven is properly preheated before baking to ensure even cooking and browning.
- Check for doneness: The Baked French Toast is done when the edges are golden brown, and the center is set. A toothpick inserted should come out clean.
Variations to Try

If you want to switch things up a bit with your Baked French Toast, there are plenty of variations to explore! Here are some ideas to consider that can elevate your breakfast experience.
- Fruit add-ins: Consider adding slices of bananas, apples, or pears into the bread layers for added sweetness and flavor.
- Nuts for crunch: Sprinkle some chopped nuts like pecans or walnuts on top for a delightful crunch.
- Chocolate chip version: For a decadent twist, mix in some chocolate chips either in the custard or between the layers of bread.
- Spiced variations: Experiment with other spices like nutmeg or cardamom to give your Baked French Toast a unique flavor.
- Different breads: Try using brioche, croissants, or challah instead of standard French bread for a different texture and taste.
- Nut butter topping: Spread some almond or peanut butter on top of your slices before adding syrup for a protein boost.
- Vegan-friendly option: Substitute eggs with flaxseed meal and use plant-based milk and cream for a vegan version!
Accompaniments for Baked French Toast
Serving Baked French Toast can be just as delightful as making it! Here are some delicious accompaniments and serving suggestions:
- Fresh fruit: Serve with seasonal fruits like strawberries, blueberries, or raspberries for a refreshing side.
- Yogurt: Add a dollop of yogurt or whipped cream to elevate the dish and add creaminess.
- Nut butters: Offer almond or peanut butter on the side for those who love a little extra protein.
- Seasonal spices: A sprinkle of additional cinnamon or nutmeg on top can enhance the flavor even more.
- Occasions: This dish is perfect for brunches, holiday gatherings, or even a cozy breakfast on a rainy day.
- Storage: If you have leftovers, store them in an airtight container in the fridge for up to three days, and reheat in the oven.
FAQ
Conclusion
In summary, Baked French Toast is a delightful breakfast choice that combines simplicity with indulgence. Its comforting flavors and ease of preparation make it a go-to for both busy mornings and special occasions. I encourage you to try making this recipe for your next family gathering or cozy weekend breakfast. You won’t be disappointed!
Baked French Toast
Ingredients
Equipment
Method
- Start by greasing a 9-inch x 13-inch baking dish with butter or cooking spray. This will prevent your Baked French Toast from sticking and ensure easy serving.
- Next, arrange the sliced French bread in an even layer in the greased baking dish. It's best to fit the slices snugly together, so they soak up the custard evenly.
- In a large bowl, whisk together the eggs, milk, heavy cream, brown sugar, vanilla extract, and cinnamon until smooth. Look for a frothy mixture that combines all the ingredients seamlessly.
- Pour the custard mixture evenly over the bread slices in the baking dish. Make sure each slice is well coated. It’s okay if some of the custard pools at the bottom.
- Allow the bread to soak for at least 30 minutes. If you prefer, cover it and let it soak overnight in the refrigerator. This allows the flavors to meld beautifully.
- Preheat your oven to 350°F (175°C). This step is essential for achieving that golden-brown top.
- Once preheated, place your baking dish in the oven and bake the soaked bread for 50 minutes. Keep an eye on it; the top should be golden brown and the custard should be set.
- After baking, take the dish out and let it cool slightly. This will help with slicing and serving.
- Serve your Baked French Toast warm, topped with fresh berries and a generous drizzle of maple syrup. Enjoy the deliciousness!
Notes
- Storage: If you have leftovers, store them in an airtight container in the fridge for up to three days, and reheat in the oven.
- Freezing: While you can freeze the baked dish, it’s best enjoyed fresh. If you must freeze, wrap it tightly and reheat in the oven.
- Pairing: Pair with fresh fruit and yogurt for a balanced breakfast.
- Make-ahead: Prepare the custard overnight for convenience!
- Serving suggestion: Drizzle with honey for an extra touch of sweetness.