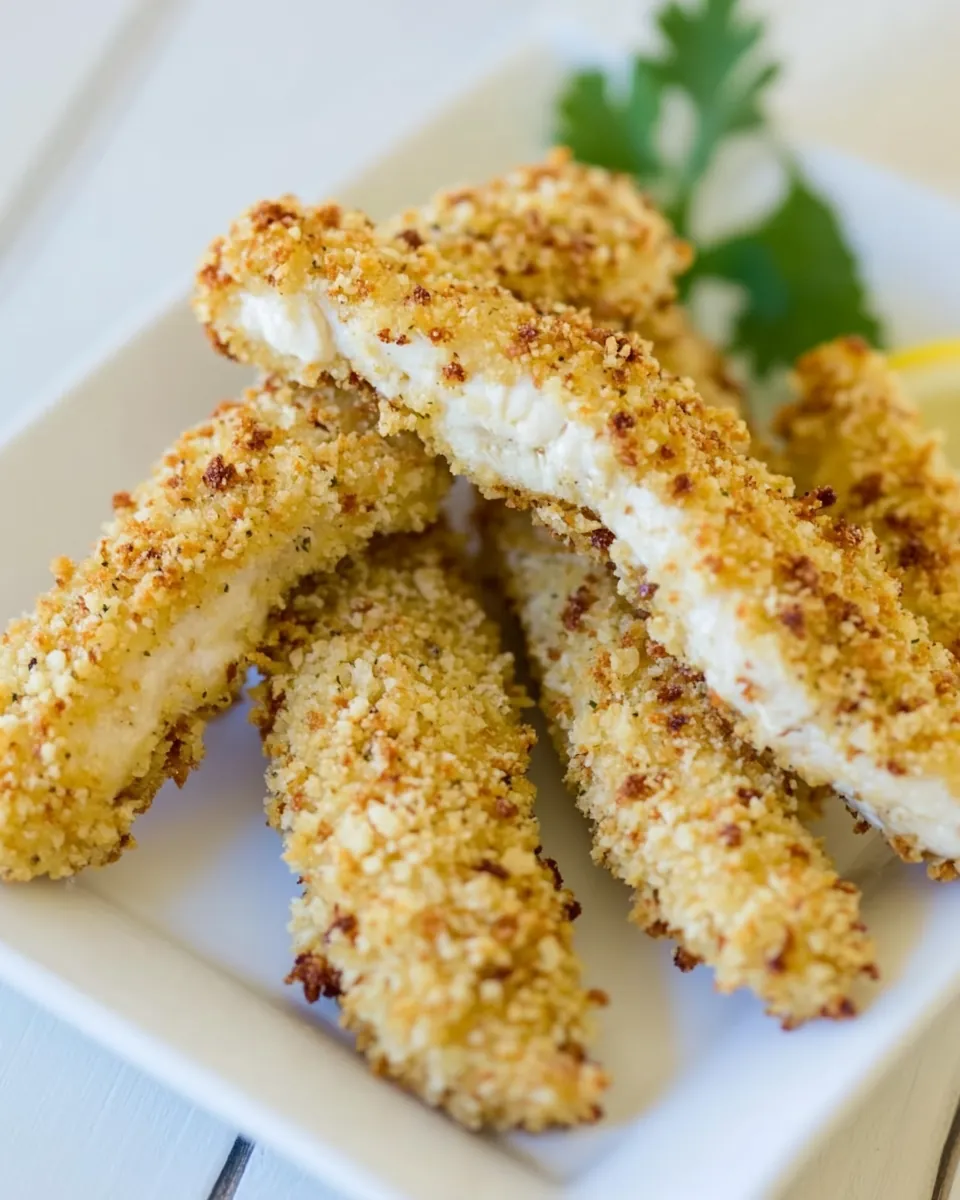
Baked Breaded Chicken Strips
I remember the first time I made Baked Breaded Chicken Strips for my family. It was a weekend afternoon, and I wanted something that would not only satisfy their cravings but also be a fun cooking adventure. As the aroma of crispy chicken filled the kitchen, everyone gathered around, eager to taste my latest creation. These strips are not just simple to make; they deliver that crunch that makes everyone come back for more. With a delicious blend of spices and a golden crust, Baked Breaded Chicken Strips quickly became a family favorite. I love how versatile they are, perfect for a cozy dinner or a fun snack during movie night.
Recipe Snapshot
37 mins
20 mins
17 mins
Medium
320 kcal
30 g
Paleo
12 g
Oven, Baking Sheet, Frying Pan, Blender, Whisk, Mixing Bowl, Wooden Spoon
Why This Baked Breaded Chicken Strips Works
Comfort Food at Its Best
Baked Breaded Chicken Strips offer a delightful taste that brings back childhood memories. There’s something comforting about homemade chicken strips that makes every bite feel special. I find joy in watching my loved ones enjoy this dish, knowing it’s made with care and the best ingredients.
Healthier Alternative
Unlike their deep-fried counterparts, these Baked Breaded Chicken Strips are oven-baked, making them a healthier option without sacrificing taste. You still get that crispy texture that everyone craves, but with less oil and fewer calories, which is a win-win in my book!
Perfect for Any Occasion
Whether it’s a busy weeknight or a laid-back weekend gathering, Baked Breaded Chicken Strips fit seamlessly into any meal plan. They’re quick to prepare and can be paired with an array of sides, enhancing their versatility.
Fun for Everyone
This recipe is a hit with kids and adults alike. It’s an interactive experience when you let everyone help with the breading process. Watching my kids have a blast coating the chicken in breadcrumbs brings a smile to my face. It’s more than just cooking; it’s creating memories together.
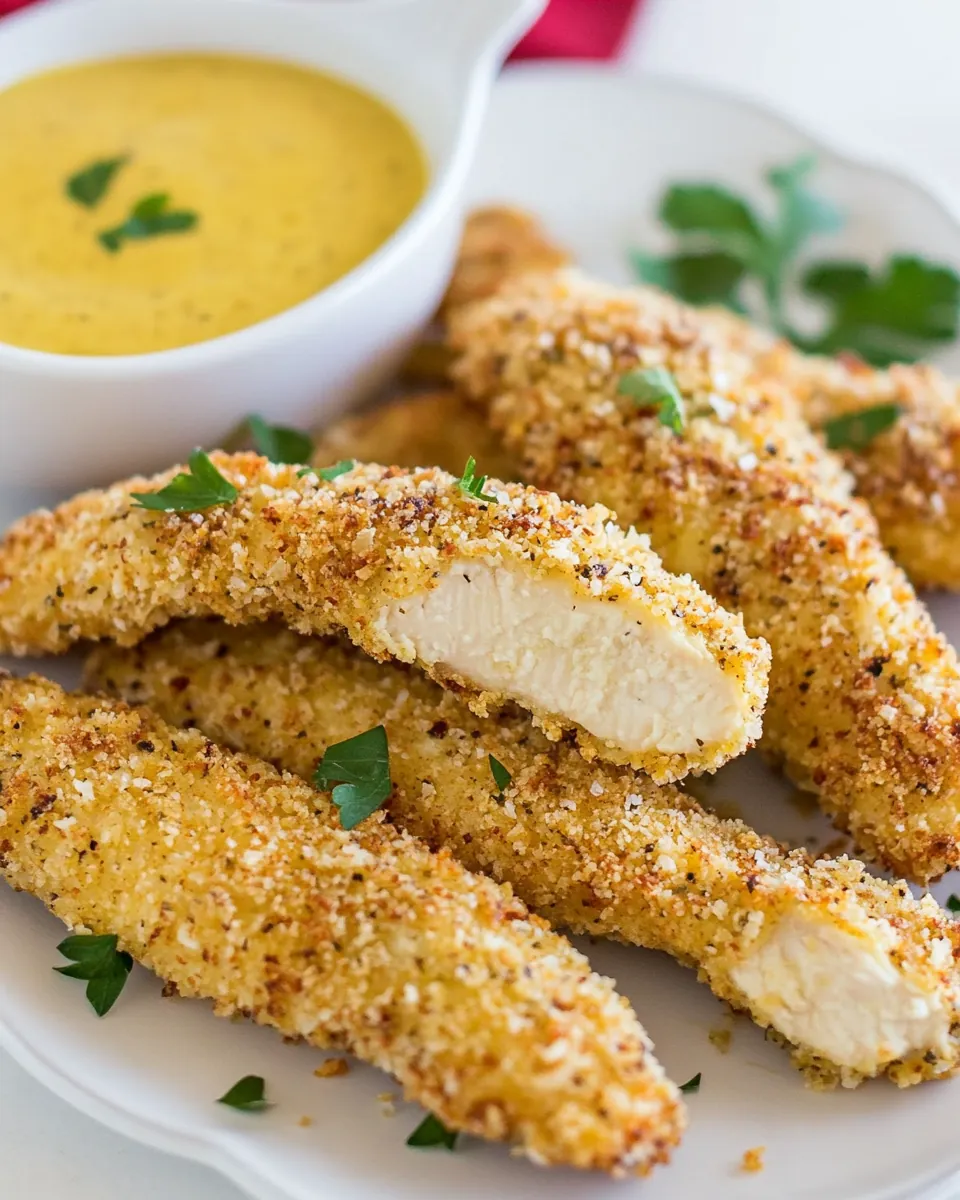
Flavorful Dipping Sauce
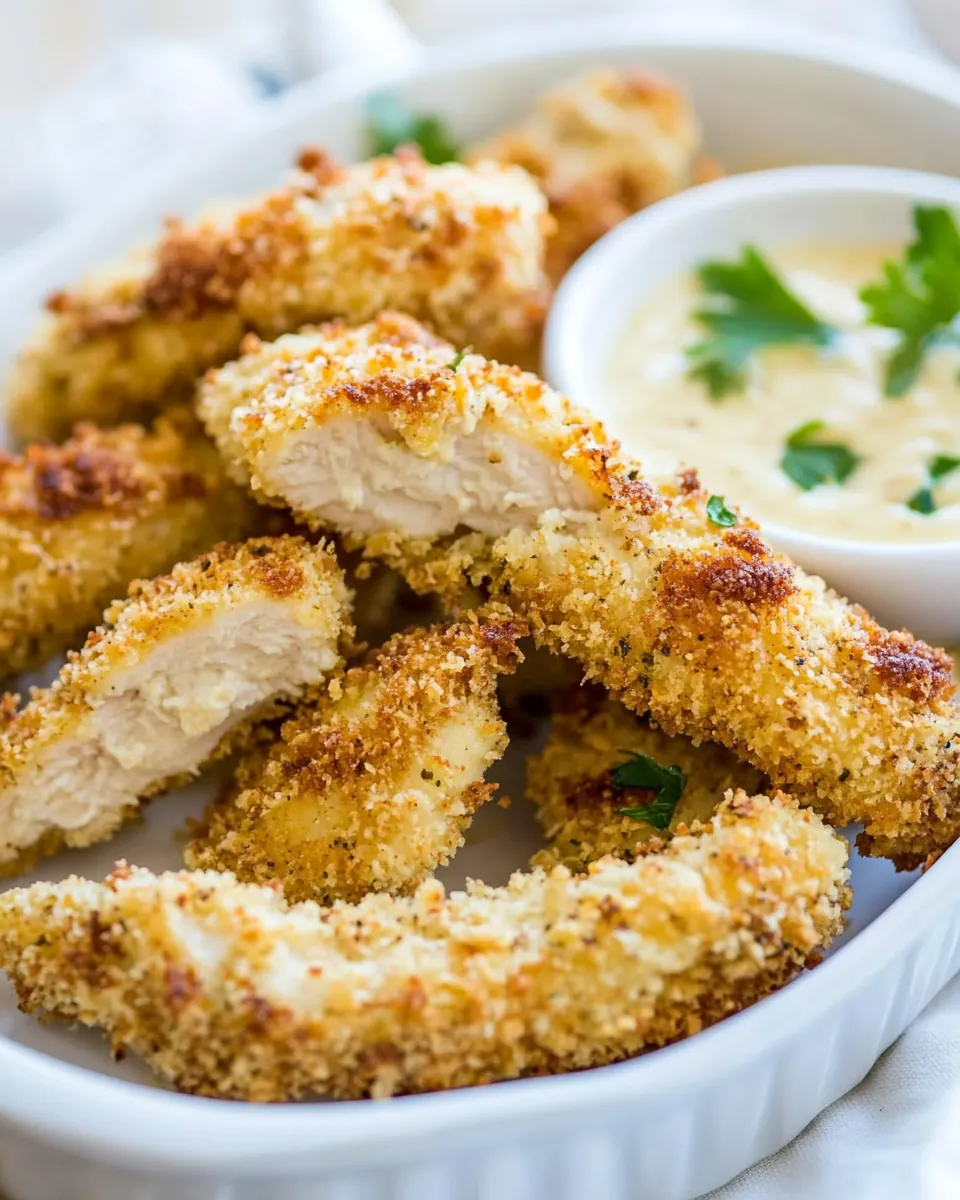
Accompanying Baked Breaded Chicken Strips with a delicious dipping sauce elevates the dish even further. From tangy honey mustard to creamy ranch, there’s no wrong choice. Each bite becomes a flavor explosion that keeps everyone coming back for more.
Make Ahead and Enjoy Later
One of my favorite things about this recipe is that you can prepare the chicken strips ahead of time and freeze them. This way, whenever the craving hits, you can bake them straight from the freezer. Quick and easy weeknight dinner solved!
Baked Breaded Chicken Strips Ingredients
When it comes to making Baked Breaded Chicken Strips, the ingredients are simple yet essential. Each component plays a vital role in creating the perfect balance of flavor and texture. The combination of fresh chicken breast, seasoning, and a crunchy breadcrumb coating works harmoniously to create a dish that’s satisfying and delicious.
- 2 lbs chicken breast, about 3 large chicken breasts – Choose fresh and high-quality chicken for the best flavor.
- Sea Salt & Pepper – Essential for enhancing the natural flavor of the chicken.
- 1/3 cup dijon mustard – Adds a tangy and sharp flavor to the marinade.
- 1/3 cup real mayonnaise – Contributes creaminess and helps the breadcrumbs adhere.
- 2-3 small garlic cloves, pressed – Fresh garlic adds aromatic flavor.
- 2 cups bread crumbs, a mixture of seasoned Italian-style and panko – This mix provides a great texture and crunch.
- 1/3 cup honey – For a touch of sweetness in the dipping sauce.
- 1/2 tsp poppy seeds, optional – Adds a nice visual touch to the sauce.
Baked Breaded Chicken Strips Instructions
Making Baked Breaded Chicken Strips is a straightforward process that will reward you with a delicious outcome. Follow these steps to create a dish that will impress your family and friends.
- Preheat your oven to 450˚F. This high temperature is key to achieving that perfect crispy exterior.
- Line a large, rimmed baking sheet with foil. This makes for easier clean-up and helps in cooking the chicken evenly.
- In a large bowl, whisk together 1/3 cup dijon mustard, 1/3 cup real mayo, and 3 pressed garlic cloves. Let this mixture sit while you prepare the chicken to allow the flavors to blend.
- In a separate bowl, place your bread crumbs. You can use a mix of seasoned Italian-style and panko for the best texture.
- Rinse the chicken breasts under cold water and pat them dry with paper towels. Trim any excess fat, and cut them into 1-inch thick strips for even cooking.
- Season both sides of the chicken strips with sea salt and pepper. This step enhances the overall flavor.
- Coat each chicken strip in the mustard mixture, ensuring it’s well covered before rolling them in the breadcrumbs. Make sure to press the crumbs onto the chicken for a nice coating.
- Transfer the breaded chicken strips to the prepared baking sheet. Be careful not to overcrowd them to achieve the best crispiness.
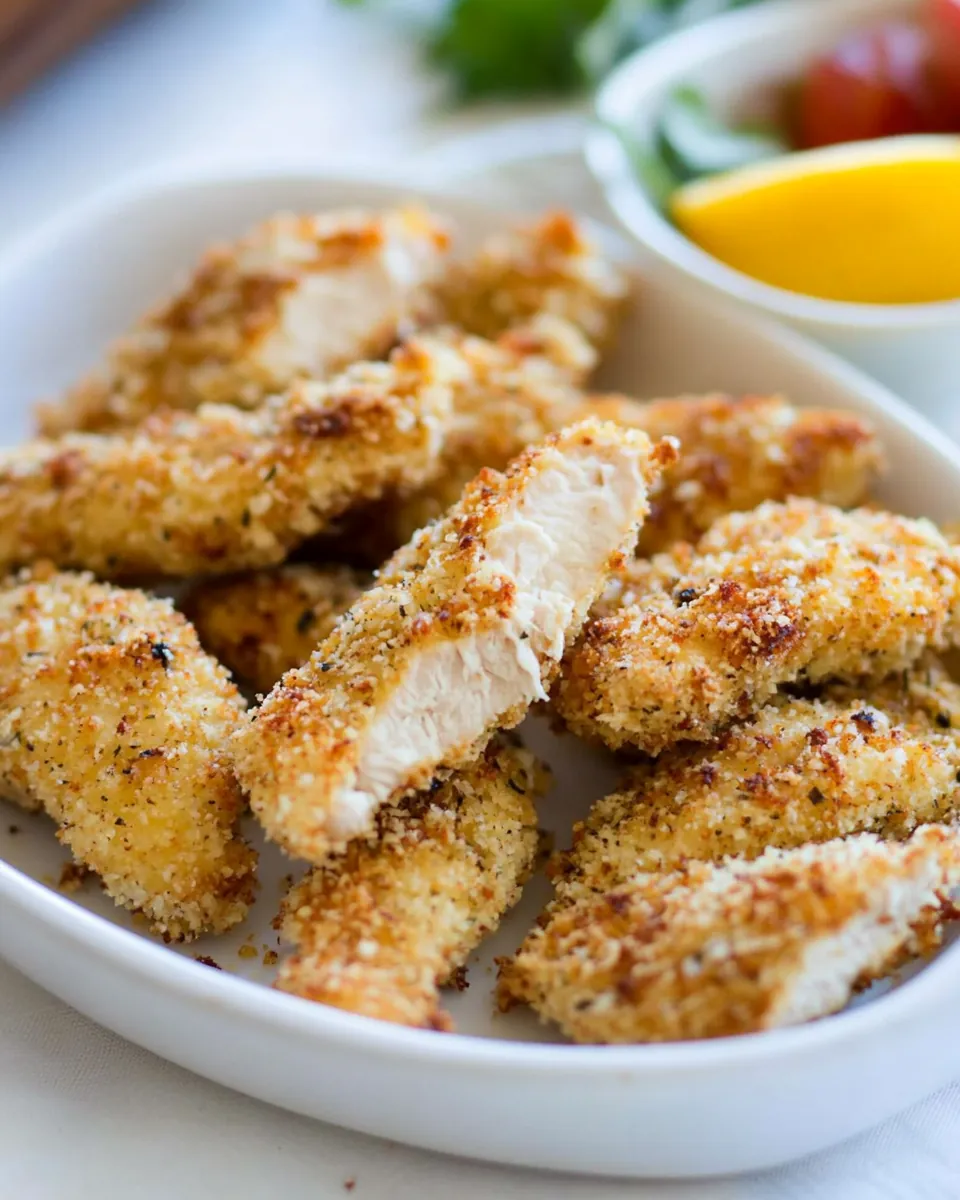
- Bake in the preheated oven for 15 to 17 minutes or until the chicken is cooked through and golden brown. You can check for doneness by cutting one of the strips in half to ensure it’s no longer pink inside.
- While the chicken is baking, make your dipping sauce by mixing together 1/3 cup dijon mustard, 1/3 cup honey, and 1/3 cup real mayo in a medium bowl or blender until well blended. If using, stir in the poppy seeds for added texture.
- Once baked, let the chicken strips rest for a few minutes before serving, allowing the juices to redistribute for maximum flavor.
Things Worth Knowing
- Tip 1: Ensure your chicken is dry before breading. This helps the marinade stick better, leading to a crunchier coating.
- Tip 2: Experiment with different types of breadcrumbs. Panko provides extra crunch, but you can also use crushed cornflakes for a gluten-free option.
- Tip 3: For even more flavor, consider marinating the chicken for a few hours or overnight in the mustard mixture.
- Tip 4: If you have leftovers, reheat them in the oven to maintain crispiness rather than using a microwave.
Tips and Variations
Whether you want to enhance your Baked Breaded Chicken Strips or prepare for different occasions, here are some tips and variations to consider:
- Storage: Store leftover chicken strips in an airtight container in the fridge for up to three days. They can be reheated in the oven to restore their crispness.
- Freezing: You can freeze the breaded strips before baking. Just place them in a single layer on a baking sheet, freeze until solid, then transfer to a freezer bag. Bake from frozen; just add a few extra minutes to the cooking time.
- Pairing: Serve your chicken strips with a side of homemade coleslaw or a fresh garden salad for a well-rounded meal.
- Flavor Variations: Add spices like paprika or cayenne pepper to the breadcrumb mixture for an extra kick of flavor.
- Serving Suggestions: These strips work great in wraps or sandwiches. Layer with lettuce, tomato, and your favorite sauce.
What to Serve Alongside Baked Breaded Chicken Strips
Pairing is crucial when it comes to enjoying your Baked Breaded Chicken Strips. Here are some delicious side dishes and ideas:
- French Fries: A classic pairing with chicken strips, crispy fries will be a hit at any gathering.
- Sweet Potato Wedges: These provide a nutritious twist while complementing the savory chicken perfectly.
- Garden Salad: A light, refreshing salad with a tangy vinaigrette can balance the richness of the chicken.
- Macaroni and Cheese: For a comforting side, creamy mac and cheese pairs wonderfully with the crispy chicken.
- Dipping Sauces: Provide a variety of dips like ranch, barbecue, or honey mustard to keep things interesting.
- Vegetable Medley: Roasted or steamed vegetables can add color and nutrition to your plate.
- Occasions: These chicken strips are perfect for casual family dinners, game day snacks, or even as party appetizers.
FAQ
Conclusion
The Baked Breaded Chicken Strips are a perfect blend of crunch and flavor, making them an irresistible choice for any meal. They are not only easy to prepare but also a guaranteed crowd-pleaser. I encourage you to try making them at home. You’ll love how simple they are to whip up and how delicious they turn out!
Baked Breaded Chicken Strips
Ingredients
Equipment
Method
- Preheat your oven to 450˚F. This high temperature is key to achieving that perfect crispy exterior.
- Line a large, rimmed baking sheet with foil. This makes for easier clean-up and helps in cooking the chicken evenly.
- In a large bowl, whisk together 1/3 cup dijon mustard, 1/3 cup real mayo, and 3 pressed garlic cloves. Let this mixture sit while you prepare the chicken to allow the flavors to blend.
- In a separate bowl, place your bread crumbs. You can use a mix of seasoned Italian-style and panko for the best texture.
- Rinse the chicken breasts under cold water and pat them dry with paper towels. Trim any excess fat, and cut them into 1-inch thick strips for even cooking.
- Season both sides of the chicken strips with sea salt and pepper. This step enhances the overall flavor.
- Coat each chicken strip in the mustard mixture, ensuring it’s well covered before rolling them in the breadcrumbs. Make sure to press the crumbs onto the chicken for a nice coating.
- Transfer the breaded chicken strips to the prepared baking sheet. Be careful not to overcrowd them to achieve the best crispiness.
- Bake in the preheated oven for 15 to 17 minutes or until the chicken is cooked through and golden brown. You can check for doneness by cutting one of the strips in half to ensure it's no longer pink inside.
- While the chicken is baking, make your dipping sauce by mixing together 1/3 cup dijon mustard, 1/3 cup honey, and 1/3 cup real mayo in a medium bowl or blender until well blended. If using, stir in the poppy seeds for added texture.
- Once baked, let the chicken strips rest for a few minutes before serving, allowing the juices to redistribute for maximum flavor.
Notes
- Tip 1: Store leftover chicken strips in an airtight container in the fridge for up to three days. They can be reheated in the oven to restore their crispness.
- Tip 2: You can freeze the breaded strips before baking. Just place them in a single layer on a baking sheet, freeze until solid, then transfer to a freezer bag. Bake from frozen; just add a few extra minutes to the cooking time.
- Tip 3: Serve your chicken strips with a side of homemade coleslaw or a fresh garden salad for a well-rounded meal.
- Tip 4: Add spices like paprika or cayenne pepper to the breadcrumb mixture for an extra kick of flavor.
- Tip 5: These strips work great in wraps or sandwiches. Layer with lettuce, tomato, and your favorite sauce.