Apple Pie
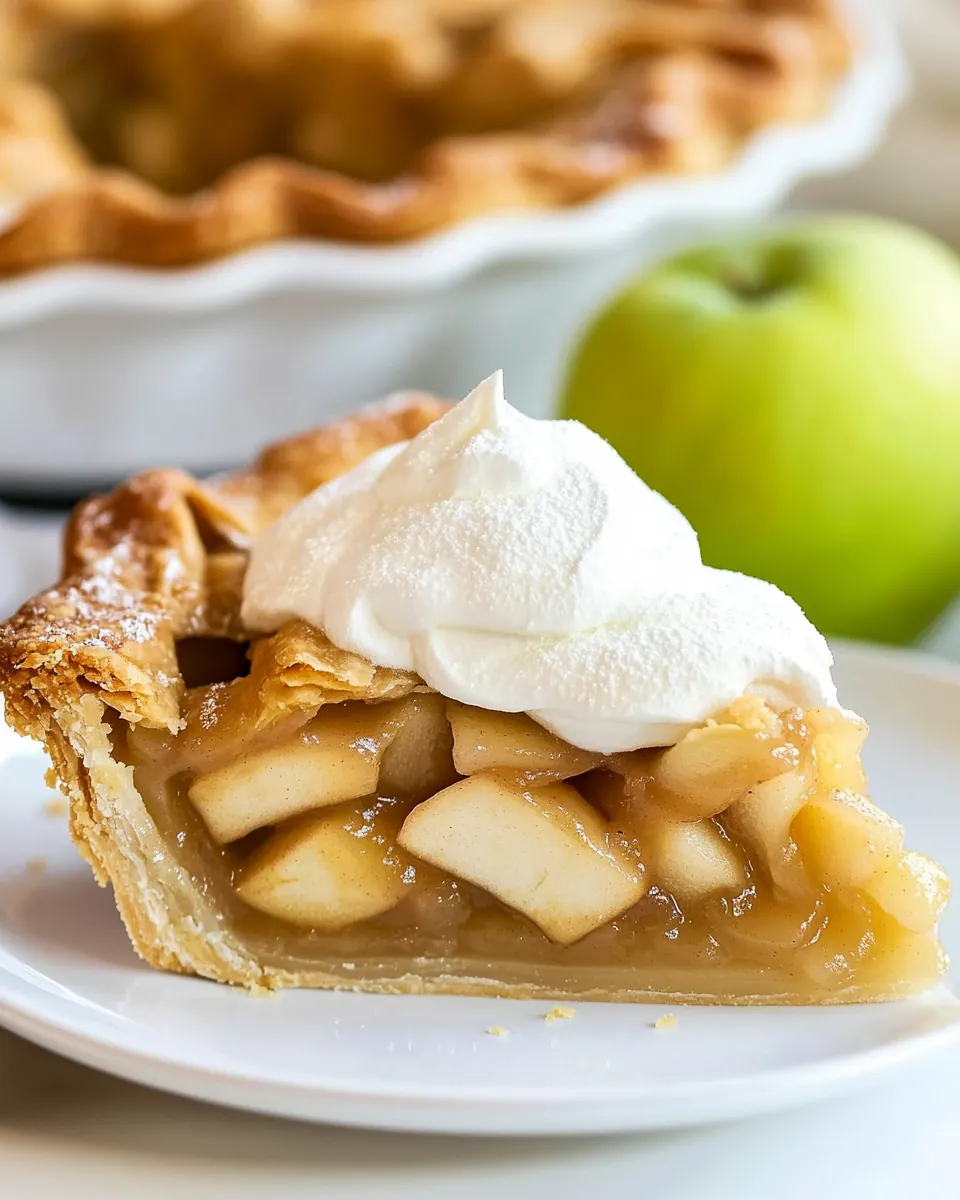
There’s something magical about baking an Apple Pie. It brings back memories of chilly afternoons spent in the warm kitchen, the sweet aroma of apples and spices wafting through the air. I remember the first time I baked one with my grandmother, who taught me that the secret lies not just in the recipe, but in the love you pour into it. Each thin slice of Granny Smith apple is a reminder of the fall harvest, perfectly complemented by a flaky pie crust that crumbles beautifully with every bite. As the pie bakes, anticipation fills the room; the golden crust bubbling just right, the aroma making it impossible to wait until it cools. We often serve it with a scoop of vanilla ice cream, creating a comforting, nostalgic treat that feels like home.
Recipe Snapshot
1 hr 20 mins
30 mins
50 mins
Medium
320 kcal
2 g
Vegan, Gluten-Free, AIP
12 g
9-inch pie dish
What You’ll Enjoy About This Apple Pie
It’s a Timeless Classic
The Apple Pie is the quintessential dessert that never goes out of style. It’s perfect for gatherings, holidays, or just a cozy night in. I love how this dish can evoke memories and create new ones with each bite. It’s a recipe that resonates through generations, cherished by many.
Flavor Harmony
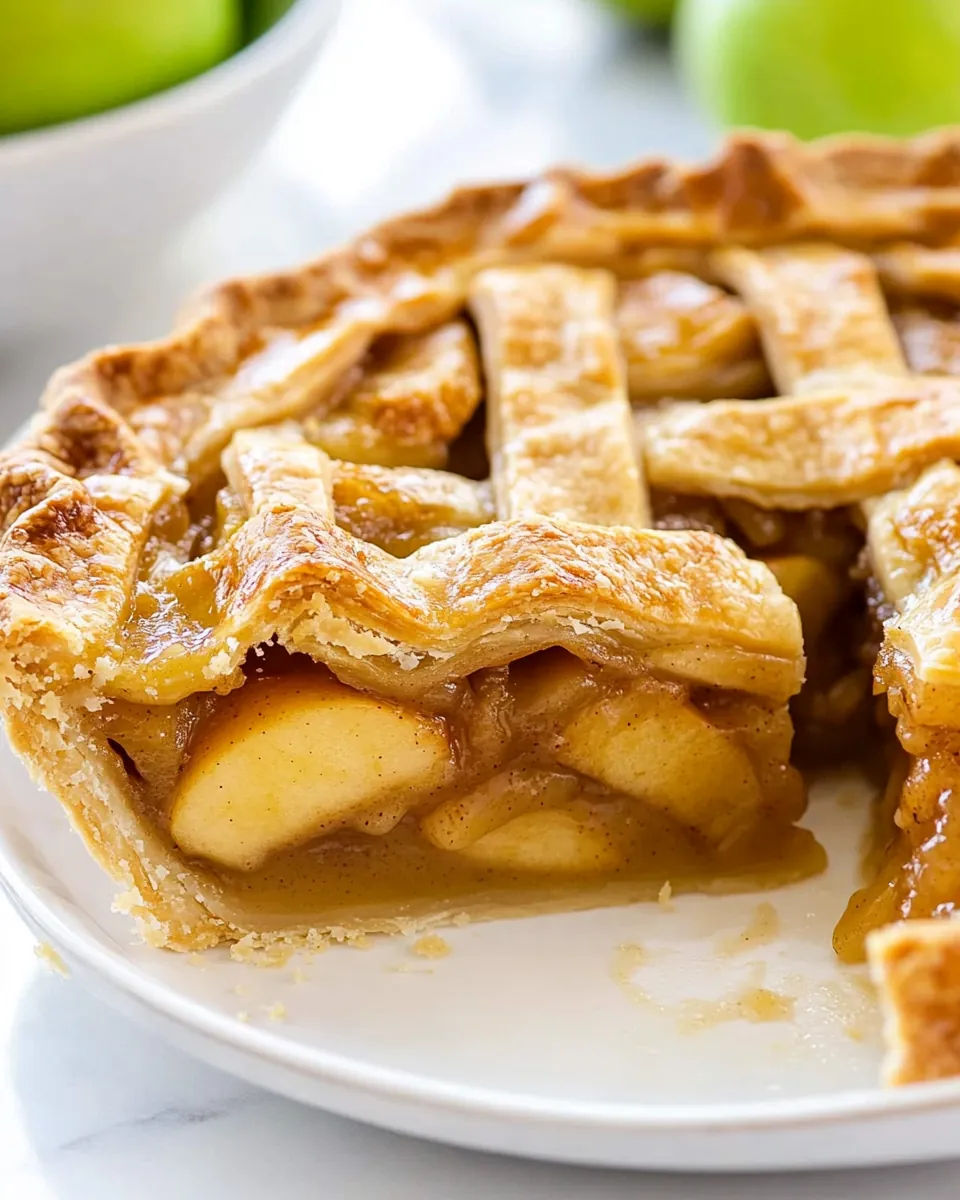
The combination of apple, cinnamon, and nutmeg creates a warm, fragrant filling that whispers comfort. The tartness of the apples perfectly balances the sweetness, making each bite an explosion of flavor. It’s this balance that makes the Apple Pie irresistible.
Perfect for Any Occasion
Whether it’s Thanksgiving or a casual family gathering, this pie brings a sense of warmth and togetherness. I’ve witnessed how it can transform any meal into a celebration, making it the centerpiece that everyone looks forward to.
Customizable Delight
You can always play with the ingredients. Add a touch of vanilla or change up the spices to make it your own. This flexibility allows you to adapt the pie to your tastes, ensuring that each time you bake it, it feels unique.
Simple Yet Satisfying
Even if you’re a novice baker, the Apple Pie is approachable. With just a few ingredients, you can create something beautiful and delicious. It’s a great way to build your confidence in the kitchen and impress family and friends.
A Slice of Love
Finally, the most important ingredient is love. Baking with care turns a simple dessert into something extraordinary. Sharing it with others adds the final touch, making every slice a little piece of happiness.
Apple Pie Ingredients
The ingredients for an Apple Pie are quite simple, yet each one plays a crucial role in creating that perfect flavor and texture. The combination of tart Granny Smith apples and the sweet, buttery pie crust creates an irresistible dessert. Let’s take a closer look at each ingredient that makes this pie a favorite.
- 2 9-inch pie crust: Essential for the base and top of your pie, providing that flaky texture we all love.
- ¾ cup granulated sugar: Balances the tartness of the apples and adds sweetness to the filling.
- ¼ cup all-purpose flour: Helps to thicken the filling, preventing it from becoming too runny.
- 1 ¼ teaspoons ground cinnamon: Adds warmth and flavor, essential for that cozy apple pie taste.
- ¼ teaspoon nutmeg: A subtle spice that enhances the overall flavor profile.
- 2 tablespoons butter, cold: Adds richness and flavor to the filling.
- 6 Granny Smith apples, peeled and sliced ¼ inch thick: The star of the show, providing the iconic tart flavor.
- 1 egg: Used for the egg wash, giving the crust a beautiful golden color.
- 1 tablespoon water: Helps to bind the egg wash for a glossy finish.
The Process for Making Apple Pie
Making an Apple Pie is a rewarding experience that fills your kitchen with delightful aromas. Follow these steps closely, and you’ll create a pie that’s not only beautiful but delicious. Let’s dive into the process of crafting this classic dessert.
Preheat the oven to 375°F. This initial step is crucial, as it ensures your pie bakes evenly.
Prepare the baking sheet by placing it on the middle rack. This will catch any drippings and prevent messes in your oven.
Roll out the crust. Dust a clean surface with flour and roll out your first pie crust until it’s about 12 inches round. It should be thin but not falling apart.
Once rolled out, fold the crust in half, then into quarters to make it easier to transfer it to your pie dish. Gently place it in the dish and flute the edges if desired.
Chill the crust in the refrigerator while you prepare the filling. A cold crust helps maintain its structure during baking.
Make the apple filling. In a large bowl, combine ¾ cup granulated sugar, ¼ cup flour, 1 ¼ teaspoons cinnamon, and ¼ teaspoon nutmeg. Stir until well mixed.
Add the sliced apples to the sugar mixture, tossing until evenly coated. You want every piece to absorb those delicious flavors.
Prepare the egg wash by whisking together 1 egg and 1 tablespoon of water in a small bowl.
Assemble the pie by layering the coated apples into the chilled pie crust. Leave behind any excess juice to avoid a soggy bottom.
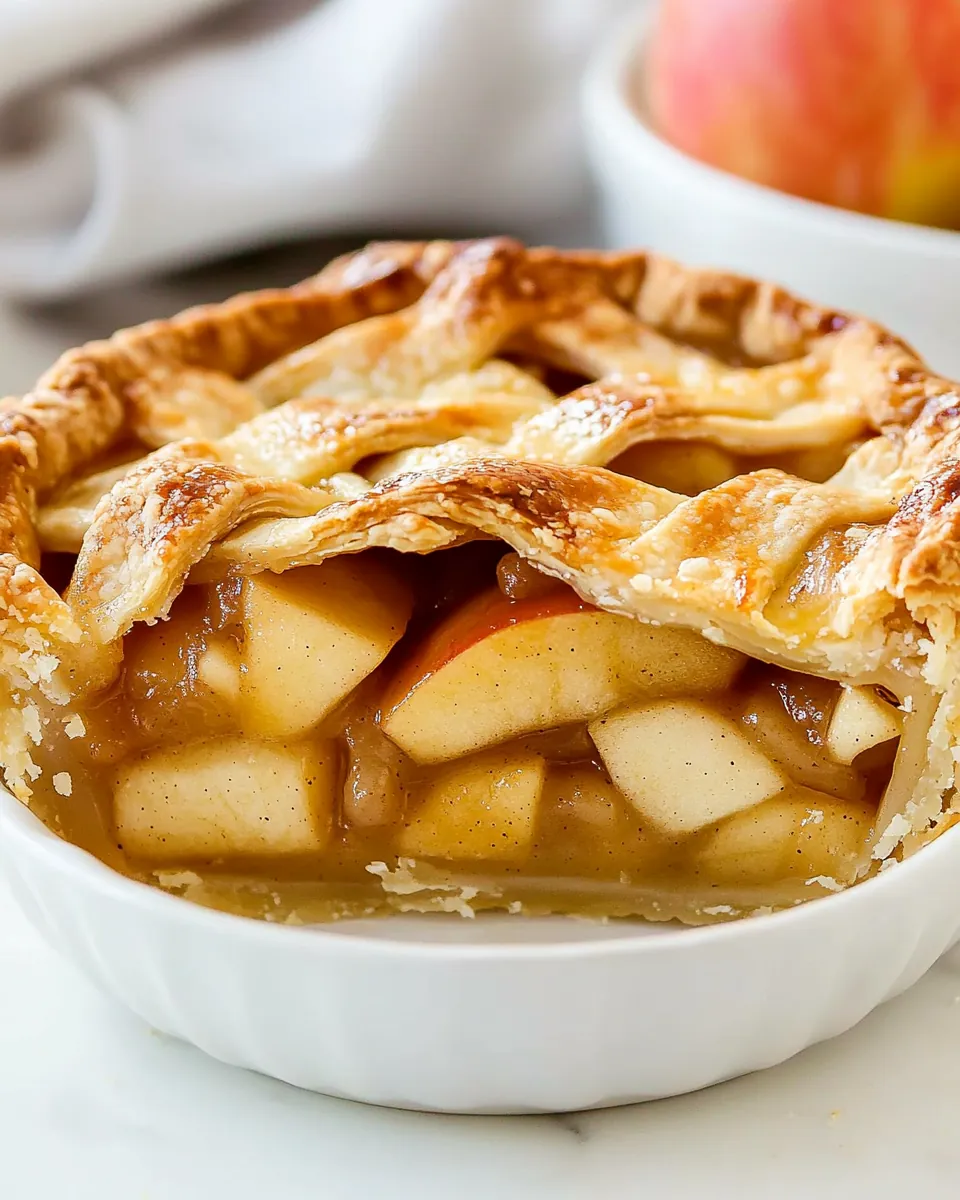
Top the pie with the second pie crust. If you’re using a lattice crust, weave the strips over the apples. Cut small pieces of butter and scatter them over the top.
Brush the crust with the egg wash and sprinkle the reserved sugar on top for a sweet finish.
Bake the pie for 50 minutes, keeping an eye on the crust. If it begins to brown too quickly, cover it with foil.
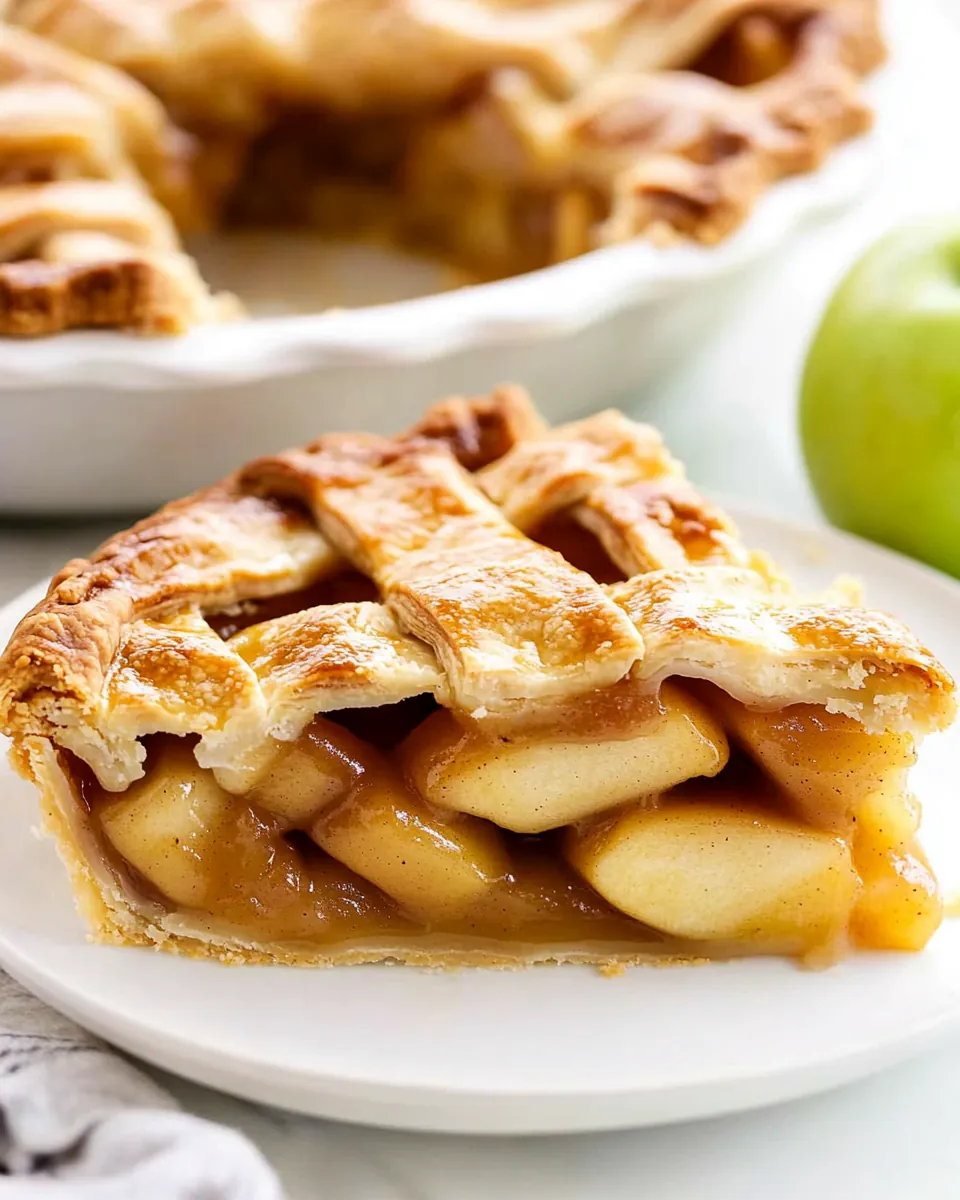
After the baking time is complete, cool the pie on a wire rack for at least 2 to 3 hours to allow the filling to set.
Finally, serve the pie with a scoop of vanilla ice cream for a comforting dessert that everyone will love.
Things Worth Knowing
- Preheating your oven is essential to ensure even baking. It helps the crust crisp up beautifully.
- Cooling time is important. Allowing the pie to cool helps the filling thicken, making it easier to slice.
- Using a mix of apples can elevate your pie. Try combining different varieties for a more complex flavor.
- Invest in a good pie dish. A sturdy, quality dish can make a difference in how evenly your pie bakes.
Tips and Tricks about Apple Pie
Baking an Apple Pie is not just about following a recipe; it’s about perfecting the process. Here are some valuable tips to ensure that your pie turns out delicious every time.
- Storage: Store leftover pie in an airtight container in the refrigerator for up to 3 days. Reheat in the oven for a few minutes to restore its crispness.
- Freezing: You can freeze baked or unbaked pies. For unbaked, wrap tightly and use within 3 months. Bake from frozen, adding extra time to the cooking process.
- Pairing: Serve warm with a scoop of vanilla ice cream for a classic combo or enjoy with a slice of cheddar cheese for a savory contrast.
- Make-ahead: This pie can be made a day ahead. Just keep it covered to maintain freshness.
- Variations: Experiment with spices like cardamom or add a splash of lemon juice to enhance the apple flavor.
Great Combinations for Apple Pie
When it comes to serving your Apple Pie, there are countless delightful pairings and presentation ideas.
- Serve warm: Warming the pie slightly before serving enhances its flavors and aroma.
- Ice Cream: A scoop of vanilla ice cream on top elevates the experience, creating a comforting, creamy contrast.
- Seasonal Fruits: Pair with fresh berries or a fruit salad for a refreshing side dish.
- Whipped Cream: A dollop of freshly whipped cream adds a light, airy texture that complements the pie’s richness.
- Enjoy after dinner: This pie is perfect as a dessert after a hearty meal, especially during fall gatherings.
- Storage Tips: Keep in the fridge wrapped in plastic for up to 3 days.
FAQ
Conclusion
In essence, the Apple Pie is more than just a dessert; it’s a heartwarming tradition that brings people together. The combination of tart apples, spices, and a flaky crust creates an irresistible treat that everyone will love. I encourage you to try making this pie yourself; you won’t regret sharing a slice with family or friends. Create lasting memories in your kitchen with this timeless recipe!
Apple Pie
Ingredients
Equipment
Method
- Preheat the oven to 375°F. This initial step is crucial, as it ensures your pie bakes evenly.
- Prepare the baking sheet by placing it on the middle rack. This will catch any drippings and prevent messes in your oven.
- Roll out the crust. Dust a clean surface with flour and roll out your first pie crust until it’s about 12 inches round. It should be thin but not falling apart.
- Once rolled out, fold the crust in half, then into quarters to make it easier to transfer it to your pie dish. Gently place it in the dish and flute the edges if desired.
- Chill the crust in the refrigerator while you prepare the filling. A cold crust helps maintain its structure during baking.
- Make the apple filling. In a large bowl, combine ¾ cup granulated sugar, ¼ cup flour, 1 ¼ teaspoons cinnamon, and ¼ teaspoon nutmeg. Stir until well mixed.
- Add the sliced apples to the sugar mixture, tossing until evenly coated. You want every piece to absorb those delicious flavors.
- Prepare the egg wash by whisking together 1 egg and 1 tablespoon of water in a small bowl.
- Assemble the pie by layering the coated apples into the chilled pie crust. Leave behind any excess juice to avoid a soggy bottom.
- Top the pie with the second pie crust. If you're using a lattice crust, weave the strips over the apples. Cut small pieces of butter and scatter them over the top.
- Brush the crust with the egg wash and sprinkle the reserved sugar on top for a sweet finish.
- Bake the pie for 50 minutes, keeping an eye on the crust. If it begins to brown too quickly, cover it with foil.
- After the baking time is complete, cool the pie on a wire rack for at least 2 to 3 hours to allow the filling to set.
- Finally, serve the pie with a scoop of vanilla ice cream for a comforting dessert that everyone will love.
Notes
- Tip 1: You can use a mix of Granny Smith and Honey Crisp apples for a unique flavor.
- Tip 2: Slice the apples evenly to ensure they bake at the same rate.
- Tip 3: Use a thicker lattice pie crust for a beautiful top.
- Tip 4: This pie can be made a day in advance for convenience.