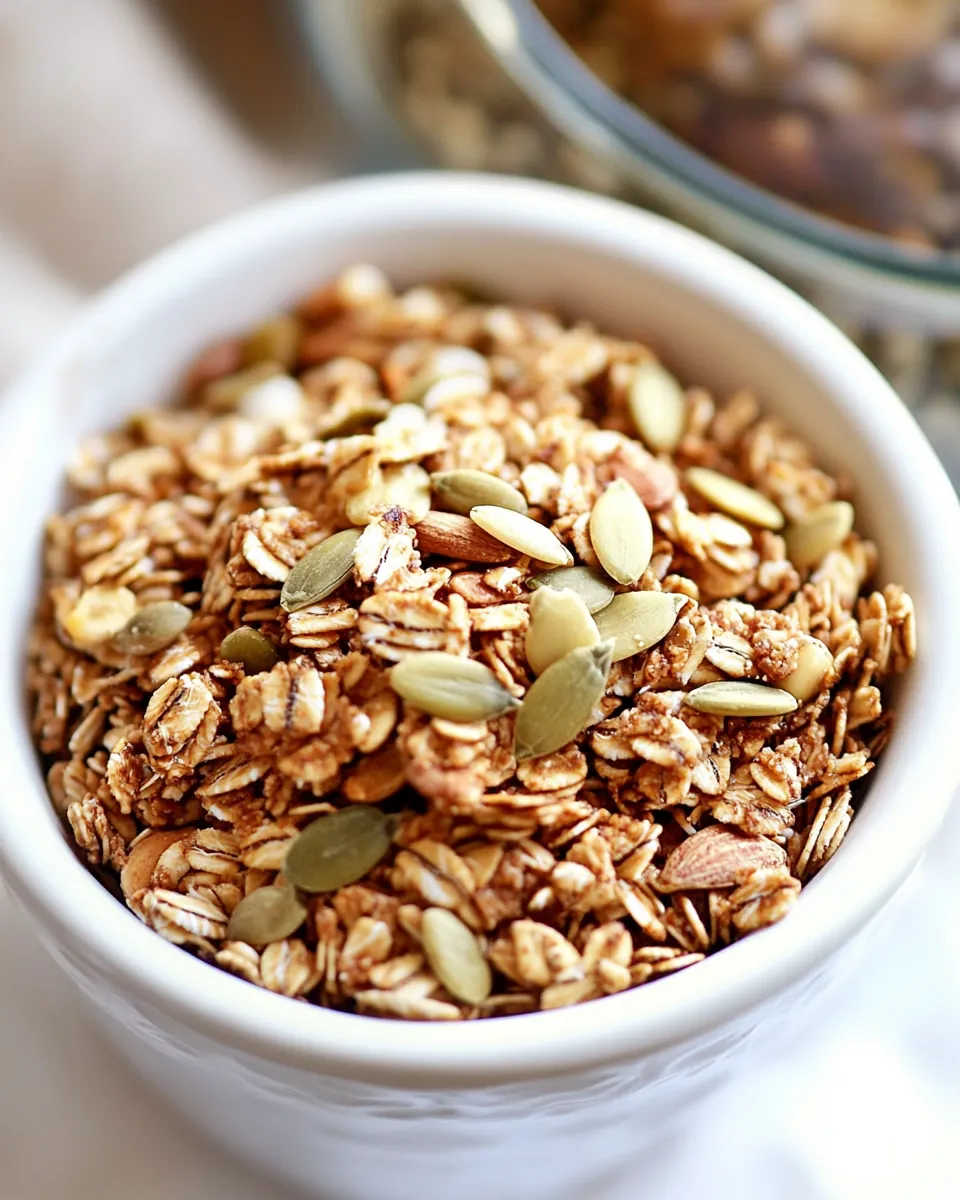
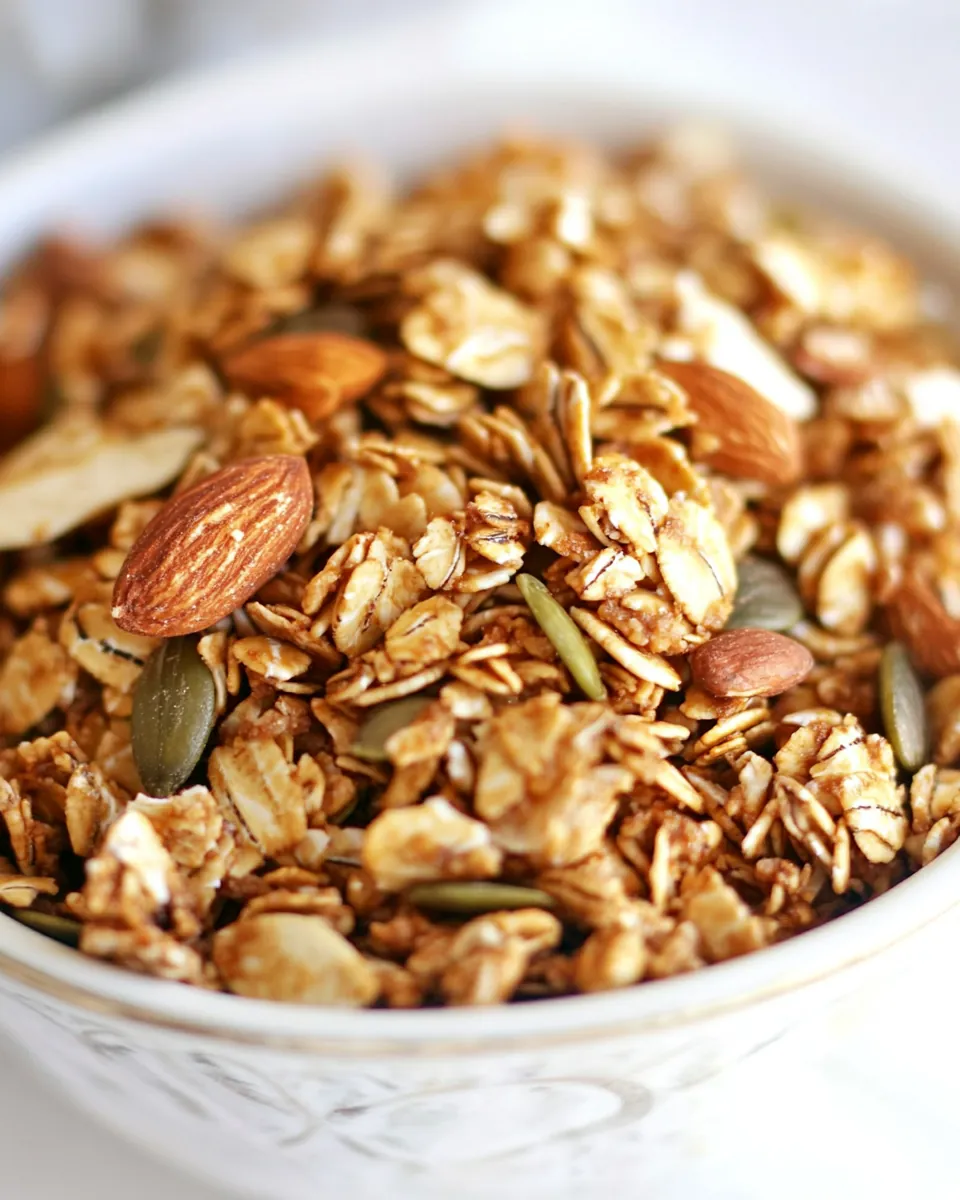
Pumpkin Seed Granola
Whenever the leaves start to turn and the air gets a bit crisper, I find myself craving homemade snacks that are both satisfying and wholesome. That’s when I turn to my favorite treat: Pumpkin Seed Granola. This delightful mixture is not just a breakfast staple; it’s a versatile snack that can accompany you through the day, whether you’re on a morning hike or enjoying a cozy evening at home. The combination of crunchy seeds, sweet maple syrup, and aromatic spices creates a flavor explosion that’s hard to resist. I remember the first time I made it, the warm scents filled my kitchen, instantly making it feel like fall. It quickly became a family favorite, and I love sharing it with friends during weekend brunches.
Recipe Snapshot
1 hr 10 mins
10 mins
60 mins
Medium
300 kcal
8 g
Vegan, Gluten-Free, Low FODMAP
14 g
Baking Sheet, Wooden Spoon, Oven
Why Try This Pumpkin Seed Granola
Healthy and Nutritious
One of the main reasons I adore Pumpkin Seed Granola is its nutritional profile. Packed with essential vitamins and minerals, each bite is a powerhouse of energy. The inclusion of pumpkin seeds offers a great source of zinc and magnesium, while almonds and sunflower seeds contribute healthy fats that keep you full and satisfied.
Customizable to Your Taste
This granola recipe is incredibly adaptable. You can easily adjust the sweetness by adding more or less maple syrup or play with different nuts and seeds based on what you have at home. Feel free to throw in dried fruits like cranberries or raisins for an extra burst of flavor.
Perfect for Meal Prep
Another reason I love making Pumpkin Seed Granola is its convenience for meal prep. Once you make a batch, you have a healthy snack ready to go for weeks. Just store it in airtight containers, and you’ll have a crunchy topping for yogurt or a quick breakfast option whenever you need it.
Great for Gifting
Homemade granola also makes a thoughtful gift! Package it in a mason jar with a cute ribbon, and you have a perfect present for friends or family. It’s a delightful way to share something homemade and delicious.
Eco-Friendly Choice
Making your own granola cuts down on packaging waste compared to store-bought options. You can buy ingredients in bulk and store them in reusable containers. Each bowl of Pumpkin Seed Granola is not only good for you but also good for the planet.
Versatile Uses
Whether you sprinkle it on top of smoothie bowls, enjoy it with milk, or eat it by the handful as a snack, Pumpkin Seed Granola fits beautifully into your diet. Its crunchy texture and rich flavors will satisfy any craving.
What’s In This Pumpkin Seed Granola
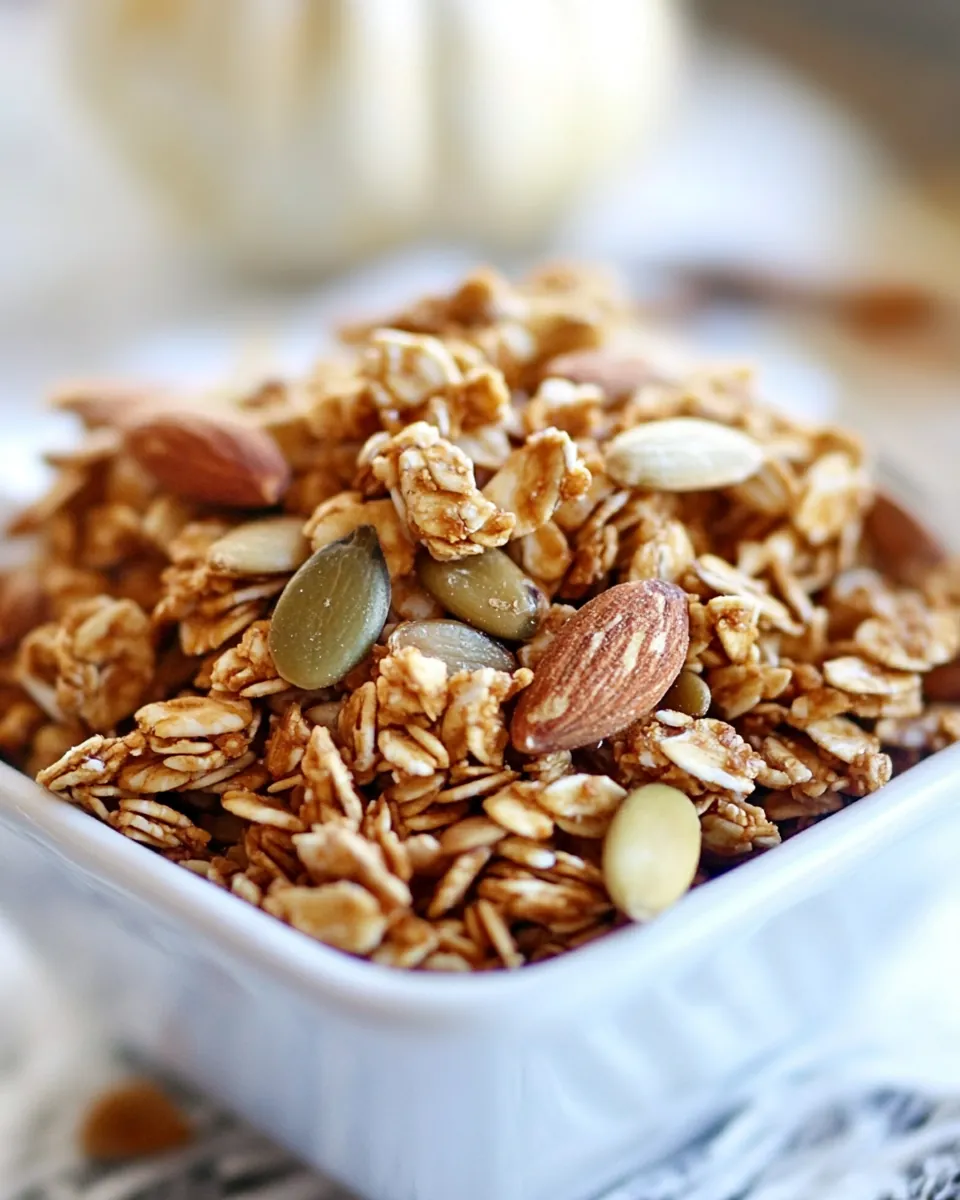
When it comes to crafting the perfect batch of Pumpkin Seed Granola, each ingredient plays a vital role in building flavor and texture. The key players here are rolled oats, which provide a hearty base, and a variety of seeds that add crunch and nutrients. Together, they create a delightful mix that’s not only delicious but also nourishing.
- 6 cups rolled oats: The foundation of this granola, providing texture and fiber.
- 1 cup raw pepitas: These pumpkin seeds are packed with antioxidants and give a delightful crunch.
- 1 cup unsalted sunflower seeds: Adding a nutty flavor and a dose of healthy fats.
- 1 1/2 cups raw almonds: Whole almonds bring richness and extra protein to the mix.
- 1 cup unsweetened coconut flakes: For a touch of tropical sweetness and chewiness.
- 3 tablespoons sesame seeds: A small but mighty ingredient that enhances the flavor and adds more nutrients.
- 1/2 cup butter: This binds the granola together and creates a rich, buttery flavor.
- 1/4 cup real maple syrup: Natural sweetness that complements the nutty flavors beautifully.
- 1/3 cup packed brown sugar: Adds depth of flavor and more sweetness.
- 1/2 tablespoon vanilla: Enhances the overall taste profile.
- 1 tablespoon ground cinnamon: A warming spice that makes it feel like a cozy fall treat.
- 1/2 tablespoon nutmeg: Adds a hint of earthiness.
- 1 teaspoon cloves: A spice that brings warmth and depth.
- pinch salt: Balances the sweetness and enhances all flavors.
Recipe Steps for Pumpkin Seed Granola
Making Pumpkin Seed Granola is a straightforward and enjoyable process. Follow these simple steps to create your own delicious batch of homemade granola. You’ll be amazed at how quickly it comes together!
- Preheat your oven to 250 degrees. This low temperature is essential for achieving that perfect crunch without burning the granola.
- Line 2 rimmed baking sheets with parchment paper and set them aside. This will prevent the granola from sticking and make cleanup a breeze.
- In a large bowl, combine all your dry ingredients: rolled oats, raw pepitas, unsalted sunflower seeds, raw almonds, unsweetened coconut flakes, sesame seeds, ground cinnamon, nutmeg, cloves, and a pinch of salt. Stir everything together until well mixed.
- In a separate small bowl, melt butter, maple syrup, and brown sugar together in the microwave, which should take about 1 minute. This ensures they mix well and coat the dry ingredients evenly.
- Once melted, stir in the vanilla to add a lovely aroma and flavor. This mixture should be warm and combined smoothly.
- Pour the melted mixture over the dry ingredients in the bowl. Use a spatula to coat everything evenly; the goal is to ensure every bit of the dry mixture is covered in that sweet, buttery goodness.
- Spread the granola mixture evenly between the two prepared baking sheets. Make sure to break up any large clumps, as you want a uniform texture.
- Place in the preheated oven and bake for about 1 hour. Stir the granola halfway through to ensure even baking. Look for a beautiful golden brown color as you approach the end; you’ll know it’s done when it’s crispy.
- Once baked, remove from the oven and allow it to cool completely on the baking sheets. This cooling time is important as it allows the granola to harden and form those lovely clusters.
- After cooling, transfer the granola to airtight containers for storage. Enjoy within two weeks—if it lasts that long!
Things Worth Knowing
- Oven Temperature: Make sure your oven is adequately preheated for even baking. An oven thermometer can help ensure accuracy.
- Storage: Keep your granola in airtight containers at room temperature to maintain freshness and crunch.
- Don’t Rush Cooling: Allowing the granola to cool completely on the baking sheets is crucial for achieving that perfect crunchy texture.
- Experiment with Ingredients: Feel free to swap some seeds or nuts for your favorites, or try adding dried fruits for extra flavor.
Pro Tips and Tweaks
Making Pumpkin Seed Granola can be a fun process, and here are some tips to elevate your experience:
- Storage: Keep your granola in airtight containers to maintain its crunch for up to two weeks; you can also store it in the freezer for longer shelf life.
- Freezing: You can freeze the granola in small batches. Just place it in freezer-safe bags and pull out portions as needed.
- Pairing: This granola pairs wonderfully with milk, yogurt, or as a topping on smoothie bowls for added crunch.
- Add Dried Fruits: Consider mixing in some dried fruits like cranberries or raisins after baking for an extra layer of flavor.
- Adjust Sweetness: If you prefer a sweeter granola, feel free to increase the amount of maple syrup or brown sugar according to your taste.
- Serving Suggestion: Serve with fresh fruit and a drizzle of honey for a delightful breakfast or snack.
Serving Ideas for Pumpkin Seed Granola
There are countless ways to enjoy Pumpkin Seed Granola, and here are some of my favorite serving ideas:
- Breakfast Bowl: Serve it with your choice of milk, topped with fresh fruits like bananas, strawberries, or blueberries for a wholesome breakfast.
- Yogurt Parfait: Layer it with Greek yogurt and fresh fruits for a delightful parfait that makes a great snack or dessert option.
- Smoothie Bowl: Sprinkle it on top of smoothie bowls to add a crunchy texture that complements the creamy base.
- Trail Mix: Mix it with dried fruits and nuts to create a homemade trail mix that’s perfect for on-the-go snacking.
- As a Topping: Use it as a topping for ice cream, pancakes, or waffles for an extra crunch and flavor boost.
- Gift Idea: Package it in a mason jar and give it away as a thoughtful homemade gift during the holidays or special occasions.
FAQ
Conclusion
In summary, Pumpkin Seed Granola is a delightful and nutritious treat that’s perfect for any time of day. Its crunchy texture, warm spices, and wholesome ingredients make it truly special. I encourage you to whip up a batch and enjoy the cozy flavors of fall in your own home. You won’t regret it!

Pumpkin Seed Granola
Ingredients
Equipment
Method
- Preheat your oven to 250 degrees. This low temperature is essential for achieving that perfect crunch without burning the granola.
- Line 2 rimmed baking sheets with parchment paper and set them aside. This will prevent the granola from sticking and make cleanup a breeze.
- In a large bowl, combine all your dry ingredients: rolled oats, raw pepitas, unsalted sunflower seeds, raw almonds, unsweetened coconut flakes, sesame seeds, ground cinnamon, nutmeg, cloves, and a pinch of salt. Stir everything together until well mixed.
- In a separate small bowl, melt butter, maple syrup, and brown sugar together in the microwave, which should take about 1 minute. This ensures they mix well and coat the dry ingredients evenly.
- Once melted, stir in the vanilla to add a lovely aroma and flavor. This mixture should be warm and combined smoothly.
- Pour the melted mixture over the dry ingredients in the bowl. Use a spatula to coat everything evenly; the goal is to ensure every bit of the dry mixture is covered in that sweet, buttery goodness.
- Spread the granola mixture evenly between the two prepared baking sheets. Make sure to break up any large clumps, as you want a uniform texture.
- Place in the preheated oven and bake for about 1 hour. Stir the granola halfway through to ensure even baking. Look for a beautiful golden brown color as you approach the end; you’ll know it’s done when it’s crispy.
- Once baked, remove from the oven and allow it to cool completely on the baking sheets. This cooling time is important as it allows the granola to harden and form those lovely clusters.
- After cooling, transfer the granola to airtight containers for storage. Enjoy within two weeks—if it lasts that long!